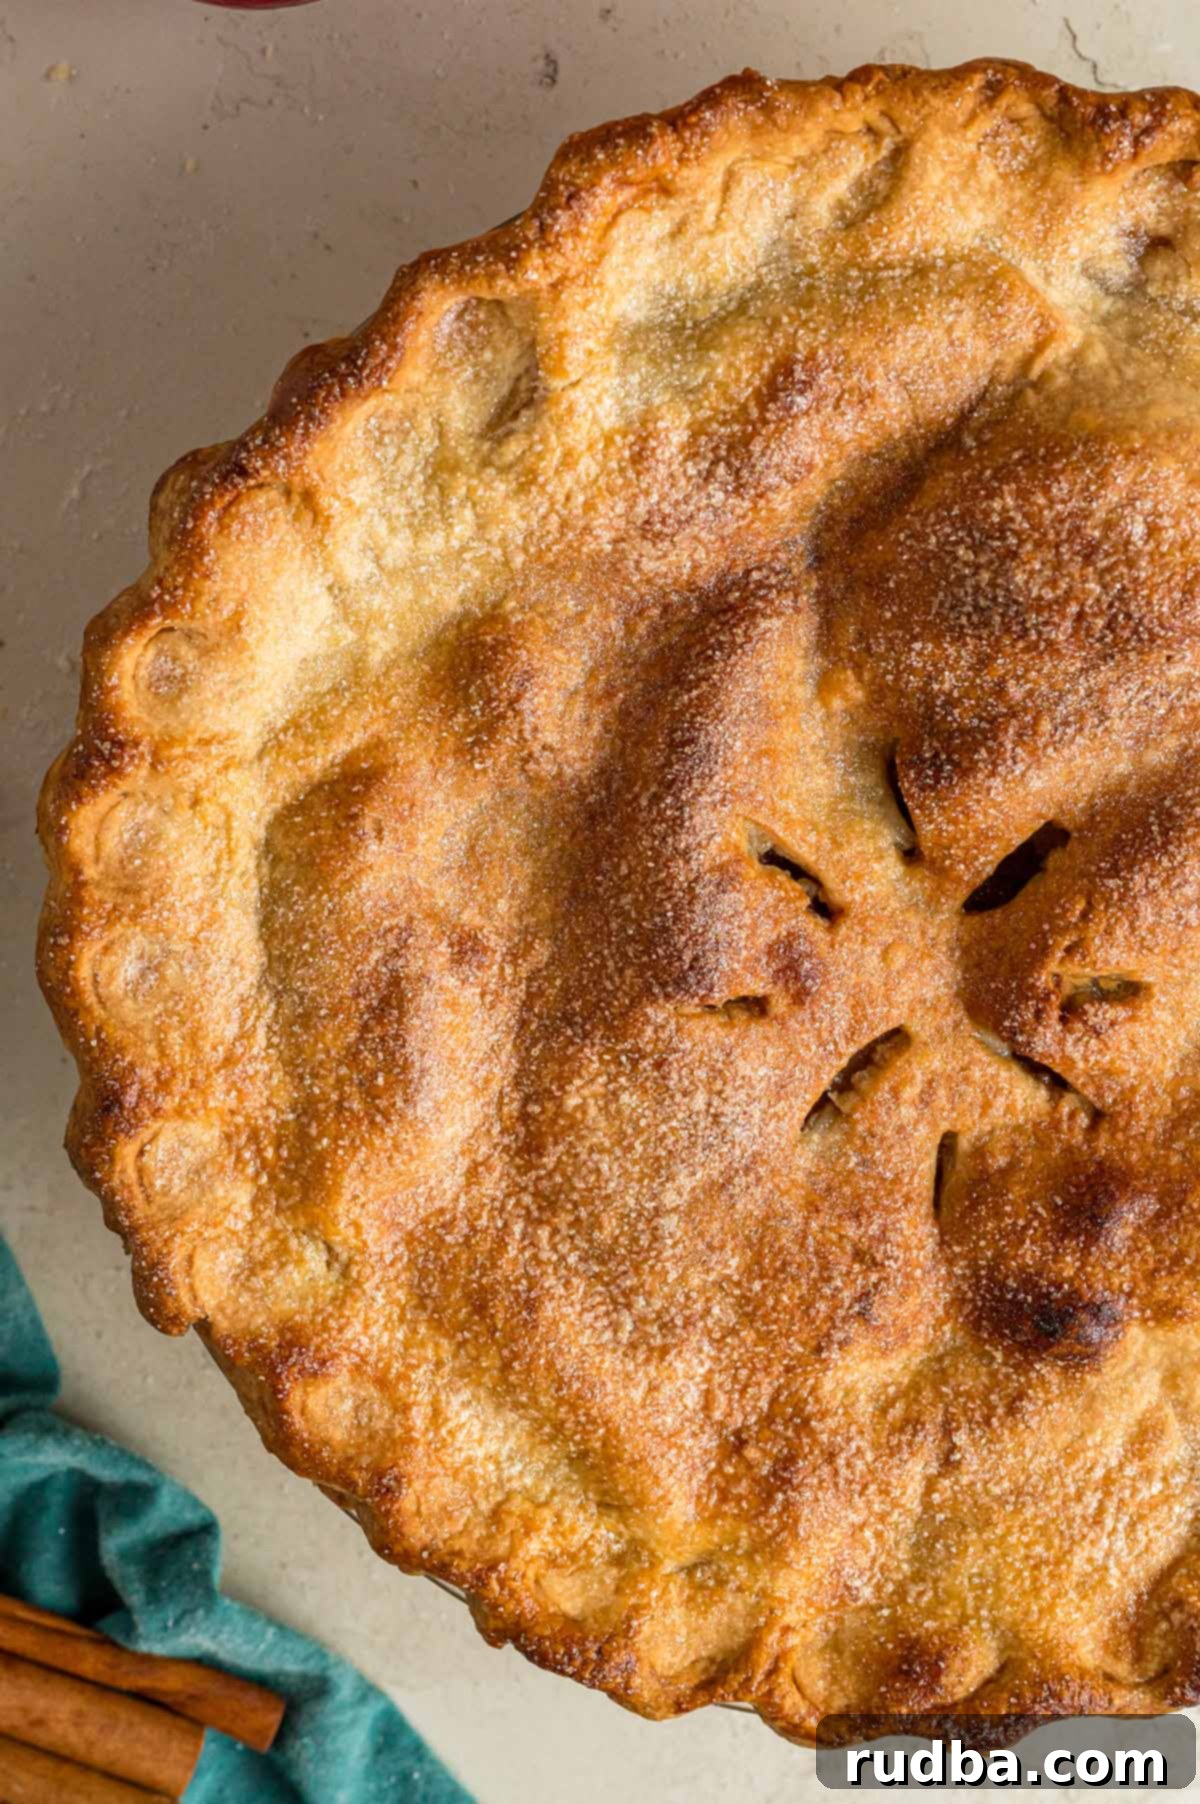
The Ultimate Classic Homemade Apple Pie Recipe: Flaky Crust, Perfect Filling
As the leaves turn golden and a comforting crispness fills the air, there’s one timeless dessert that truly embodies the spirit of the season: the classic homemade apple pie. Whether you’re preparing for the festive holiday season, a cozy family gathering, or simply craving that unparalleled taste of tradition, this recipe promises to deliver an unforgettable experience. Forget complicated techniques or store-bought shortcuts; this apple pie is crafted entirely from scratch, yet I’ve broken down every step to ensure a super easy and incredibly rewarding baking journey, even for novice bakers. You’ll be amazed at how simple it is to achieve a truly perfect pie with a buttery, flaky crust that lovingly cradles a perfectly spiced apple filling, striking just the right balance of sweetness and tang. This isn’t just a dessert; it’s a piece of edible warmth, a must-have for any occasion, and a true testament to the joy of home baking.
For years, I’ve shared countless recipes online, and it still feels unbelievable that this quintessential apple pie recipe hasn’t made its official appearance until now! This one, dear bakers, is an absolute winner that I’m thrilled to finally share with you. Especially if you’re baking for a momentous occasion like Thanksgiving, I implore you: commit to making the pie crust from scratch. While it might seem like an extra step, the profound difference it makes in taste and texture is monumental and truly elevates the entire pie. Holidays, or any special moment worth celebrating, come but once a year, so why not invest a little extra love and effort for a pie that genuinely sings with flavor and character? This recipe boasts a thick, beautifully bubbly apple filling, infused with just the right amount of aromatic cinnamon and a whisper of nutmeg, all encased within that golden, unforgettable homemade pastry. It’s a taste that brings everyone together, creating cherished memories one delicious slice at a time. For the ultimate indulgence, serving this warm apple pie with a generous scoop of creamy vanilla ice cream or a dollop of freshly whipped cream is, in my humble opinion, non-negotiable!
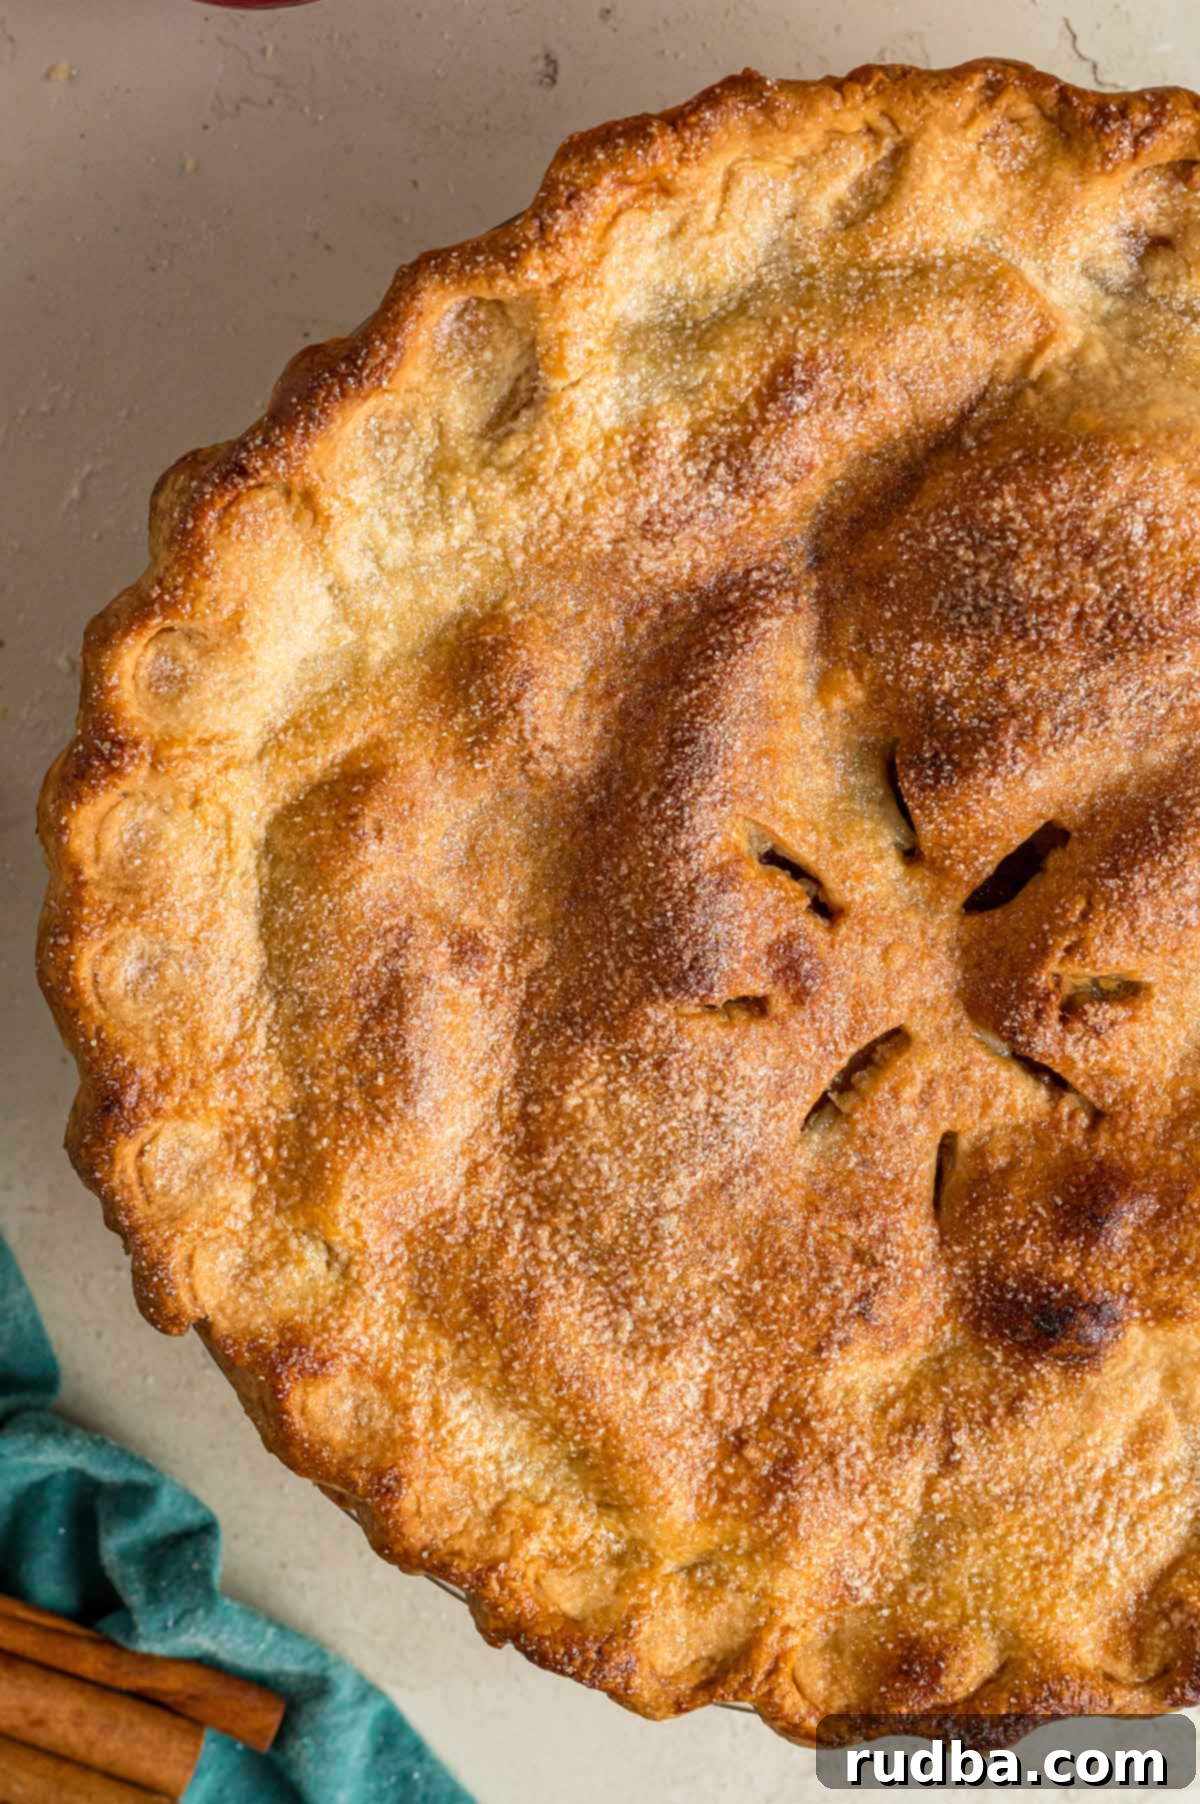
Table of Contents
- INGREDIENT NOTES
- HOW TO MAKE PIE CRUST
- HOW TO MAKE THE FILLING
- HOW TO ASSEMBLE THE PIE
- APPLE PIE TIPS
- STORAGE
- Classic Apple Pie Recipe
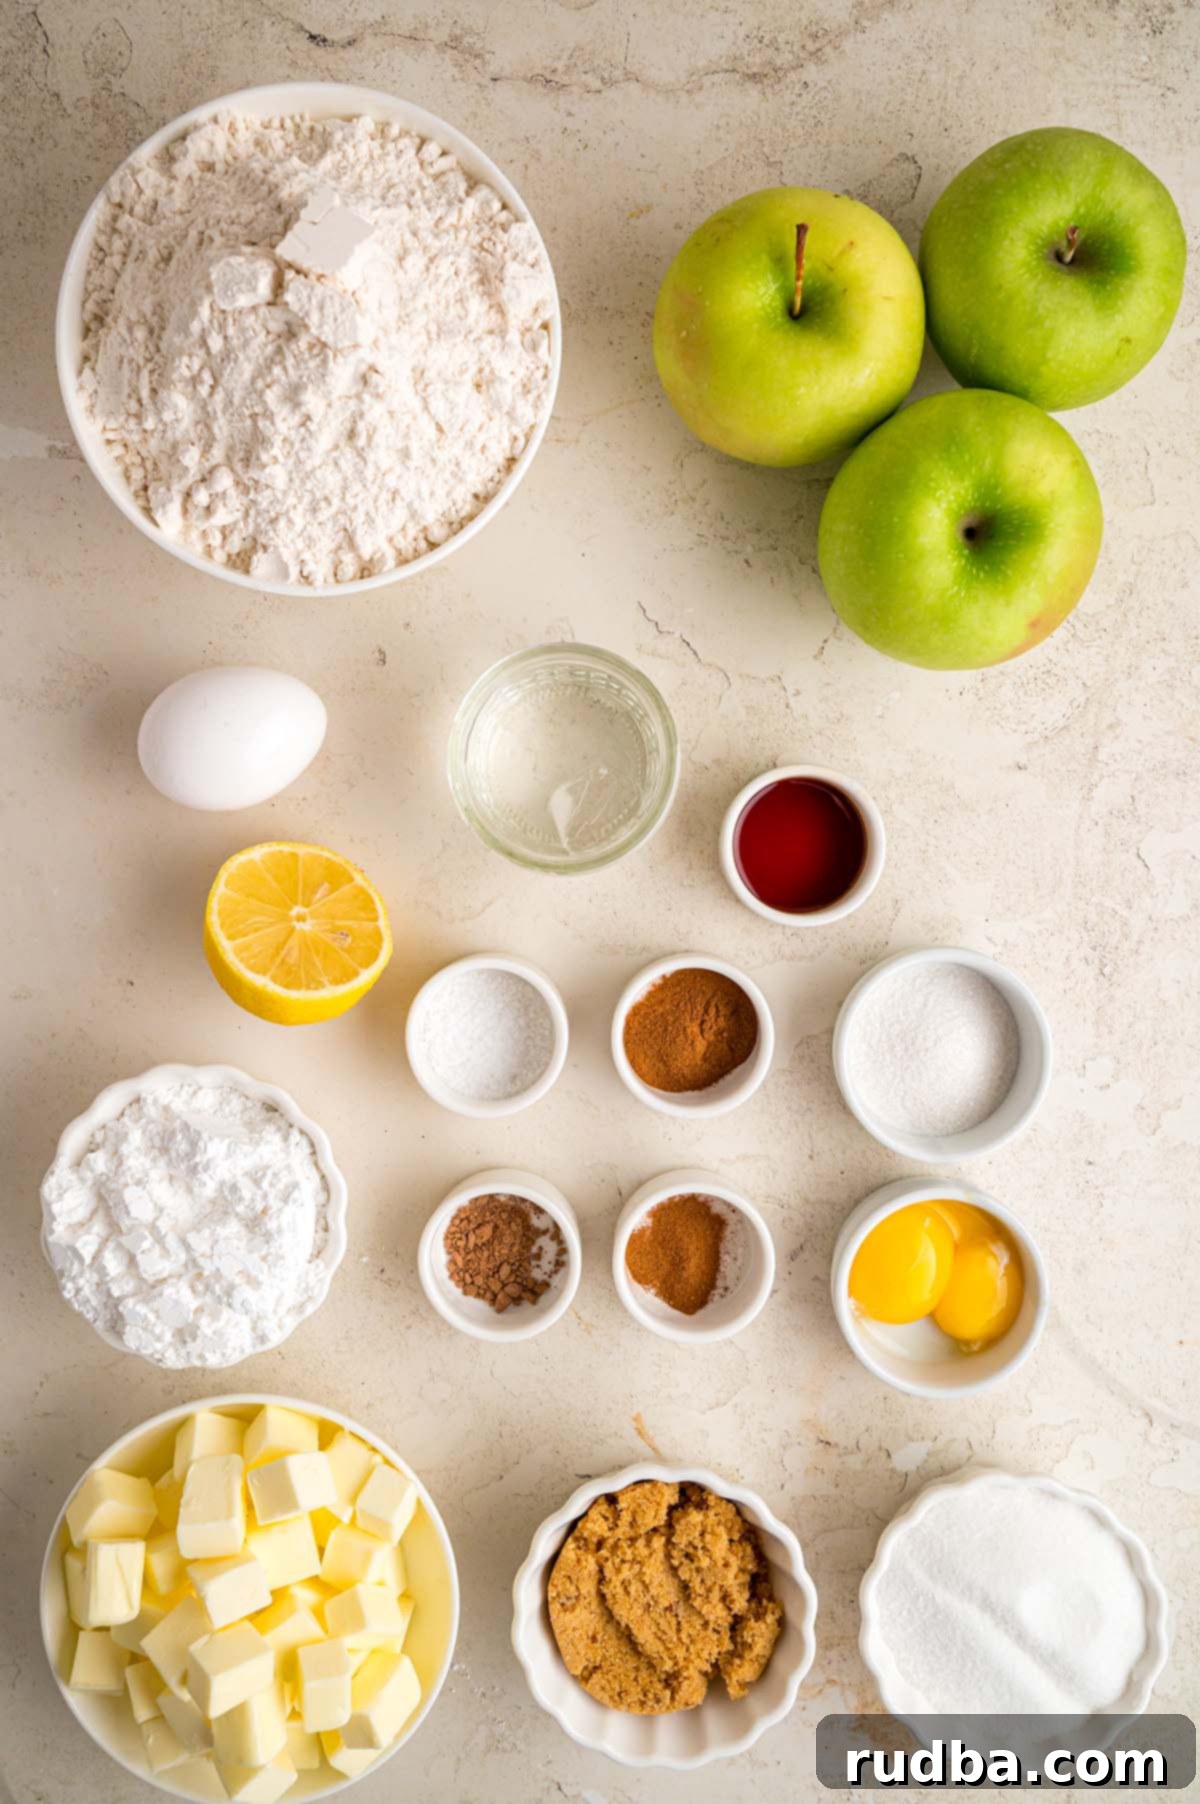
Ingredient Notes: Crafting Your Perfect Apple Pie
Precision with your ingredients ensures a perfect pie. Refer to the recipe card below for exact quantities and comprehensive instructions.
- Apples – The star of the show! I consistently reach for crisp Granny Smith apples for my apple pie. Their firm texture holds up beautifully during baking, preventing a mushy filling, and their tartness provides a wonderful contrast to the sweetness of the sugar and spices. For those who prefer a slightly sweeter filling or a more complex apple flavor profile, consider incorporating a Macintosh or Honeycrisp apple into your mix. A blend of apples often yields the most interesting and delicious results, offering both sweetness and that essential bright, tart note.
- Butter – This is key for that signature flaky, tender crust. It is absolutely crucial to use unsalted butter that is very cold and firm, sliced into small cubes. Cold butter creates pockets of steam as it bakes, which in turn leads to a beautifully airy and flaky pastry. Using unsalted butter gives you complete control over the salt content in your crust.
- Powdered Sugar – While a small amount, powdered sugar plays a vital role in the pie crust. It adds a subtle touch of sweetness, enhancing the overall flavor without making the crust overtly sugary. More importantly, its fine texture contributes to a more tender and delicate crust compared to granulated sugar.
- Cinnamon – An absolute non-negotiable! Could it truly be an apple pie without the warm, inviting aroma and taste of cinnamon? It complements the apples perfectly, adding a layer of comforting spice that defines this classic dessert. Don’t be shy with it, but also ensure it balances with the natural apple flavor.
- All-Purpose Flour – Beyond the crust, flour acts as a thickener for the apple filling, ensuring it’s beautifully bubbly and not watery. Its neutral flavor allows the apples and spices to shine.
- Lemon Juice – A squeeze of fresh lemon juice in the apple filling does wonders. It brightens the flavor of the apples, preventing them from becoming too cloyingly sweet, and helps to maintain their color, preventing browning.
How to Make the Perfect Flaky Pie Crust from Scratch
Making pie crust from scratch is a labor of love that truly pays off, and it’s simpler than you might think! While a food processor can speed things up, I genuinely enjoy making the crust by hand; it allows me to feel the dough and ensures I don’t overmix it. You’ll need a good rolling pin and ideally a pastry cutter for the best results, though your hands can work wonders if you don’t have one. Here’s how to achieve that perfectly buttery, flaky crust:
- Begin by combining your dry ingredients: flour, powdered sugar, and salt, in a large mixing bowl. Whisk them together to ensure an even distribution.
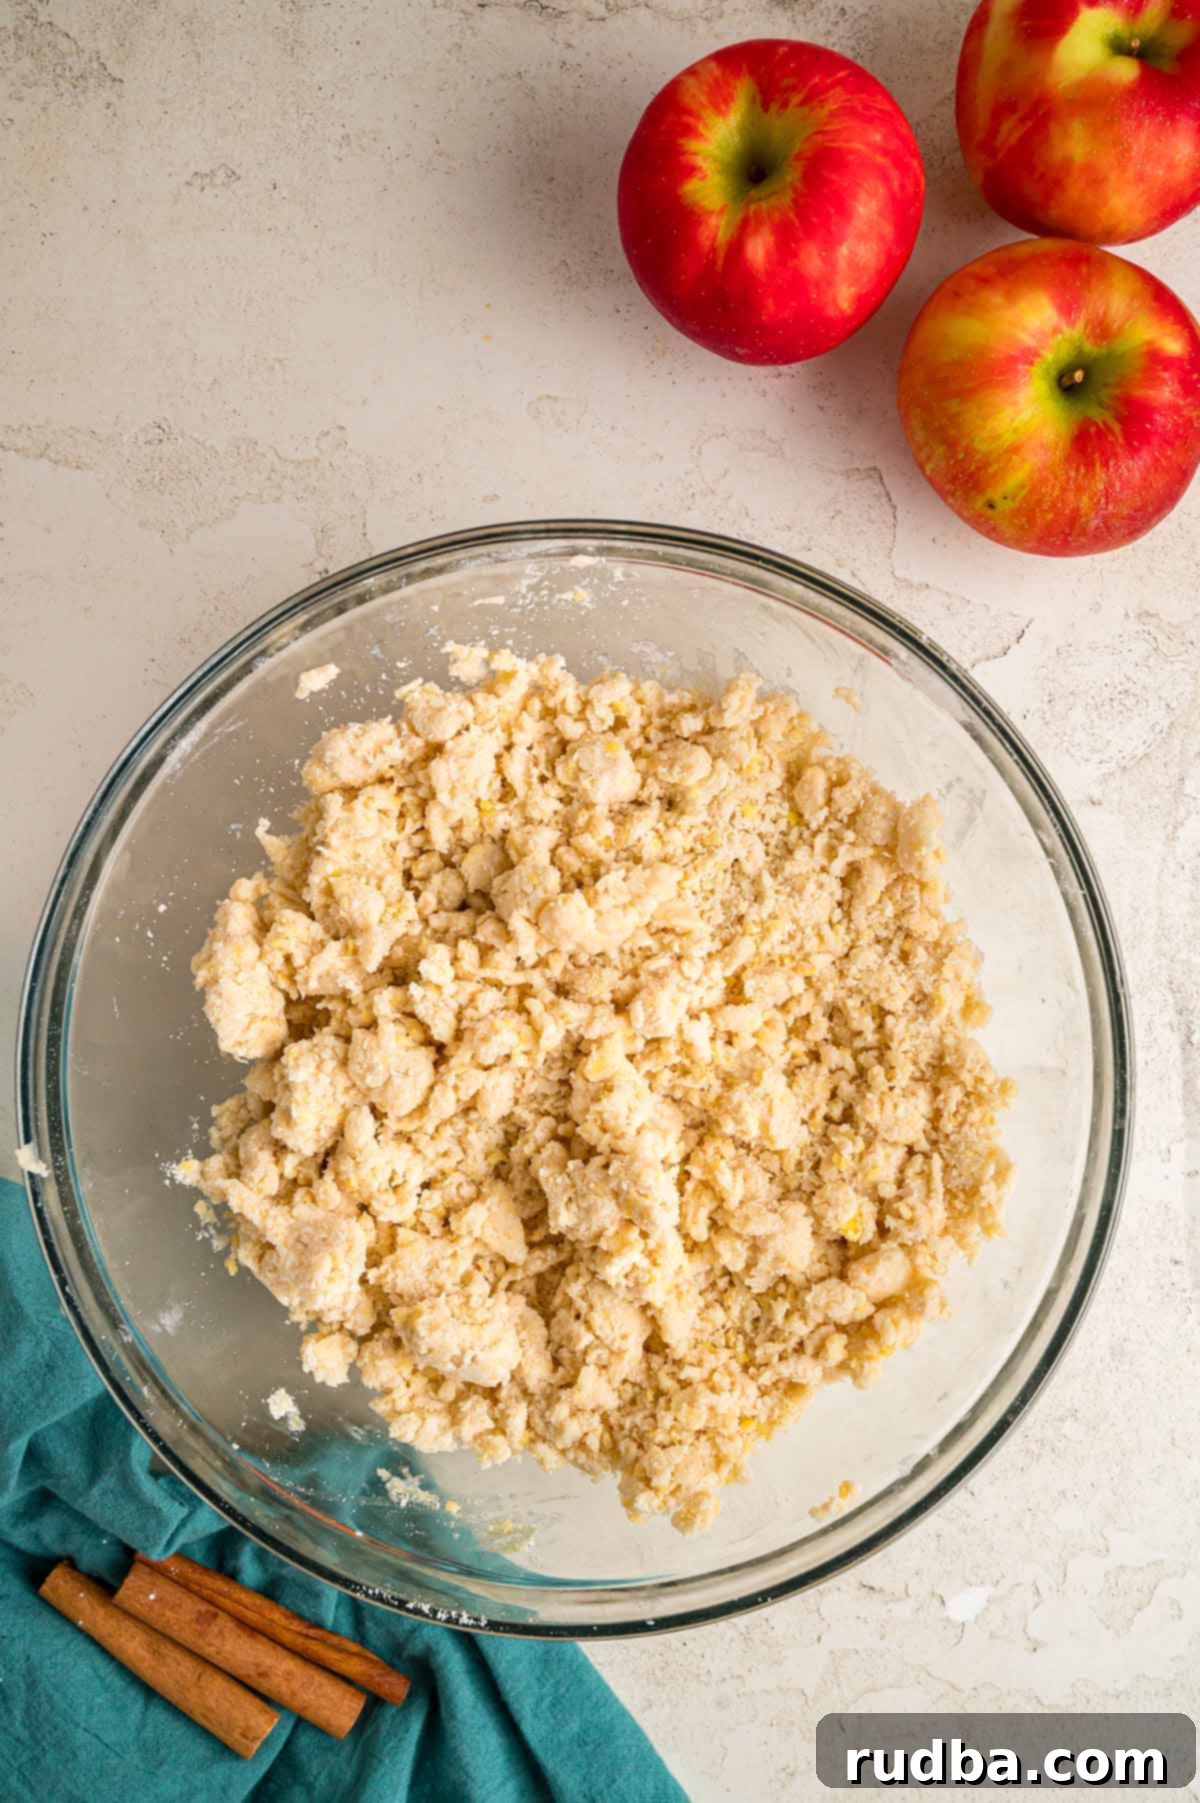
- Next, add the star of the crust: the very cold, cubed unsalted butter. Using a pastry cutter, or your fingertips, work the butter into the flour mixture. The goal is to break the butter down into pea-sized pieces, with some even smaller, until the mixture resembles coarse sand. The key here is to work quickly to prevent the butter from warming up too much from the heat of your hands. These tiny butter pieces are what will create those glorious flaky layers.
- Once the butter is incorporated to your liking, gently stir in the egg yolks. The yolks add richness and help bind the dough.
- Now, for the critical hydration step: gradually add the ice-cold water, one tablespoon at a time. Mix with your hands just until the dough begins to come together. Resist the urge to add too much water too quickly. The dough should be moist enough to form a ball but not sticky. If it feels too dry and crumbly, add another tablespoon of ice water, but always err on the side of less water. Over-hydrating will result in a tough crust.
- Once the dough forms a cohesive ball, divide it into two equal parts. Gently shape each portion into a flat disk – this makes rolling much easier later. Wrap each disk tightly in plastic wrap and place them in the refrigerator for at least 1 hour. This chilling period is essential; it allows the gluten to relax, making the dough easier to roll, and re-chills the butter, which is vital for flakiness.
How to Make the Perfectly Spiced Apple Pie Filling
The apple filling, despite its incredible flavor, is surprisingly the easiest part of this entire apple pie recipe. The most time-consuming step is undoubtedly the preparation of the apples themselves – peeling, coring, and slicing can be a bit tedious, but it’s well worth the effort for a delicious, evenly cooked filling. Once that’s done, the rest is truly simple and quick!
- Start by preparing your apples. Peel them thoroughly, then core them carefully to remove the seeds and tough center. Finally, slice them evenly, aiming for about 1/4-inch thickness. Uniform slices ensure that all the apples cook at the same rate.
- In a large mixing bowl, combine your sliced apples with the lemon juice, ground cinnamon, ground nutmeg, brown sugar, granulated white sugar, and all-purpose flour. The lemon juice brightens the apple flavor and helps prevent browning, while the cinnamon and nutmeg infuse that classic warm, inviting spice. The combination of brown and granulated sugar provides a balanced sweetness, and the flour acts as a thickener, ensuring your filling is deliciously bubbly and not watery when baked.
- Toss all the ingredients together thoroughly until the apple slices are evenly coated with the sugar and spice mixture. This ensures every bite is packed with flavor.
- Once mixed, let the apple filling sit at room temperature for at least 30 minutes, or even up to an hour. This crucial step allows the sugars to draw out moisture from the apples, creating a natural syrup, and gives the apples time to soak up all the wonderful flavors of the spices. This pre-maceration step also helps prevent a gap between the crust and filling after baking, as the apples will have slightly softened and reduced in volume.
How to Assemble Your Delicious Homemade Apple Pie
With your perfectly chilled pie crust dough and beautifully spiced apple filling ready, it’s time for the exciting part: assembling your pie! This is where all your hard work comes together to create a stunning dessert.
- First, preheat your oven to a robust 425°F (220°C). This initial high temperature is crucial for setting the crust quickly and creating that beautiful golden color and flaky texture.
- On a lightly floured surface, take one of your chilled dough disks. Using a rolling pin, roll it out evenly from the center outwards into a circle large enough to comfortably cover a standard 9-inch pie dish, with an overhang of about 1 to 2 inches. Gently transfer the rolled-out dough into your pie dish, carefully pressing it into the bottom and up the sides. Allow the extra dough to hang over the edges; this excess will be used for sealing.
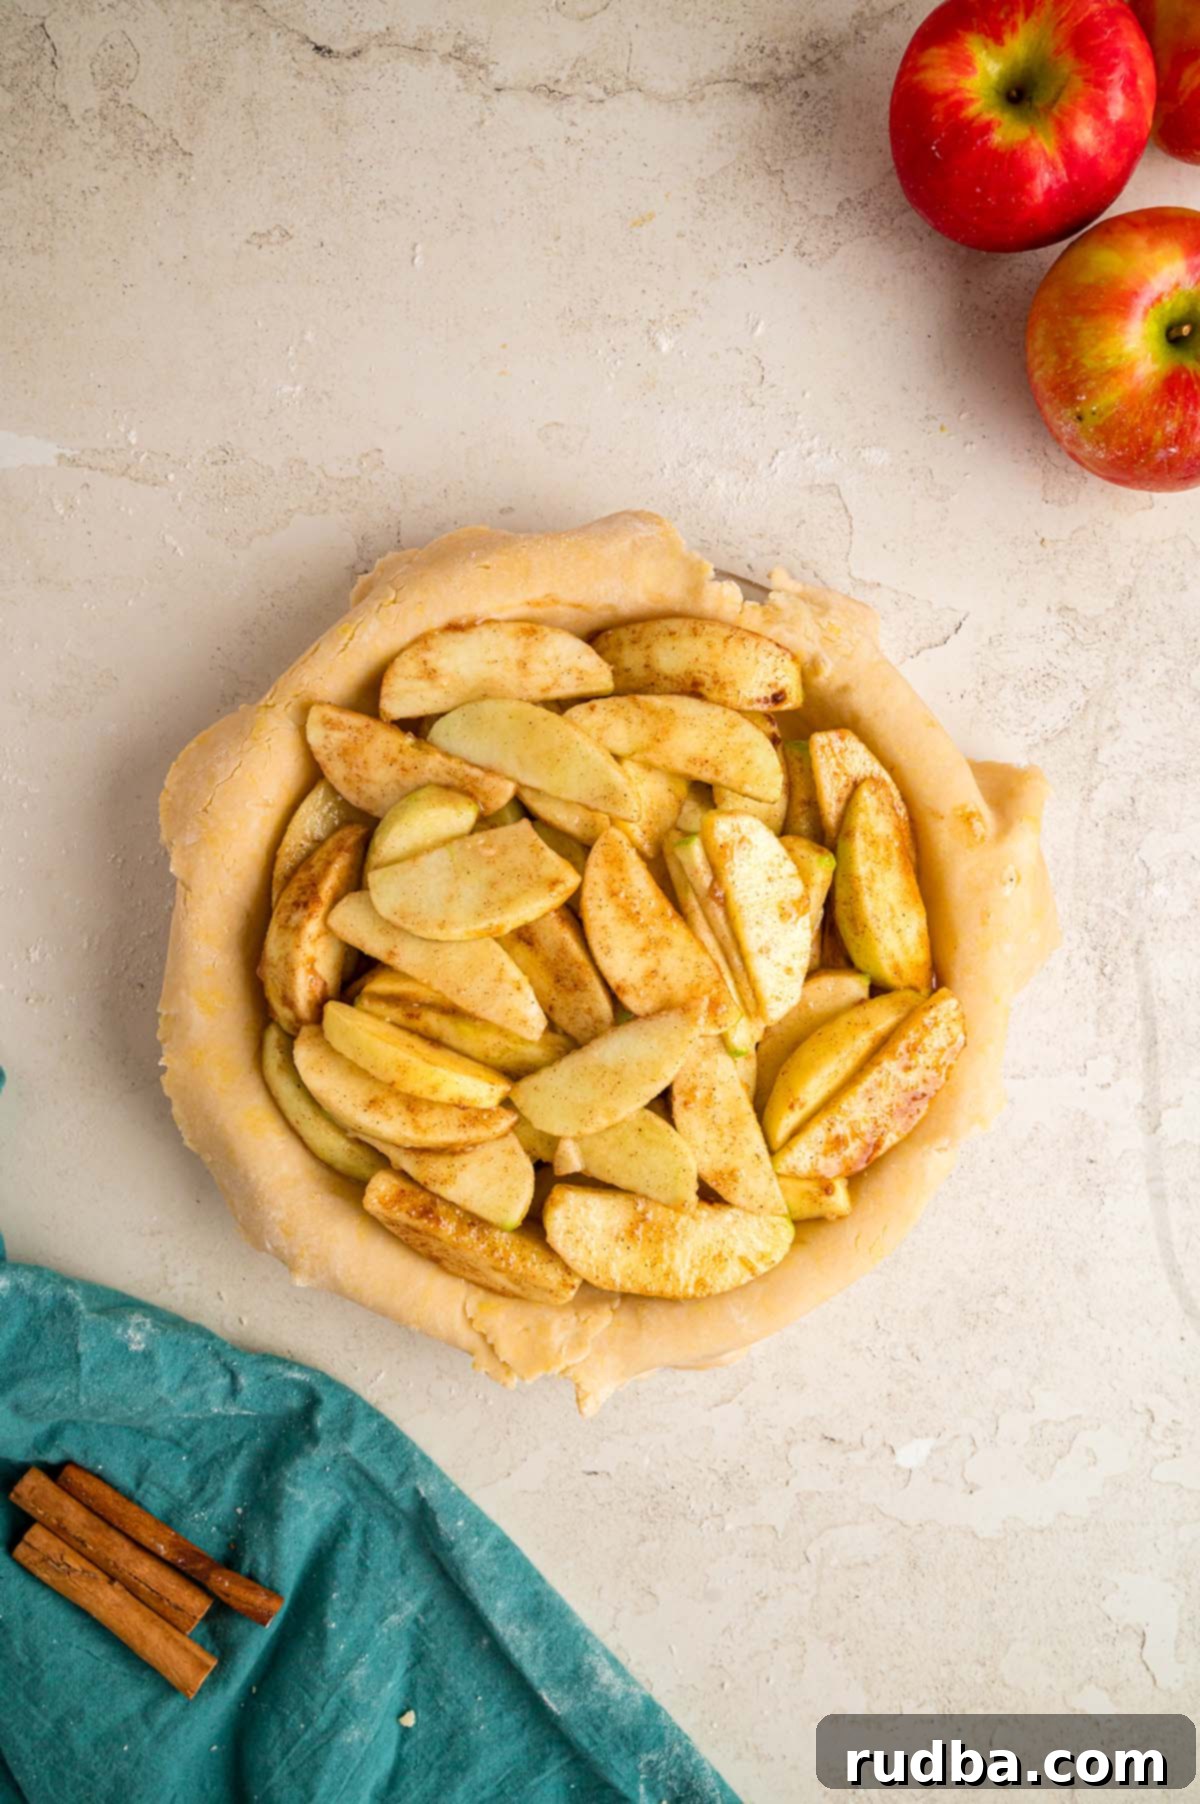
- Now, pour your prepared apple filling into the pie crust. Spread it out evenly, mounding it slightly in the center, as the apples will cook down during baking.
- Retrieve your second disk of chilled dough. On your floured surface, roll it out into another circle of similar size to the first. Carefully place this second crust directly over the apple filling.
- Using a sharp paring knife or kitchen shears, trim the extra dough around the edges of the pie. Leave about a 1-inch overhang of dough on both the top and bottom crusts.
- To seal the pie, fold this 1-inch overhang of the top crust under the bottom crust. Then, press around the entire edge of the pie with your fingers or a fork to create a decorative crimp and ensure a tight seal. This prevents the filling from bubbling out during baking.
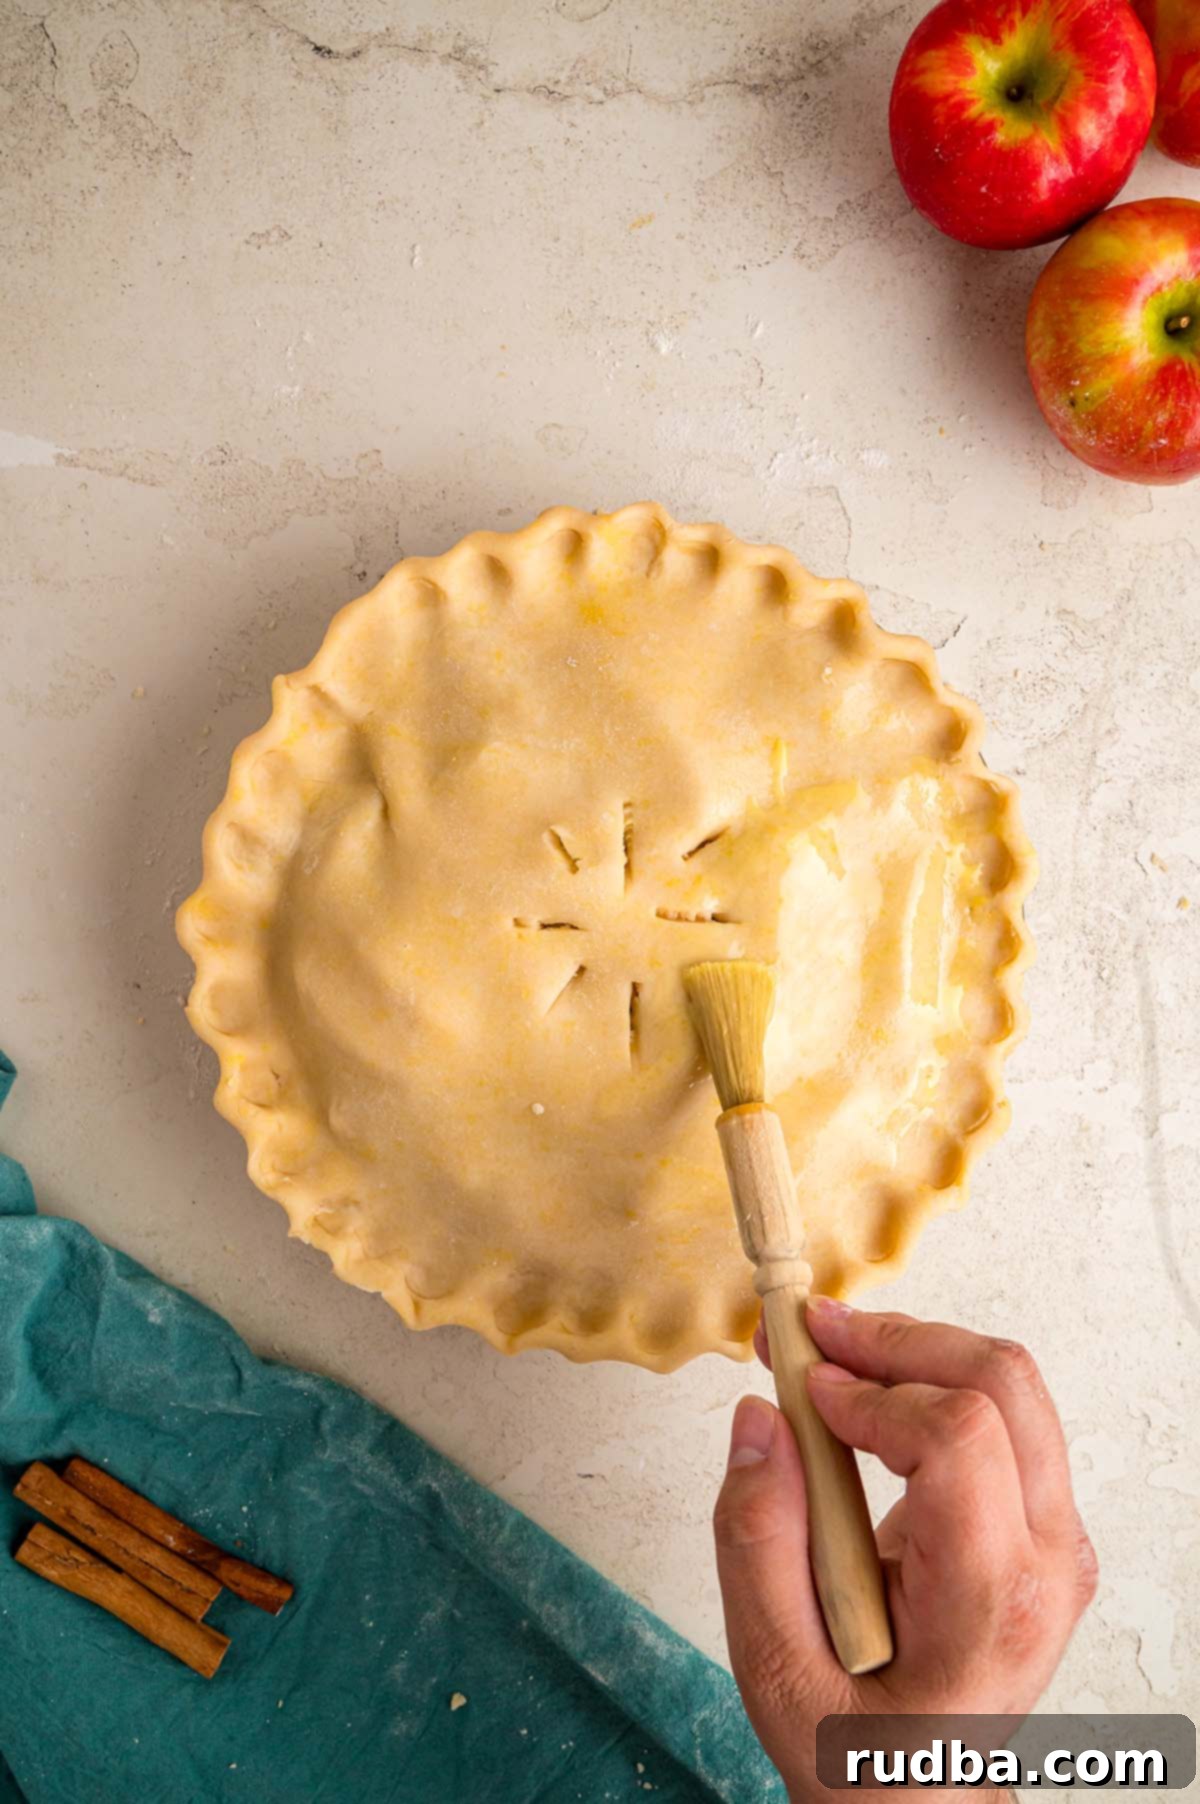
- For vital steam release, cut a few small slits (about 1-inch long) into the top crust using a sharp knife. This allows steam to escape, preventing the crust from becoming soggy and the pie from bursting.
- For a beautiful golden sheen and a touch of extra sparkle, brush the entire top crust with a beaten egg (this is your egg wash). Then, generously sprinkle with coarse sanding sugar. The egg wash helps with browning, and the sugar adds a delightful crunch and sparkle.
Essential Apple Pie Tips for Baking Success
Baking a truly exceptional apple pie involves a few key techniques and considerations. Here are some essential tips to help you achieve pie perfection:
- Embrace the Homemade Crust: As emphasized before, making the pie crust from scratch is transformative. It creates a texture and flavor that simply cannot be replicated by store-bought options. A truly great apple pie is defined by both its filling and its crust, so investing time in a homemade pastry ensures both components are outstanding. The reward of a buttery, flaky, melt-in-your-mouth crust is undeniable.
- Keep it Cold: This is a golden rule for pie crust. It is absolutely crucial to use very cold butter and ice-cold water when making your pie crust. Cold ingredients prevent the butter from melting prematurely into the flour, which is what creates those desirable pockets of steam and ultimately, a flaky crust. If your kitchen is warm, you might even chill your flour beforehand.
- Prevent Over-Browning: Homemade pie crusts, especially those rich in butter, can brown quickly. Keep a close eye on your pie as it bakes. I highly recommend checking the pie after the first 30 minutes of baking at the higher temperature. If the edges of the crust are already golden brown (or if the entire top crust is browning faster than you’d like), loosely cover the pie with aluminum foil. This acts as a shield, preventing the crust from burning while allowing the filling to continue cooking thoroughly. Since this pie bakes for a total of one hour at varying high temperatures, this step is vital for a perfectly cooked, unburnt crust.
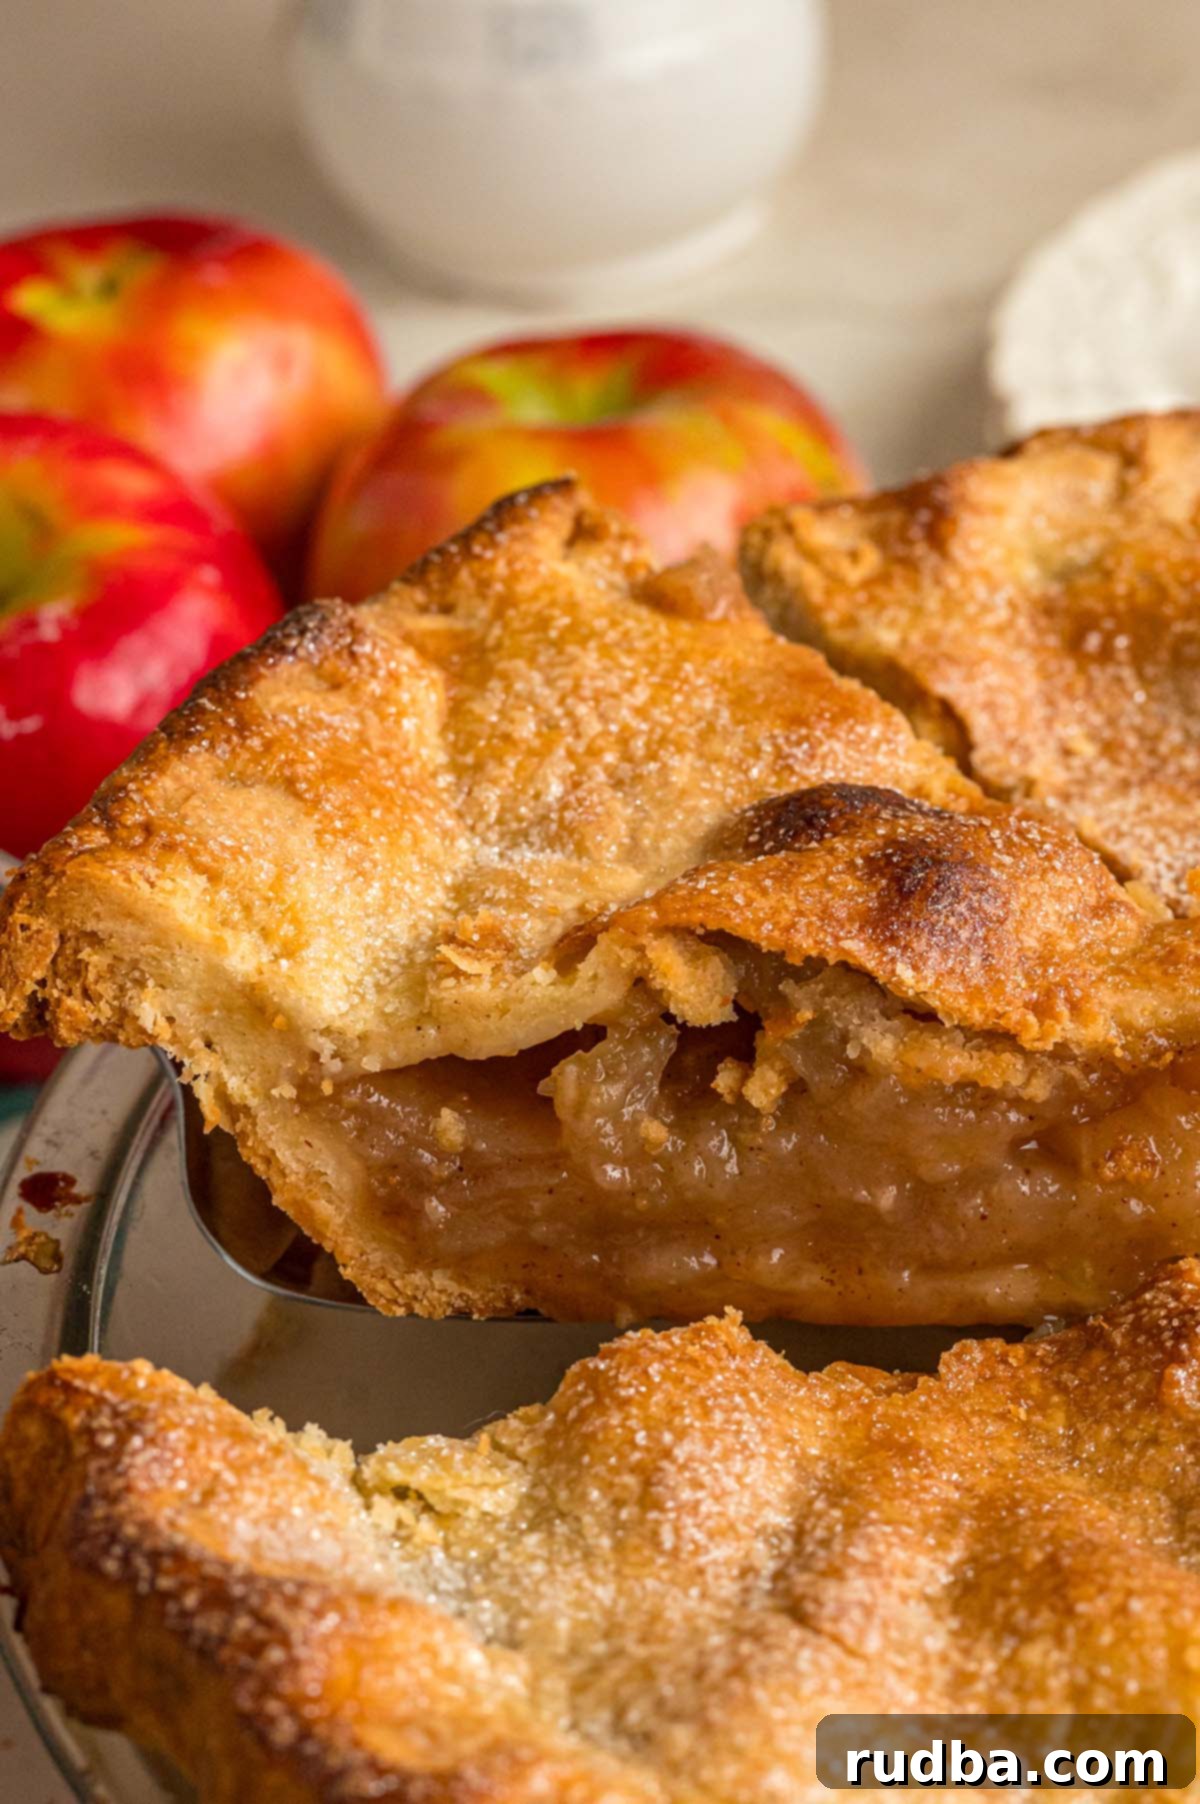
- Patience is a Virtue (for Cooling): This might be the hardest tip to follow, but it’s one of the most important! Let the apple pie set and cool on a wire rack for at least 1-2 hours before slicing and serving. This cooling period allows the hot, bubbly apple filling to thicken and set properly. If you cut into the pie too soon, the filling will be runny and the slices won’t hold their shape, leading to a collapsed, messy (though still delicious!) pie. Patience will be rewarded with perfectly structured, firm slices.
- Serve it Warm: While the pie needs to cool initially, serving it slightly warm enhances all its wonderful flavors and aromas. The warmth melts the butter in the crust just enough and brings out the spices in the filling.
- Perfect Pairings: For the ultimate dessert experience, serve your warm apple pie with a generous scoop of classic vanilla ice cream. The cold, creamy ice cream melting into the warm, spiced apples is a match made in culinary heaven. A dollop of fresh whipped cream also makes a delightful accompaniment, adding a lighter, airy contrast.
Storage and Reheating Tips for Your Apple Pie
Proper storage ensures your delicious homemade apple pie stays fresh and enjoyable for days to come, and it’s also a fantastic make-ahead option!
- Room Temperature Storage: If you plan to enjoy your pie within a day or two, you can store leftovers in an airtight container at room temperature. Ensure it’s in a cool, dry place. The crust will remain flakier this way.
- Refrigeration: For longer storage, refrigerate your apple pie for up to 5 days. Place it in an airtight container or cover it tightly with plastic wrap to prevent it from drying out or absorbing other odors from the fridge.
- Freezing Baked Pie: Apple pie freezes exceptionally well! You can freeze a baked pie for up to 3 months. To do this, allow the pie to cool completely first. Then, wrap it tightly in several layers of plastic wrap, followed by a layer of aluminum foil. This double-layer protection helps prevent freezer burn. When you’re ready to enjoy it, thaw the pie overnight in the refrigerator, then let it come to room temperature or gently reheat it in the oven.
- Reheating: To reheat, preheat your oven to 350°F (175°C). Place individual slices on a baking sheet and heat for 10-15 minutes, or until warmed through. For a whole pie, you might need 20-30 minutes, covering loosely with foil if the crust starts to brown too much. This brings back that freshly baked warmth and crispness.
Tried this incredibly delicious classic apple pie recipe? Please don’t hesitate to leave a star ⭐️⭐️⭐️⭐️⭐️ rating in the recipe card below and/or a detailed review in the comments section further down the page. Your feedback is invaluable and truly appreciated! And while you’re here, consider following me on Facebook or Pinterest for more delightful recipes and baking inspiration!

Classic Apple Pie
Equipment
- 9-inch pie dish
- pastry cutter optional
- Rolling Pin
Ingredients
For the Double Crust:
- 2 ½ cups all-purpose flour
- ½ cup powdered sugar
- ½ teaspoon salt
- 1 cup unsalted butter, cold and cubed, 2 sticks
- 2 egg yolks
- 3-4 tablespoons ice water, or as needed
For the Apple Filling:
- 6-8 Granny Smith apples, peeled, cored, and sliced
- ½ cup granulated sugar
- ¼ cup brown sugar
- 2 tablespoons all-purpose flour
- 1 teaspoon ground cinnamon
- 1/4 teaspoon ground nutmeg
- 1 tablespoon lemon juice
- 1 teaspoon vanilla extract
For Assembly:
- 1 egg, beaten, for egg wash
- ½ tablespoon granulated sugar , for sprinkling
Instructions
For the Double Crust:
- In a large bowl, mix together the all-purpose flour, powdered sugar, and salt. Add in the very cold, cubed unsalted butter to the flour mixture. Using a pastry cutter or your clean fingertips, quickly work the butter into the flour until the mixture resembles coarse crumbs with some pea-sized butter pieces still visible.
- Stir in the egg yolks until just combined. Gradually add the ice water, one tablespoon at a time, mixing gently with your hands until the dough begins to come together. Be careful not to overmix. If the dough is still too dry to form a ball, add another tablespoon of ice water as needed, but avoid making it sticky.
- Divide the dough into two equal portions. Gently flatten each portion into a disk, then wrap tightly in plastic wrap. Refrigerate for at least 1 hour (or up to 2 days) to chill the butter and allow the gluten to relax.
For the Apple Filling:
- In a large mixing bowl, combine the peeled, cored, and evenly sliced Granny Smith apples with the granulated sugar, brown sugar, all-purpose flour, ground cinnamon, ground nutmeg, fresh lemon juice, and vanilla extract. Toss all ingredients thoroughly until the apples are well coated. Set the bowl aside and let it sit at room temperature for 30 minutes to allow the flavors to meld and the apples to release some of their juices.
Assembling the Pie:
- Preheat your oven to 425°F (220°C).
- On a lightly floured surface, take one chilled disk of dough and roll it out evenly with a rolling pin into a 12-inch circle (or large enough to fit your 9-inch pie dish with a 1-2 inch overhang). Carefully transfer the rolled-out crust to the pie dish, gently pressing it into the bottom and sides. Allow the excess dough to hang over the edges.
- Pour the prepared apple filling into the bottom crust, spreading it out evenly and mounding it slightly in the center.
- Roll out the second disk of dough as you did the first. Carefully place it over the apple filling to form the top crust. Using a paring knife or kitchen shears, trim any significant excess dough from the edges, leaving about a 1-inch overhang on both the top and bottom crusts.
- Fold the 1-inch overhang of the top crust under the bottom crust. Then, crimp the edges firmly with your fingers or a fork to create a decorative seal all around the pie. Cut a few small slits (about 1-inch long) in the center of the top crust to allow steam to escape during baking.
- In a small bowl, whisk the egg until beaten. Brush the entire top crust with this egg wash for a beautiful golden-brown finish. Sprinkle the top of the pie with about ½ tablespoon of granulated sugar (sanding sugar works great for extra sparkle).
Baking the Pie:
- Bake the pie in your preheated oven at 425°F (220°C) for 20 minutes. This initial high heat helps the crust become flaky. After 20 minutes, reduce the oven temperature to 375°F (190°C) and continue baking for another 15 minutes. At this point, check the pie; if the crust edges (or top) are browning too quickly, loosely cover the entire pie with aluminum foil to prevent burning. Continue baking for an additional 25 minutes, or until the filling is bubbly and the crust is deeply golden brown. The total baking time will be approximately 1 hour.
- Once baked, remove the pie from the oven and transfer it to a wire rack to cool completely for at least 1-2 hours (preferably longer) before slicing. This crucial cooling period allows the apple filling to fully set, ensuring clean, beautiful slices.
- Serve your perfectly baked apple pie slightly warm with a scoop of vanilla ice cream or a dollop of whipped cream and savor every delicious bite!
Notes
- Making the pie crust from scratch makes a huge difference, and I highly recommend it for that truly authentic, flaky texture and rich flavor. Apple pie is all about the perfect harmony between the crust and filling, so both should taste amazing.
- It is absolutely crucial to use cold butter and ice-cold water when making the pie crust. This is the secret to achieving that desirable flaky texture, as the cold fat creates steam pockets during baking.
- Homemade pie crust can burn quickly, especially at the higher temperatures used for baking. I strongly suggest checking the pie after the first 30 minutes of baking. If the edges or top are becoming golden brown too rapidly, cover the pie loosely with aluminum foil to prevent scorching while the filling continues to cook. Since we’re baking it for approximately one hour, monitoring it is essential!
- Allow the apple pie to cool and set for at least 1-2 hours before serving. This cooling time is critical for the filling to thicken and stabilize, ensuring your slices hold their shape beautifully and don’t fall apart.
Nutrition
Nutrition information is automatically calculated, so should only be used as an approximation.
