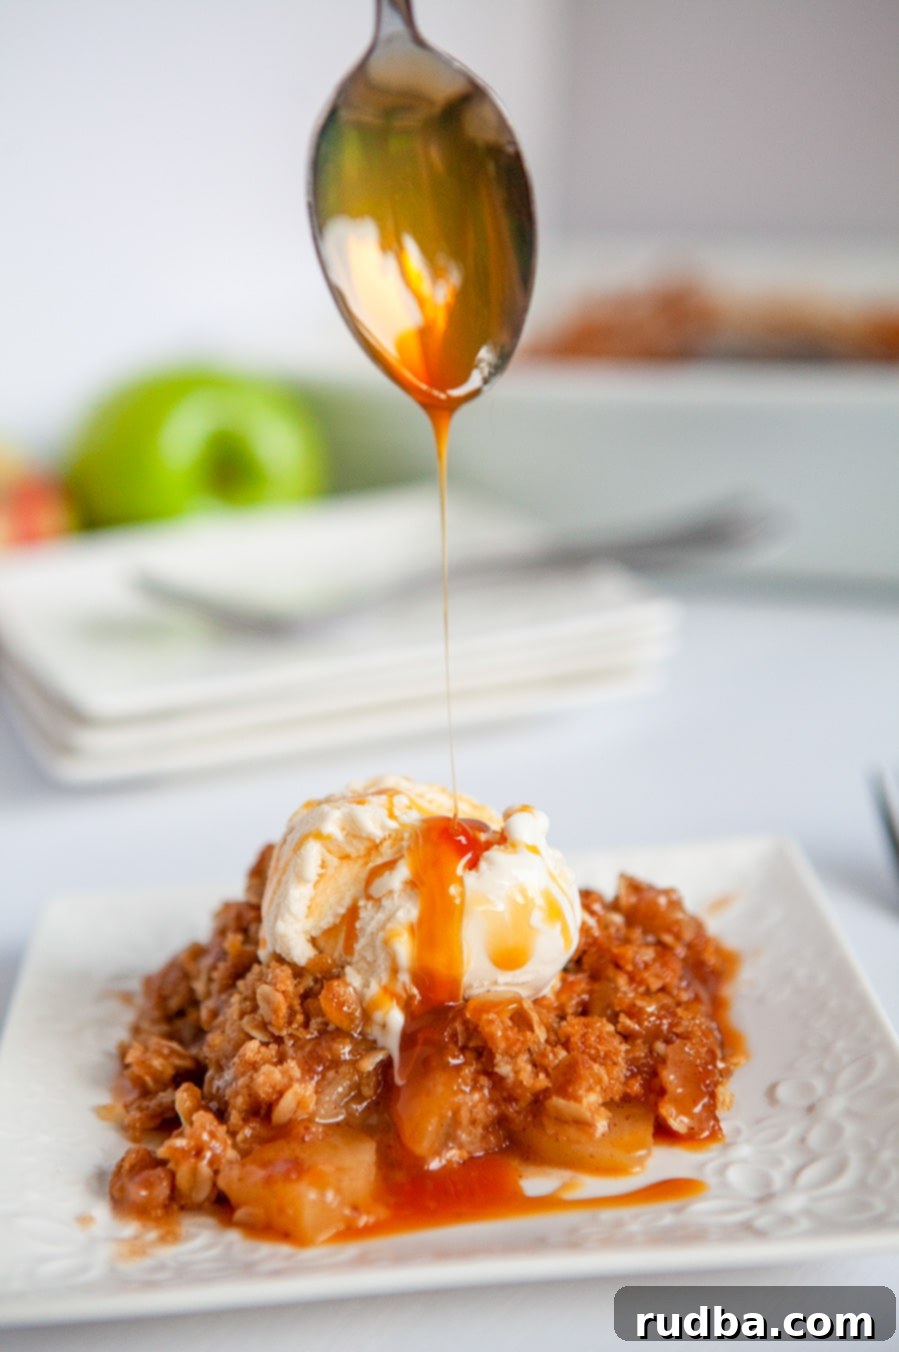
The Ultimate Homemade Apple Crisp Recipe: Your Perfect Fall Dessert Guide
Prepare to embrace the quintessential flavors of autumn with every single bite of this incredible apple crisp. This recipe delivers a truly decadent experience, featuring perfectly cooked, tender apple slices nestled beneath a golden, buttery, and utterly irresistible crumb topping. When served warm with a generous scoop of creamy vanilla ice cream, it transforms into the ultimate fall dessert, a comforting classic that will warm your soul and delight your taste buds.
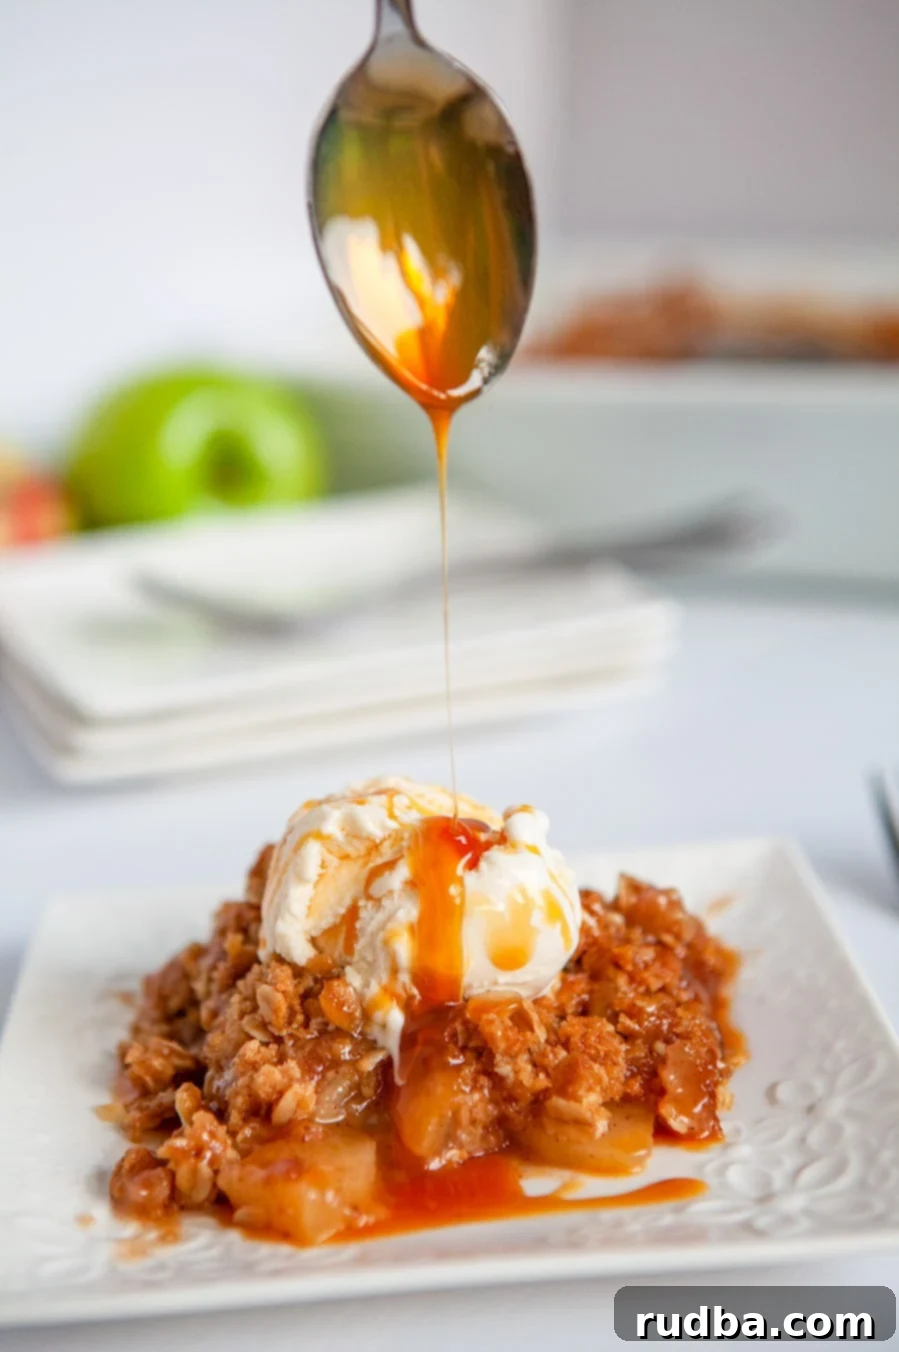
Among countless fall and holiday recipes, there’s a timeless charm to a perfectly executed apple crisp that few other desserts can rival. While I cherish other comforting treats like my Cinnamon Rolls and Caramel Sticky Buns, this crispy, flavorful apple crisp holds a special place, often becoming the star of any autumn gathering. It’s more than just a dessert; it’s a celebration of seasonal bounty, a dish that evokes cozy memories and anticipation for cooler weather. I guarantee that once you try this recipe, it will quickly become a cherished favorite in your own kitchen.
How to Make the Best Apple Crisp: A Step-by-Step Guide
Creating this delicious apple crisp is simpler than you might think. Follow these detailed steps to ensure a perfect, crowd-pleasing dessert every time.
- Prep Your Baking Dish: Begin by preheating your oven to 350 degrees Fahrenheit (175°C). This ensures that when your crisp goes in, it starts baking immediately and cooks evenly. Next, prepare your baking dish. An 8×8 inch dish is ideal for this recipe. You can either lightly coat it with a nonstick cooking spray or, for a richer flavor and easier cleanup, spread a thin layer of softened butter across the bottom and sides. This prevents the apples from sticking and contributes to a beautiful, golden crust on the bottom.
- Craft the Crumb Topping: In a medium-sized mixing bowl, combine all the dry ingredients for your topping: old-fashioned rolled oats, all-purpose flour, ground cinnamon, salt, and brown sugar. Mix these thoroughly with a spoon or whisk until they are well combined. Then, add the cubed cold unsalted butter. Using your fingertips or a pastry cutter, work the butter into the dry mixture until it resembles coarse crumbs, like small peas. It’s crucial not to overmix here; you want distinct buttery crumbs, not a paste. These crumbs are what will create that irresistible crisp texture.
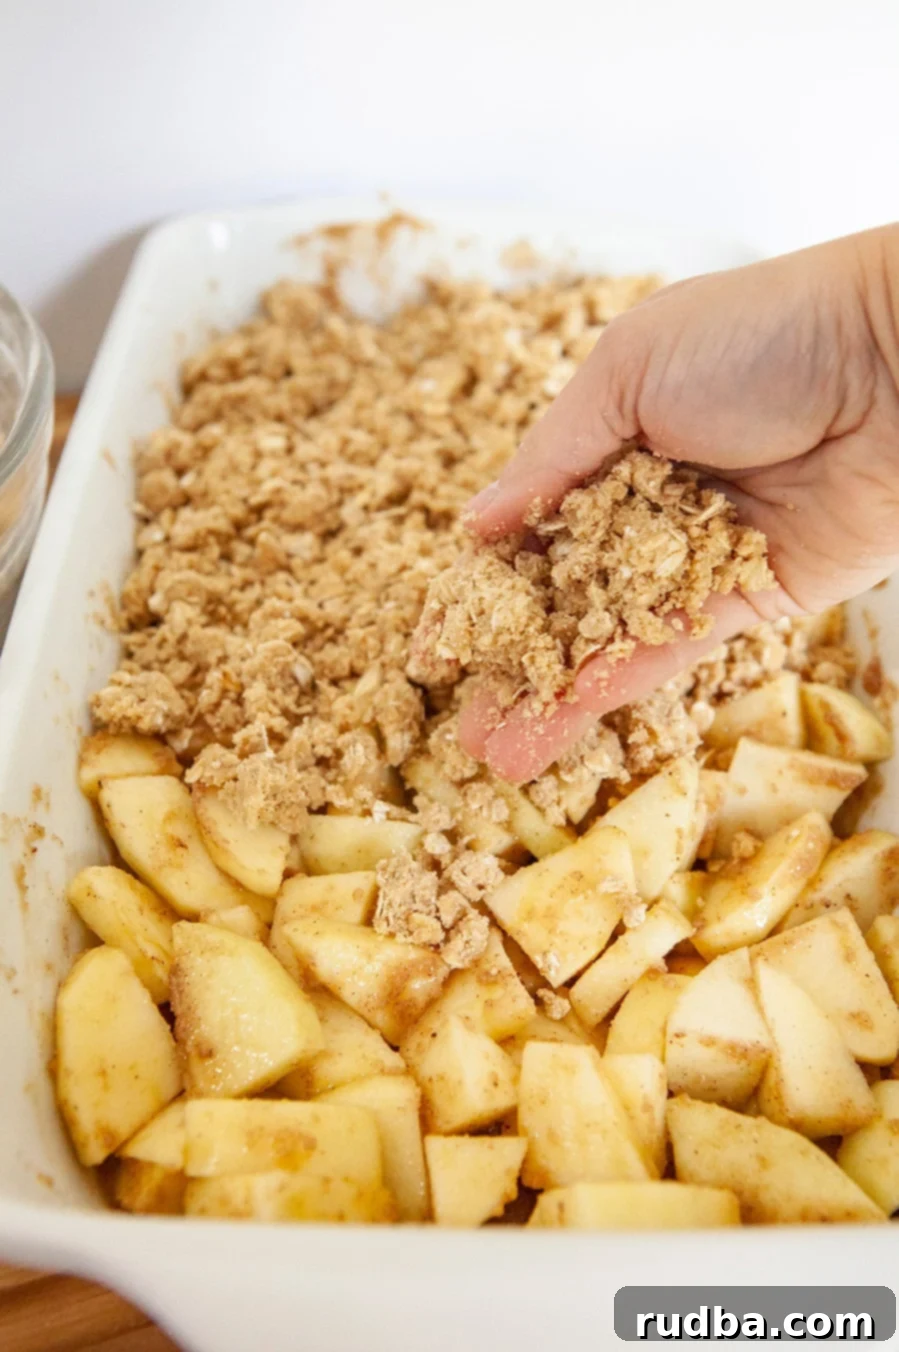
- Prepare the Flavorful Apple Filling: In a separate large bowl, combine your thinly sliced apples with the brown sugar, ground cinnamon, salt, melted unsalted butter, and all-purpose flour. Toss everything gently but thoroughly until all the apple slices are evenly coated. The flour and melted butter will help create a slightly thickened, luscious sauce as the apples bake, while the sugar and cinnamon infuse them with warm, sweet spice. Pour this apple mixture evenly into your prepared baking dish. Once the apples are in place, sprinkle the crumb topping generously and evenly over the top of the apples, ensuring they are fully covered.
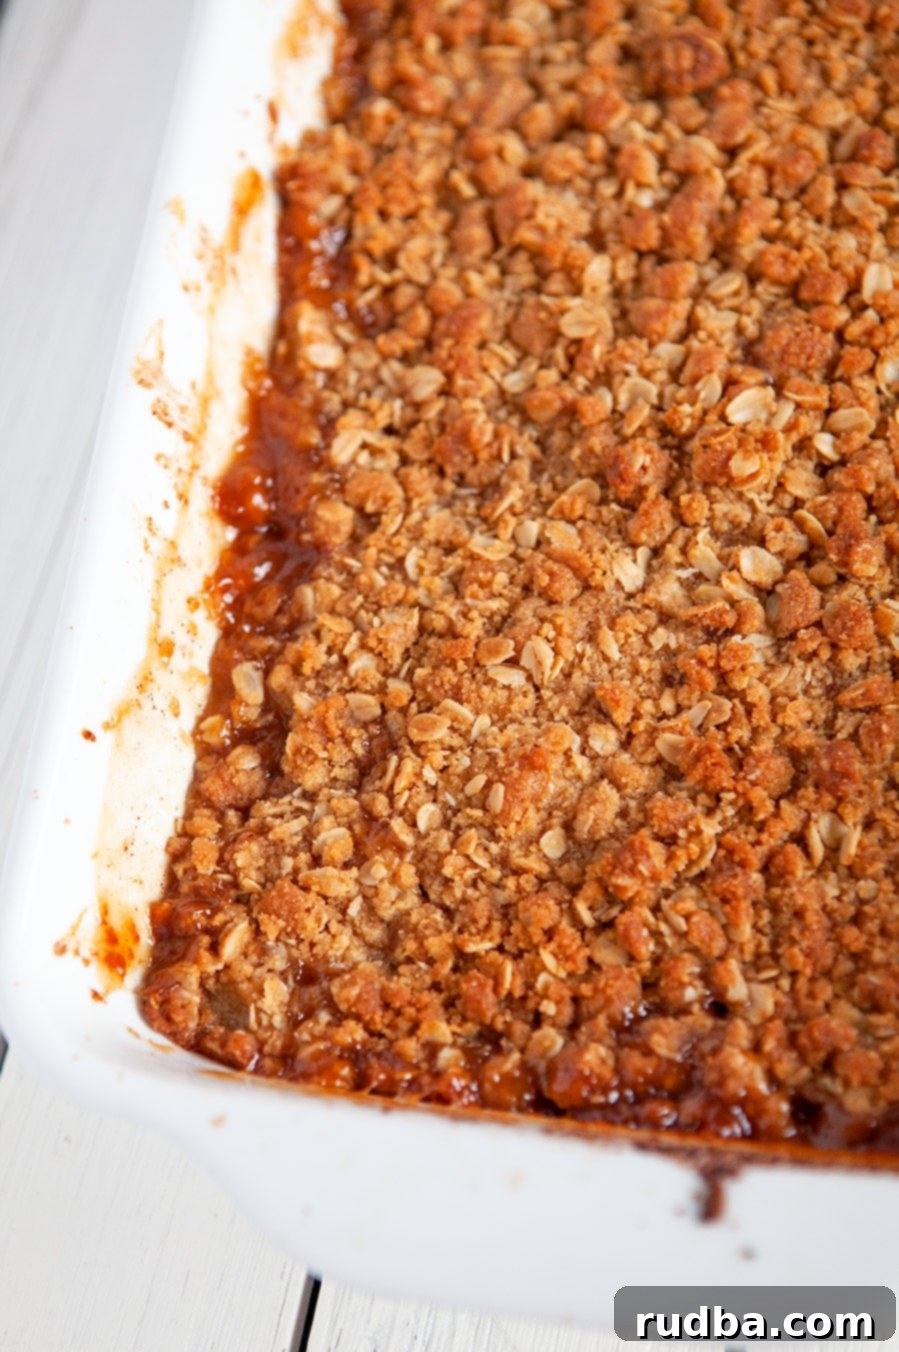
- Bake to Golden Perfection: Place your apple crisp in the preheated oven and bake for approximately 35-40 minutes. The baking time can vary slightly depending on your oven and the type of apples used, so keep an eye on it. You’re looking for a beautiful golden-brown color on the topping, and when you gently insert a fork into the apples (through the topping), they should feel fork-tender. Once baked, remove the crisp from the oven and let it rest for at least 10 minutes. This resting period allows the filling to set and prevents it from being too runny when served, ensuring a perfectly structured crisp.
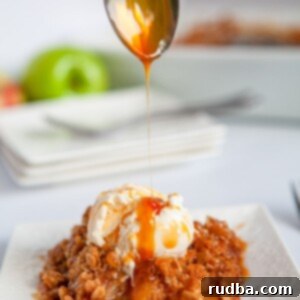
- Serve and Savor: The best way to enjoy apple crisp is warm, straight from the oven! Scoop generous portions into bowls. For an extra touch of indulgence, top each serving with a scoop of premium vanilla ice cream. The cold, creamy ice cream melting into the warm, spiced apples and crunchy topping is a match made in heaven. A drizzle of homemade caramel sauce can elevate this dessert even further. Serve immediately and enjoy the delightful harmony of flavors and textures!
Top Tips for Achieving the Perfect Apple Crisp Every Time
While apple crisp is a relatively straightforward dessert, a few expert tips can elevate your homemade version from good to absolutely unforgettable. Pay attention to these details for an outstanding result.
- Mixing the Apples: While some recipes suggest adding apple ingredients directly to the baking dish, for a more even coating and less mess, I highly recommend mixing your apples and their spices in a separate, large bowl first. This ensures every apple slice is beautifully coated with the brown sugar, cinnamon, and butter mixture, leading to a consistently flavorful filling. It also allows you to gauge the coating better before transferring to the baking dish.
- Choosing the Best Apples for Apple Crisp: The type of apple you select significantly impacts the flavor and texture of your crisp. This really comes down to your personal preference!
- For a Sweeter Crisp: Opt for varieties like Fuji, Honeycrisp, Gala, or Golden Delicious. These apples are naturally sweet and will yield a more dessert-like flavor profile, with a softer texture when baked.
- For a Tart and Tangy Crisp: Granny Smith apples are the classic choice here. Their tartness provides a wonderful contrast to the sweet crumb topping and stands up well to baking, maintaining a pleasant bite. Braeburn or Pink Lady are also excellent choices for a slightly tart, firm texture.
- For a Balanced Flavor: A combination of sweet and tart apples often yields the most complex and satisfying flavor. Try mixing Granny Smith with Honeycrisp or Fuji for a perfect balance.
The apple variety is particularly noticeable in recipes where apples are the star, such as this apple crisp or my Apple Slab Pie. In contrast, recipes like my Salted Caramel Apple Cake or Apple Fritters, where the apples are often diced or heavily coated, make the specific variety less critical.
- Addressing a Watery Filling: It’s not uncommon for apples to release more juice during baking, which can sometimes lead to a thinner, more watery filling than desired.
- Prevention during prep: If you anticipate this issue or want extra insurance, you can add an extra tablespoon of cornstarch (or flour) to your apple mixture before baking. This will help thicken the juices as they cook.
- Post-Baking Solution: If your crisp turns out a bit too watery after baking, don’t worry! When serving, simply use a slotted spoon to scoop out the apple crisp. This allows any excess liquid to drain away, ensuring only the delicious, tender apples and crisp topping make it to the plate. Another trick is to let the crisp cool completely; as it cools, the juices will naturally thicken.
- Can Apple Crisp Sit Out Overnight? Yes, you absolutely can leave apple crisp out overnight, especially if it’s covered. While it won’t last as long as if it were refrigerated or frozen, it will generally be fine at room temperature for at least 1-2 days, provided it’s properly covered to protect it from air and contaminants. For best quality and to prolong its freshness, storing it in the fridge is always recommended, but a night on the counter for a quick grab-and-go is perfectly acceptable.
How Do You Keep Apple Crisp from Getting Soggy?
A soggy apple crisp can be disappointing, but thankfully, there are several key strategies to ensure your topping remains wonderfully crisp and your filling perfectly set. The main culprits are excess moisture and undercooking. Here’s how to avoid them:
- Protect from Excess Moisture: Once your apple crisp has finished baking and is golden brown, it’s crucial to protect it from moisture. The biggest mistake is covering it while it’s still warm or hot. Doing so traps steam, which condenses into water droplets that drip back onto your crisp, turning the topping soggy. Always let your apple crisp cool completely to room temperature before covering it. Once cooled, place it in an airtight container or cover it tightly with plastic wrap to shield it from air and humidity.
- Thorough Cooking is Key: Ensure your apple crisp is fully cooked. If the topping is undercooked, it won’t have developed its crunchy texture and might feel gooey or doughy. Bake until the topping is a deep golden brown and the apples beneath are bubbling and tender. This ensures enough moisture has evaporated from the apples and the topping has dried out and crisped up.
- Proper Ingredient Ratios: The ratio of ingredients in your crumb topping is vital. Too much butter can make it greasy and less crisp, while too little can make it dry. Similarly, having the right amount of flour in the apple filling is important to thicken the juices without making it pasty. Always follow the recipe’s specified amounts to achieve the ideal balance of textures and flavors.
- Ventilation in Oven: Sometimes, placing your baking dish on a baking sheet while baking can help promote even heat distribution and prevent the bottom from getting too wet, especially if your oven has hot spots.
- Choosing Firm Apples: As mentioned in the tips, selecting apple varieties that hold their shape well (like Granny Smith, Honeycrisp, Braeburn) can also help prevent an overly watery or mushy filling. Softer apples tend to release more liquid.
Storage and Reheating for Freshness
Proper storage is essential to keep your apple crisp delicious for as long as possible. Here’s how to store and reheat it:
- Pantry (Room Temperature): If stored at room temperature, ensure the crisp has cooled completely. Cover it tightly with plastic wrap or transfer it to a cake keeper-style storage dish. It will remain fresh and enjoyable for up to 3 days. After this, the topping may soften, and flavors may dull.
- Fridge: For extended freshness, store your cooled apple crisp, covered, in the refrigerator. An airtight container is best to prevent it from absorbing other food odors. It will keep well in the fridge for up to five days.
- Freezer: Apple crisp freezes wonderfully! To freeze, ensure it’s completely cooled. You can freeze it directly in the baking dish (if freezer-safe) tightly wrapped in plastic wrap and then foil, or transfer individual portions to airtight, freezer-safe containers. It can be stored in the freezer for up to 2 months. Thaw overnight in the refrigerator before reheating.
- Reheating:
- Oven: This is the best method for restoring the crisp’s texture. Preheat your oven to 300-350°F (150-175°C). Place the crisp (covered with foil if it looks like it might brown too much) in the oven for 15-25 minutes, or until warmed through and the topping is crisp again. If reheating from frozen, it may take 45-60 minutes, starting with a lower temperature.
- Microwave: For a quick reheat of individual portions, the microwave works well, though the topping may lose some of its crispness and become softer. Heat in 30-second intervals until warmed to your liking.
Frequently Asked Questions About Apple Crisp
Here are answers to some common questions about making and enjoying apple crisp:
- Can I use frozen apples for apple crisp? Yes, you can! If using frozen apple slices, there are a couple of considerations. You can either thaw them completely and drain any excess liquid before mixing with the other filling ingredients, or you can add them directly to the dish while still frozen. If adding frozen, you might need to extend the baking time slightly to ensure the apples are fully tender and the filling cooks through. Adding an extra tablespoon of cornstarch to the filling can also help manage the extra moisture from frozen apples.
- Can I make apple crisp ahead of time? Absolutely! Apple crisp is an excellent make-ahead dessert. You can assemble the entire crisp (apples and topping) and store it covered in the refrigerator for up to 24 hours before baking. For longer storage, you can freeze the unbaked crisp (covered tightly) for up to 1-2 months. When ready to bake, you might need to add an extra 10-15 minutes to the baking time if baking from cold or frozen.
- What can I serve with apple crisp besides vanilla ice cream? While vanilla ice cream is a classic pairing, there are many other delightful options! Consider a dollop of fresh whipped cream, a drizzle of warm custard or crème anglaise, a scoop of salted caramel ice cream, or even a tangy Greek yogurt for a lighter contrast. A sprinkle of chopped nuts or a dusting of powdered sugar can also add a nice finish.
- Can I make this apple crisp gluten-free? Yes, with a few simple substitutions! To make the topping gluten-free, use gluten-free rolled oats and substitute the all-purpose flour with a 1:1 gluten-free baking flour blend that contains xanthan gum. Ensure all other ingredients (like butter, sugars, spices) are naturally gluten-free. The apple filling already uses regular flour; this can also be replaced with a gluten-free flour blend.
If you enjoyed this delicious dessert, then you will certainly enjoy these other sweet options perfect for any occasion, especially during the fall season!
- Berry Cobbler: A vibrant, fruity dessert with a sweet biscuit topping.
- Pumpkin Cheesecake Muffins: A delightful fusion of pumpkin spice and creamy cheesecake.
- Strawberry Cobbler: A sweet and summery treat, perfect for warmer days or a bright contrast.
- Pumpkin Cake: A moist and flavorful cake, ideal for pumpkin lovers.
Apple Crisp
Save RecipeSaved Recipe
Pin Recipe
Rate Recipe
Print Recipe
Ingredients
Topping
- 1 cup old fashioned rolled oats
- 1/2 cup all-purpose flour
- 1 tsp cinnamon , ground
- 1/8 tsp salt
- 3/4 cup brown sugar
- 1/2 cup unsalted butter , cut into cubes
Apple Filling
- 5 apples , thinly sliced
- 1/4 cup brown sugar
- 1/2 tsp cinnamon, ground
- 1/8 tsp salt
- 4 tbsp unsalted butter , melted
- 2 tbsp all-purpose flour
Instructions
-
Preheat oven to 350 degrees F. Butter an 8×8 baking dish and set aside.
-
In a large bowl, combine the oats, 1/2 cup all-purpose flour, 1 tsp cinnamon, 1/8 tsp salt, and 3/4’s cup brown sugar. Mix well.
-
Add the butter cubes to the oat mixture and mix it in using a pastry cutter or your fingers. Mix until the mixture resembles pea-sized crumbs.
-
In a separate bowl, combine the sliced apples, 1/4 cup brown sugar, 1/2 tsp cinnamon, 1/8 tsp salt, 4 tbsp melted butter, and 2 tbsp all-purpose flour. Mix well.
-
Place the apple mixture in the greased baking dish and cover the apples with the Oats mixture. Bake for 40 minutes or until the top is golden and the apples are fork-tender.
-
Enjoy warm with vanilla ice cream, if desired.
Nutrition
Nutrition information is automatically calculated, so should only be used as an approximation.
Additional Info
Like this recipe? Leave a comment below!
