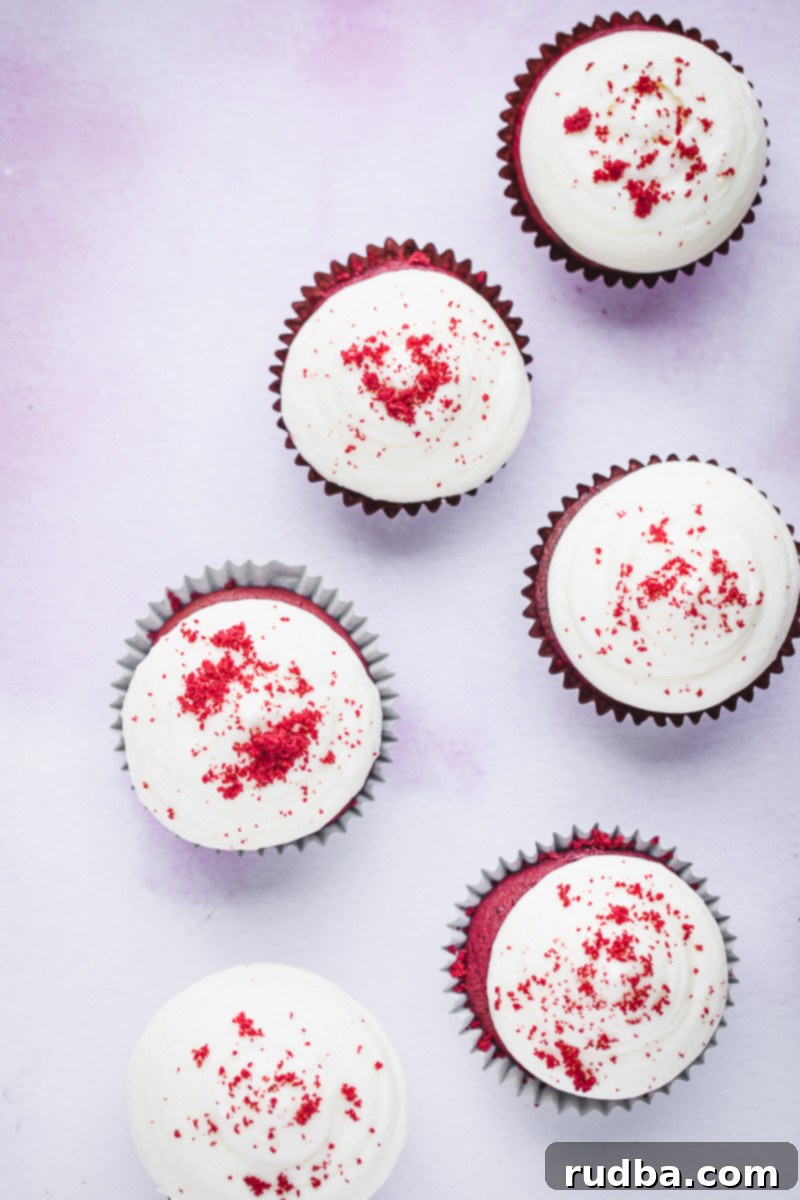
Decadent Red Velvet Cupcakes with Cream Cheese Frosting: The Ultimate Recipe
Indulge in the rich, vibrant, and utterly delicious world of **Red Velvet Cupcakes**! These iconic treats, celebrated for their striking crimson hue, delicate chocolate flavor, and luscious cream cheese frosting, are truly a delight for any occasion. Forget waiting for Valentine’s Day or Christmas; this recipe will help you whip up a batch of perfectly moist and decadent cupcakes that can be enjoyed any time of the year. Topped with a homemade, tangy-sweet cream cheese frosting, these are more than just cupcakes – they’re a celebration in every bite!
What makes these red velvet cupcakes truly special is their unique flavor profile and irresistibly tender crumb. They offer a subtle hint of cocoa, perfectly balanced by the slight tang from buttermilk and vinegar, all culminating in that signature “velvet” texture. The visual appeal, with their bright red color, is simply unmatched, and they always steal the show on any dessert table. But the real magic happens when you pair them with a rich, fluffy cream cheese frosting – it’s the classic combination that elevates these cupcakes from great to absolutely unforgettable. Just remember one crucial rule for perfection: do not overbake! Perfectly baked red velvet cupcakes should always be wonderfully moist and tender.
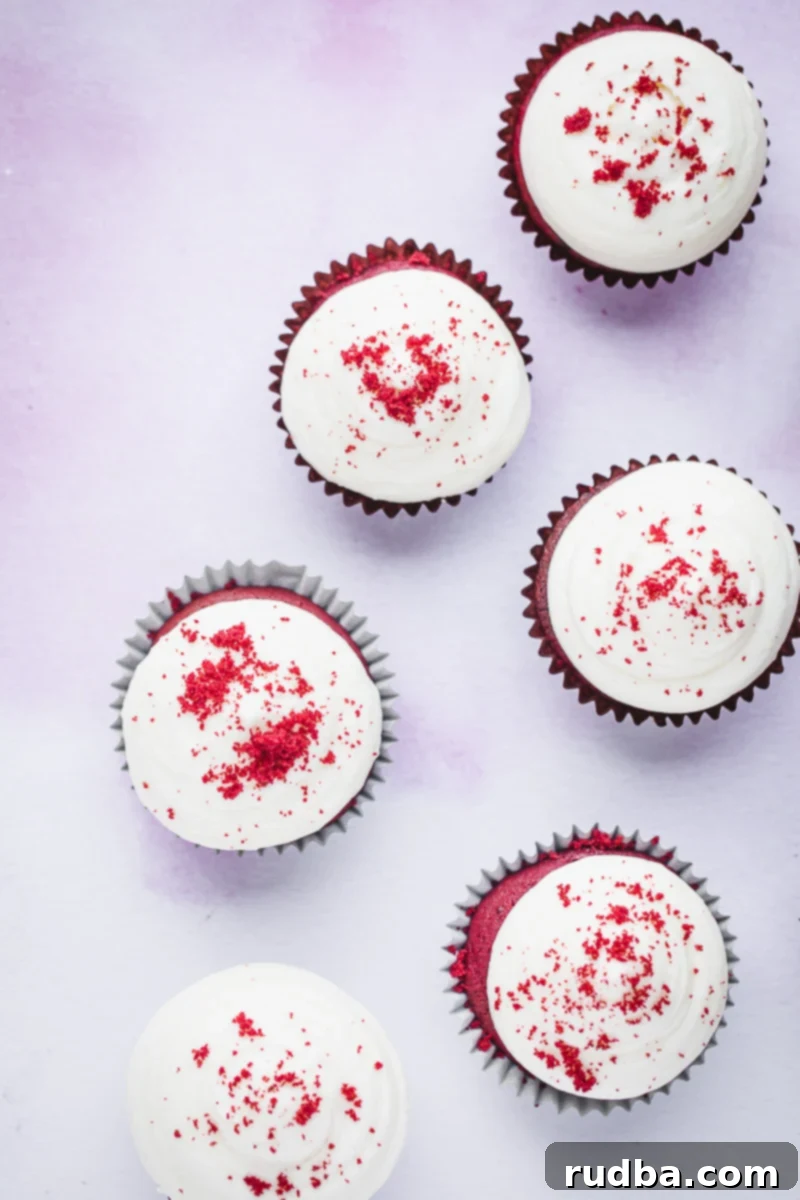
How to Bake Perfect Red Velvet Cupcakes: A Simple Step-by-Step Guide
You might think baking red velvet cupcakes is complicated, but this recipe is designed to be incredibly easy and straightforward, ensuring stunning results every time. Follow these simple steps to create your own batch of delightful red velvet masterpieces:
- Prepare Your Workspace: Begin by preheating your oven to 350 degrees Fahrenheit (175°C). Line a 12-cup muffin tin with cupcake liners. This preparation ensures your cupcakes bake evenly and are easy to remove once cooled.
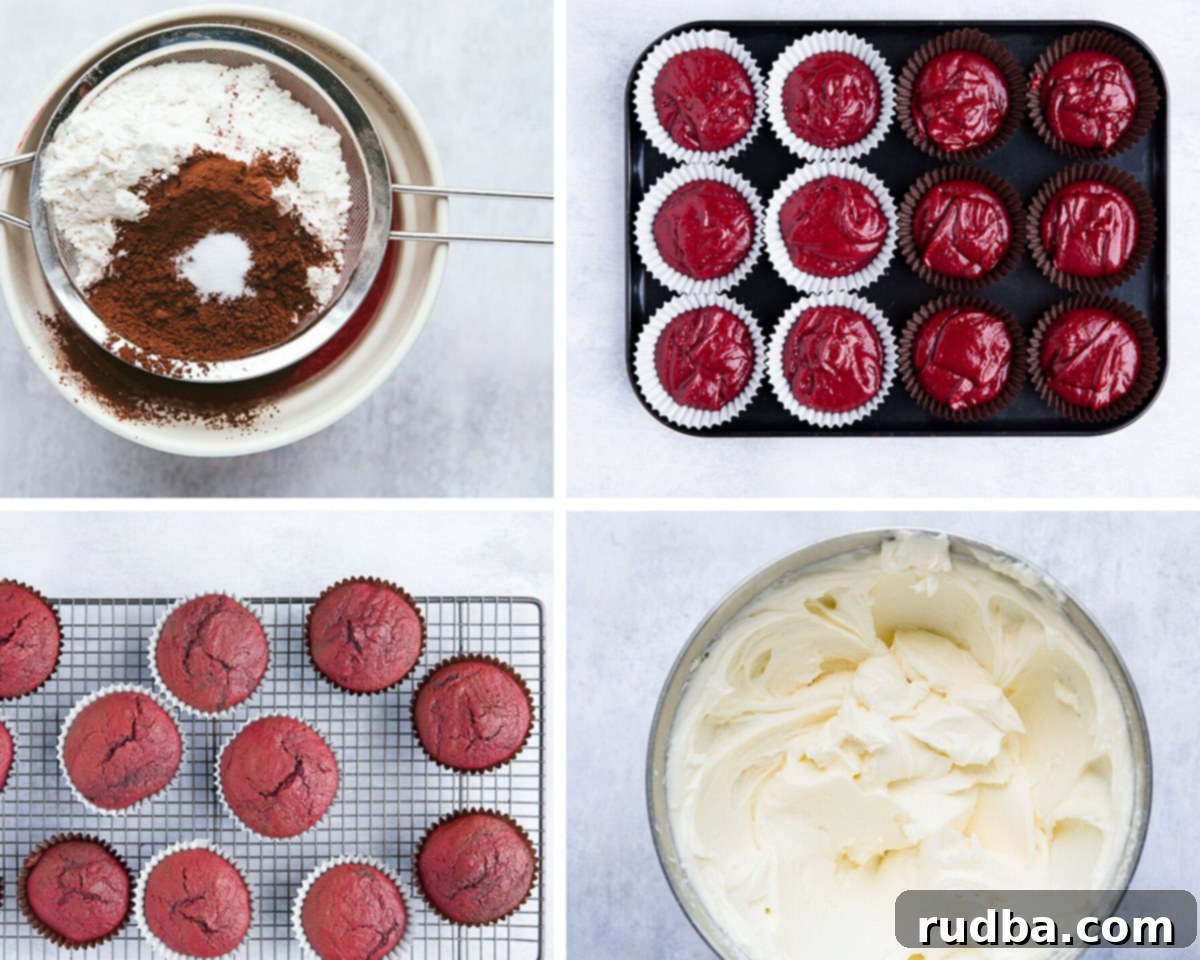
- Combine Dry Ingredients: In a large mixing bowl, sift together the all-purpose flour, unsweetened cocoa powder, and salt. Sifting is an important step as it removes lumps and aerates the dry ingredients, leading to a lighter, more uniform cupcake batter. Set this bowl aside.
- Mix Wet Ingredients: In a separate, larger bowl, whisk together the eggs, vegetable oil, buttermilk, granulated sugar, vanilla extract, and the vibrant red food coloring. Whisk until all these ingredients are thoroughly combined and the sugar has largely dissolved. The red food coloring is what gives red velvet its iconic, striking appearance.
- Form the Batter: Gradually add the dry ingredient mixture to the wet ingredient mixture. Mix on low speed, or by hand with a spatula, until just combined. Be careful not to overmix the batter, as this can develop the gluten in the flour, resulting in tough, dense cupcakes.
- Activate the Leavening: In a small separate bowl, combine the apple cider vinegar and baking soda. You’ll notice this mixture will immediately foam up – this is the chemical reaction producing carbon dioxide, which creates air bubbles and gives the cupcakes their signature “velvet” texture and tender crumb. Quickly fold this foamed mixture into the cupcake batter until just incorporated.
- Bake to Perfection: Evenly distribute the batter among the prepared cupcake liners, filling each about two-thirds full. An ice cream scoop works perfectly for this, ensuring consistent sizes. Bake for 18-20 minutes, or until a toothpick inserted into the center of a cupcake comes out clean. Again, resist the urge to overbake to maintain that crucial moistness!
- Prepare the Cream Cheese Frosting: While your cupcakes are cooling, prepare the heavenly cream cheese frosting. In a medium bowl, beat together the softened unsalted butter and cream cheese for a couple of minutes until the mixture is light, fluffy, and smooth.
- Finish the Frosting: Gradually add the powdered sugar, vanilla extract, and whole milk to the cream cheese mixture. Beat again on high speed for about 2-3 minutes until the frosting is light, airy, and creamy. Adjust the consistency with a tiny bit more milk or powdered sugar if needed.
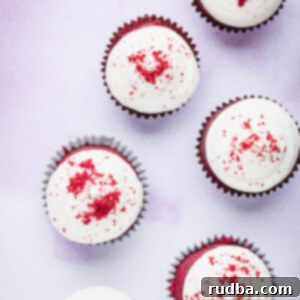
- Frost and Serve: Allow the baked cupcakes to cool completely on a wire rack before frosting. This is a critical step – frosting warm cupcakes will cause the frosting to melt. Once fully cooled, use a piping bag with your favorite tip or a simple offset spatula to generously frost each cupcake. You can garnish with leftover cupcake crumbs for a classic look, or sprinkles, chocolate shavings, or fresh berries. Enjoy your homemade red velvet masterpieces!
Recipe Tips and Variations for Your Red Velvet Cupcakes
Mastering red velvet cupcakes is easy with a few insider tips and creative variations. Here’s how to ensure the best results and how to get creative with your baking:
- Optimal Storage for Freshness:
- For short-term storage, keep your frosted red velvet cupcakes in a cake keeper or an airtight container at room temperature for up to 2-3 days. If your kitchen is very warm, consider refrigerating them.
- For longer freshness, store them in an airtight container in the refrigerator for up to 5-7 days. The cream cheese frosting benefits from refrigeration.
- To extend their life even further, freeze unfrosted cupcakes in an airtight container for up to 3 months. Thaw them at room temperature before frosting. Frosted cupcakes can also be frozen for a shorter period (1-2 months), but the frosting texture might change slightly upon thawing. Always ensure they are completely cool before storing to prevent condensation.
- Serving and Reheating: Red Velvet Cupcakes, especially those with cream cheese frosting, are best enjoyed at room temperature. If stored in the fridge or freezer, allow them to come to room temperature naturally for an hour or two before serving. Attempting to “reheat” them in the oven or microwave will unfortunately melt the delicate cream cheese frosting, creating a messy situation and potentially drying out the cupcake itself.
- Apple Cider Vinegar Substitutes: Apple cider vinegar plays a crucial role in reacting with the baking soda to create the “velvet” texture and adds a subtle tang. If you don’t have apple cider vinegar on hand, you can easily substitute it with white vinegar or even fresh lemon juice in a pinch. The important thing is the acidic component to activate the baking soda.
- Creative Garnish Ideas: While a sprinkle of cupcake crumbs is classic, feel free to get creative with your garnishes!
- Sprinkles: Always a festive choice for any occasion.
- Mini Chocolate Chips or Shavings: Enhance the subtle chocolate flavor.
- Fresh Berries: Raspberries or strawberries add a beautiful contrast and fresh tartness.
- Cocoa Powder Dusting: A light dusting of unsweetened cocoa powder can deepen the chocolate aroma.
- Edible Glitter or Pearls: For an extra touch of elegance and sparkle.
- Crucial Cooling Step: This cannot be emphasized enough – make sure your cupcakes are *completely cooled* before you even think about applying the frosting. If the cupcakes are even slightly warm, the cream cheese frosting will melt, slide off, and make a mess. Patience is key for perfectly frosted cupcakes!
- Experiment with Colors: The “velvet” in red velvet refers to the cake’s tender texture, not exclusively its red color. While red is traditional, you can easily swap out the red food coloring for another color of your choice to create different “velvet” cupcakes. Think blue velvet for baby showers, pink velvet for birthdays, or even green velvet for St. Patrick’s Day. The base flavor profile remains the same, offering a fun and customizable treat!
What is the Red Velvet Flavor? Unpacking its Unique Profile
The “red velvet” flavor is often misunderstood, sometimes simply dismissed as “chocolate cake with red dye.” However, it’s a distinct and complex profile that’s truly unique. At its heart, red velvet is a delicate balance of tangy, slightly chocolatey, and sweet notes, all contributing to its signature “velvety” texture. This distinctive flavor comes from a specific combination of ingredients:
- Buttermilk: Provides a subtle tang and moisture, reacting with baking soda to create a tender crumb.
- Cocoa Powder: Used in smaller amounts than traditional chocolate cake, it offers a mild, almost fruity chocolate undertone rather than a rich, dark chocolate flavor.
- Vinegar: An essential component that, along with buttermilk, reacts with baking soda to produce carbon dioxide. This leavening action creates tiny air pockets, resulting in that incredibly smooth and tender, “velvet-like” texture. It also enhances the slight tanginess.
These three ingredients work in harmony to create a flavor that is more than the sum of its parts – it’s a mild cocoa base with a delicate sour cream-like tang and a supremely soft, moist crumb. It’s not overpoweringly chocolatey, but rather a sophisticated, balanced sweetness with a unique depth.
Why Is My Red Velvet Not Bright Red? The History of its Color
Many home bakers wonder why their red velvet cakes don’t turn out a vibrant, striking red without a generous amount of food coloring. The answer lies in the fascinating history of red velvet:
- Natural Reaction: Historically, before the widespread use of food dyes, the reddish hue in red velvet cake came from a natural chemical reaction. Non-Dutch processed cocoa powder, which is more acidic, would react with acidic ingredients like buttermilk and vinegar. This reaction, combined with the anthocyanin pigments present in old-fashioned cocoa, would create a subtle reddish-brown tint in the baked cake. This was the “red velvet” of yesteryear.
- Beets and Natural Alternatives: Some traditional recipes even incorporated cooked beets or beet juice to enhance this natural reddish color, contributing to the moistness and a deeper, more earthy red. While still an option today for natural coloring, it doesn’t achieve the intense vibrancy of food coloring.
- Modern Food Dye: The bright, almost neon red that we commonly associate with red velvet today is primarily achieved through the addition of red food dye. Bakers discovered that a significant amount of food coloring was needed to create that eye-catching crimson, especially as cocoa processing changed (Dutch processing reduces the acidity and natural red pigments). While food dye gives the visual appeal, it’s important that it doesn’t overpower the unique flavor profile that defines red velvet. This recipe uses food coloring to achieve that classic vibrant red while maintaining the authentic taste.
So, if your red velvet isn’t a blazing crimson, it might be more historically accurate! But for that modern, show-stopping look, a good quality red food coloring is your best friend.
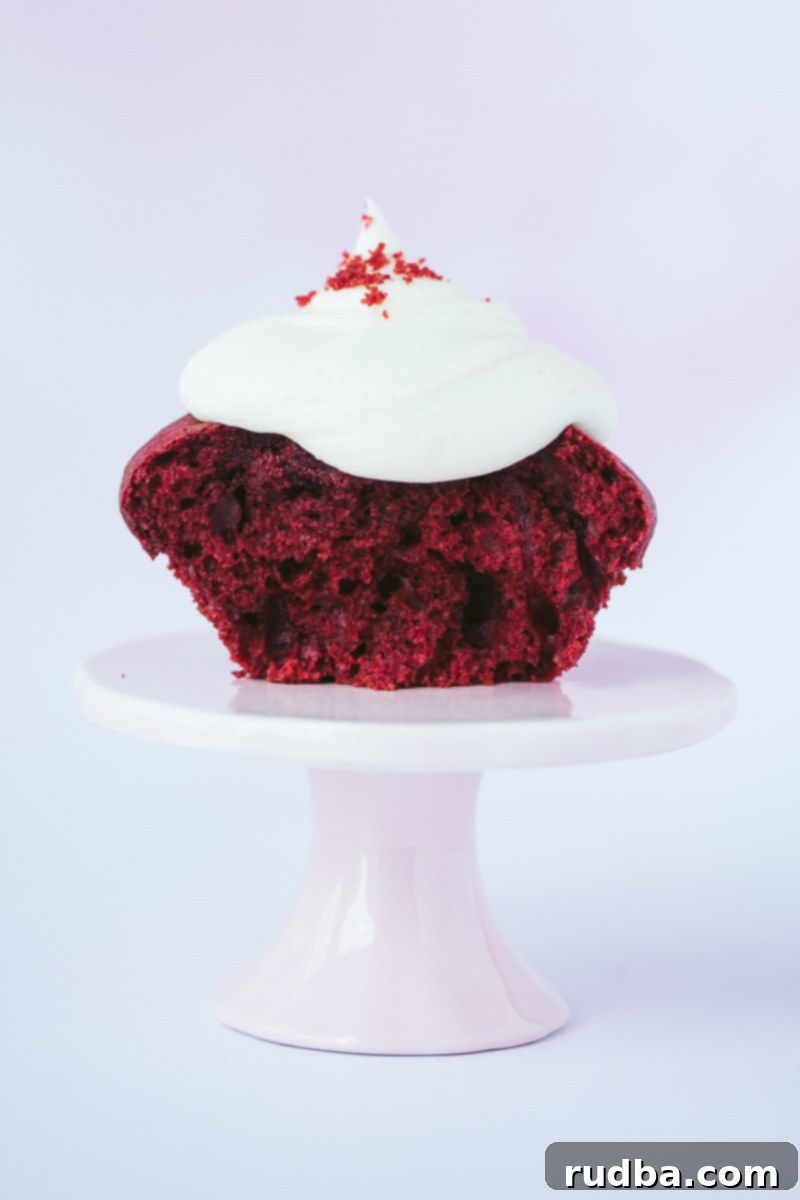
Now that you’re armed with all the knowledge and tips for baking the perfect batch of red velvet cupcakes, it’s time to get baking! Once you’ve created these decadent treats and savored every moist, creamy bite, we’d love to hear about your experience. Share your thoughts, tips, and any variations you tried in the comments section below!
More Cupcake Recipes You’re Sure to Love:
- Tres Leches Cupcakes
- Blueberry Cupcakes
- Blue Velvet Cupcakes
- Banana Cupcakes
- Gluten-Free Gingerbread Cupcakes
You can find more delicious recipes and cooking tutorial videos on Youtube and Facebook.
Red Velvet Cupcakes
Save RecipeSaved Recipe
Pin Recipe
Rate Recipe
Print Recipe
Ingredients
- 2 1/2 cups All-Purpose Flour
- 1 1/2 cups Sugar
- 1 tsp Salt
- 1 tsp Baking Soda
- 1 tsp Apple Cider Vinegar
- 1 cup Vegetable Oil
- 1 1/2 cups Buttermilk
- 1 tsp Vanilla Extract
- 1 tbsp Red Food Coloring
- 1 1/2 tbsp Unsweetened Cocoa Powder
- 2 Eggs
Cream Cheese Frosting
- 8 ounces Cream Cheese
- 4 ounces Unsalted Butter
- 3 cups Powdered Sugar
- 1 tsp Vanilla Extract
- 1 tbsp Whole Milk
Instructions
-
Preheat oven to 350 degrees
-
In a bowl, sift the all-purpose flour, cocoa powder, and salt, set aside
-
In a bowl, mix the 2 eggs, vegetable oil, buttermilk, vanilla extract, red food coloring, and sugar
-
Add the dry ingredients to the wet and mix
-
In a bowl mix the baking soda and apple cider vinegar. once it foams up, add it to the cake batter.
-
Using an ice-cream scoop, scoop the batter evenly in your muffin tin and bake for 18-20 minutes.
-
To make the frosting, mix the cream cheese and butter for about 2 minutes
-
Add the powdered sugar, milk, and vanilla extract, mix for about 3 minutes on high speed
-
Using a piping bag frost your cooled cupcakes and Enjoy!
Video
Nutrition
Nutrition information is automatically calculated, so should only be used as an approximation.
Additional Info
Like this recipe? Leave a comment below!
