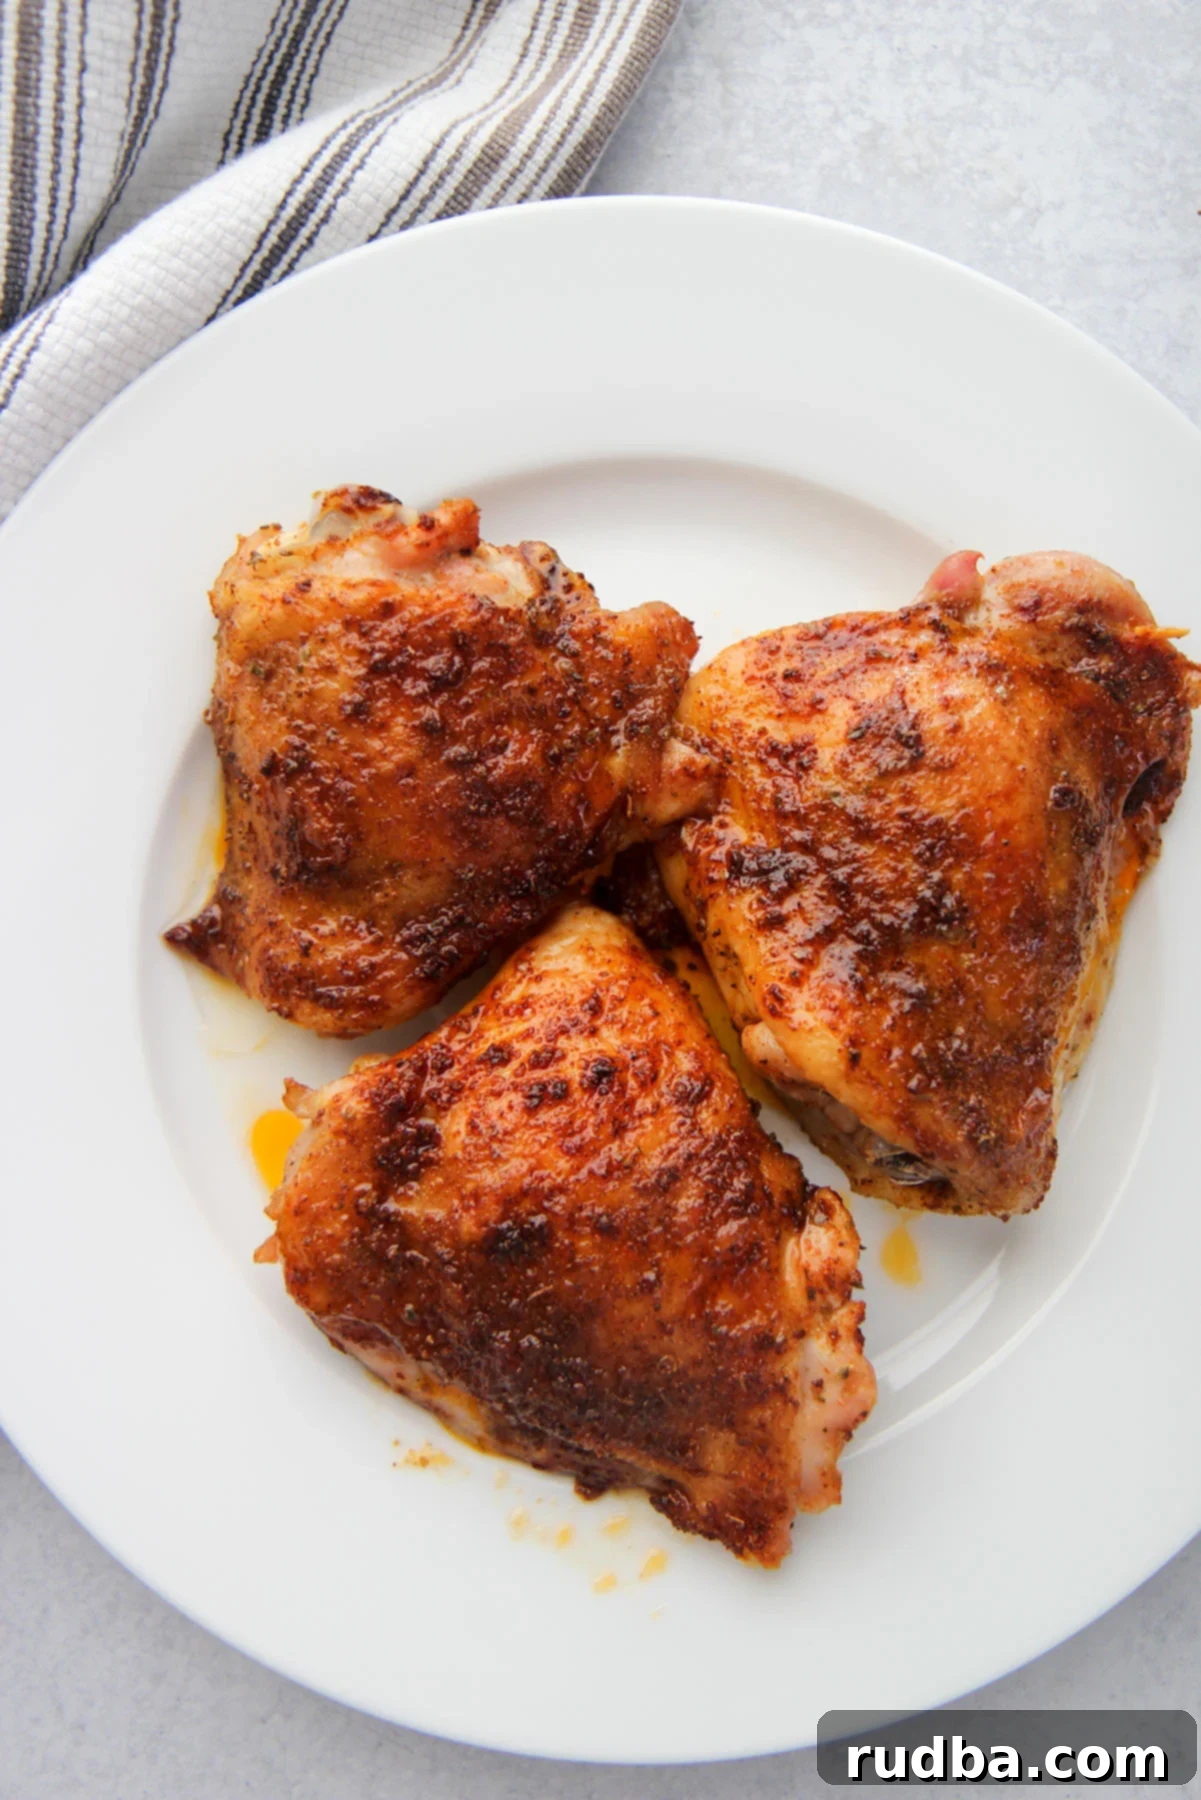
Crispy & Juicy Oven Baked Chicken Thighs: Your New Favorite Easy Dinner Recipe
Craving a delicious, satisfying dinner that’s incredibly easy to make? Look no further than these perfectly juicy oven-baked chicken thighs. With just a handful of simple spices and a touch of olive oil, you can create a sensational meal that’s bursting with flavor and boasts wonderfully crispy skin. This versatile recipe is not only a crowd-pleaser but also caters to various dietary needs, being keto-friendly, AIP-friendly, gluten-free, dairy-free, and low carb!
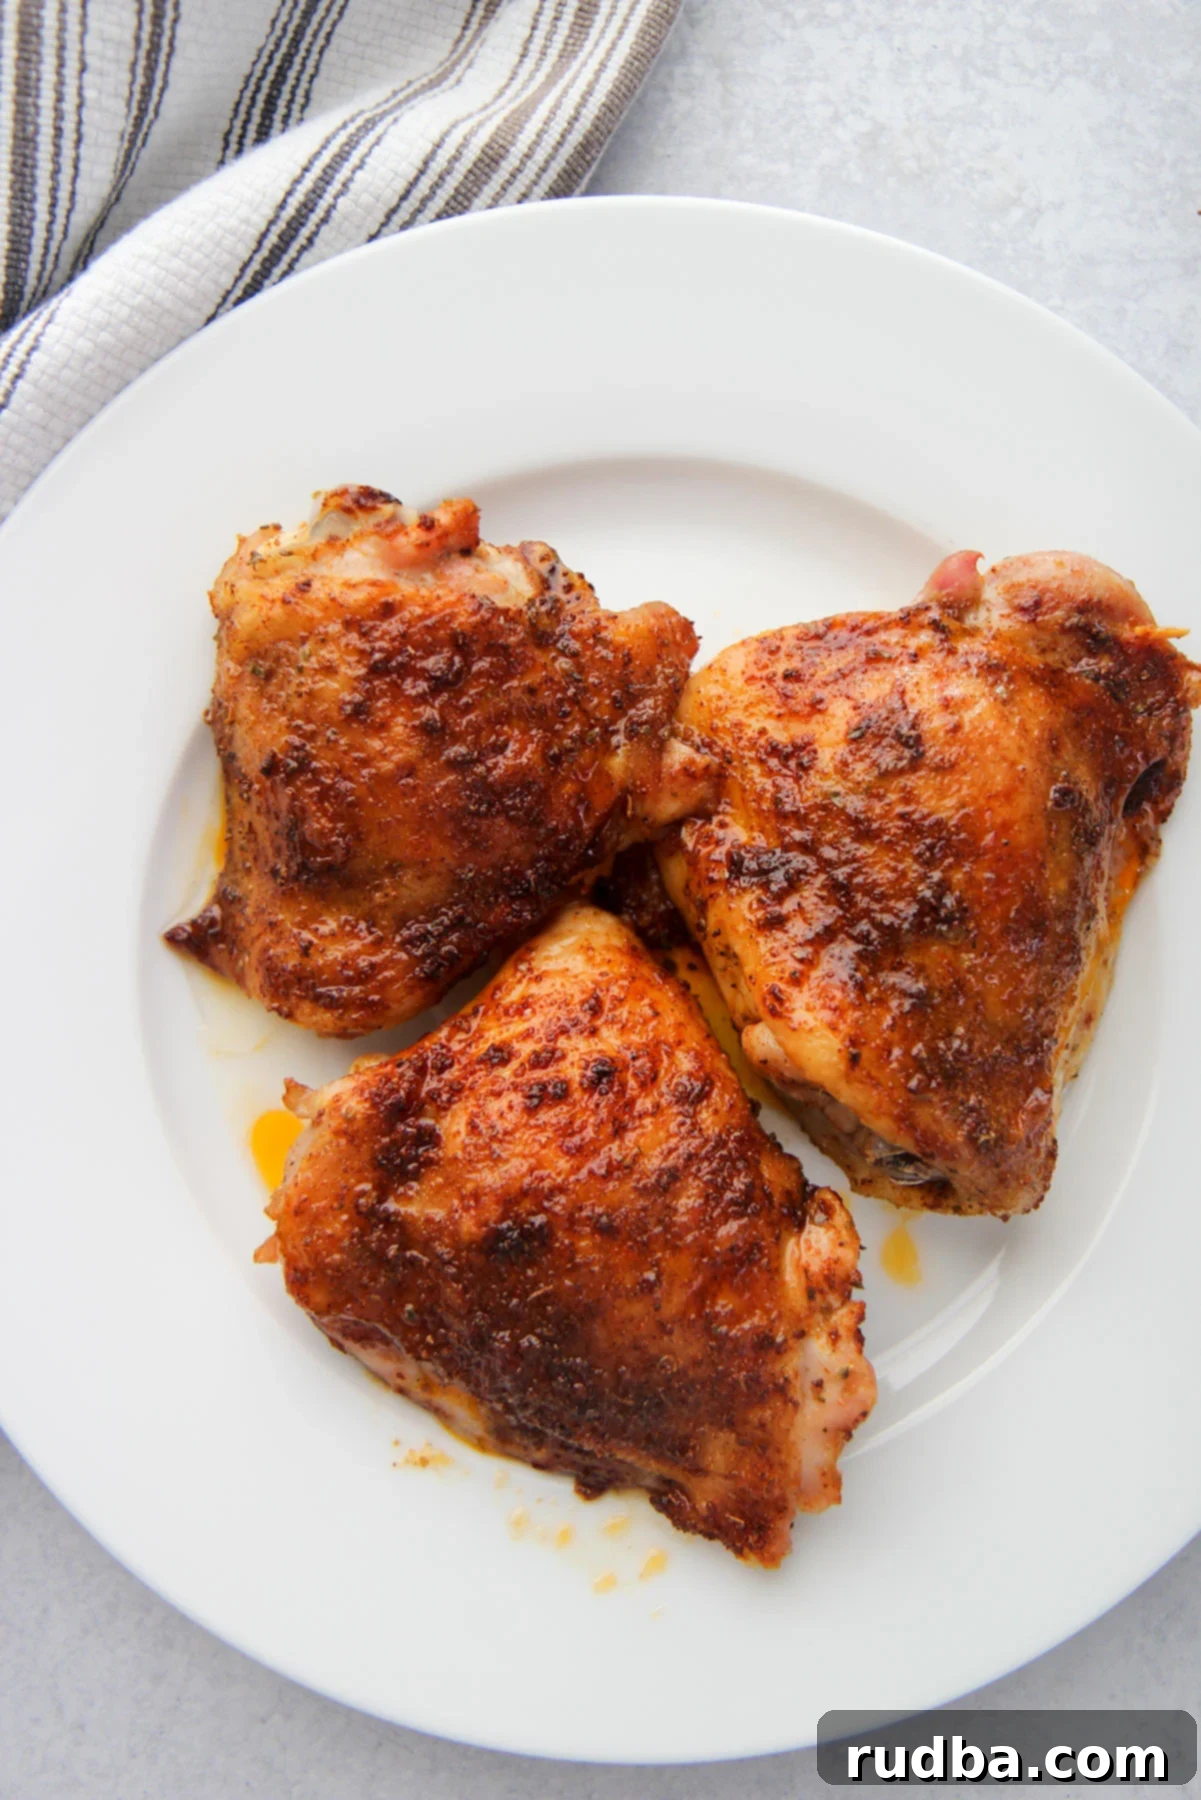
In today’s fast-paced world, finding genuinely healthy and wholesome dishes can often feel like a challenge. Many store-bought options or even some recipes can be misleading about their nutritional value. That’s why I’m a firm believer in keeping things simple and preparing meals from scratch, like these fantastic oven-baked chicken thighs. This recipe proves that healthy eating doesn’t mean sacrificing flavor. These chicken thighs are incredibly easy to prepare, loaded with savory taste, and come out of the oven with the most delightful, crispy skin every single time. It’s comfort food perfected, made accessible for any weeknight.
If you appreciate quick, flavorful, and healthy meals, you’ll undoubtedly adore this recipe. I’m always on the lookout for dishes that deliver big on taste without requiring hours in the kitchen, and this one absolutely fits the bill. If you’ve enjoyed my Jerk Shrimp, Chicken and Mushroom Skillet, or Cajun Salmon and Shrimp, then get ready to add these crispy, juicy chicken thighs to your favorites list. This dish is designed for those who want maximum flavor with minimal effort, making it the perfect choice for a busy evening meal.
Why Oven-Baked Chicken Thighs Are a Weeknight Winner
Chicken thighs are often overlooked in favor of chicken breasts, but they truly shine when it comes to flavor and juiciness. Their higher fat content ensures they stay moist and tender during cooking, preventing the dry, bland results sometimes associated with white meat. When baked in the oven at a high temperature, the skin renders down beautifully, becoming incredibly crispy, while the meat remains succulent and full of rich flavor. They are also generally more affordable and forgiving to cook than breasts, making them an excellent choice for home cooks of all skill levels.
Beyond their delicious taste and texture, these oven-baked chicken thighs are a nutritional powerhouse, fitting perfectly into various dietary plans. Whether you’re following a keto diet, adhering to AIP (Autoimmune Protocol), or simply looking for gluten-free, dairy-free, and low-carb options, this recipe meets all those criteria. It’s a wholesome meal you can feel good about serving to your family any night of the week.
How to Achieve Perfectly Crispy Oven Baked Chicken Thighs
Getting that restaurant-quality crispy skin and juicy interior is easier than you think! Follow these simple steps for flawless results:
- Preheat Your Oven to Perfection – Begin by preheating your oven to a robust 450 degrees Fahrenheit (232°C). A high initial temperature is crucial for rendering the fat in the chicken skin and starting the crisping process right away. Don’t skip this step – a properly preheated oven ensures even cooking and optimal crispiness.
- Craft Your Flavorful Spice Blend – In a small bowl, combine your chosen spices (paprika, granulated garlic, oregano, cumin, black pepper, and kosher salt) with the olive oil. Whisk them together thoroughly until you have a well-integrated, aromatic paste. This simple blend is packed with robust flavors that complement the chicken beautifully.
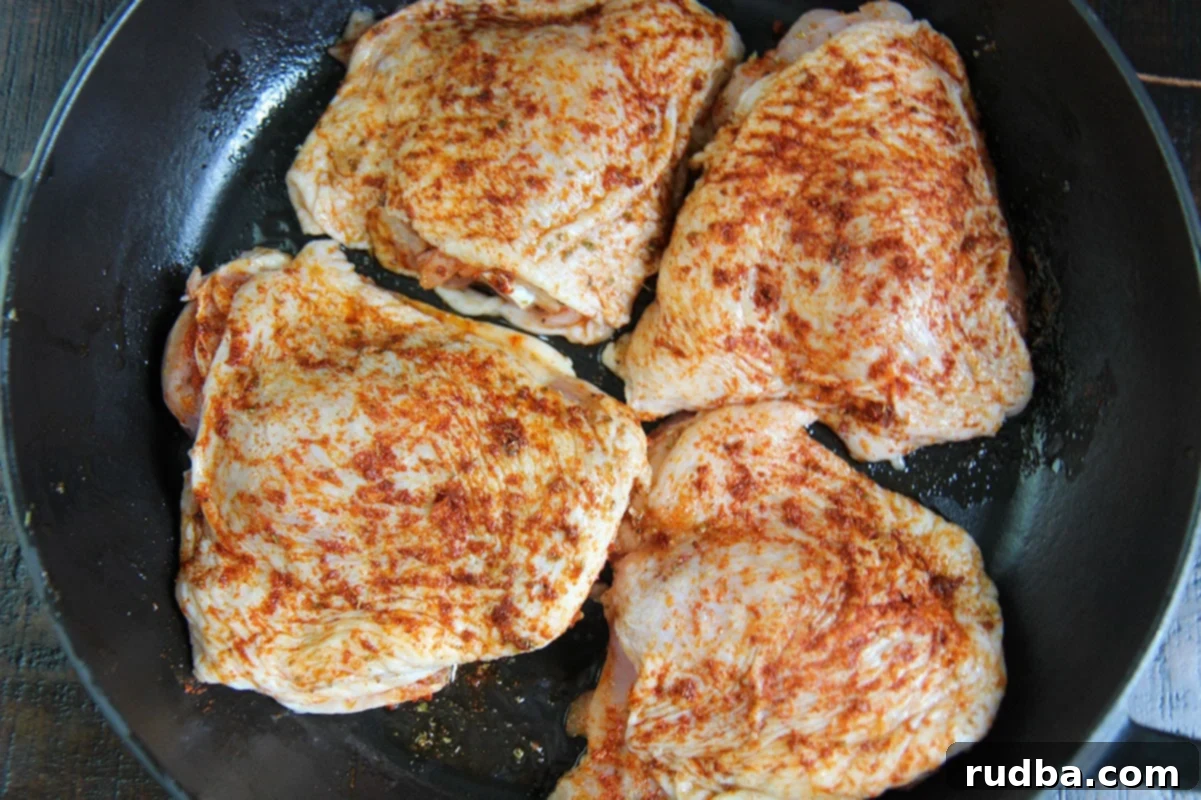
- Generously Coat the Chicken – Place the chicken thighs in a large bowl or directly on your prepared baking sheet. Using your hands or a pastry brush, liberally coat each chicken thigh with the spice and olive oil mixture. For the crispiest skin and deepest flavor, make sure to gently lift the skin and rub some of the seasoning directly onto the meat underneath. This ensures every bite is seasoned to perfection.
- Bake to Juicy Perfection – Arrange the seasoned chicken thighs in a single layer on a baking sheet, ensuring they aren’t overcrowded. Bake for approximately 40 minutes. The exact cooking time may vary depending on the size of your chicken thighs and your oven. The most accurate way to check for doneness is to use a meat thermometer inserted into the thickest part of the thigh, avoiding the bone. The chicken is fully cooked when it reaches an internal temperature of 165 degrees Fahrenheit (74°C).
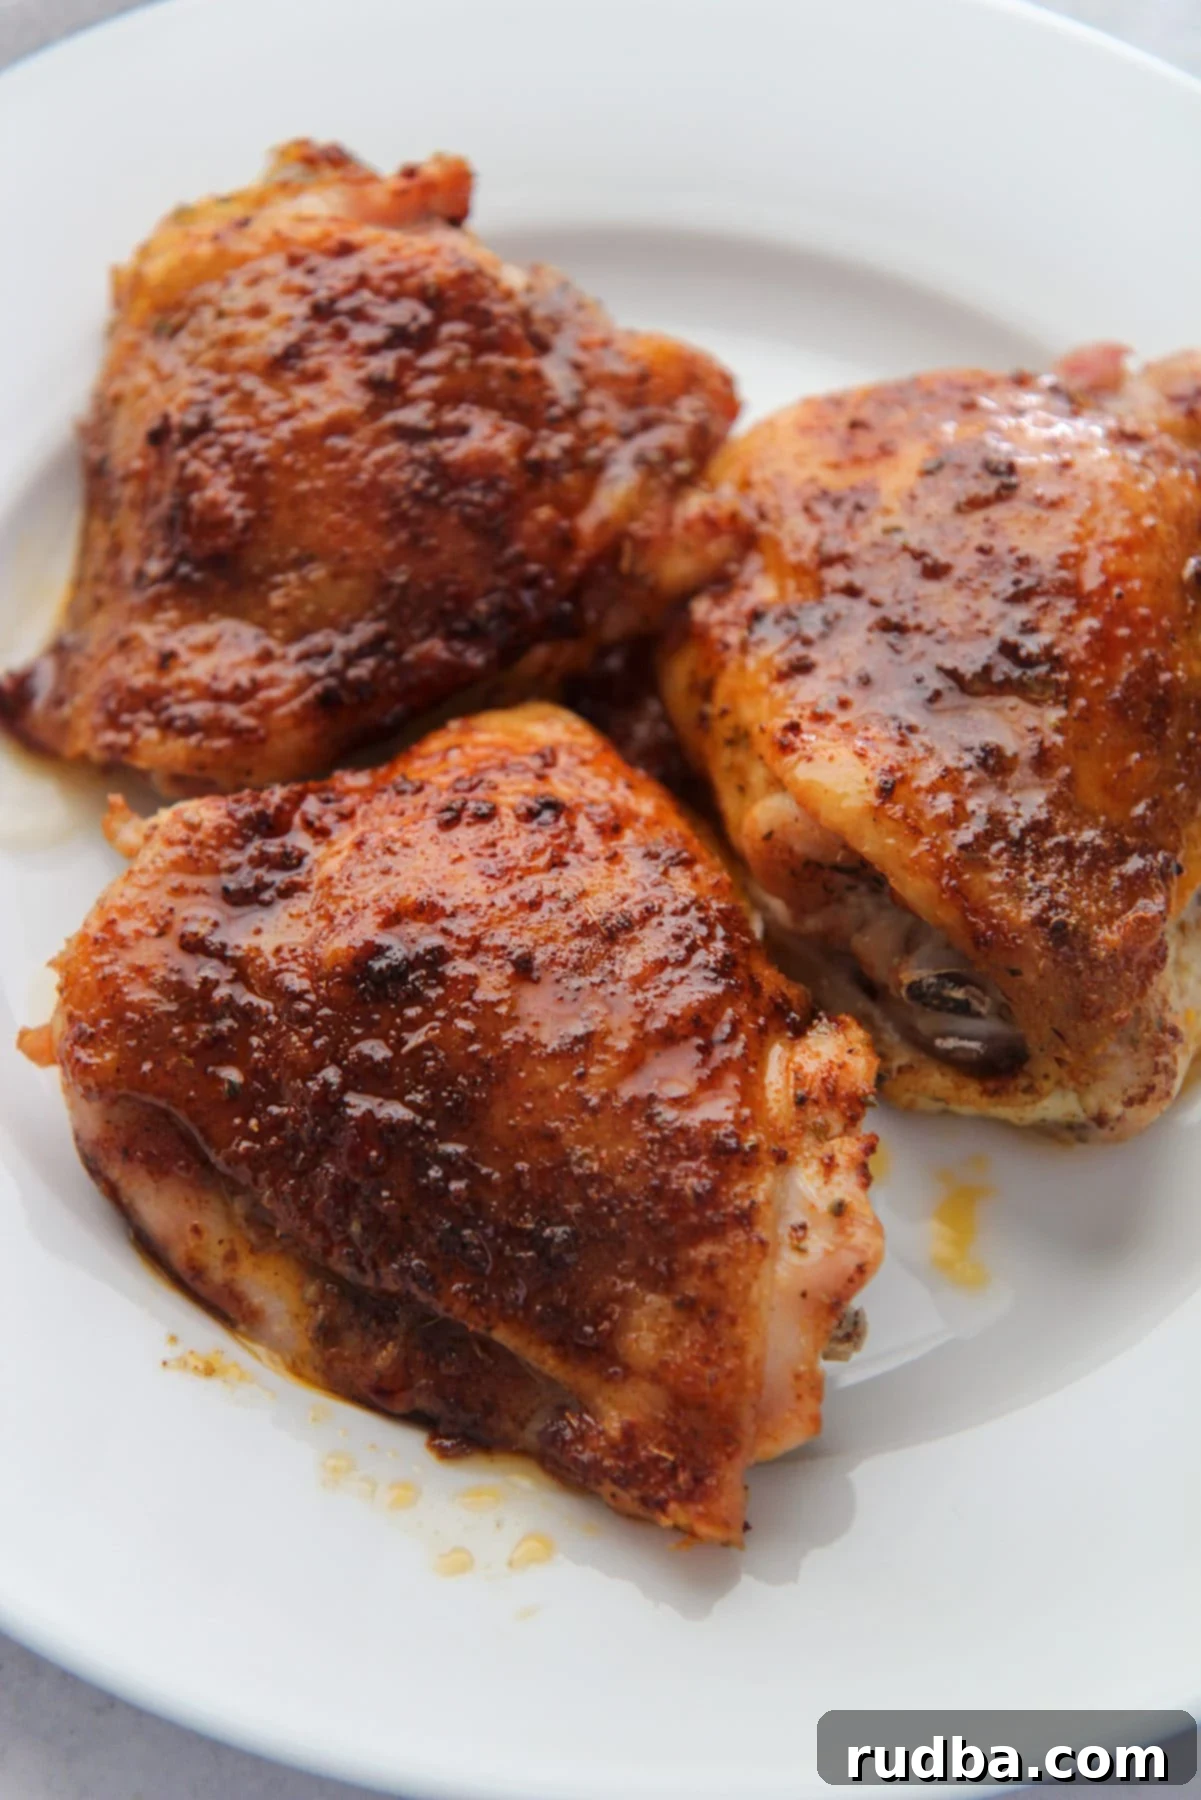
- Broil for Ultimate Crispiness – For those last few minutes, unleash the power of your broiler! Once the chicken has reached its internal temperature, switch your oven to broil (usually high setting) and cook for an additional 3-5 minutes. Keep a close eye on the chicken during this stage, as broilers can quickly burn food. This final burst of intense heat is what gives the chicken skin its irresistible golden-brown color and incredible crisp texture.
Expert Tips and Flavorful Variations
Elevate your oven-baked chicken thighs with these handy tips and creative variations:
- Optimal Storage Solutions – Leftover chicken thighs can be stored in an airtight container in the refrigerator for up to 4 days. While some people choose to freeze cooked chicken, I generally don’t recommend it for this recipe as the texture and taste tend to degrade significantly upon thawing and reheating. However, if you don’t mind a slight change in quality, you can freeze them in an airtight container for up to 2 months. For best results, allow them to thaw completely in the refrigerator before reheating.
- Reheating for Best Flavor and Texture – To bring your chicken thighs back to life, you have a few options. For convenience, the microwave works, but be sure to place a damp paper towel over the chicken to help retain moisture and prevent it from drying out. For superior results, especially if you want to restore some of that crispy skin, reheat them in the oven. Place the chicken on a baking tray, loosely wrapped in tin foil, and heat at 300°F (150°C) until warmed through, about 15-20 minutes. For crispier skin, remove the foil for the last 5 minutes. An air fryer is also an excellent option for reheating, crisping up the skin beautifully in just a few minutes at 350°F (175°C).
- Unleash Your Inner Chef with Different Seasoning Mixes – The beauty of this recipe lies in its adaptability. Feel free to experiment with various spice blends to create entirely new flavor profiles!
- Mexican Flair: Try chili powder, ground cumin, smoked paprika, onion powder, and a pinch of cayenne for a vibrant, zesty twist.
- Greek Inspired: Opt for a blend of dried oregano, thyme, garlic powder, onion powder, and a squeeze of fresh lemon juice after baking.
- Italian Herbs: Use a classic mix of dried basil, oregano, rosemary, thyme, garlic powder, and a touch of red pepper flakes for a fragrant, savory dish.
- Cajun Kick: Combine paprika, cayenne pepper, garlic powder, onion powder, dried oregano, dried thyme, and black pepper for a bold, spicy, and smoky flavor.
- The Importance of Resting Before Cooking – For the juiciest chicken, allow your seasoned chicken thighs to rest at room temperature for approximately 15-20 minutes before placing them in the oven. This helps the chicken cook more evenly, prevents the meat fibers from seizing up, and ultimately ensures a more tender and succulent result.
- Amp Up the Heat (Make it Spicy!) – If you love a little kick, it’s incredibly easy to add heat to your chicken. Incorporate extra cayenne pepper, a dash of chili powder, or even a pinch of red pepper flakes directly into your spice mixture. For a fresh and aromatic heat, finely mince a jalapeño or serrano pepper and mix it into the seasoning blend. Always adjust the quantity to your preferred spice level.
- Achieving Extra Crispy Skin: The Key is Dryness – For the absolute crispiest skin, ensuring your chicken thighs are thoroughly patted dry with paper towels before applying the spice rub is paramount. Any moisture on the skin will steam it rather than allow it to crisp. For an even drier skin, you can place them uncovered in the fridge for an hour or two before seasoning.
- Consider a Wire Rack – Baking your chicken thighs on a wire rack set over a baking sheet allows air to circulate all around the chicken. This uniform airflow results in more even cooking and significantly crispier skin on all sides, as the bottom isn’t sitting in its own juices.
Perfect Pairings: What to Serve with Oven-Baked Chicken Thighs
One of the best things about classic baked chicken is its incredible versatility when it comes to side dishes. It’s truly hard to choose the wrong accompaniment! These flavorful chicken thighs pair wonderfully with a wide array of options, making meal planning a breeze. Some of my all-time favorite sides that complement this recipe beautifully include hearty Chipotle Baked Beans, rich and Creamy Mashed Potatoes, savory Cheese Garlic Biscuits, sweet Creamed Corn, or a refreshing Creamy Coleslaw.
Beyond these comforting classics, don’t hesitate to incorporate some vibrant vegetables for a complete and balanced meal. Roasted asparagus, tender green beans with garlic, a simple fresh garden salad with a light vinaigrette, or even a side of fluffy quinoa or brown rice would all make excellent choices. The robust flavor of the chicken stands up well to both rich and lighter sides, allowing you endless possibilities to customize your dinner to your liking.
Frequently Asked Questions About Baking Chicken Thighs
Is it Better To Cover Chicken with Foil When Baking?
Whether or not you should cover chicken with tin foil while baking largely depends on the specific recipe and your desired outcome. For this particular crispy chicken thighs recipe, covering with foil is generally not recommended, especially if your goal is super crispy skin. Foil traps moisture and creates steam, which will prevent the skin from crisping up and instead make it soft.
However, there are scenarios where wrapping chicken in foil can be beneficial. It helps to seal in natural juices, keeping the meat incredibly moist, and also promotes more even heat distribution around the chicken, which can sometimes speed up cooking. If you opt to cover your chicken for moisture retention, be aware that you’ll need to remove the foil for the last 10-15 minutes of baking (or use the broiler) to get any crispiness. Also, remember to check the internal temperature earlier if you’ve covered it, as it might cook faster. For this recipe’s crispy goal, direct, uncovered high heat is key.
Can I Use Chicken Breasts Instead?
While this recipe is optimized for the rich flavor and forgiving nature of chicken thighs, you can certainly adapt it for chicken breasts if that’s what you have on hand or prefer. However, there are a few important considerations due to the difference in fat content and thickness. Chicken breasts are leaner and tend to dry out much more quickly than dark meat. If you choose to use chicken breasts:
- Adjust Cooking Time: You will need to significantly reduce the baking time. Chicken breasts typically cook in about 20-30 minutes at 400°F (200°C), so you’ll want to cut the 40-minute thigh cooking time almost in half. Always rely on an internal meat thermometer to ensure they reach 165°F (74°C) without overcooking.
- Pound Them Evenly: For more even cooking, consider placing chicken breasts between two sheets of plastic wrap and gently pounding the thicker parts to a uniform thickness (about 1 inch). This prevents the thinner ends from drying out while the thicker parts cook.
- Consider a Brine or Marinade: To help retain moisture in leaner breasts, you might want to briefly brine them (in a saltwater solution) for 15-30 minutes or marinate them for at least 30 minutes (or up to 4 hours) before seasoning and baking.
- Broiler Caution: Be very cautious with the broiler for chicken breasts, as they can burn very quickly due to their lower fat content. You might want to skip the broil entirely or keep it to a mere 1-2 minutes, watching constantly to avoid charring.
For the best balance of juiciness, flavor, and ease of cooking in this particular recipe, bone-in, skin-on chicken thighs are highly recommended.
Do You Turn Chicken Thighs When Baking?
Turning chicken thighs during baking is another “you can if you want to” scenario. For this specific recipe, where the primary goal is a wonderfully crispy top skin, I typically do not flip them. The high heat of the oven, followed by the broiler, is designed to create a beautifully crisp top layer while the bottom cooks perfectly in its own rendered fat and juices, staying moist.
However, if you desire a more evenly crisp skin all around the chicken thigh, or if you notice the bottom isn’t browning to your liking, flipping them halfway through the baking process (around the 20-minute mark) is absolutely fine and won’t negatively impact the dish. It can certainly contribute to an all-over golden-brown crust. For other recipes, such as my Jamaican Jerk Chicken, I often recommend flipping to ensure even charring and flavor development. Ultimately, whether to turn your chicken thighs comes down to personal preference for texture and how your oven distributes heat.
How to Ensure Your Chicken Thighs Are Always Juicy?
Achieving consistently juicy chicken thighs is simpler than you might think. Here are the key factors:
- Don’t Overcook: This is the most critical rule for any meat. Chicken thighs are perfectly done when they reach an internal temperature of 165°F (74°C). Always use a reliable meat thermometer inserted into the thickest part of the thigh (avoiding the bone) to confirm doneness and prevent dry chicken.
- Opt for Bone-in, Skin-on: As mentioned, bone-in, skin-on thighs provide more fat and insulation during cooking. The bone helps conduct heat more evenly, and the skin/fat layer keeps the meat protected and moist.
- Allow for a Resting Period: After removing the chicken from the oven, resist the urge to cut into it immediately. Let the chicken thighs rest for 5-10 minutes on a cutting board or plate. This allows the juices, which have migrated to the center during cooking, to redistribute throughout the meat. Cutting too early will cause the juices to run out, resulting in drier chicken.
- Proper Preheat: A screaming hot oven quickly sears the outside of the chicken, locking in moisture from the start and preventing it from slowly drying out.
Can I Marinate These Chicken Thighs Overnight?
Absolutely! Marinating the chicken thighs with this flavorful spice and olive oil mixture overnight (or for at least 4 hours) in the refrigerator can significantly enhance their taste and tenderness. The longer the chicken sits in the seasoning, the more time the spices have to penetrate the meat, resulting in an even more delicious and deeply flavored outcome. Just be sure to bring them to room temperature for 15-20 minutes before baking for optimal and even cooking results.
Did you enjoy creating and savoring these incredibly juicy oven-baked chicken thighs? I’d love to hear your thoughts, tips, and experiences in the comment section below! For more mouth-watering recipes and helpful cooking tutorial videos, be sure to check out my channels on Youtube and Facebook. Happy cooking!
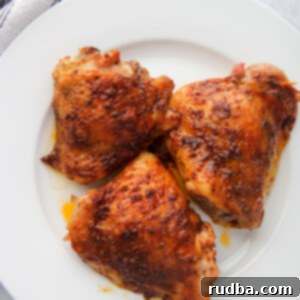
Juicy Oven Baked Chicken Thighs
Save RecipeSaved Recipe
Pin Recipe
Rate Recipe
Print Recipe
Ingredients
- 4 chicken thighs , bone-in, skin on (for best flavor and juiciness)
- 1 1/2 tsp paprika
- 1/2 tsp granulated garlic
- 1/2 tsp dried oregano
- 1/4 tsp ground cumin
- 1/4 tsp black pepper
- 1 tsp kosher salt , or to taste (adjust based on preference)
- 2 tbsp extra virgin olive oil
Instructions
-
Preheat Oven: Preheat your oven to a high 450 degrees F (232°C). This high heat is essential for achieving crispy skin and a juicy interior.
-
Prepare Spice Mixture: In a small bowl, combine the granulated garlic, paprika, ground cumin, dried oregano, black pepper, kosher salt, and extra virgin olive oil. Whisk well to create a fragrant, uniform paste that will infuse the chicken with delicious flavor.
-
Season Chicken: Thoroughly pat the chicken thighs dry with paper towels. This crucial step helps ensure super crispy skin. Brush the olive oil and spice mixture generously all over the chicken, making sure to gently lift the skin and rub some seasoning directly onto the meat underneath for maximum flavor. Arrange them in a single layer on a baking sheet, ideally on a wire rack set over the sheet to promote air circulation.
-
Bake and Broil: Bake for 40 minutes, or until the chicken is fully cooked and reaches an internal temperature of 165 degrees F (74°C) when checked with a meat thermometer in the thickest part. For the last 3-5 minutes, switch your oven to the broiler setting to get that perfect golden-brown, extra crispy skin. Watch carefully during broiling to prevent burning.
-
Rest and Serve: Remove the chicken from the oven and let it rest for 5-10 minutes before slicing or serving. This allows the juices to redistribute throughout the meat, ensuring perfectly juicy and tender chicken every time.
Notes
- For the juiciest results and more even cooking, let the chicken rest for 15-20 minutes at room temperature after seasoning and before placing it in the oven.
- Always cook the chicken until the internal temperature reaches 165 degrees F (74°C) in the thickest part, avoiding the bone, to ensure it is safe to eat. A good quality meat thermometer is your best friend here.
- To prevent the chicken from sticking to the pan and to achieve even crispier skin, you can line your baking sheet with parchment paper or, even better, place the chicken on a wire rack set over the baking sheet.
- Feel free to experiment with different seasoning blends to customize the flavor profile (e.g., add a pinch of chili powder for extra heat, or Italian herbs for a Mediterranean twist). The possibilities are endless!
Nutrition
Nutrition information is automatically calculated, so should only be used as an approximation.
Additional Info
Love this simple, delicious recipe? Share your thoughts below!
