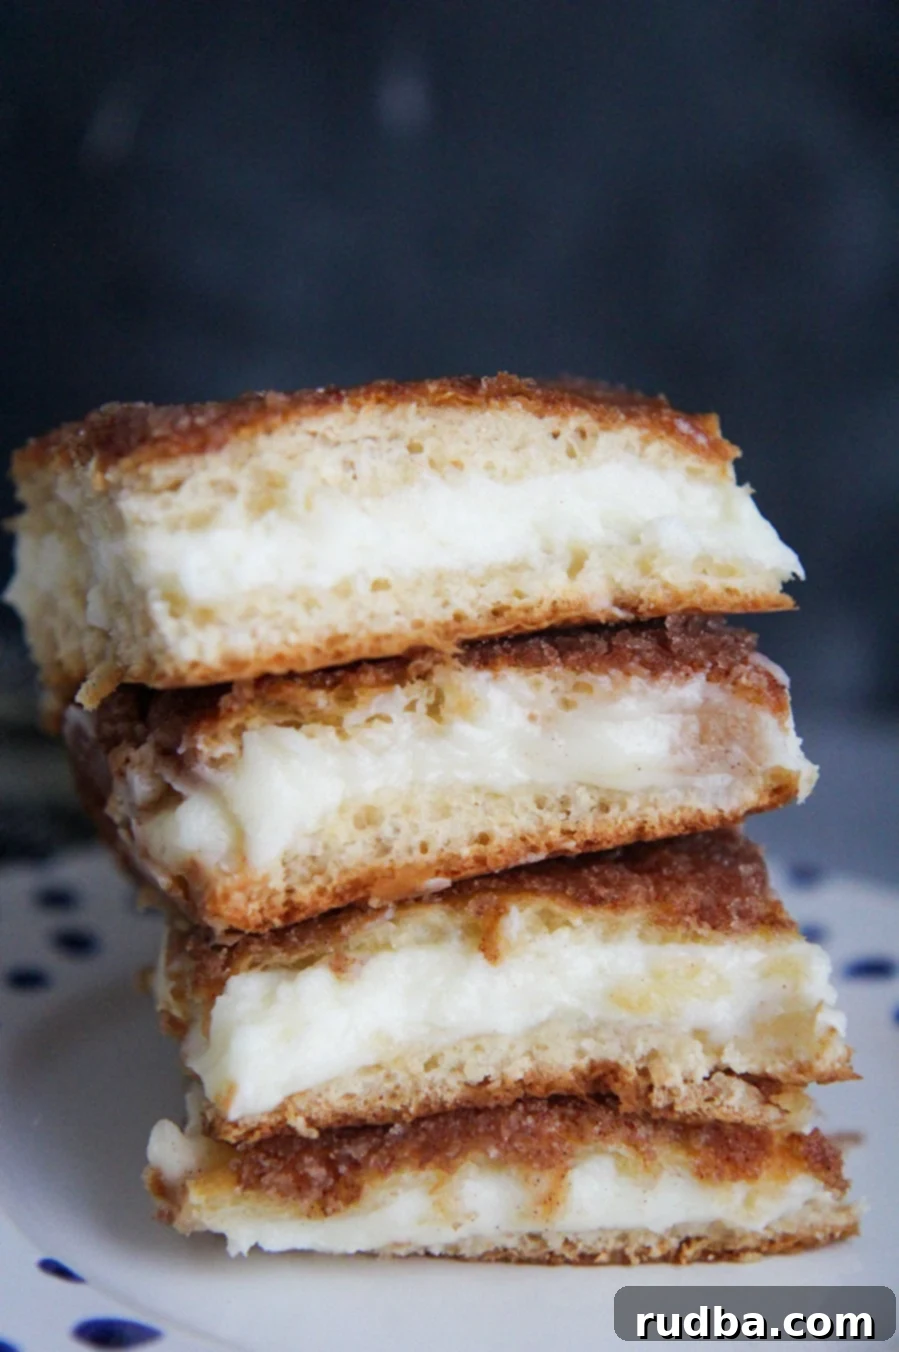
The Easiest Sopapilla Cheesecake Bars Recipe: Mexican-Inspired Dessert Perfection
Prepare yourself for a truly irresistible dessert experience with these incredible Sopapilla Cheesecake Bars. Inspired by the beloved Mexican fried pastry, sopapillas, this recipe brings all the warm, cinnamon-sugar goodness together with a rich, creamy cheesecake filling, all nestled between layers of flaky crescent dough. What makes this recipe an absolute game-changer? It’s hands-down the easiest cheesecake dessert you will ever whip up! Forget about complicated water baths, worrying about cracks, or spending hours in the kitchen. These delightful bars are ready from start to finish in under 50 minutes, making them perfect for a last-minute treat or a simple weekend baking project.
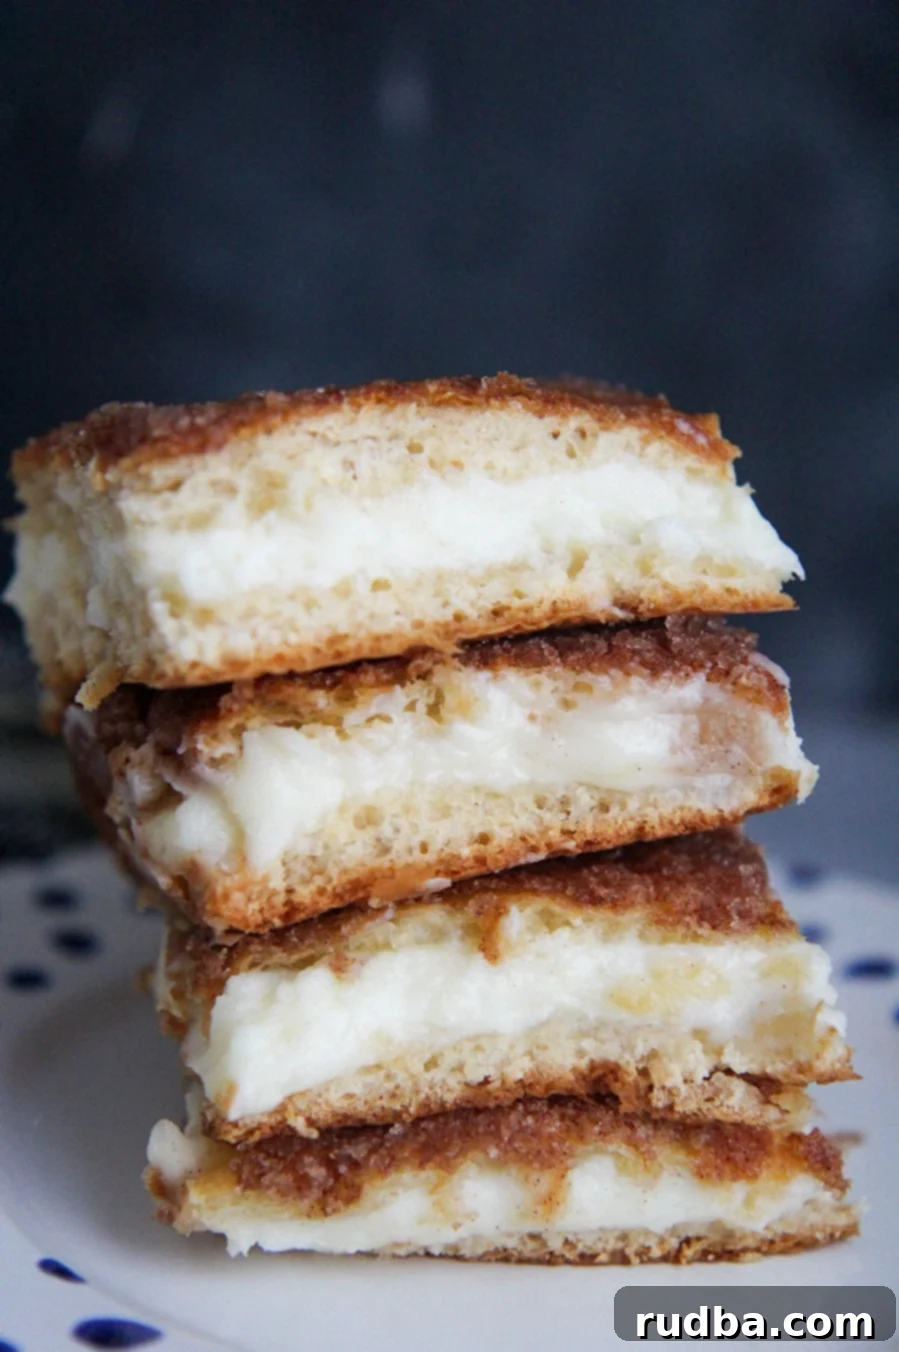
Each bite offers a harmonious blend of textures and flavors – the crisp, golden-brown crescent dough, the smooth, tangy cream cheese, and that signature sweet, spiced topping. Enjoy these mouth-watering bites of heaven with a warm cup of coffee or a comforting mug of tea, transforming them into the ultimate dessert or even a decadent breakfast option.
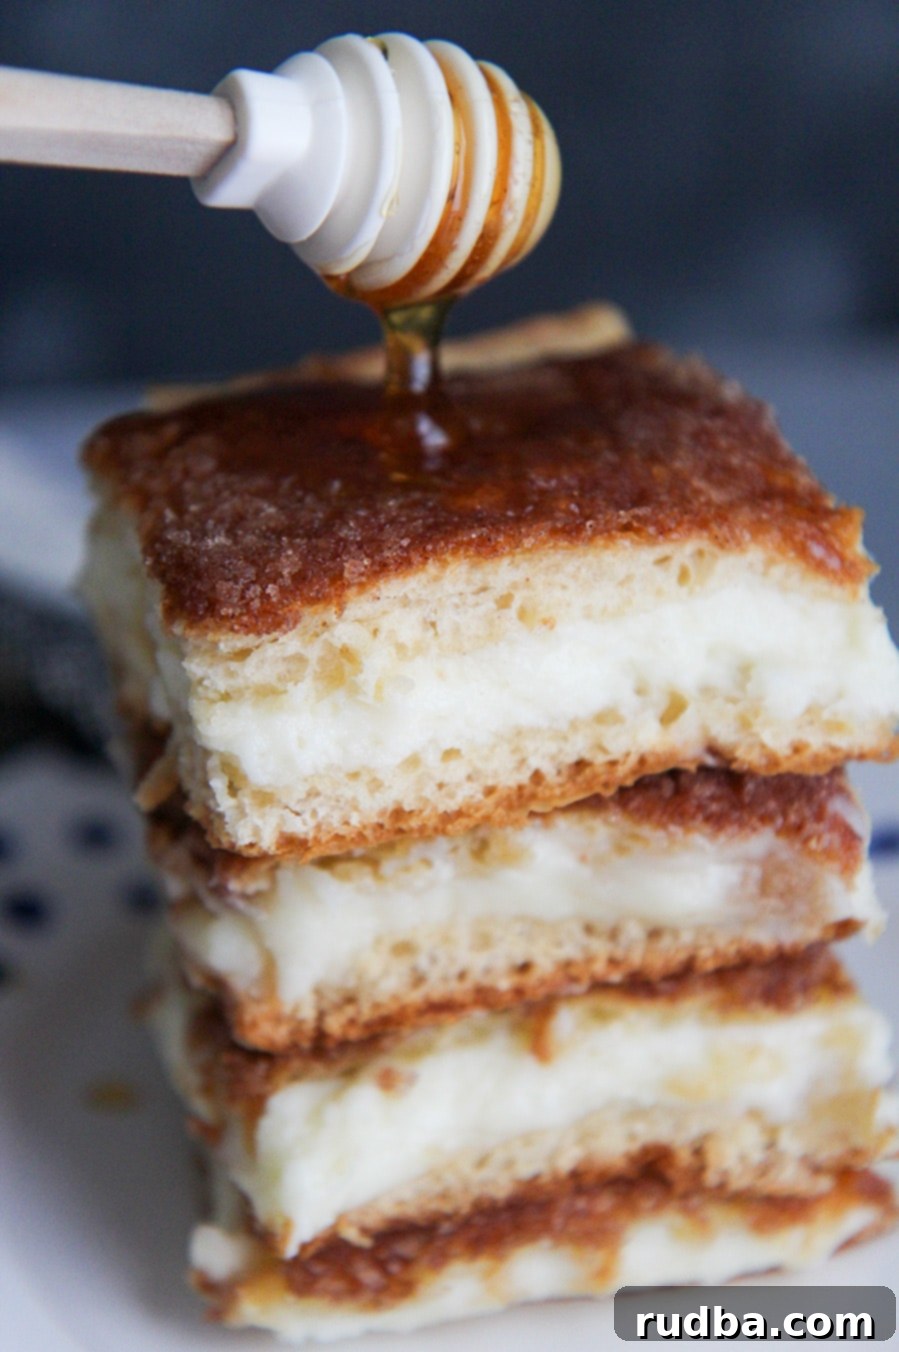
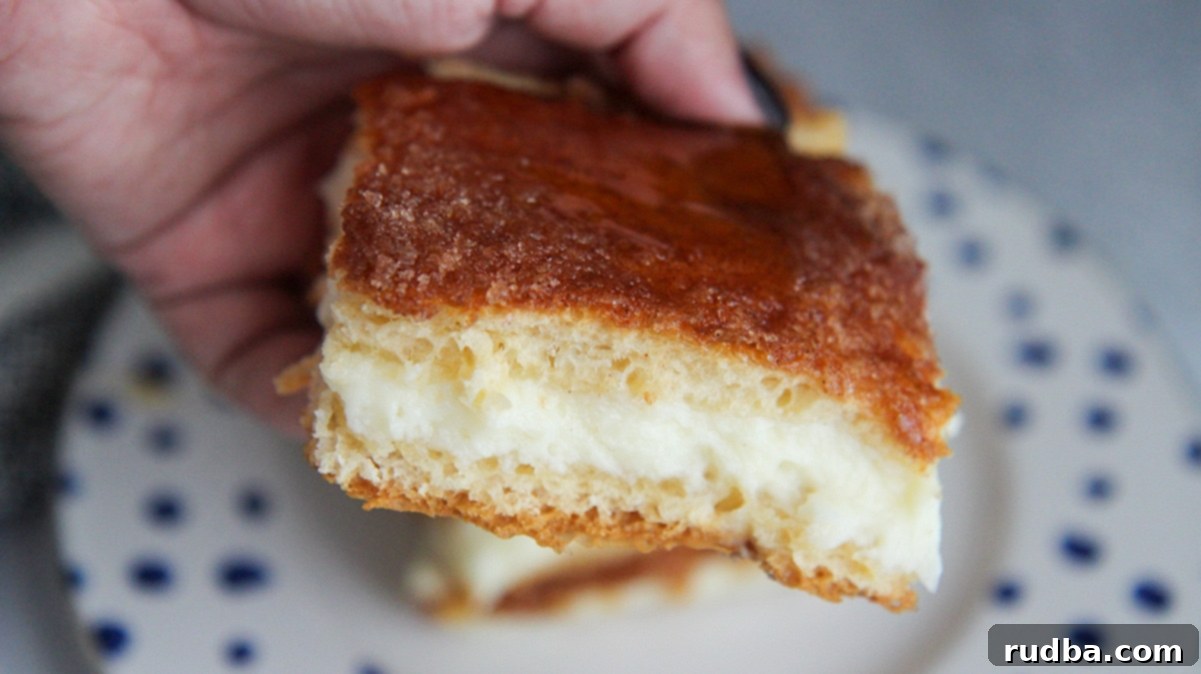
These sopapilla cheesecake bars conjure up memories of freshly made churros. Imagine the delightful crunch and cinnamon sweetness of churros, but instead of being hollow, they’re generously filled with a velvety, rich cream cheese mixture. Now, that’s a dessert fantasy come true! The greatest appeal of this recipe lies in its sheer simplicity. Who could possibly resist a luscious layer of cheesecake beautifully baked between two buttery, flaky sheets of crescent dough? A generous drizzle of golden honey on top is not just recommended, it’s practically a necessity, elevating the flavors to new heights. You can savor these bars warm, straight from the oven, or chilled from the refrigerator – they’re delicious either way. Without a doubt, this recipe yields the best, most crowd-pleasing dessert to bring to any potluck, family gathering, or game-day celebration.
What Exactly Are Sopapillas?
To truly appreciate this cheesecake adaptation, let’s talk about its inspiration: traditional sopapillas. Sopapillas are a beloved fried pastry, particularly popular in Mexican and Southwestern American cuisine. They are typically made from a leavened dough, deep-fried until puffed and golden, then often coated in a delectable cinnamon-sugar mixture or drizzled with honey. The result is a light, airy, and wonderfully sweet treat. While our cheesecake bars aren’t made with fried dough, the magic happens when the crescent dough bakes. It transforms into a light, flaky, and buttery layer that, when combined with the cinnamon and sugar topping, remarkably captures the essence and flavor profile of classic sopapillas. This ingenious shortcut gives you all the deliciousness without the fuss of deep-frying.
Why This Is the Easiest Cheesecake Dessert You’ll Ever Make
Cheesecakes often have a reputation for being finicky, requiring precise temperatures, water baths, and careful cooling to prevent cracks. This Sopapilla Cheesecake Bar recipe throws all those worries out the window. Here’s why it’s destined to become your go-to easy dessert:
- No Water Bath Required: One of the biggest hassles of traditional cheesecake baking is eliminated.
- No Cracks to Worry About: The structure of the crescent dough layers makes cracks a non-issue.
- Minimal Ingredients: You only need five core ingredients, most of which you probably already have.
- Quick Prep Time: Just 10 minutes of active prep is all it takes.
- Fast Baking: It bakes in only 35 minutes, a fraction of the time many cheesecakes demand.
- Foolproof: Even novice bakers can achieve perfect results with this straightforward recipe.
Essential Ingredients for Your Sopapilla Cheesecake Bars
This recipe truly shines with its simplicity, relying on just a few key ingredients to create maximum flavor and ease. Here’s a closer look at what you’ll need and why each component is essential:
- 2 8-ounce Cans Crescent Dough: This is the ingenious base and top layer that gives our bars their signature flaky, buttery texture, reminiscent of traditional sopapillas. Using pre-made crescent dough is the ultimate shortcut for convenience and consistent results. Make sure they are refrigerated until ready to use.
- Softened Cream Cheese (2 8-ounce packages): The heart of your cheesecake filling! It’s absolutely crucial that your cream cheese is *super soft* – ideally at room temperature for at least 30-60 minutes. This ensures a lump-free, silky-smooth filling. Cold cream cheese will result in a clumpy mixture that’s hard to spread and won’t bake evenly.
- Granulated Sugar (1 cup for filling, 3 tbsp for topping): Provides the perfect level of sweetness for both the creamy filling and the crispy, caramelized topping. The sugar in the topping also helps create that delightful, slightly crunchy cinnamon-sugar crust.
- Cinnamon (1 tsp ground): Do not, under any circumstances, omit the cinnamon! This spice is the magical ingredient that infuses the topping with that distinct “sopapilla” or “churro” flavor. It adds warmth, depth, and a wonderfully aromatic quality that truly ties the whole dessert together.
- Melted Butter (4 tbsp, unsalted): Brushing melted butter over the top layer of crescent dough before sprinkling the cinnamon-sugar mixture is key. It helps the sugar and cinnamon adhere, promotes even browning, and contributes to that irresistible golden, slightly crisp crust. Unsalted butter gives you more control over the overall saltiness of the dish.
Step-by-Step Guide: How to Bake Perfect Sopapilla Cheesecake Bars
As I mentioned, this is one of the simplest recipes you’ll ever undertake, yet it yields profoundly delicious results. Just follow these easy steps:
- Prepare Your Oven and Baking Dish: Begin by preheating your oven to a steady 350 degrees Fahrenheit (175°C). While the oven heats, take a 9×13-inch baking dish and generously grease it with non-stick cooking spray or a light coating of butter. This step is crucial to prevent the dough from sticking and ensures easy removal of your bars.
- Lay the First Dough Layer: Carefully unroll one can of crescent dough. Don’t worry about perfect seams; gently press the dough into the bottom of your prepared baking dish, ensuring it covers the entire surface. You might need to pinch seams together lightly to form a continuous base.
- Prepare the Cream Cheese Filling: In a large mixing bowl, combine the softened cream cheese with 1 cup of granulated sugar. Using an electric mixer (or a sturdy whisk), beat the mixture until it’s light, fluffy, and completely smooth. Remember, the cream cheese must be thoroughly softened to avoid any lumps.
- Spread the Cream Cheese Filling: Once your filling is smooth, carefully spread this creamy mixture evenly over the crescent dough in the baking dish. A spatula works best for this, ensuring the layer is consistent from edge to edge.
- Add the Top Dough Layer: Unroll the second can of crescent dough and gently place it directly on top of the cream cheese filling. Again, press lightly to create an even top layer, sealing the delicious filling inside.
- Create the Signature Topping: In a small separate bowl, combine 3 tablespoons of granulated sugar and 1 teaspoon of ground cinnamon. Stir them together until well blended. Next, pour the 4 tablespoons of melted butter evenly over the top layer of crescent dough in the baking dish. Use a pastry brush or the back of a spoon to ensure the butter coats the entire surface. Finally, generously sprinkle the cinnamon-sugar mixture over the buttered dough.
- Bake and Cool: Place the baking dish into your preheated oven and bake for 35 minutes, or until the top is golden brown and the filling is set. Once baked, remove the bars from the oven and allow them to cool at room temperature for at least 20 minutes before attempting to slice into them. This cooling time allows the cheesecake to set properly, making for clean, beautiful cuts.
- The Honey Drizzle Finish: For an extra layer of flavor and that authentic sopapilla sweetness, drizzle the cooled (or slightly warm) sopapilla cheesecake bars with honey just before serving. It’s truly a must-try!
Pro Tips for Success
While this recipe is incredibly easy, a few insider tips can ensure your Sopapilla Cheesecake Bars turn out absolutely perfect every time:
- Room Temperature Cream Cheese is Non-Negotiable: This cannot be stressed enough. Cold cream cheese will result in a lumpy filling. Plan ahead and let it sit on the counter for at least an hour, or gently warm it in the microwave in 15-second intervals until soft but not melted.
- Don’t Skimp on the Cinnamon: The cinnamon is what gives these bars their signature sopapilla flavor. Use fresh, good-quality cinnamon for the best aroma and taste.
- Even Spreading is Key: Take a moment to evenly spread both the bottom crescent dough layer and the cream cheese filling. This ensures uniform baking and beautiful bars.
- Cooling Time is Your Friend: It’s tempting to cut into these warm, but allowing them to cool for the recommended 20 minutes (or even longer) helps the cheesecake filling set completely. This results in cleaner slices and prevents the bars from falling apart. For even firmer bars, refrigerate them for an hour or two after the initial cooling.
- Customize Your Sweetness: While honey is traditional, you can also serve these with a dusting of powdered sugar, a drizzle of chocolate syrup, or even a dollop of whipped cream.
Delicious Variations and Serving Ideas
While perfect as is, these Sopapilla Cheesecake Bars are also wonderfully adaptable. Here are some ideas to customize them or elevate your serving experience:
- Add Fruit: Swirl a thin layer of fruit jam (raspberry, strawberry, or apricot work well) over the cream cheese filling before adding the top crescent layer.
- Nutty Crunch: Sprinkle finely chopped pecans or walnuts over the cinnamon-sugar topping for an added layer of texture.
- Chocolate Lover’s Dream: Mix a handful of mini chocolate chips into the cream cheese filling, or sprinkle them over the top along with the cinnamon sugar.
- Spiced Up: Add a pinch of nutmeg or cardamom to your cinnamon-sugar topping for a slightly different aromatic profile.
- Creamy Accompaniments: Serve warm bars with a scoop of vanilla bean ice cream or a generous dollop of whipped cream. A sprinkle of extra cinnamon on top is always a good idea.
- Brunch Favorite: These bars are surprisingly versatile and can make a fantastic addition to a brunch spread alongside fresh fruit and other pastries.
Storage and Freezing Instructions
One of the many great things about these Sopapilla Cheesecake Bars is how well they store, allowing you to enjoy them for days or even weeks!
- Refrigeration: Once the bars have cooled completely, place them in an airtight container. Alternatively, you can wrap the entire pan tightly with plastic wrap. They will stay fresh and delicious in the refrigerator for up to 2-3 days. The flavors often meld and deepen beautifully after a day in the fridge.
- Freezing: Cheesecake freezes exceptionally well, making these bars perfect for meal prep or saving for a future craving. To freeze, first ensure the bars are completely cool. Then, individually wrap each bar tightly with plastic wrap, and then wrap them again in aluminum foil. This double layer of protection helps prevent freezer burn. Store them in a freezer-safe bag or container. They can be frozen for up to 3 months.
- Thawing: When you’re ready to enjoy a frozen bar, simply remove it from the freezer and let it thaw in the refrigerator overnight. You can also let individual bars sit at room temperature for about 30-60 minutes for a quicker thaw.
If you’ve fallen in love with these decadent Sopapilla Cheesecake Bars, you’ll surely enjoy these rich cheesecake brownies. And for a whimsical and colorful treat, this delightful fruity pebble cheesecake is another absolute favorite! Discover more delicious recipes and engaging cooking tutorial videos on Youtube and Facebook. Happy baking!
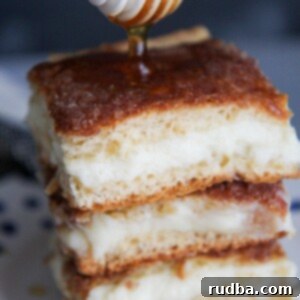
Sopapilla Cheesecake Bars
Save RecipeSaved Recipe
Pin Recipe
Rate Recipe
Print Recipe
Ingredients
- 2 8-ounce cans crescent dough , refrigerated
- 1 cup granulated sugar
- 2 8-ounce packages cream cheese , softened
Topping
- 3 tbsp granulated sugar
- 1 tsp ground cinnamon
- 4 tbsp melted butter , unsalted
Instructions
-
Preheat oven to 350 degrees F (175°C). Spray a 9×13 baking dish with nonstick spray or butter. Unroll one can of crescent dough and press it firmly into the bottom of the baking dish, sealing any seams.
-
In a large bowl, combine the softened cream cheese and 1 cup of granulated sugar. Mix with an electric mixer until the mixture is completely smooth and free of lumps.
-
Spread the cream cheese mixture evenly over the crescent dough layer using a spatula, reaching all edges of the pan.
-
Unroll the second can of crescent dough and carefully place it on top of the cream cheese mixture, pressing gently to secure it.
-
Pour the melted butter over the top layer of dough and spread it evenly across the surface using a pastry brush.
-
In a small bowl, combine 3 tablespoons of granulated sugar and 1 teaspoon of ground cinnamon. Mix well, then sprinkle this cinnamon-sugar mixture generously and evenly over the buttered dough. Bake for 35 minutes, or until the top is golden brown. Allow to cool for 20 minutes before slicing and serving. Drizzle with honey for extra sweetness!
Nutrition
Nutrition information is automatically calculated, so should only be used as an approximation.
Additional Info
Like this recipe? Leave a comment below!
