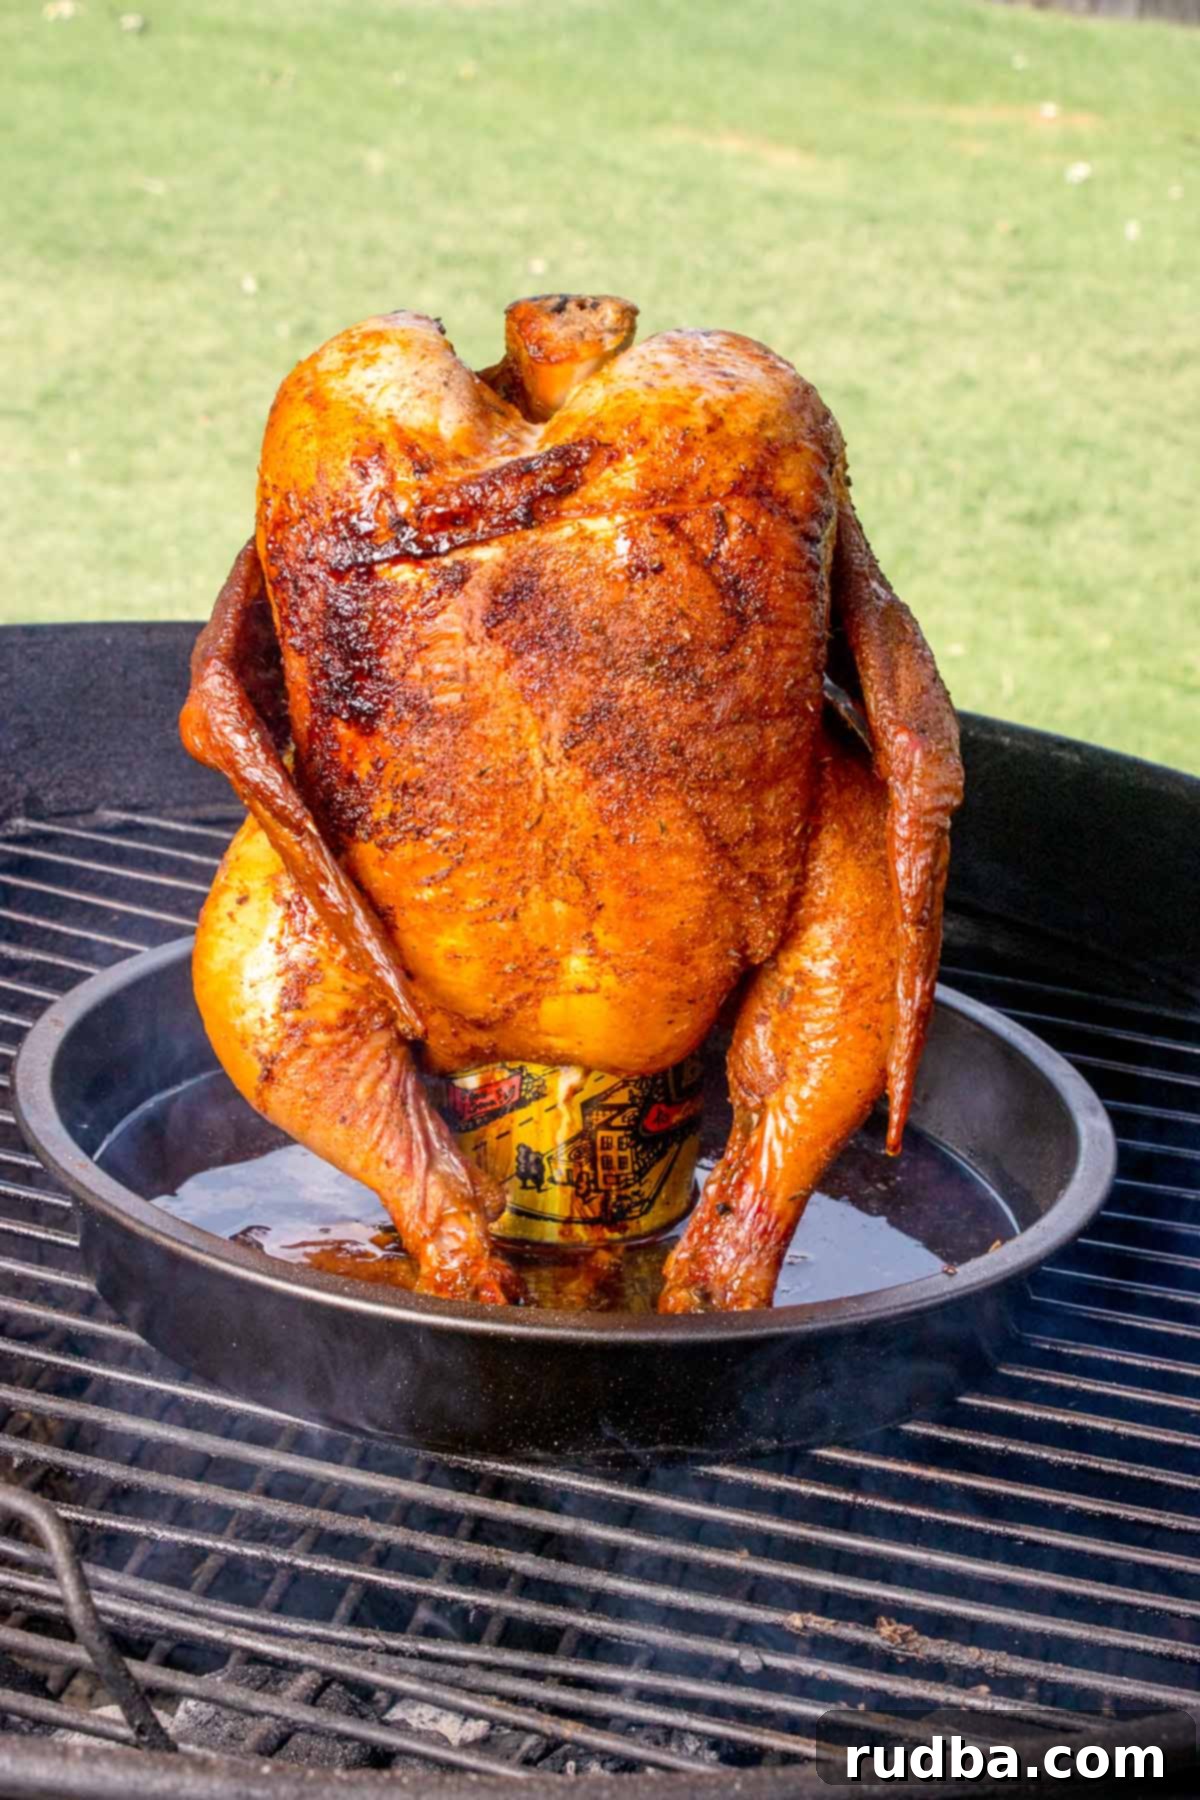
Smoked Beer Can Chicken: The Ultimate Guide to Juicy, Flavorful Perfection on Your Grill
Prepare for an unforgettable backyard barbecue experience with this incredible Smoked Beer Can Chicken recipe! This method is not just incredibly easy, but it consistently delivers a whole chicken that’s unbelievably juicy on the inside with an irresistibly crispy skin on the outside. It’s a game-changer for any BBQ enthusiast, transforming a simple chicken into a show-stopping centerpiece that your family and friends will rave about.
The magic of beer can chicken lies in its unique upright cooking position and the steam created by the beer (or other liquid) inside the cavity. This dual-action approach ensures even cooking, infuses a subtle, aromatic flavor into the meat, and helps render the fat for that coveted golden-brown, crunchy skin. Forget dry, bland chicken – this foolproof technique promises tender, moist results every single time.
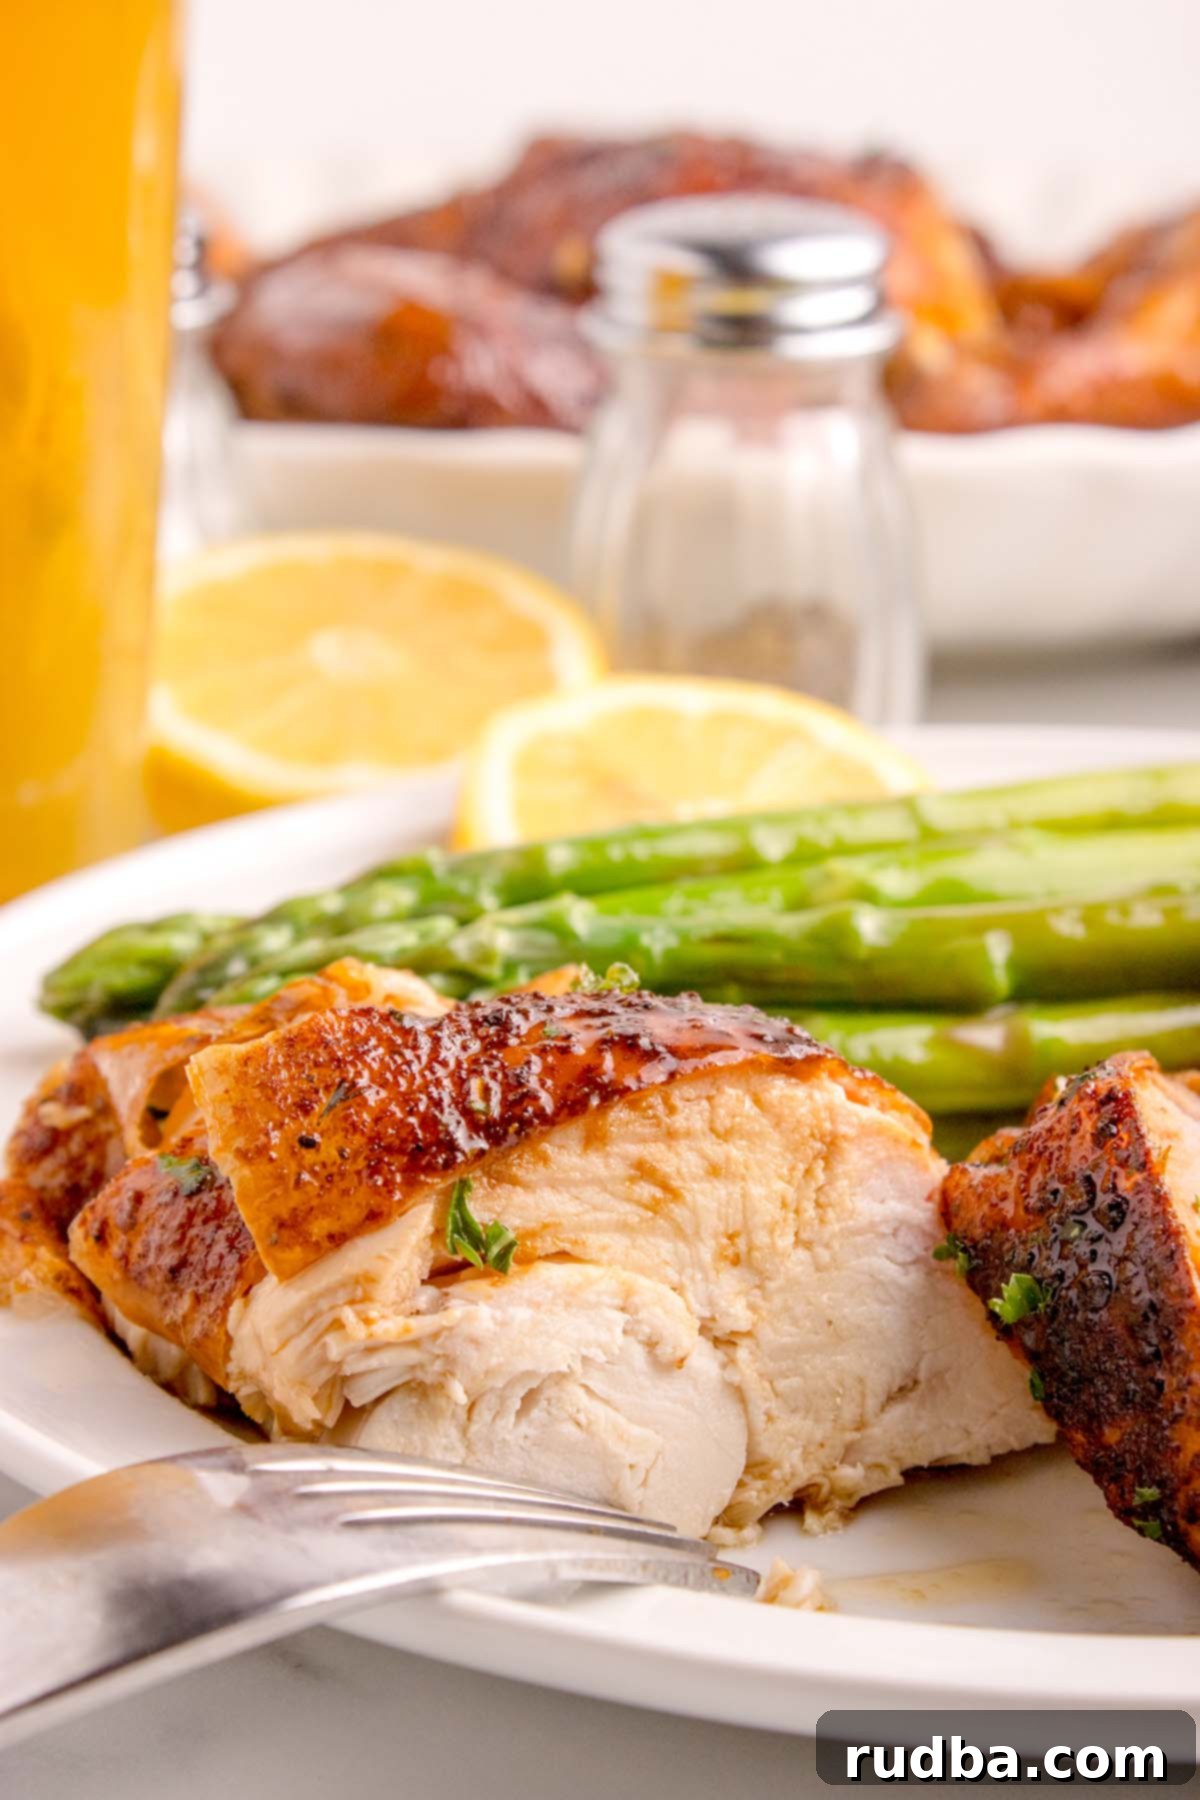
I absolutely love serving this smoked chicken with vibrant roasted asparagus and a creamy macaroni salad, but feel free to get creative with your favorite sides! Whether it’s grilled corn on the cob, mashed potatoes, or a fresh garden salad, this versatile main dish pairs beautifully with a wide array of accompaniments. Get ready to elevate your grilling game and impress everyone with this fantastic recipe!
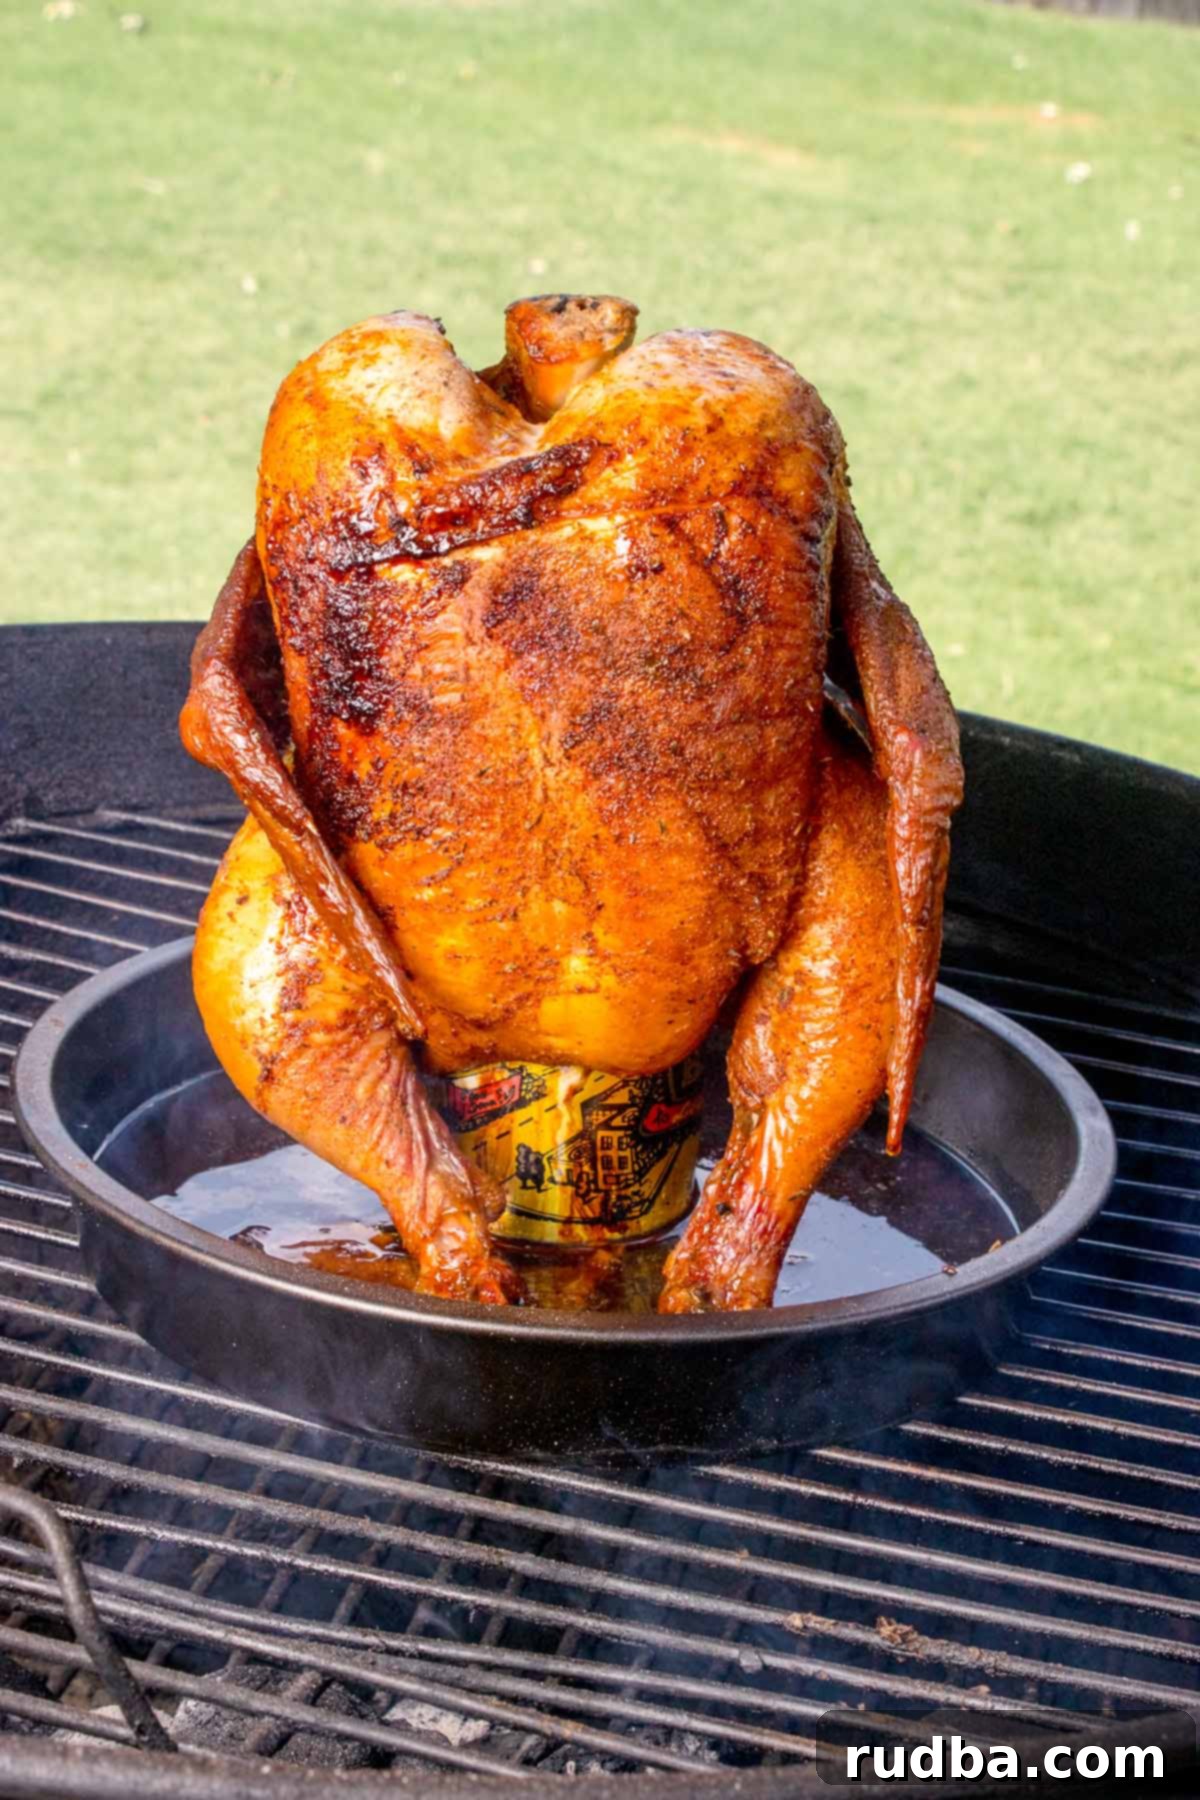
Table of Contents
- Ingredient Notes
- Top Tips for Perfect Smoked Beer Can Chicken
- Storage and Reheating Your Smoked Chicken
- Why Beer Can Chicken Works
- Choosing Your Grill and Smoking Wood
- Perfect Pairing Suggestions
- Frequently Asked Questions (FAQs)
- Smoked Beer Can Chicken Recipe
Ingredient Notes
Refer to the recipe card below for precise ingredient quantities and comprehensive instructions.
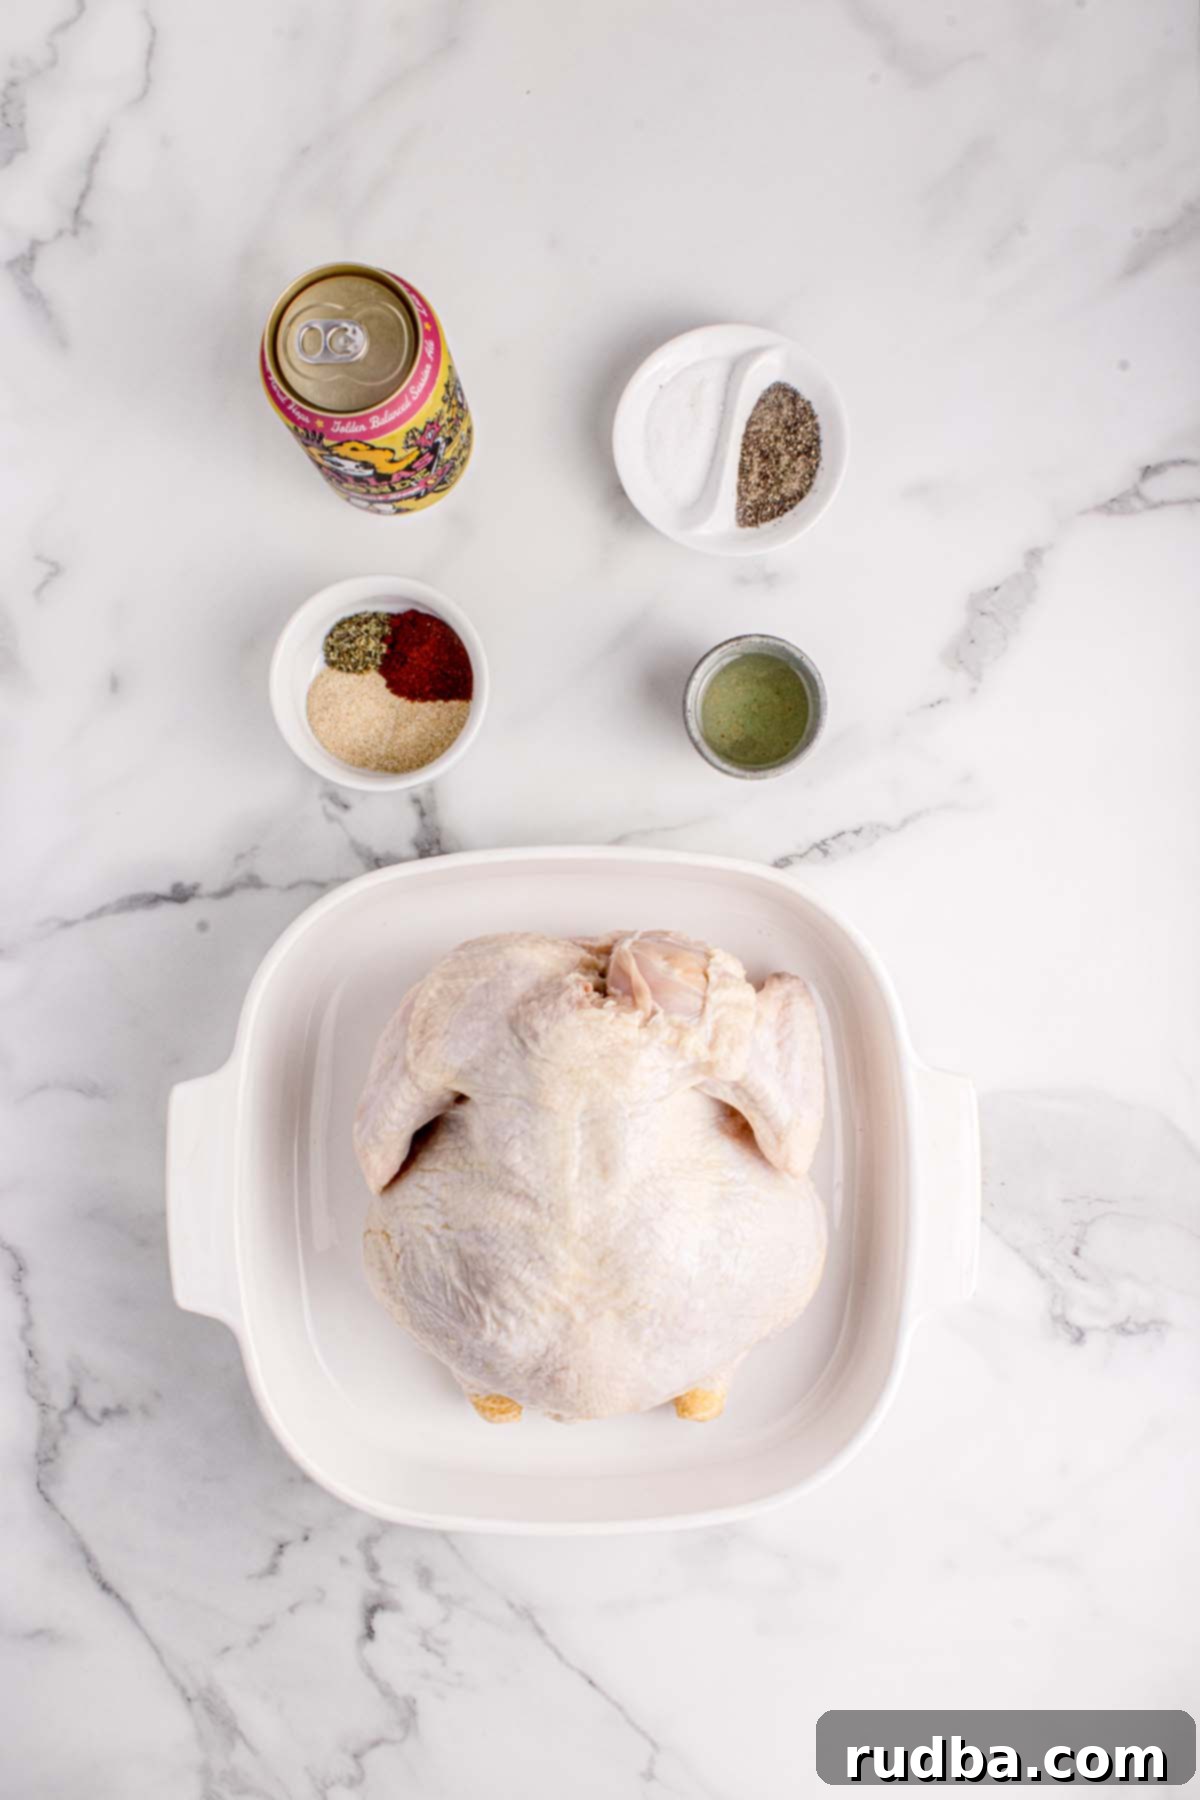
- Chicken – For optimal results, I highly recommend using a fresh whole chicken weighing approximately 4-5 lbs. This size is ideal for fitting on most beer cans and cooks evenly. Look for a chicken that feels plump and has an intact skin, as this will contribute to that beautiful crispy finish. Before applying your rub, ensure the chicken is thoroughly patted dry to help the skin crisp up effectively.
- Beer (or Alternative Liquid) – The beer serves a crucial dual purpose: it steams the inside of the chicken, ensuring the meat remains incredibly moist, while also infusing a subtle, aromatic flavor. While light lagers or ales are excellent choices for their mild, complementary notes, don’t hesitate to use your favorite beer. If you prefer a non-alcoholic option or want to experiment with different flavor profiles, soda (like Dr. Pepper or Coke), chicken broth, root beer, or even apple juice work wonderfully. The key is to use a 12 oz can – glass bottles won’t stand upright safely on the grill. Remember to use room-temperature liquid to avoid slowing down the cooking process.
- Spices for the Dry Rub – My go-to dry rub for this recipe includes a harmonious blend of paprika, garlic powder, onion powder, salt, and black pepper. This combination creates a savory, aromatic crust that perfectly complements the smoky flavor of the chicken. Feel free to adjust the quantities to suit your taste, or add other spices like cayenne pepper for a little kick, brown sugar for a sweet and savory glaze, or dried herbs like thyme and rosemary for an earthy note. The goal is an even, light coating – avoid over-seasoning, as too much rub can burn.
Top Tips for Perfect Smoked Beer Can Chicken
Achieving the perfect smoked beer can chicken is simple when you follow these expert tips, ensuring a consistently juicy and flavorful bird every time:
- Pat the Chicken Dry Thoroughly: This step is non-negotiable for crispy skin. Excess moisture on the chicken’s surface will steam rather than crisp, preventing that delicious golden-brown crust. Use paper towels to pat the entire chicken, inside and out, until it’s as dry as possible before applying olive oil and the spice rub.
- Use Room-Temperature Beer or Liquid: While it might seem minor, using a cold can of beer or liquid can significantly slow down the initial cooking process. A room-temperature liquid starts steaming much faster, promoting more even cooking and internal moisture from the start. Just open your beer and let it sit out for 30 minutes, or simply pour out half and let it warm up slightly.
- Don’t Overcrowd the Rub: While a flavorful rub is essential, applying too thick a layer can lead to burning, especially during the long smoking process. A light, even coat of your spice mixture is what you’re aiming for. This allows the spices to form a delicious crust without becoming bitter or charred. Ensure you get under the wings and thighs for full flavor penetration.
- Avoid Peeking Too Often: Resist the temptation to lift the grill lid frequently! Each time you open the lid, you release valuable heat and smoke, causing the internal temperature to drop and extending your overall cooking time. “If you’re looking, it ain’t cooking” definitely applies here. Only lift the lid when necessary to check the temperature or add more fuel.
- Enhance Flavor with Wood Chips: To truly infuse that delicious smoky essence into your chicken, incorporate wood chips into your charcoal setup or smoker box. For a charcoal grill, place soaked wood chips directly on the lit coals or in a foil packet. For a gas grill, use a smoker box filled with chips. Hickory, apple, cherry, or pecan wood chips are excellent choices for poultry, offering a wonderful depth of flavor.
- Let the Chicken Rest Before Smoking: Bringing your chicken to room temperature for 20-30 minutes before it hits the grill promotes more even cooking. A cold chicken will cook unevenly, with the outside potentially overcooking before the inside reaches the desired temperature. This resting period allows the muscle fibers to relax, preparing the chicken for a perfect cook.
Storage and Reheating Your Smoked Chicken
Proper storage and reheating are key to enjoying your delicious smoked beer can chicken leftovers without sacrificing flavor or moisture.
- Storage: Once your smoked chicken has cooled completely, carve the meat off the bone. Store the carved chicken pieces in an airtight container in the refrigerator for up to 3-4 days. This prevents contamination and maintains freshness.
- Freezing: For longer storage, place the cooled, carved chicken pieces into a freezer-safe bag or airtight container. Remove as much air as possible to prevent freezer burn. The chicken can be frozen for up to 3 months. Thaw overnight in the refrigerator before reheating.
- Reheating:
- Oven (Best Method): To retain moisture and warmth, wrap the whole chicken (if not carved) or individual flavorful chicken pieces tightly in aluminum foil. Reheat in a preheated oven at 325°F (160°C) for 15-20 minutes, or until warmed through. The foil helps to steam the chicken, preventing it from drying out.
- Grill: If you’re planning another outdoor meal, reheat your chicken over indirect heat on the grill. This method can help bring back some of the crispy texture to the skin if desired. Cover the chicken loosely with foil and warm until heated through.
- Microwave (Quick Fix): For a super quick reheat, place chicken pieces on a microwave-safe plate. To prevent drying, microwave at 50% power in short 30-60 second bursts, checking and flipping between intervals. A splash of chicken broth or water can also help keep it moist.
Why Beer Can Chicken Works: The Science Behind the Juiciness
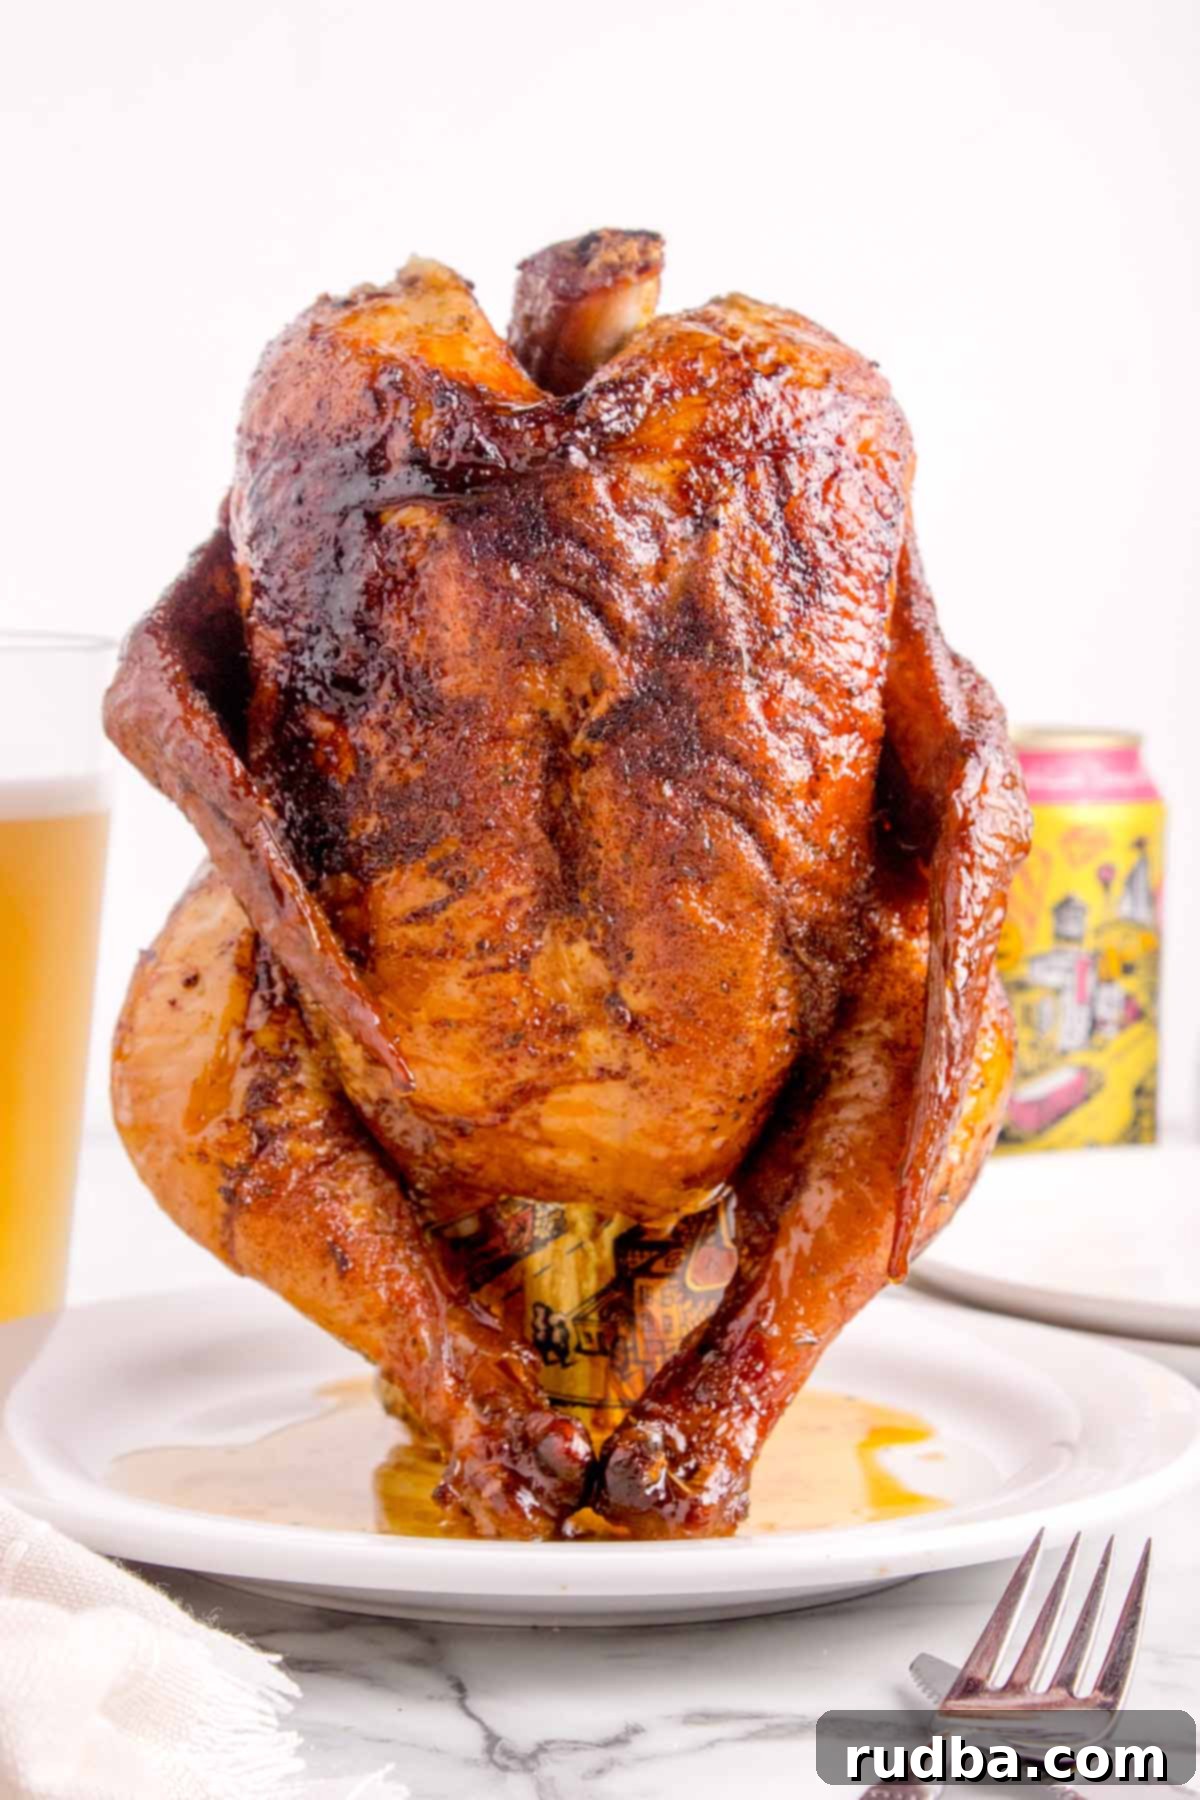
The beer can chicken method might seem unconventional, but there’s solid culinary reasoning behind its popularity. Firstly, cooking the chicken in an upright position ensures that the dark meat (thighs and drumsticks) receives more direct heat, cooking thoroughly without overcooking the more delicate breast meat. This leads to an overall more evenly cooked bird. Secondly, and perhaps most importantly, the beer (or other liquid) inside the can steams the chicken from the inside out. This internal steaming action keeps the breast meat incredibly moist and tender, counteracting its tendency to dry out. As the fat renders from the skin, it drips down, self-basting the lower parts of the chicken and contributing to that beautiful crispy exterior. The evaporating liquid also infuses a subtle flavor into the meat, adding another layer of deliciousness to your smoked chicken.
Choosing Your Grill and Smoking Wood
Charcoal Grill (Weber Kettle Style)
For an authentic smoky flavor, a charcoal grill like a Weber Kettle is ideal. The “lazy snake” method, where you arrange unlit briquettes in a C-shape and ignite a few at one end, provides a long, consistent low-and-slow burn perfect for smoking. This setup allows you to maintain a steady temperature of 250-275°F (120-135°C) for hours. For enhanced smoky flavor, add a few chunks of wood (hickory, apple, or cherry are great for chicken) onto the lit coals at the start of the snake.
Gas Grill
Gas grills offer convenience and precise temperature control. To set up for indirect smoking, light only one or two burners on one side of the grill to medium-low heat, aiming for an internal grill temperature of 250-275°F (120-135°C) on the unlit side. Place your chicken on the unlit side. To introduce smoke flavor, use a smoker box filled with wood chips (pre-soaked for about 30 minutes) directly over the lit burner. This will generate a gentle smoke that infuses into the chicken as it cooks.
Perfect Pairing Suggestions for Your Smoked Beer Can Chicken
A beautifully smoked beer can chicken deserves equally delicious side dishes to complete the meal. Beyond the classic asparagus and macaroni salad, consider these options:
- Creamy Coleslaw: The crisp, tangy crunch of coleslaw provides a refreshing contrast to the rich chicken.
- Baked Beans: Classic BBQ baked beans with their sweet and savory notes are always a hit.
- Grilled Vegetables: Besides asparagus, consider grilling bell peppers, zucchini, or corn on the cob alongside your chicken for an easy, flavorful addition.
- Cornbread: Fluffy, warm cornbread is perfect for soaking up any delicious juices.
- Roasted Potatoes or Sweet Potato Fries: Hearty and satisfying, these sides complement the robust flavors of smoked chicken.
- Green Salad with Vinaigrette: A light, fresh salad can cut through the richness of the chicken, offering a bright counterpoint.
Frequently Asked Questions (FAQs)
- Q: Do I really need to use beer?
A: Not necessarily! While beer adds a subtle flavor, its primary role is to create steam for moisture. You can successfully substitute with chicken broth, apple juice, root beer, or even Dr. Pepper for a different flavor profile. Just ensure it’s a can, not a bottle! - Q: How do I know when the chicken is done?
A: The most accurate way is to use a meat thermometer. The chicken is safe to eat when the internal temperature reaches 165°F (74°C) in the thickest part of the breast and 175°F (79°C) in the thighs. - Q: Can I use different spices for the rub?
A: Absolutely! The spice blend is highly customizable. Feel free to add your favorite herbs like dried oregano or thyme, a touch of brown sugar for a sweeter crust, or a pinch of cayenne for heat. - Q: My chicken skin isn’t getting crispy. What went wrong?
A: Ensure you thoroughly patted the chicken dry before applying the rub. Also, make sure you’re cooking at the right temperature (250-275°F). If your grill temperature is too low, the skin might not crisp up. Avoiding overcrowding the rub can also help prevent burning and promote crispiness. - Q: How do I get more smoke flavor?
A: Use good quality wood chips or chunks (hickory, apple, pecan, cherry are great for poultry). For charcoal grills, place them directly on or near the lit coals. For gas grills, use a smoker box. Don’t overdo it, though, as too much smoke can make the chicken bitter.
Tried This Recipe?
I would absolutely love to hear about your experience! Please take a moment to leave a review below and share your feedback. Your insights are greatly appreciated, and they help others discover and enjoy this delicious recipe too! ❤️
Smoked Beer Can Chicken
Save RecipeSaved Recipe
Pin Recipe
Rate Recipe
Print Recipe
Equipment
-
Grill gas or charcoal, with a lid capable of maintaining consistent low temperatures for smoking.
-
Meat Thermometer essential for accurate internal temperature readings.
-
Baking Pan or Cast Iron Skillet to catch drippings and stabilize the chicken.
-
Chimney Starter if using a charcoal grill.
-
Wood Chips/Chunks for smoking (e.g., hickory, apple, cherry, pecan).
Ingredients
- 1 whole chicken, 4–5 lbs, ensure it’s patted dry for crispy skin
- 1 12 oz can of beer, your choice (light lager or ale recommended, or use non-alcoholic beer, soda, or broth), at room temperature
- 2 tbsp olive oil, for coating the entire chicken, helps the rub adhere and skin crisp
- 1 tsp paprika
- 2 tsp garlic powder
- 2 tsp onion powder
- salt and pepper to taste, season generously, ensuring even coverage for maximum flavor
Instructions
-
Step-by-Step Instructions for Smoked Beer Can Chicken:
-
Step 1. Set Up Your Grill for Indirect Heat and Smoking:
For Weber Kettle (Charcoal Grill): Arrange unlit charcoal briquettes in a “C-shape” along one side of your grill, creating a “lazy snake” for consistent low-and-slow cooking. Light about 10-12 briquettes in a chimney starter until they are fully ashed over (about 15-20 minutes). Carefully place these lit briquettes at the start of your charcoal snake. Add a handful of your favorite wood chips (like hickory or apple) directly onto the lit coals or in a foil packet for additional smoke flavor. Close the grill lid, ensuring the bottom vent is mostly open and the top vent is positioned directly over the unlit side of the grill (where the chicken will sit). Allow the kettle to preheat and stabilize at a temperature between 250–275°F (120-135°C).
For Gas Grill: Turn on only one burner (or burners on one side) to medium-low heat. Ensure all other burners are off. Close the lid and preheat your grill to establish an indirect cooking zone, aiming for a temperature of 250-275°F (120-135°C) on the unlit side. If you’re using wood chips for smoke, place them in a smoker box over the lit burner according to manufacturer instructions.
-
Step 2. Prepare the Chicken for Smoking:
Remove the whole chicken from its packaging and pat it thoroughly dry with paper towels, inside and out. This crucial step helps create incredibly crispy skin. Allow the chicken to sit at room temperature for 20–30 minutes before cooking; this helps it cook more evenly. Brush 2 tablespoons of olive oil generously all over the outside of the chicken’s skin. In a small bowl, mix together the paprika, garlic powder, onion powder, salt, and pepper. Evenly season the entire bird with this dry rub, making sure to get under the wings and around the thighs. Remember, a light, even coat is preferred – do not over-season, as too much rub can burn and turn bitter during the long cook time.
-
Step 3. Prepare the Beer Can Setup:
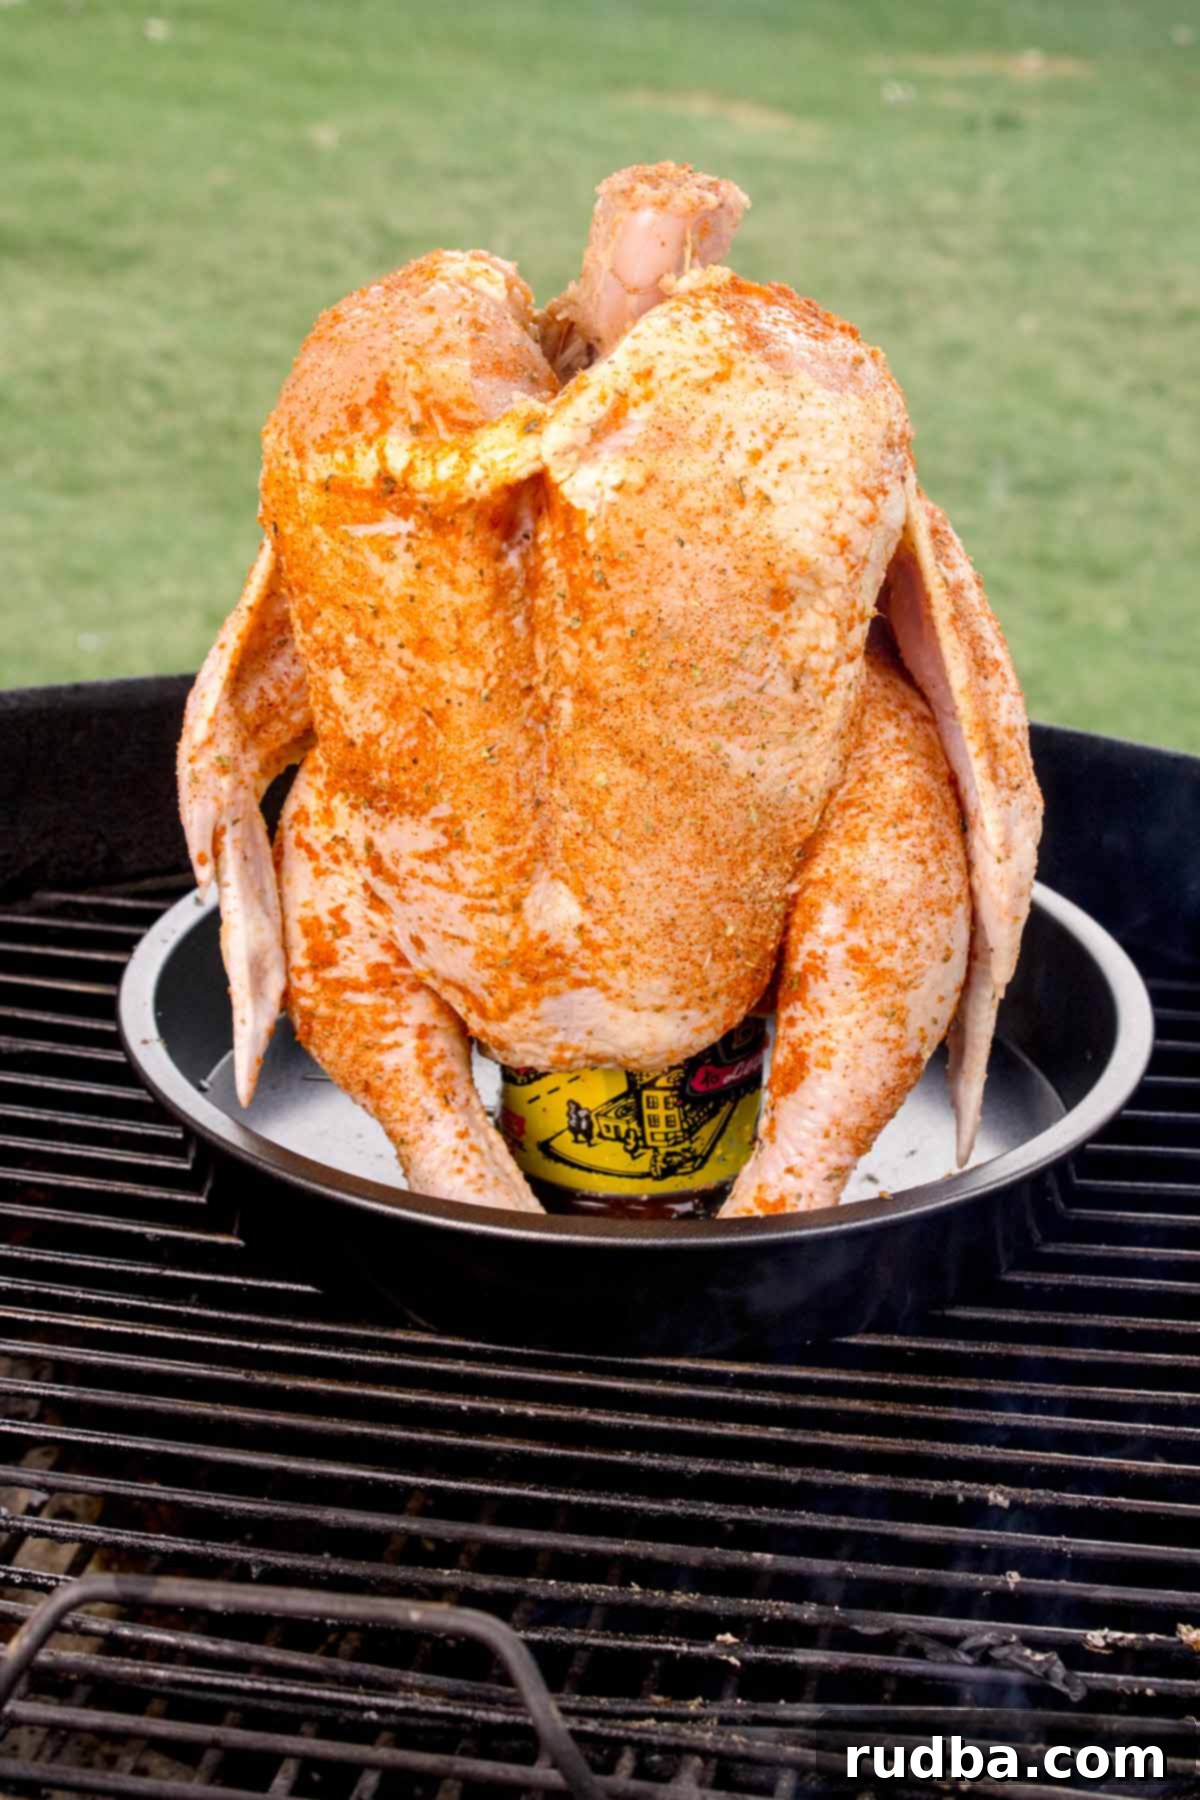
Carefully open your 12 oz can of beer (or chosen liquid). Drink or pour out about half of the liquid. Using room-temperature beer ensures better steaming and doesn’t cool down the chicken prematurely. Place the half-full beer can in the center of a sturdy baking pan, cast iron skillet, small baking sheet, or an aluminum foil pan. This pan will catch any drippings and add stability. Carefully lower the prepared chicken over the top of the can, inserting the can into the chicken cavity until the chicken stands upright and is stable on the can and pan. Tuck the wings behind the back to prevent them from burning.
-
Step 4. Smoke the Chicken Low and Slow:
Carefully transfer the chicken (still on its pan with the beer can) to the cool side of your preheated grill (opposite the lit coals or active burner). Close the grill lid immediately. Cook the chicken at a consistent temperature of 250–275°F (120-135°C) for approximately 2.5 to 3 hours. Resist the urge to open the lid frequently, as this releases heat and smoke, extending the cooking time. Only open the lid if you need to check the temperature of the grill or add more fuel (for charcoal grills, if the temperature starts dropping, add a few more unlit coals to the end of the snake to keep it going).
-
Step 5. Check for Doneness with a Meat Thermometer:
After about 2.5 hours, begin checking the internal temperature of the chicken using a reliable meat thermometer. Insert the thermometer into the thickest part of the breast (without touching the bone) and the thickest part of the thigh. The chicken is fully cooked and safe to eat when:
* The breast reaches 165°F (74°C)
* The thighs reach 175°F (79°C) (dark meat benefits from a slightly higher temperature for tenderness)
-
Step 6. Rest and Serve Your Juicy Smoked Chicken:
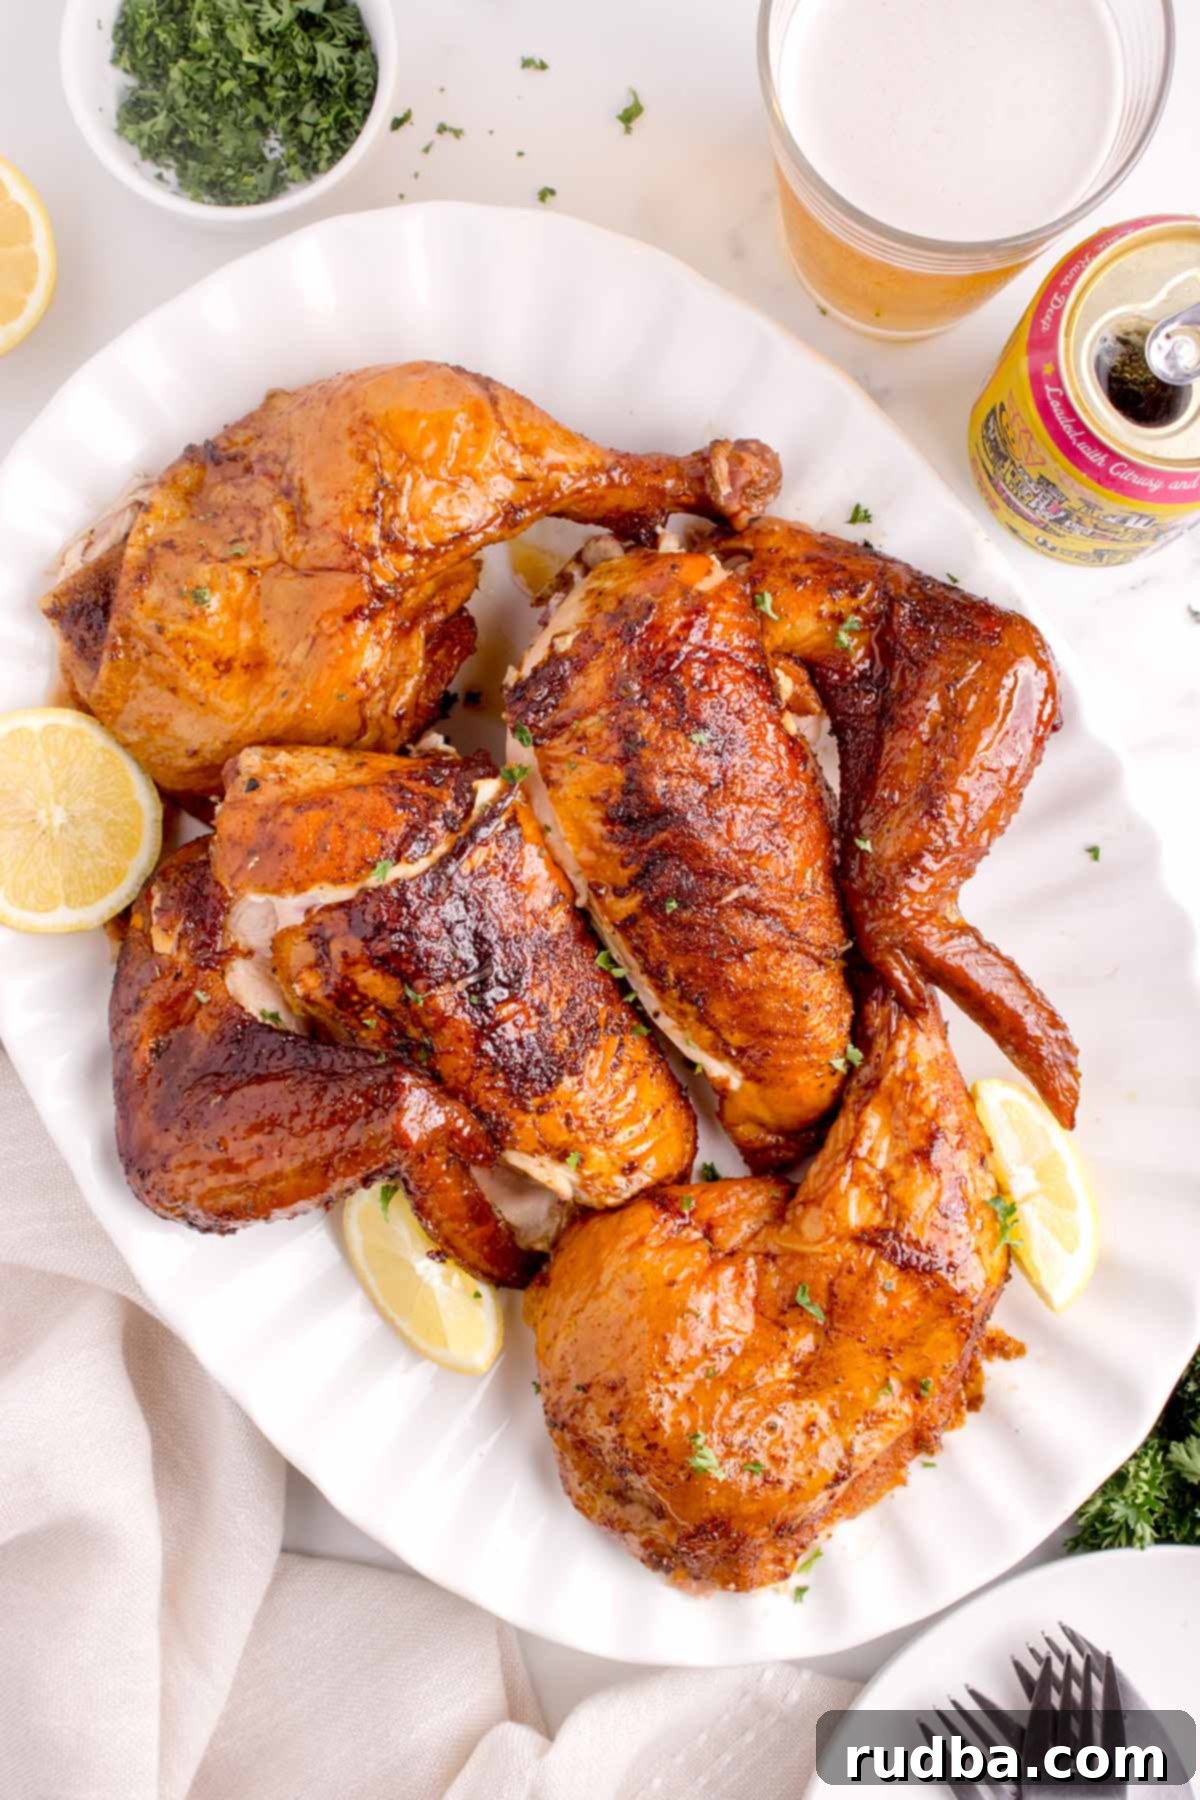
Once the chicken reaches the target internal temperatures, carefully remove it from the grill using sturdy tongs and heat-proof gloves or a thick towel. Transfer the chicken (still on its can/pan) to a cutting board. Allow the chicken to rest for at least 10-15 minutes before carving. This resting period is crucial; it allows the juices to redistribute throughout the meat, resulting in an even more tender and flavorful chicken. After resting, carefully remove the can and carve the chicken. Serve immediately and enjoy your perfectly smoked, incredibly juicy, and flavorful beer can chicken!
Notes
- Dry Chicken for Crispy Skin: Don’t skip patting the chicken dry; it’s the secret to a golden, crispy exterior.
- Room Temp Liquid is Best: Use a warm or room-temperature beer/liquid to ensure consistent steaming and faster cooking.
- Season Smart: Apply an even, light coat of rub. Too much can lead to burning, while too little misses out on flavor.
- Maintain Temperature: Avoid frequent lid lifting to keep heat and smoke inside, ensuring efficient cooking.
- Add Wood Chips: Introduce wood chips to your grill setup for an authentic, deep smoky flavor profile.
- Pre-Cook Rest: Let the chicken sit out for 20-30 minutes at room temperature before cooking for more even results.
Nutrition
Nutrition information is automatically calculated, so should only be used as an approximation.
Additional Info
Love This Recipe? Share Your Thoughts Below!Your feedback helps us grow and inspires other home cooks. We’d truly appreciate hearing about your experience with this Smoked Beer Can Chicken!
