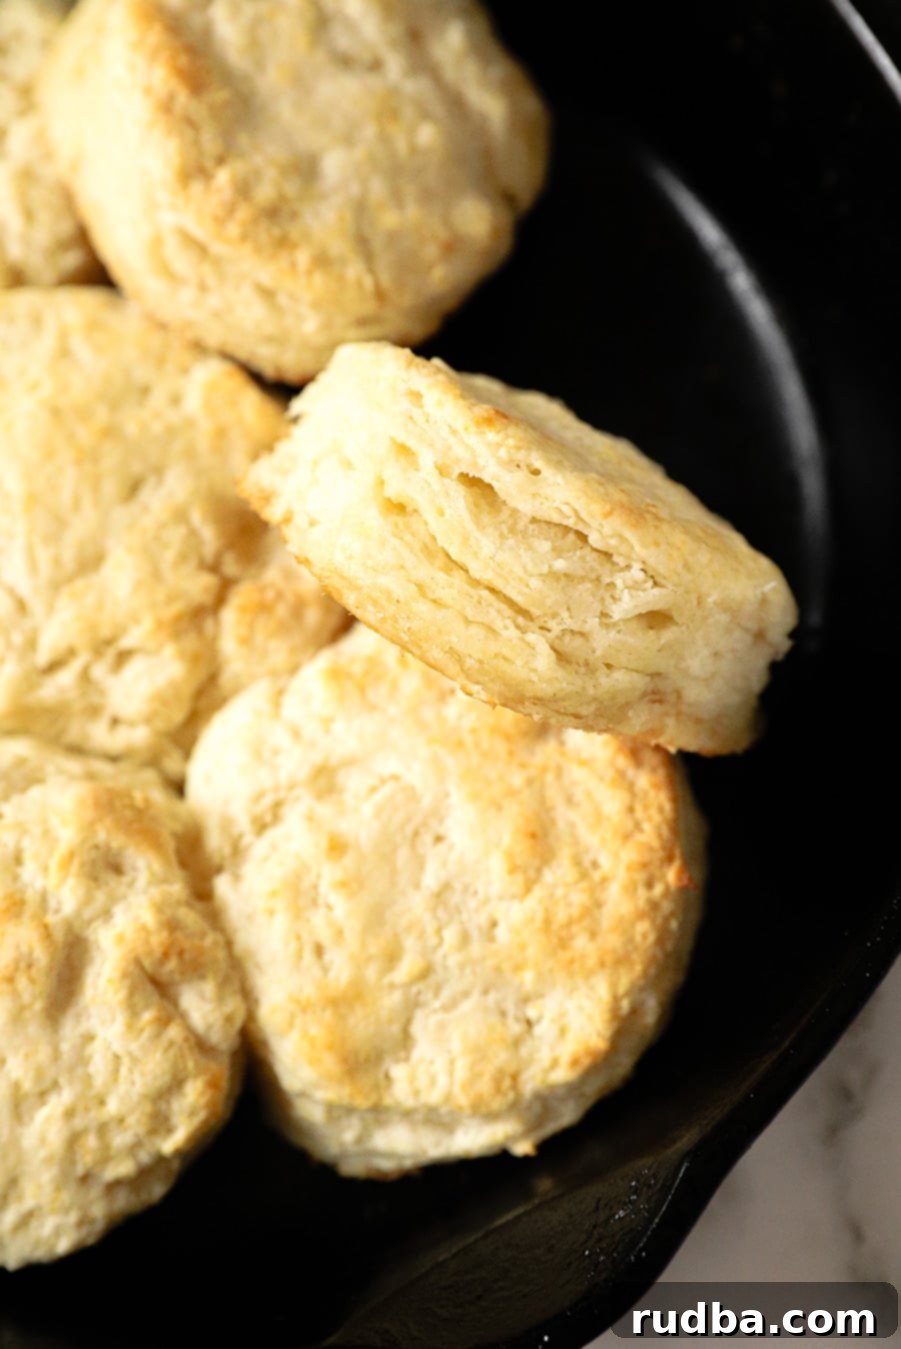
The Ultimate Guide to Making Fluffy Buttermilk Biscuits from Scratch
Rock your morning routine or breakfast spread with these tantalizing homemade buttermilk biscuits. Lightly crispy on the outside and incredibly fluffy on the inside, this recipe requires no yeast and delivers perfect results every time.
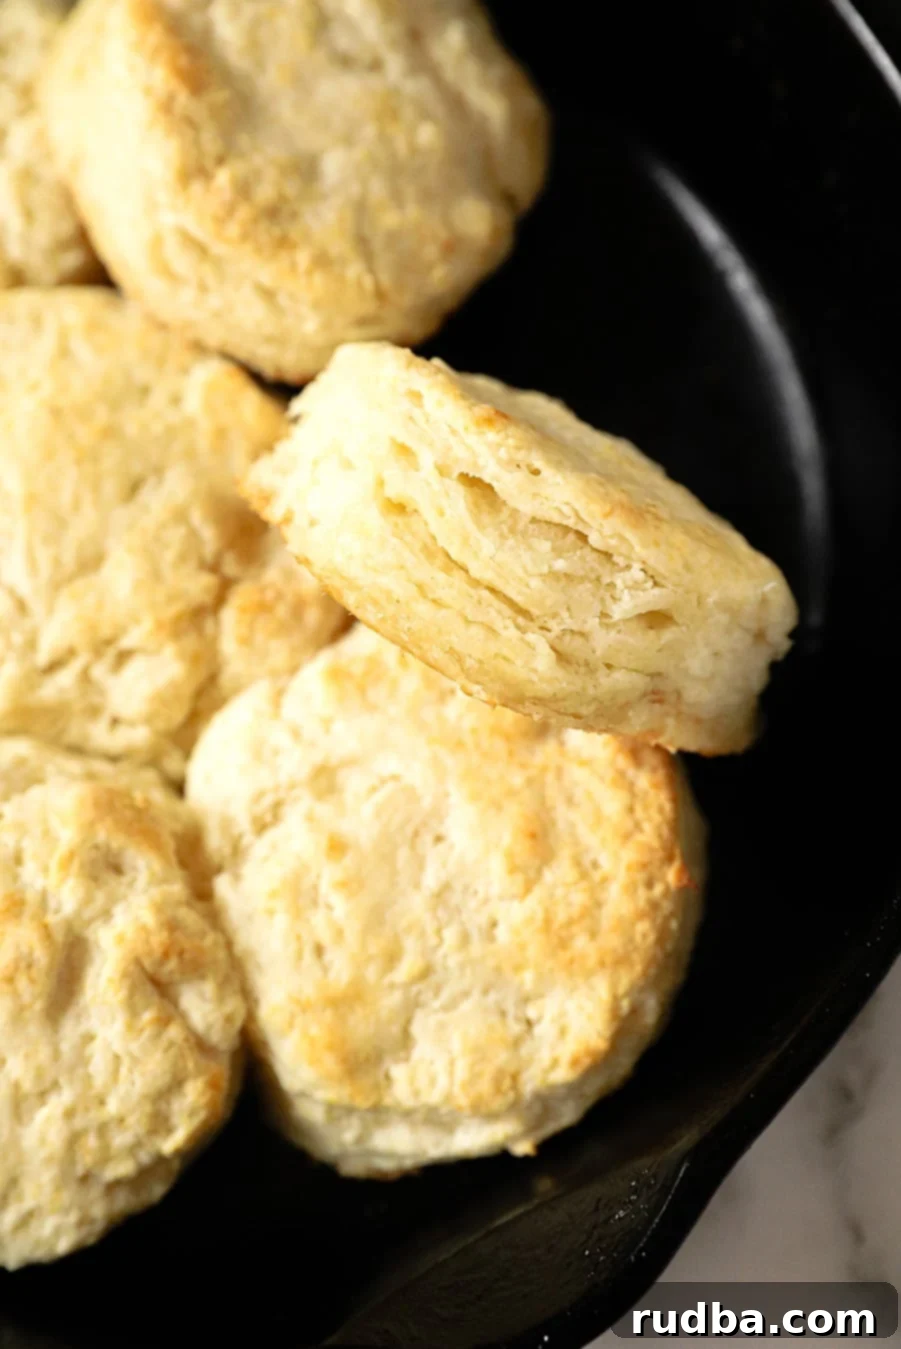
For many, the idea of a truly good biscuit often conjures images of yeast-leavened dough, but we’re here to debunk that myth! As you’ll discover, you absolutely do not need yeast to create stellar, towering buttermilk biscuits that are bursting with flavor and boast an irresistible texture. With our detailed, easy-to-follow directions, you’ll effortlessly whip up a batch of these fluffy, golden-brown treats that your family will adore. Whether you choose to share them or keep them all to yourself, the satisfaction of baking homemade biscuits from scratch is unparalleled. These biscuits are versatile enough for a savory breakfast sandwich, a sweet treat with jam, or a comforting side dish for dinner.
How to Make Perfect Buttermilk Biscuits from Scratch
Crafting homemade buttermilk biscuits might seem intimidating, but with this step-by-step guide, you’ll master the technique in no time. The key lies in carefully combining your ingredients and handling the dough just right to achieve that coveted light, flaky texture.
- Prep Your Workspace and Oven – Begin by preheating your oven to a high temperature of 455 degrees F. This initial blast of heat is crucial for a good “oven spring,” helping your biscuits rise quickly and dramatically. While the oven heats, generously grease a cast-iron skillet or a sturdy baking sheet. A well-greased surface ensures your biscuits don’t stick and develop a beautiful golden crust on the bottom.
- Combine Dry Ingredients and Cut in Butter – In a large mixing bowl, combine the all-purpose flour, baking powder, baking soda, and salt. Whisk these dry ingredients together thoroughly to ensure the leavening agents are evenly distributed, which is essential for uniform rise. Next, add the cold unsalted butter, cut into small cubes. Using a pastry blender, two knives, or even your fingertips, cut the butter into the flour mixture until it resembles coarse crumbs with some pea-sized pieces remaining. The cold butter creates pockets of steam in the oven, leading to those signature flaky layers.
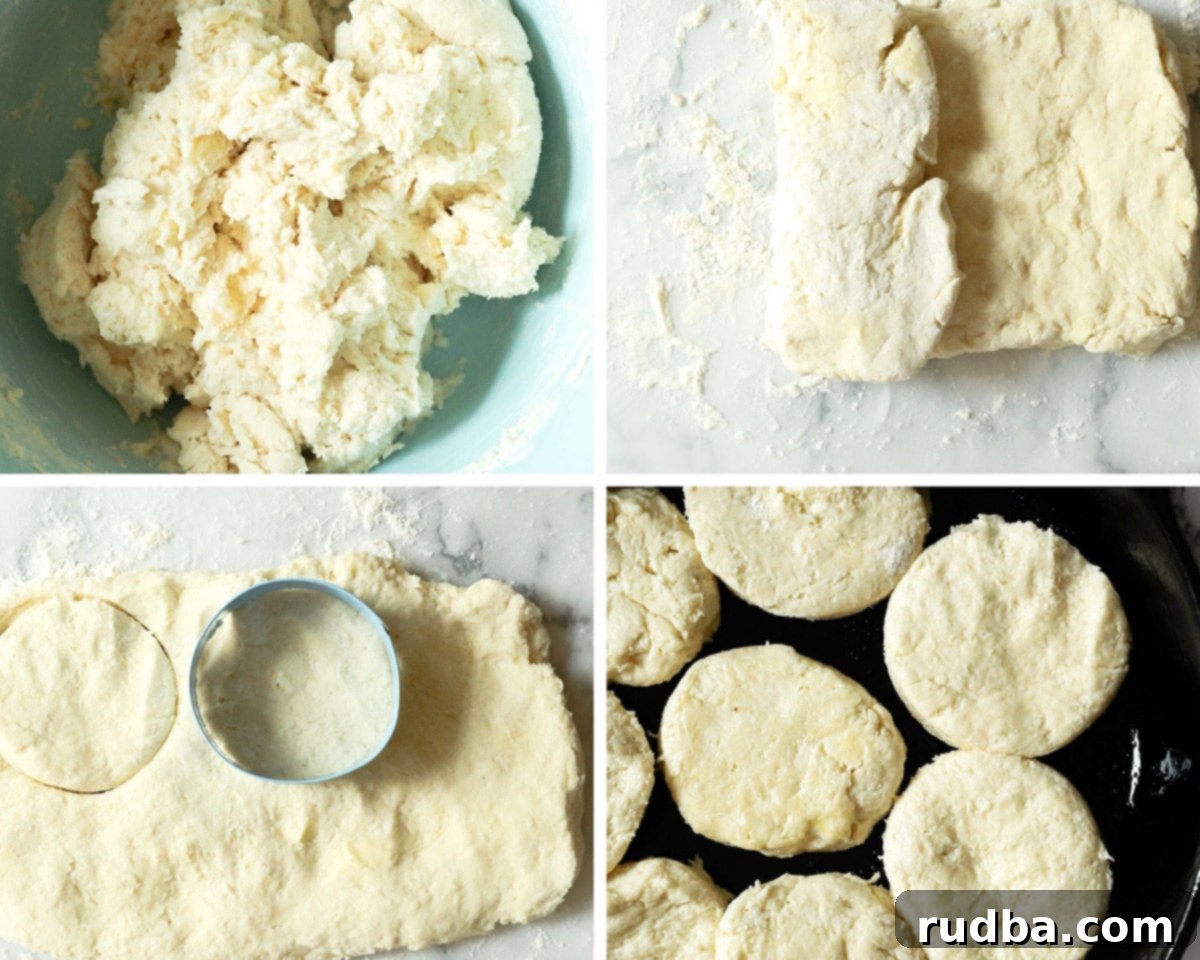
- Gently Incorporate Buttermilk – Create a small well in the center of your dry mixture. Pour in the cold buttermilk. Mix with a spoon or your hands until the ingredients are just combined. It’s incredibly important not to overmix at this stage. The dough will still look shaggy and slightly sticky, and that’s exactly what you want. Visible chunks of butter are also a good sign, indicating potential for flakiness. Overmixing develops gluten, which can lead to tough, dense biscuits.
- Fold and Laminate the Dough – Lightly flour your work surface and turn the shaggy dough out onto it. Gently pat or shape the dough into a rough rectangle. Now, perform a series of folds: fold one side into the center, then fold the other side over that, like a letter. Rotate the dough 90 degrees and repeat this folding process a couple of times. This technique, known as lamination, helps create multiple thin layers in your dough, which translate into incredibly flaky biscuits. Flatten the dough gently between each fold.
- Cut the Biscuits – Roll out the dough to an even 1-inch thickness. Using a 3-inch biscuit cutter (or a clean glass rim if you don’t have a cutter), press straight down into the dough without twisting. Twisting the cutter can seal the edges of the biscuit, preventing it from rising as high. Continue cutting until you’ve used as much dough as possible, gently re-patting and folding scraps if necessary (but try not to overwork them).
- Bake to Golden Perfection – Place the cut biscuits onto your prepared baking sheet or into the cast-iron skillet, ensuring they are touching each other. This close placement encourages them to rise upwards rather than spreading outwards. Brush the tops of the biscuits with melted unsalted butter for a beautiful golden finish and added flavor. Bake for approximately 15 minutes, or until the tops are golden brown. For an extra crispy top, broil for just 1 minute at the very end, watching carefully to prevent burning. Serve these warm, fluffy biscuits immediately and savor every bite!
Why Are My Homemade Biscuits Flat? Common Pitfalls to Avoid
Flat biscuits can be a common frustration for home bakers, but understanding the culprits can help you achieve tall, fluffy perfection. The primary reason for flat, dense biscuits is often **overworking the dough**. When you knead or handle biscuit dough too much, you develop the gluten in the flour. While gluten development is desirable for chewy breads, it creates a tough, elastic structure that traps the leavening agents and prevents the biscuits from expanding and rising properly. For light and soft biscuits, you want a delicate structure with internal pockets for air and steam to expand during baking. Overworked dough loses these crucial air pockets, resulting in a compact, brick-like texture instead of a tender crumb.
Other factors can contribute to flat biscuits:
- **Warm Ingredients:** If your butter or buttermilk aren’t cold enough, the butter will melt into the flour too quickly, preventing the creation of those steam pockets vital for flakiness and lift.
- **Old Leavening Agents:** Baking powder and baking soda lose their potency over time. Always check their expiration dates. To test baking powder, add a teaspoon to warm water; it should fizz immediately. For baking soda, add a teaspoon to vinegar; it should also fizz.
- **Twisting the Cutter:** When cutting biscuits, press straight down without twisting. Twisting can seal the edges of the biscuit dough, hindering its ability to rise upwards in the oven.
- **Not Enough Butter/Fat:** Fat contributes significantly to the tender, flaky texture. If there isn’t enough fat, or if it’s not properly cut into the flour, biscuits can turn out dense and flat.
- **Insufficient Oven Temperature:** A high initial oven temperature is crucial for “oven spring” – the rapid rise of the dough. If the oven isn’t hot enough, the leavening agents won’t activate quickly and effectively, leading to less rise.
Top Tips for Baking the Best Buttermilk Biscuits
Achieving bakery-quality homemade biscuits is within your reach! Follow these expert tips to ensure every batch is a success:
- Consider a Food Processor (with caution) – While I highly recommend mixing biscuit dough by hand for better control over the butter incorporation and to avoid overworking, a food processor can be used if you’re short on time. Pulse the dry ingredients first, then add the cold butter and pulse quickly until coarse crumbs form. Finally, add the buttermilk and pulse just a few times until the dough barely comes together. Be extremely careful not to overmix, as it’s very easy to do with a machine. Hand-mixing allows you to feel the dough’s texture and stop precisely when it’s ready.
- Embrace Your Cast-Iron Skillet – Baking your homemade biscuits in a cast-iron skillet isn’t just for aesthetics; it truly enhances the final product. Cast iron heats evenly and retains heat exceptionally well, leading to a consistently golden-brown, slightly crisp bottom crust while keeping the interiors wonderfully soft. If you don’t have a cast-iron skillet, a heavy-duty baking sheet will work, but the skillet offers a slight advantage in heat distribution.
- Make the Biscuits Touch – This is a secret weapon for taller, softer biscuits! When arranging your cut biscuits on the baking sheet or in the skillet, place them so their sides are just touching. As they bake, the biscuits support each other, forcing them to rise upwards instead of spreading out horizontally. This technique ensures a higher rise and a beautifully tender crumb. You’ll see this same technique used in many professional bakeries and with recipes like Onion Rolls.
- The Golden Rule: Do Not Overwork the Dough – This cannot be stressed enough. Overworking the dough is the number one reason biscuits turn out tough and flat. Mix just until combined, handle minimally on the floured surface, and avoid excessive kneading. You want the dough to be shaggy, slightly sticky, and still show visible flecks of butter. This gentle handling ensures a tender, flaky texture that’s the hallmark of a perfect biscuit.
- Alternative Biscuit Cutters – If you don’t own a specific 3-inch biscuit cutter, don’t fret! A round cookie cutter of a similar size will work perfectly. You can also use the rim of a clean glass. Just remember the crucial technique: press straight down firmly and lift straight up. Avoid twisting, as this can seal the edges and prevent your biscuits from rising to their full potential. If using a smaller cutter, like a 2-inch, your yield will increase, and baking time might slightly decrease.
- Keep Everything Cold – The success of flaky biscuits hinges on cold butter and cold buttermilk. Cold butter creates steam pockets as it melts in the hot oven, which contributes to flakiness. Cold buttermilk helps keep the butter solid longer and reacts with the baking soda for optimal rise. If your kitchen is warm, you can even chill your dry ingredients and mixing bowl for a few minutes before starting.
- Don’t Twist the Cutter – As mentioned previously, when cutting your biscuits, press your cutter straight down into the dough and lift it straight back up. Twisting the cutter seals the edges of the biscuit, which inhibits its ability to rise freely and creates those beautiful layers.
- Brush with Melted Butter – For an extra layer of flavor and a gorgeous golden-brown top crust, brush your unbaked biscuits with a little melted unsalted butter just before they go into the oven. This small step makes a big difference in presentation and taste.
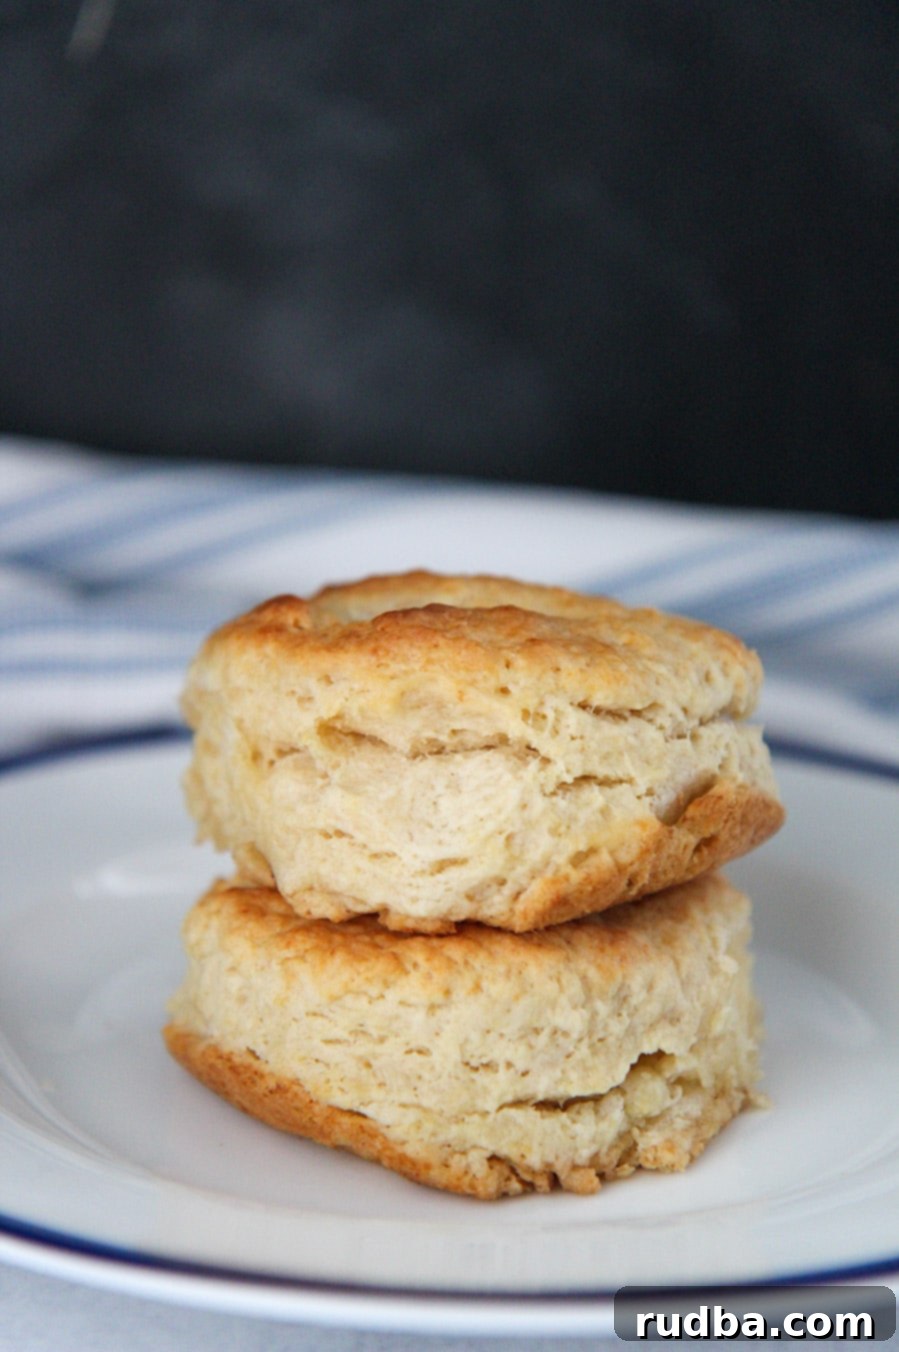
Storage and Reheating Tips for Freshness
While homemade buttermilk biscuits are best enjoyed warm and fresh from the oven, you can certainly store leftovers or prepare them in advance. Here’s how to keep your biscuits delicious:
- Pantry Storage – Once completely cooled, store your baked buttermilk biscuits in an airtight container at room temperature for up to 2-3 days. Make sure they are fully cool before sealing, as any residual warmth can create condensation and make them soggy.
- Fridge Storage – For extended freshness, place cooled biscuits in an airtight container and store them in the refrigerator for up to one week. The colder temperature helps maintain their quality for a longer period.
- Freezer Storage (Baked) – Cooked biscuits freeze exceptionally well! Place cooled biscuits in a single layer on a baking sheet and freeze until solid (about 1-2 hours). Transfer the frozen biscuits to a freezer-safe bag or airtight container. They will keep well in the freezer for up to 2 months. This is a fantastic way to always have homemade biscuits on hand for busy mornings.
- Freezer Storage (Unbaked) – For ultimate freshness, you can also freeze unbaked biscuit dough! Cut out your biscuits, place them on a parchment-lined baking sheet, and freeze until solid. Then, transfer to a freezer bag. When ready to bake, place frozen biscuits on a baking sheet (they can still be touching) and bake at the recommended temperature, adding a few extra minutes to the baking time (typically 18-20 minutes).
- Reheating Baked Biscuits – The best way to reheat biscuits is in the oven. Preheat your oven to 300°F (150°C). Place the biscuits on a baking sheet and heat for 7-10 minutes, or until warmed through. This method helps restore their crispy exterior and soft interior. If using a microwave, heat for 20-30 seconds. To prevent them from drying out in the microwave, you can wrap them in a slightly damp paper towel.
If you loved this homemade buttermilk biscuit recipe, you’ll surely enjoy these Onion Rolls, which share a similar comforting appeal. Another favorite that perfectly complements any meal is our Ultimate Buttermilk Cornbread. For more delicious recipes, cooking tutorial videos, and inspiration, make sure to follow us on YouTube and Facebook!
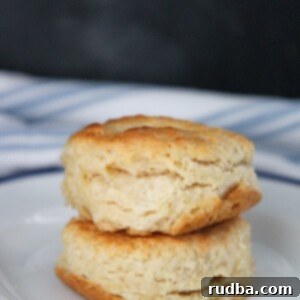
The Ultimate Buttermilk Biscuits
Save RecipeSaved Recipe
Pin Recipe
Rate Recipe
Print Recipe
Ingredients
- 4 cups all-purpose flour
- 2 tsp Kosher salt
- 4 tsp baking powder
- 1 tsp baking soda
- 1 1/2 cups buttermilk , cold and shaken
- 1 cup unsalted butter , cold and cut into cubes
- 3 tbsp unsalted butter , melted
Instructions
-
Preheat oven to 450 degrees F and grease a cast- iron skillet or an oven-safe baking sheet.
-
In a large bowl, combine the flour, baking powder, baking soda, and salt. Mix well. Add the cold butter and use a pastry cutter to combine the cold butter and the flour mixture. Do not overwork the dough, you want the mixture to resemble coarse crumbs.
-
Add the buttermilk and mix until well combined but do not over mix too much. You want to be able to still see butter chunks throughout the dough.
-
Flour your work surface, and place the dough on the work surface. Sprinkle the dough with a tsp of flour and knead for 5 minutes. Roll the dough out to a 1-inch thickness sheet and cut with a floured biscuit cutter or glass.
-
Place the biscuits in the greased skillet and brush the tops with melted butter. Bake for 15 minutes. Broil for 1 minute. Enjoy warm!
Nutrition
Nutrition information is automatically calculated, so should only be used as an approximation.
Additional Info
Like this recipe? Leave a comment below!
