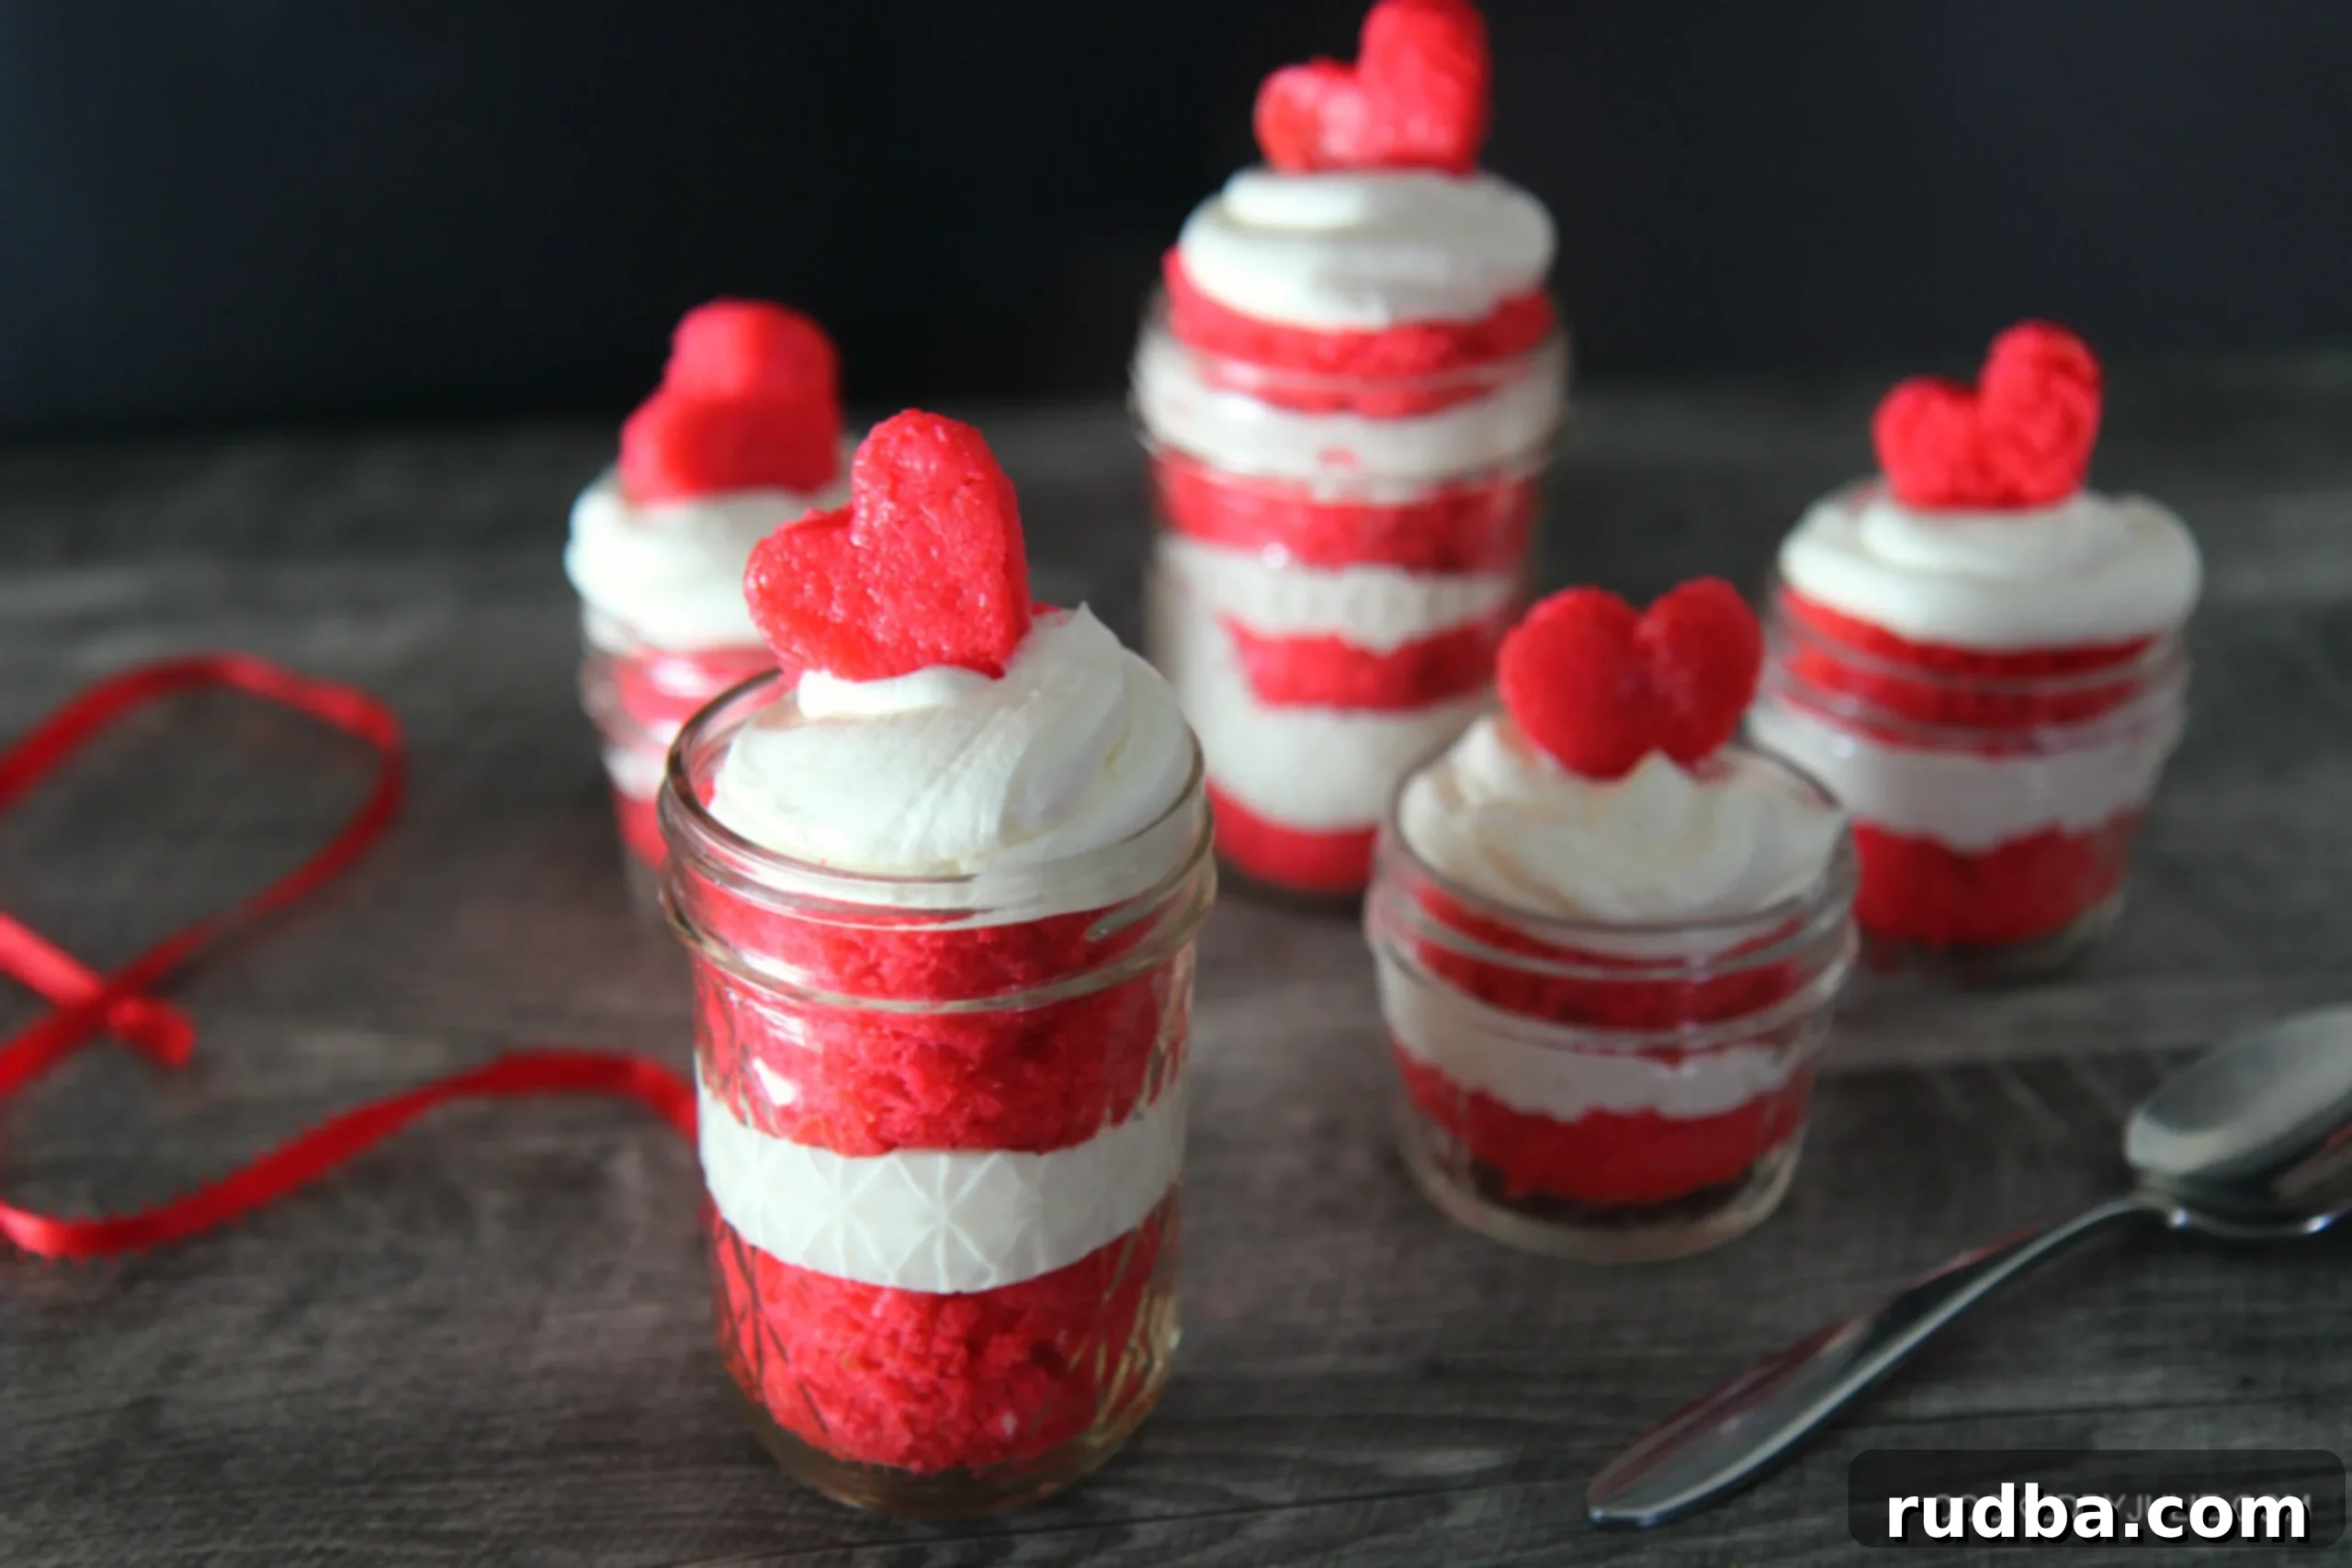
Easy & Adorable Red Velvet Cake Jars: Perfect for Gifting and Indulging
Lately, my Instagram feed has been overflowing with the most charming and adorable cake jars, and for good reason! These delightful desserts are not only a feast for the eyes but also incredibly convenient and surprisingly easy to make. Many entrepreneurs have found a thriving market selling these individual portions of joy, proving just how popular they are. While I’d happily buy one, there’s an immense satisfaction that comes from creating them yourself. With this recipe, you’ll be able to whip up your own batch of stunning Red Velvet Cake Jars that are perfect for any occasion, whether it’s a thoughtful gift or a personal indulgence.
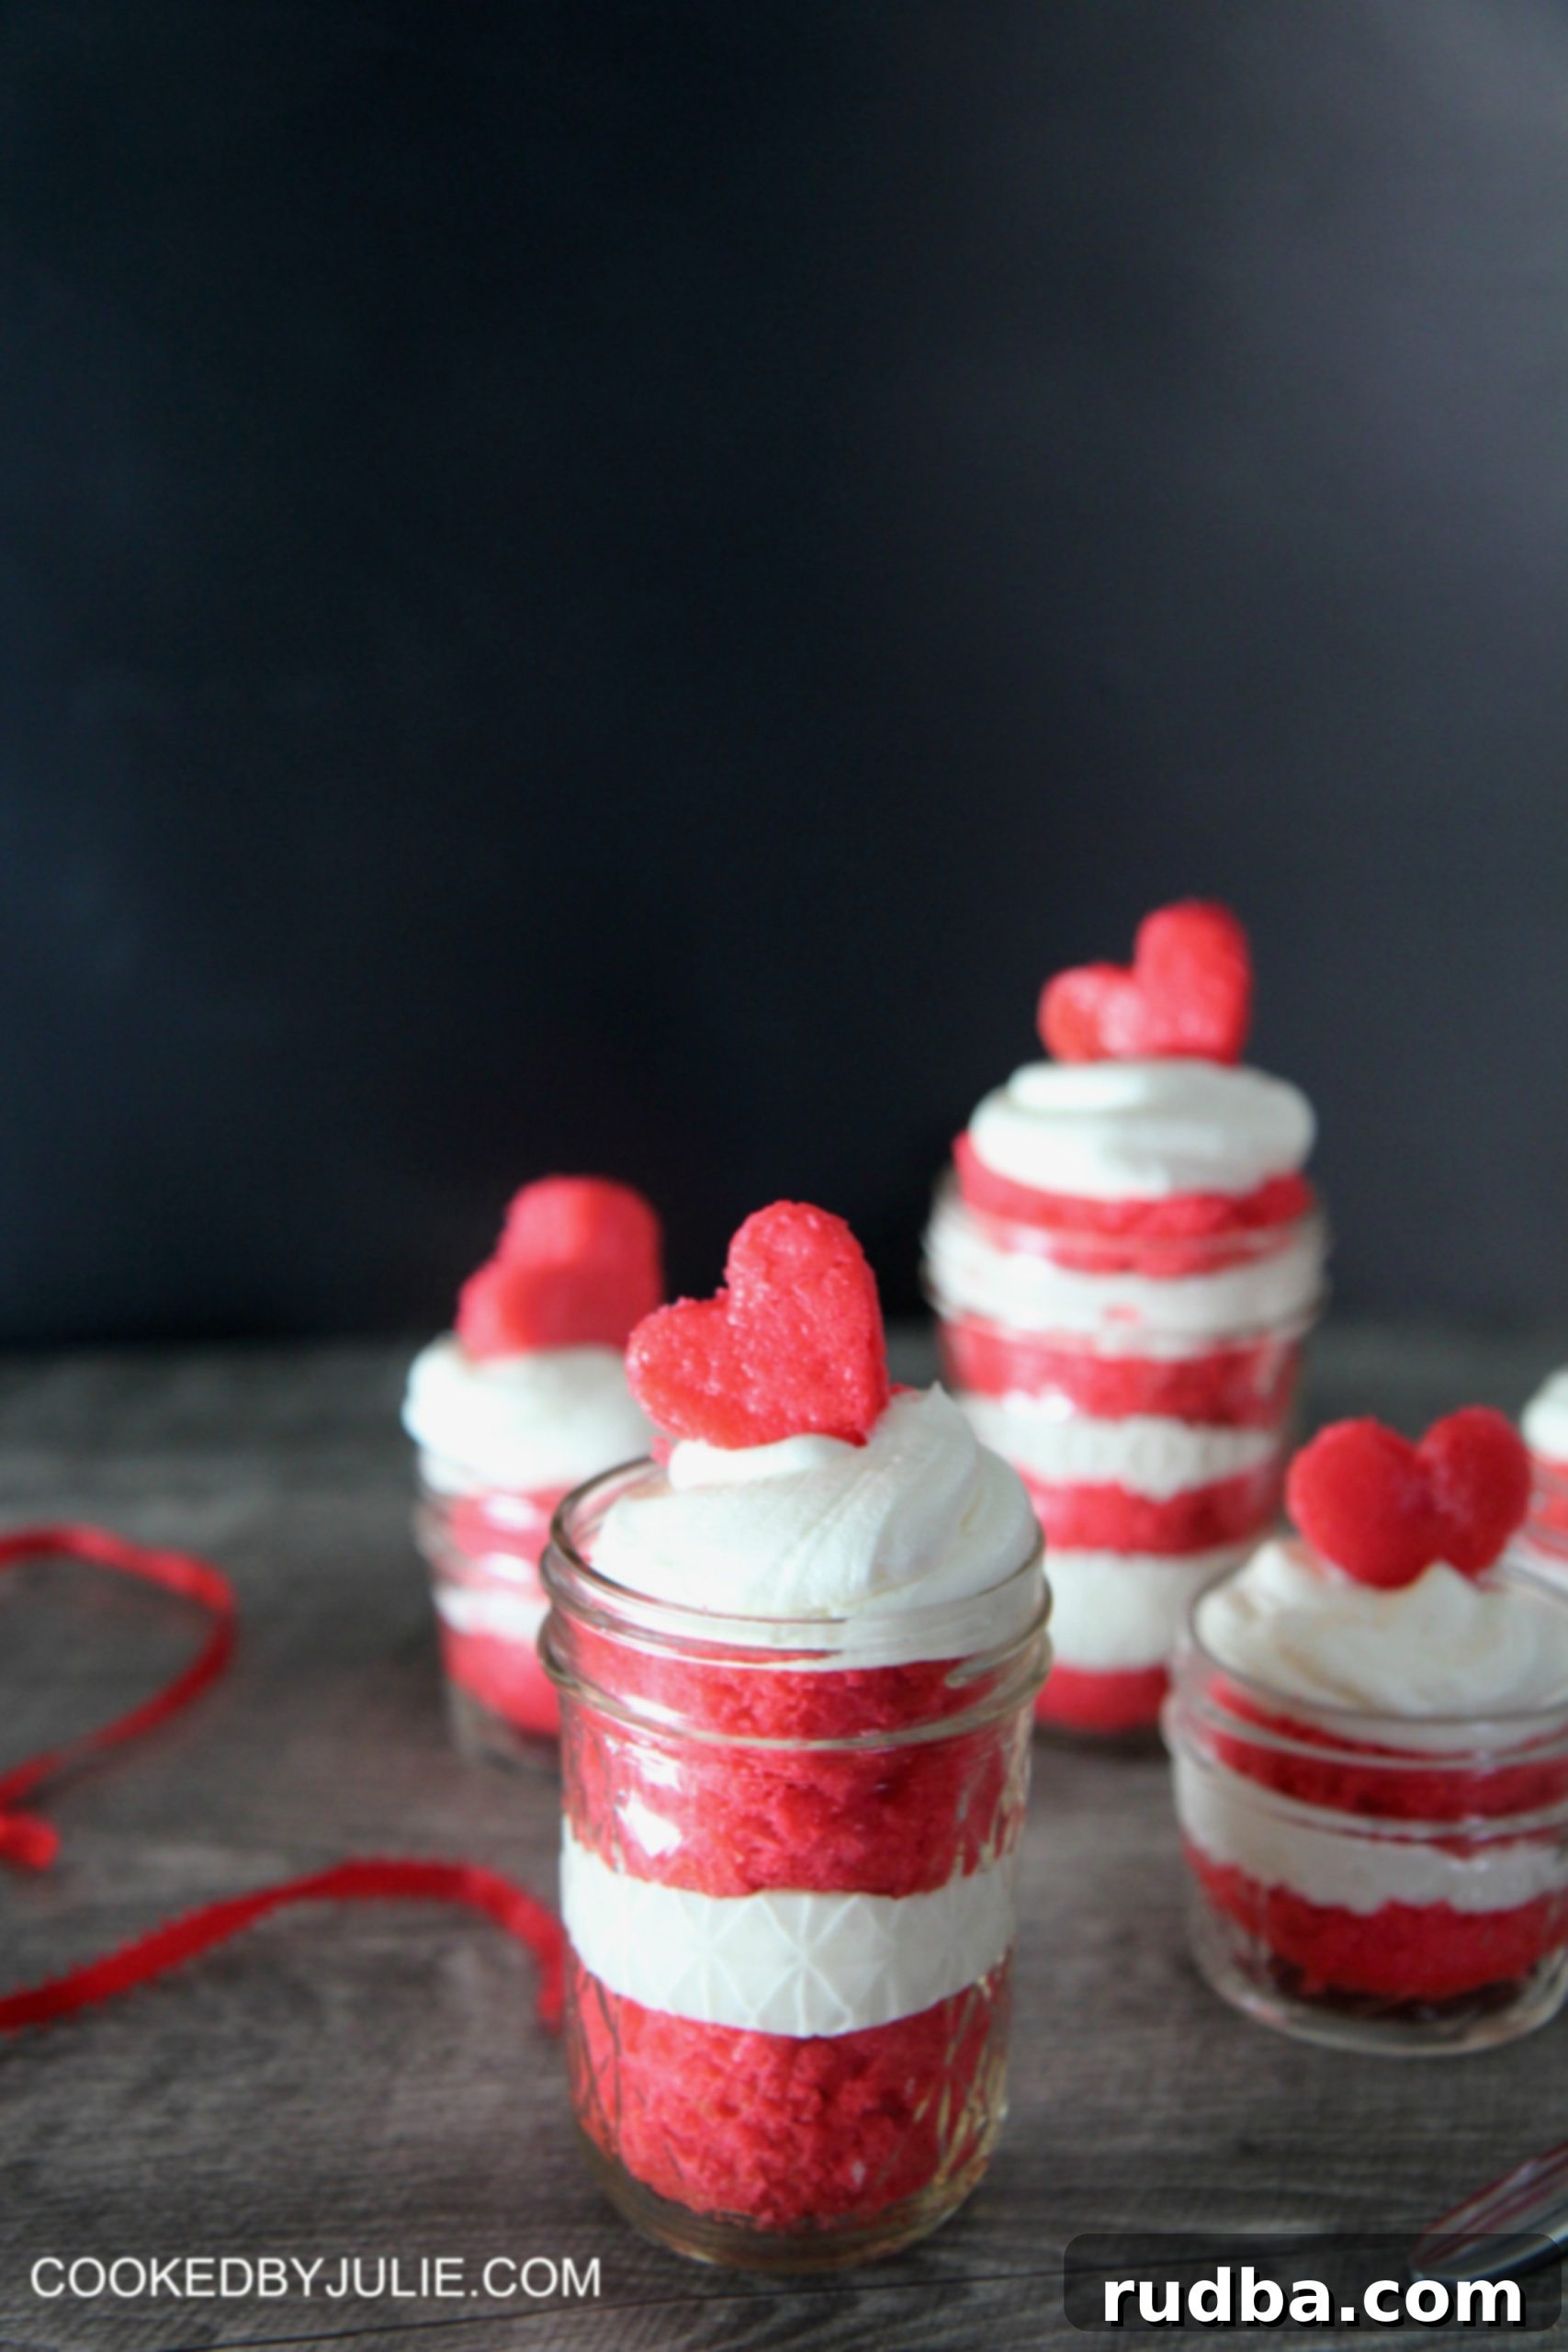
The Magic of Red Velvet Cake Jars
Red Velvet cake holds a special place in my heart, and this recipe uses my absolute favorite version. It’s truly the best, yielding a cake that is moist, tender, and boasts that signature subtle cocoa flavor complemented by a hint of tang from the buttermilk. While you’re welcome to use a high-quality cake mix if you prefer a shortcut, making it from scratch allows for a depth of flavor and texture that’s simply unparalleled. The rich history and iconic appearance of red velvet make it an ideal choice for these visually appealing cake jars.
One of the key elements of a truly spectacular Red Velvet cake is its vibrant red hue. In developing this recipe, I intentionally used very little cocoa powder. This isn’t to diminish the flavor, but rather to ensure the red food coloring can truly shine through, creating that eye-catching, intense red that red velvet is known for. It’s the exact base recipe I use for my beloved red velvet cupcakes, simply adjusted to enhance that brilliant color. I’m always on the lookout for white chocolate cocoa powder, as it can provide cocoa flavor without darkening the batter, making the red even more vivid.
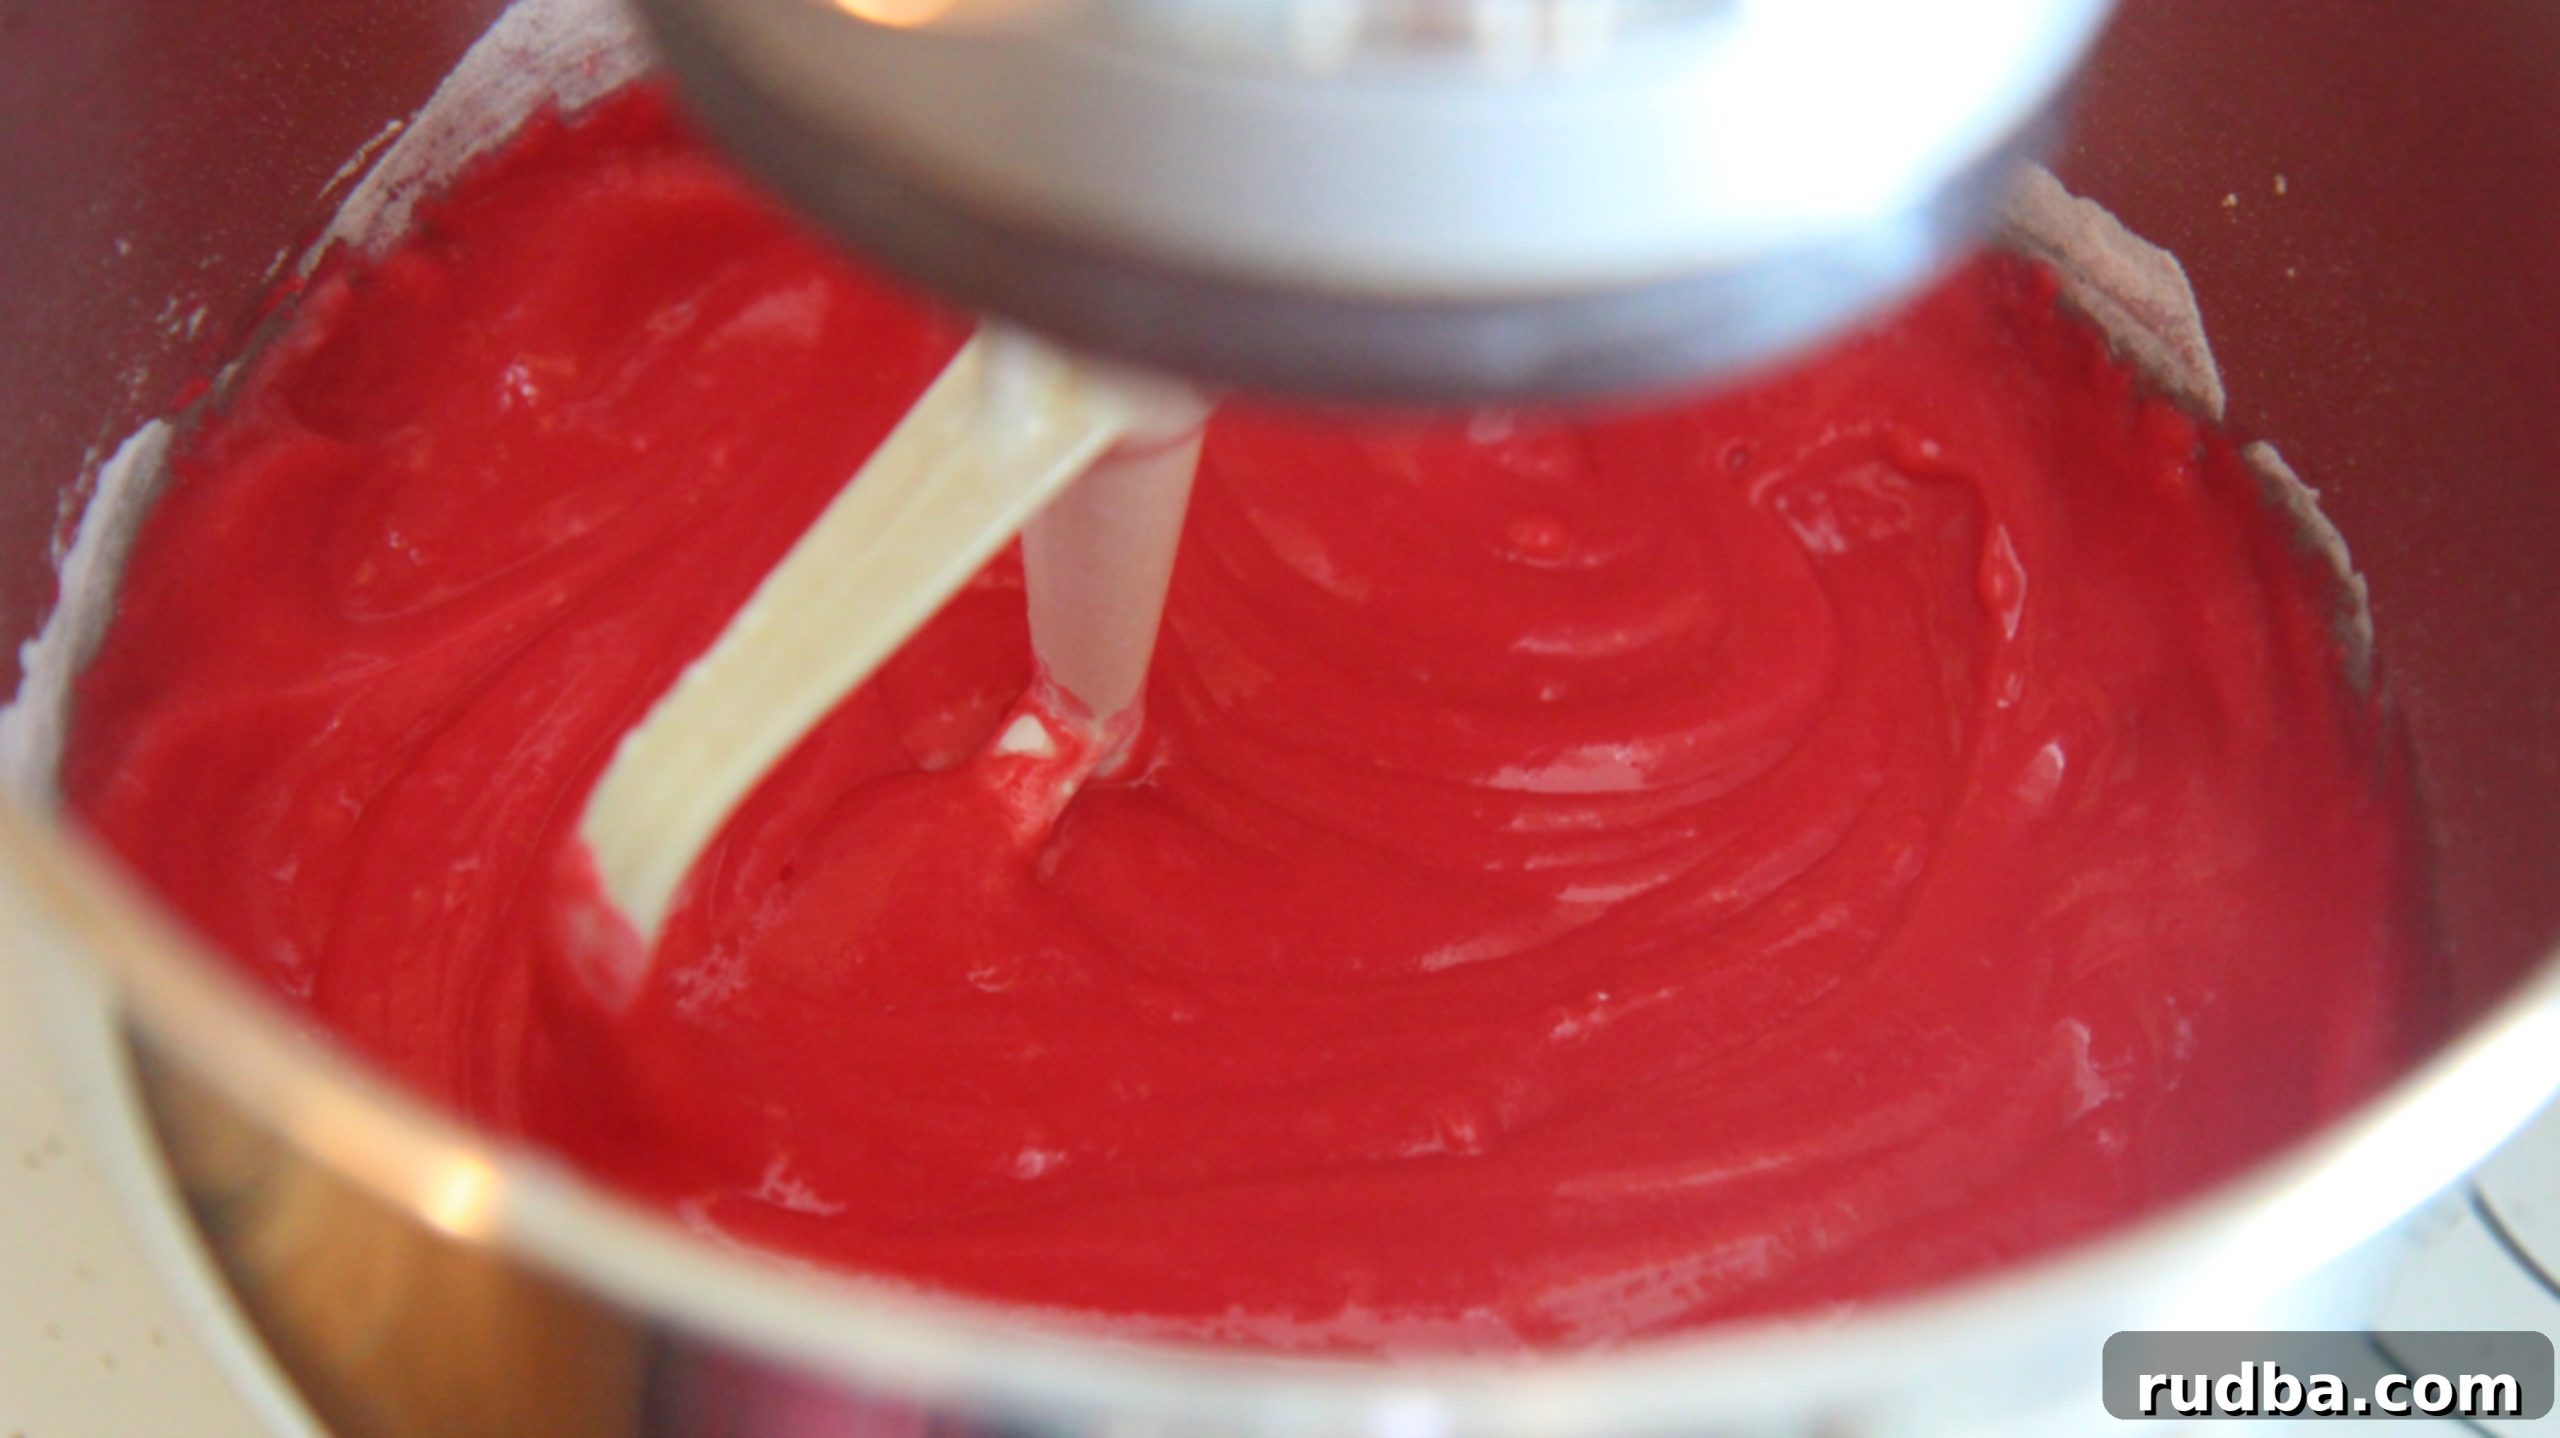
There’s something incredibly satisfying about achieving that perfect shade of red. It’s more than just a color; it’s an experience, a promise of the deliciousness to come. This particular shade is one of my absolute favorites – if you know me, you know I often choose this very color for my nail polish too! It’s a classic, rich, and instantly recognizable color that makes these cake jars truly iconic and eye-catching.
Crafting Your Cake Layers: Tips and Tricks
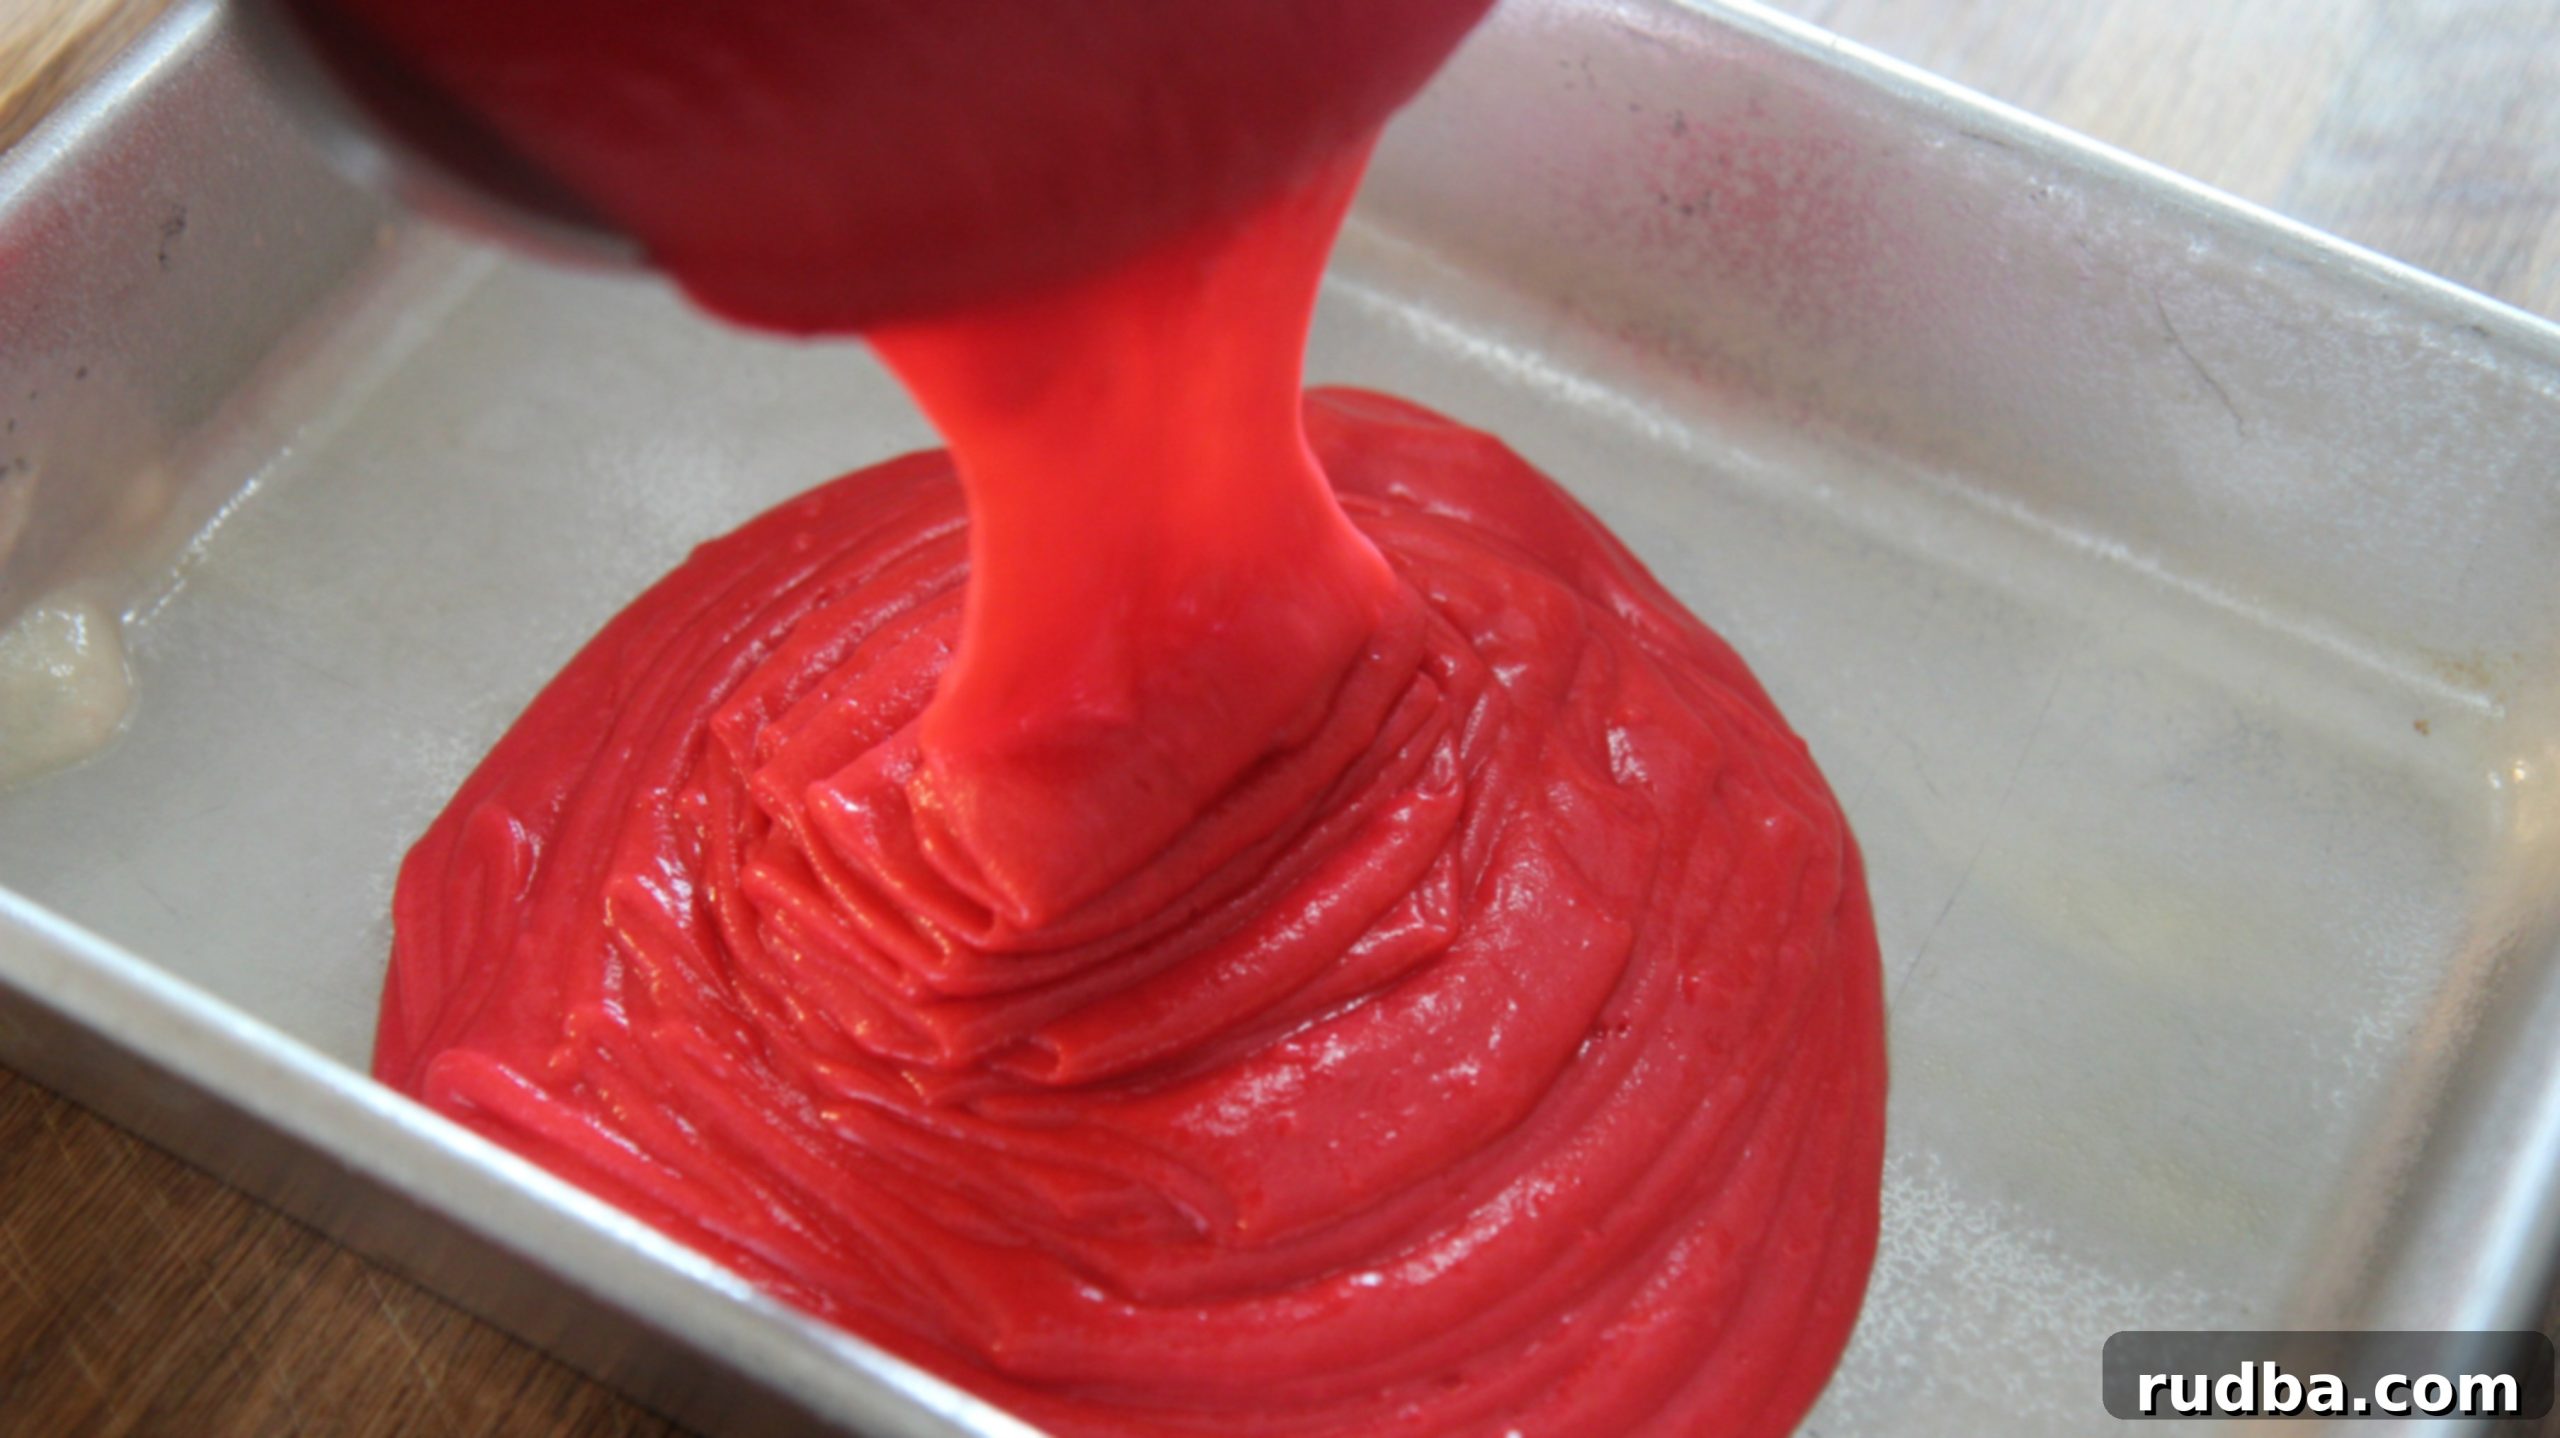
When it comes to baking the cake layers for these jars, efficiency and ease are key. While you could use a muffin tin, I recommend opting for a larger baking dish. Why? Because it eliminates the need for individual cupcake liners, saving you both money and the hassle of unwrapping each cake layer. Moreover, pouring batter into a single dish allows for continuous flow, preventing interruptions and making the baking process much smoother. Once baked, you can easily cut out perfectly sized rounds with a cookie cutter, which ensures uniformity and a beautiful presentation in your jars.
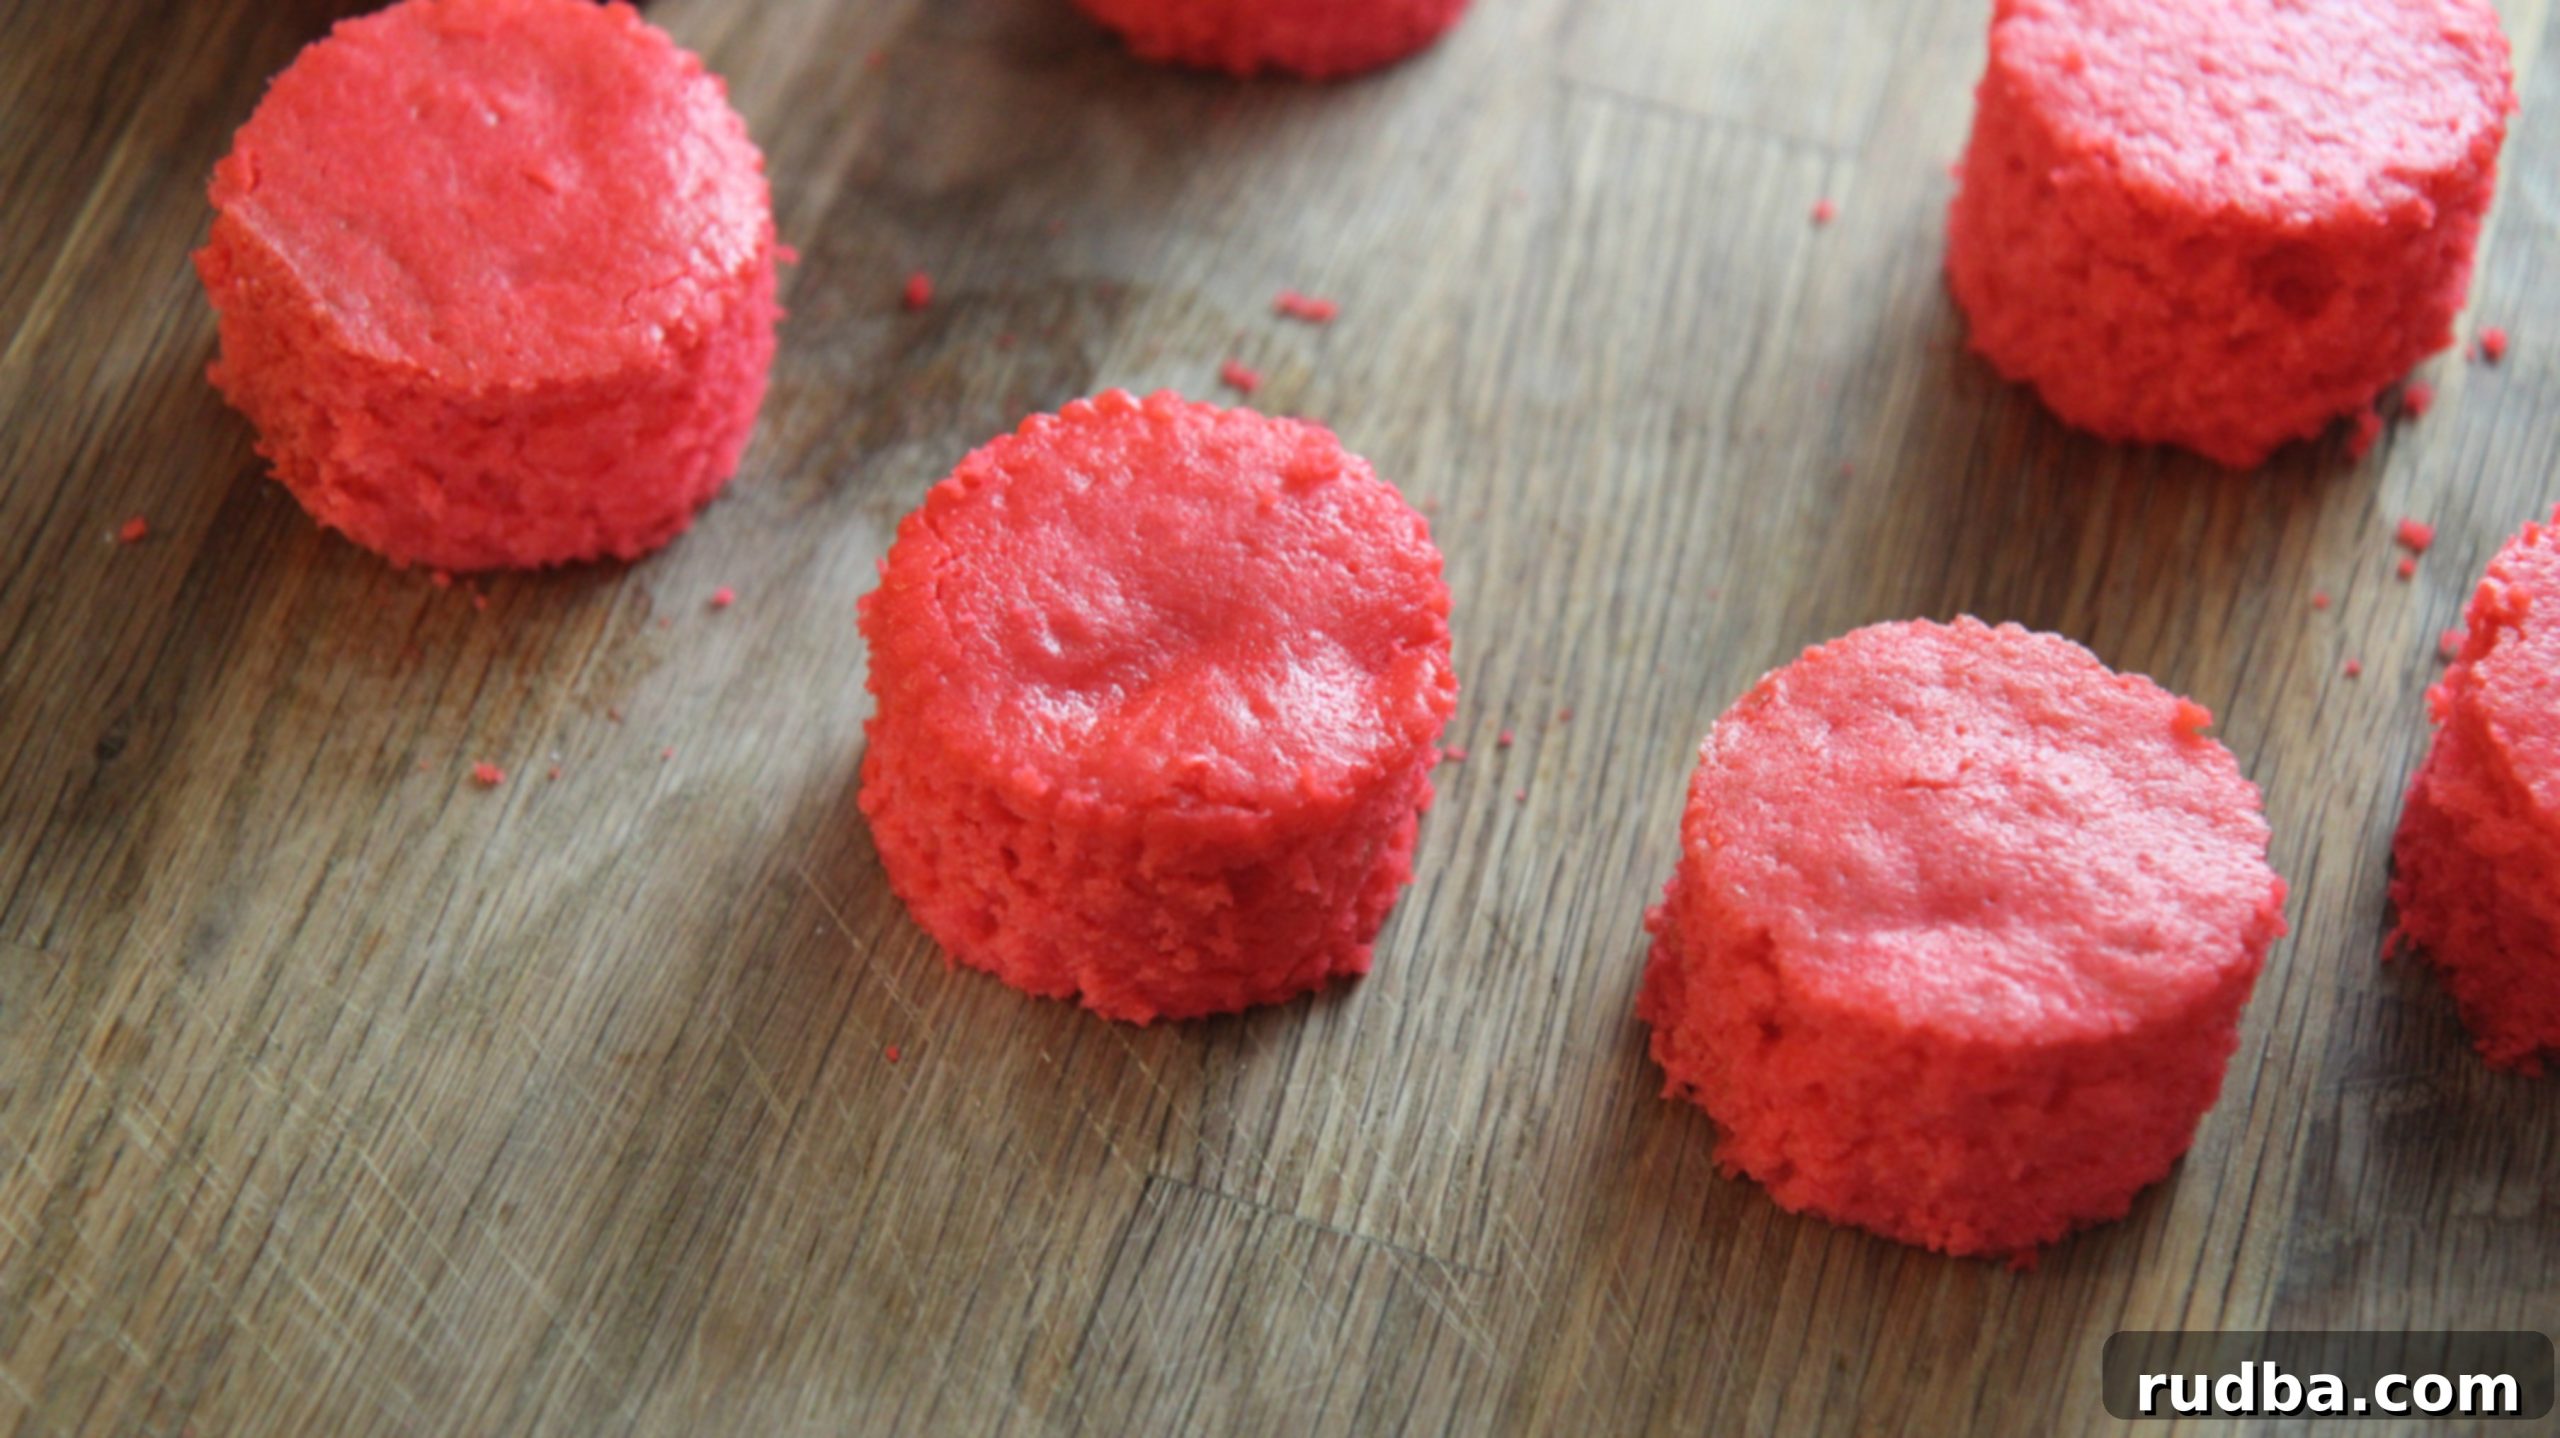
And let me tell you a little secret: these red velvet cake layers are so incredibly good, I sometimes can’t resist eating one straight out of the oven, even before they’re frosted! The moist, tender crumb and subtle flavor are absolutely divine on their own. But of course, the magic truly happens when they’re paired with that luscious cream cheese frosting.
Assembling Your Edible Masterpieces
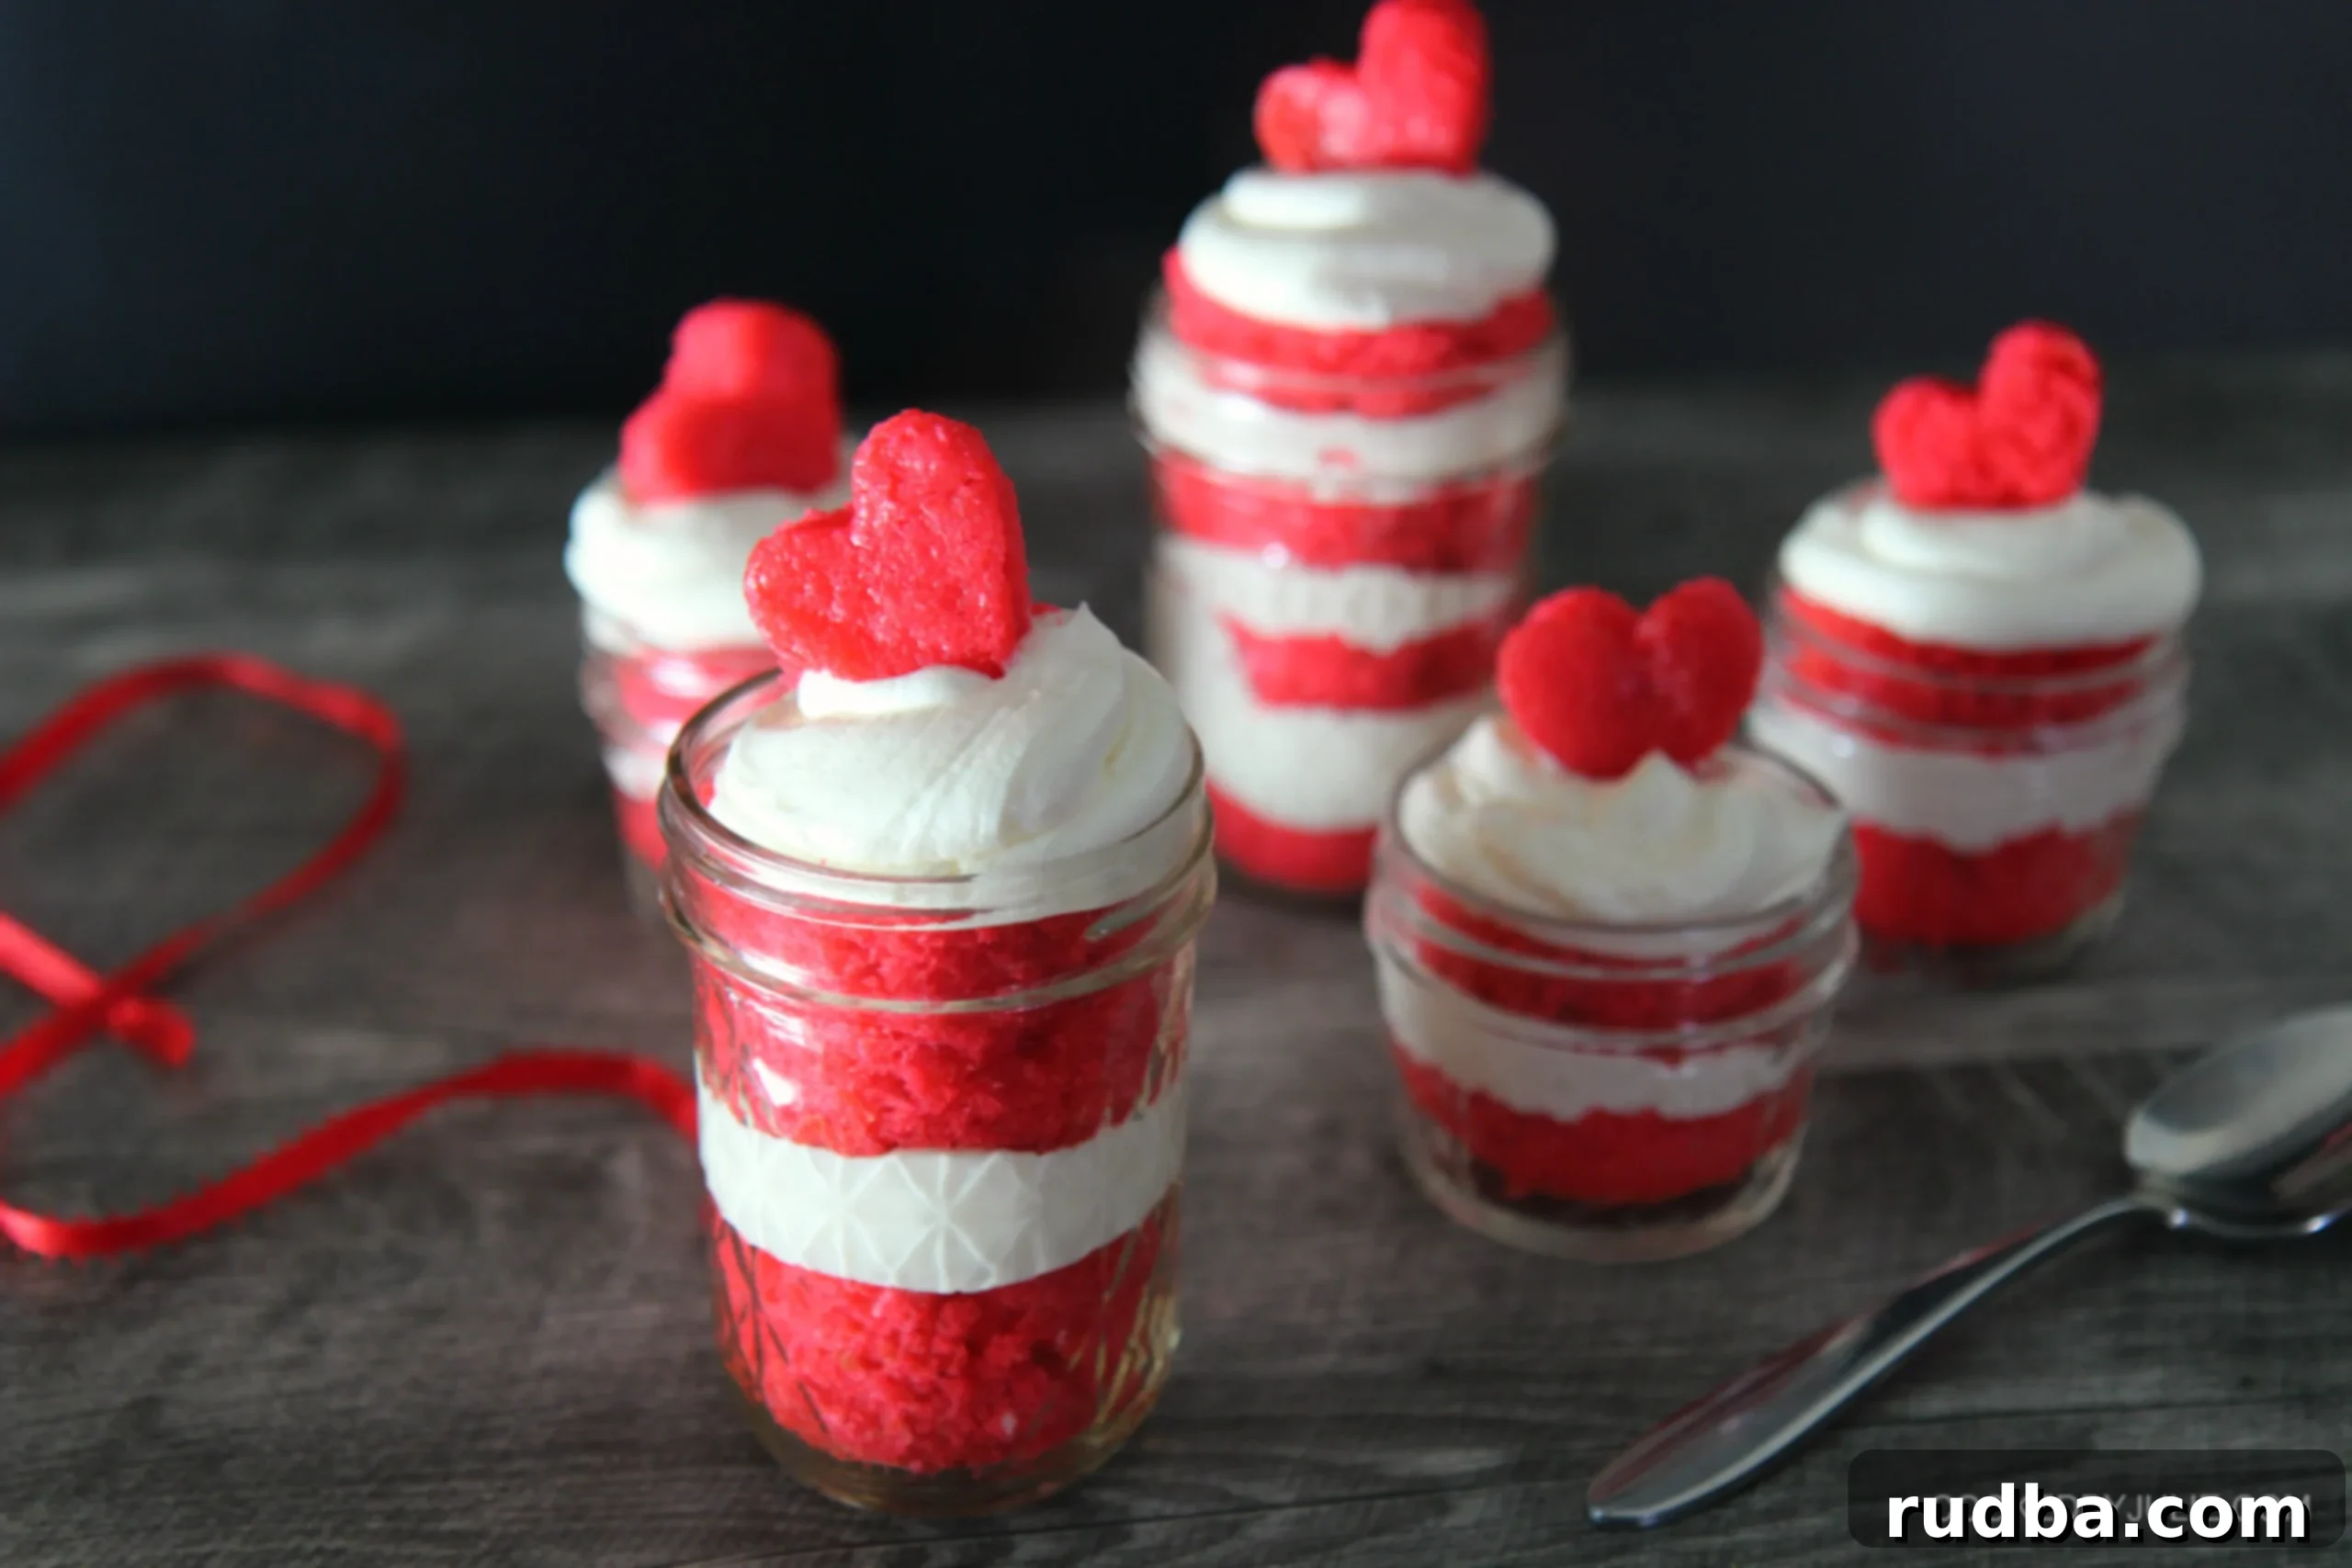
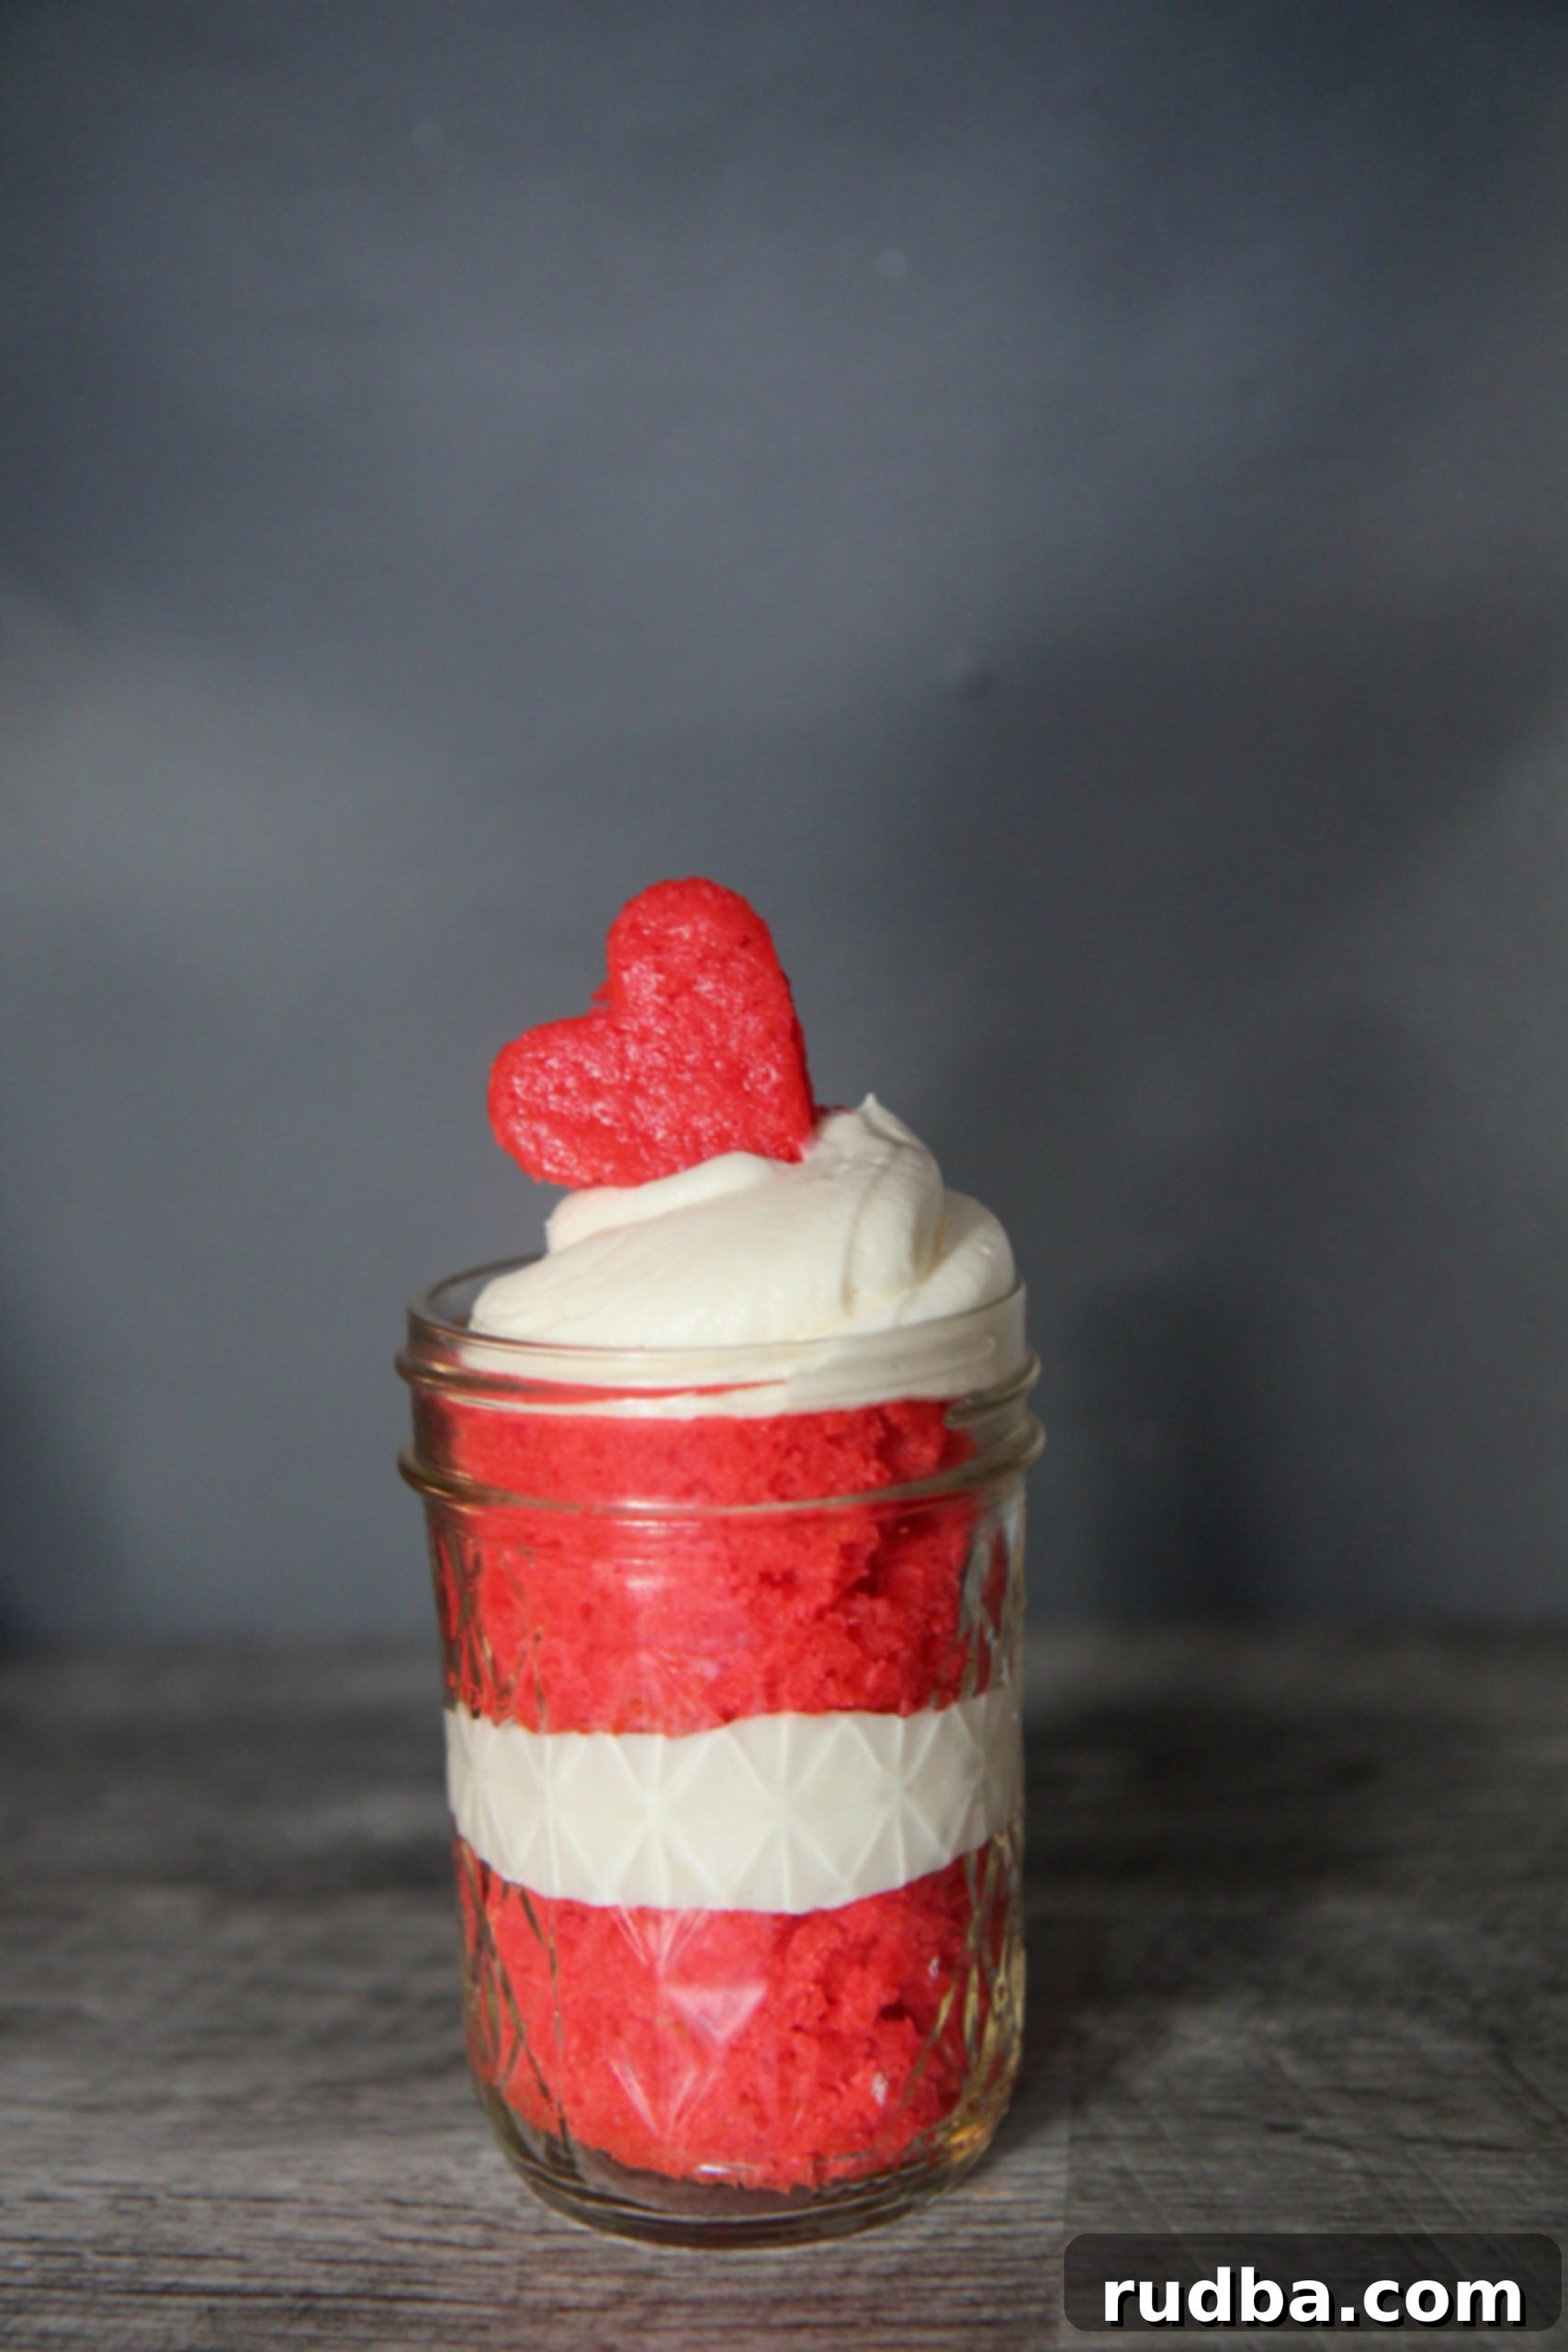
The beauty of cake jars lies in their layered presentation. Once your cake is baked and cooled, and your cream cheese frosting is ready, the assembly process is both simple and fun. Using a round cookie cutter allows you to create uniform cake discs, which are then carefully sliced in half horizontally. This gives you thinner layers that are perfect for stacking and ensure each bite in the jar is a delightful mix of cake and frosting.
Starting with a cake layer at the bottom, pipe a generous amount of that decadent cream cheese frosting over it. The smooth, tangy frosting is the perfect counterpoint to the rich red velvet cake. Repeat this layering process until your jar is beautifully filled to the top, creating an inviting visual spiral of red cake and white frosting. For an extra special touch, you can use a small heart-shaped cookie cutter to create charming cake hearts to adorn the very top of your jars. These small details make them even more irresistible, especially for occasions like Valentine’s Day or as a token of affection.
Why Cake Jars Are the Ultimate Treat
Beyond their undeniable charm, Red Velvet Cake Jars offer a multitude of benefits that make them a standout dessert:
- Perfect Portability: These self-contained treats are ideal for picnics, lunchboxes, or taking to a friend’s house. No messy plates or serving utensils needed!
- Portion Control: Each jar is a single serving, making it easier to manage portions and reducing waste. It’s also a thoughtful way to ensure everyone gets an equal share of deliciousness.
- Exceptional Freshness: Encased in a jar, the cake stays incredibly moist and the frosting remains creamy for longer, preserving that freshly baked taste.
- Stunning Presentation: The layers of vibrant red cake and creamy white frosting create a visually appealing dessert that looks professional and impressive without much effort.
- Ideal for Gifting: Beautifully packaged, cake jars make fantastic homemade gifts for birthdays, holidays, or just to show someone you care. They’re unique and personal.
- Hygienic Serving: Especially in group settings, individual jars mean less handling and a more sanitary way to enjoy dessert.
Get the Recipe: Homemade Red Velvet Cake Jars
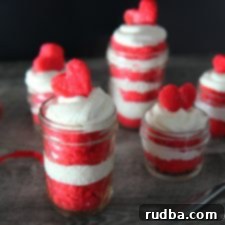
Red Velvet Cake Jars
Save RecipeSaved Recipe
Pin Recipe
Rate Recipe
Print Recipe
Ingredients
- 2 1/2 cups all purpose flour
- 1 1/2 cups sugar
- 1 tsp salt
- 1 tsp baking soda
- 1 tsp apple cider vinegar
- 1 cup vegetable oil
- 1 1/2 cups buttermilk
- 1 tsp vanilla extract
- 1 tbsp red food coloring
- 1/2 tbsp unsweetened cocoa powder
- 2 eggs
Cream Cheese Frosting
- 8 ounces cream cheese
- 4 ounces unsalted butter
- 3 cups powdered sugar
- 1 tsp vanilla extract
Instructions
-
Preheat oven to 350 degrees .
-
In a bowl, sift the all-purpose flour, cocoa powder, and salt, then set aside. Sifting ensures a light, airy cake texture.
-
In a separate large bowl, combine the 2 eggs, vegetable oil, buttermilk, vanilla extract, red food coloring, and sugar. Whisk thoroughly until well blended and the sugar is mostly dissolved.
-
Gradually add the sifted dry ingredients to the wet ingredients, mixing until just combined. Be careful not to overmix, as this can lead to a tough cake.
-
In a small bowl, mix the baking soda and apple cider vinegar. This creates a fizzing reaction that will help the cake rise and contribute to its tender crumb. Once it foams up, immediately add it to the cake batter and gently fold in.
-
Pour the batter into a 9-inch greased baking dish and bake for 27-30 minutes, or until a wooden skewer inserted into the center comes out clean. Let the cake cool completely before proceeding.
-
To make the frosting, cream together the softened cream cheese and unsalted butter in a stand mixer (or with a hand mixer) for about 2 minutes until smooth and light.
-
Gradually add the powdered sugar and vanilla extract to the cream cheese mixture. Mix on high speed for about 3 minutes until the frosting is light, fluffy, and well combined. Transfer the frosting to a piping bag fitted with a round tip (or a Ziploc bag with a corner snipped off).
-
Once the cake is completely cool, use a round cookie cutter (sized to fit your jars) to cut out cake rounds. Then, carefully slice each cake round in half horizontally using a serrated knife to create thinner layers.
-
To assemble the jars: Place one cake layer at the bottom of a clean jar. Pipe a layer of cream cheese frosting over the cake layer. Repeat this process, alternating cake and frosting layers, until you reach the top of the jar, finishing with a beautiful swirl of frosting.
-
For an extra decorative touch, use a small heart cookie cutter to cut out some cake hearts from any leftover scraps and place them on top of the final frosting layer, if desired.
Video
Nutrition
Nutrition information is automatically calculated, so should only be used as an approximation.
Additional Info
Additional Tips for Success
Variations & Customization
While Red Velvet is a classic, the beauty of cake jars is how easily they can be customized! Consider these delicious variations:
- Different Cake Flavors: Swap out the red velvet for chocolate, vanilla, lemon, or even a spiced pumpkin cake in the fall.
- Alternative Frostings: Beyond cream cheese, explore chocolate ganache, whipped cream, or even a fruit curd as a layering option.
- Toppings Galore: Add mini chocolate chips, sprinkles, chopped nuts, fresh berries, crumbled cookies, or a drizzle of caramel or hot fudge between layers or on top.
- Seasonal Themes: Use different colored food coloring for holidays (green for St. Patrick’s Day, orange for Halloween) and matching decorative elements.
Storage & Freshness
Proper storage is key to keeping your cake jars delicious. Because they contain cream cheese frosting, these jars should be refrigerated. They will stay fresh and moist in the refrigerator for up to 3-5 days. For longer storage, you can freeze them for up to 1 month. Just be sure to thaw them in the refrigerator overnight before serving to ensure the cake and frosting return to their ideal texture.
Gifting & Presentation Ideas
Making these cake jars for gifts? Elevate their presentation with a few simple touches:
- Ribbons & Tags: Tie a decorative ribbon around the neck of each jar and attach a personalized tag with a heartfelt message.
- Custom Labels: Design and print custom labels for the jars, perhaps including the flavor or a “handmade with love” note.
- Gift Boxes: Place a few jars in a charming gift box, perhaps nestled on a bed of crinkled paper or tissue paper, for a more elaborate present.
- Spool of Joy: Offer them as party favors, corporate gifts, or a sweet thank you. Everyone loves a personalized edible treat!
Conclusion: Your Homemade Red Velvet Delight
There you have it – a comprehensive guide to creating your very own Red Velvet Cake Jars. These charming, delicious, and convenient desserts are sure to impress anyone who tries them. Whether you’re a seasoned baker or just starting out, this recipe is designed to be straightforward and rewarding. So, gather your ingredients, put on your apron, and get ready to spread some joy, one delectable cake jar at a time. Happy baking!
Like this recipe? Leave a comment below!
