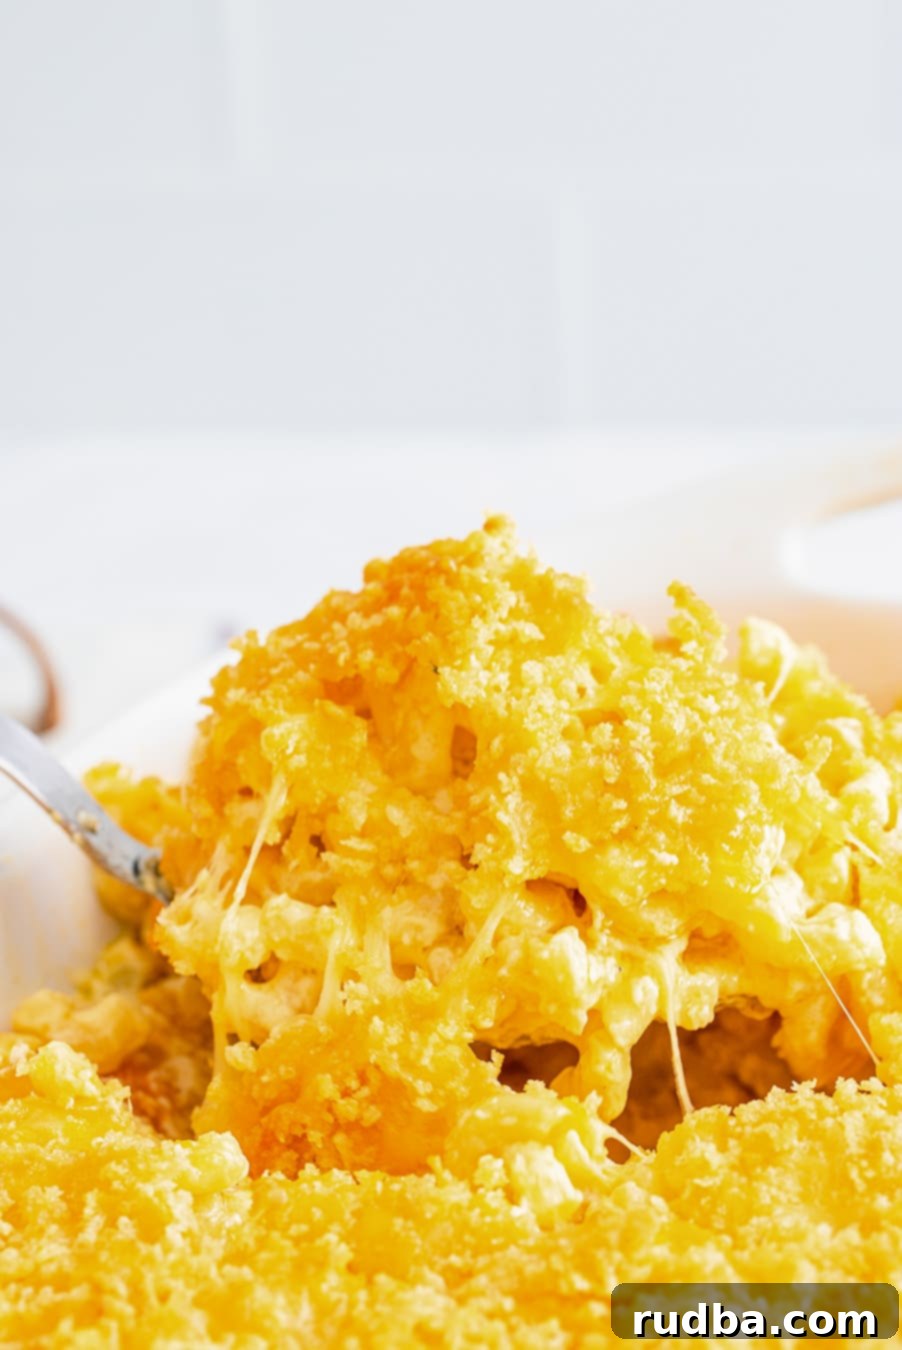
The Ultimate Southern Baked Mac and Cheese Recipe: Creamy, Gooey, and Irresistible
Add some amazing southern flair to your dinner by whipping up this Baked Mac and Cheese. This recipe is warm, gooey cheese coupled with soft pasta, then finished off with a bread crumb topping. I guarantee all friends and family will walk away loving this dish.
There’s nothing quite like a bubbling, golden casserole dish filled with rich, creamy baked mac and cheese to bring warmth and joy to any table. This isn’t just any macaroni and cheese; this is a classic southern-style rendition, designed to deliver the ultimate comfort food experience. Forget the boxed versions; this homemade baked mac and cheese recipe is a game-changer, featuring perfectly cooked pasta enveloped in an incredibly smooth, decadent cheese sauce, all crowned with a crispy, golden breadcrumb topping. It’s the kind of dish that makes you feel instantly at home, evoking memories of family gatherings and Sunday dinners. Get ready to impress everyone with this utterly irresistible, cheesy masterpiece!
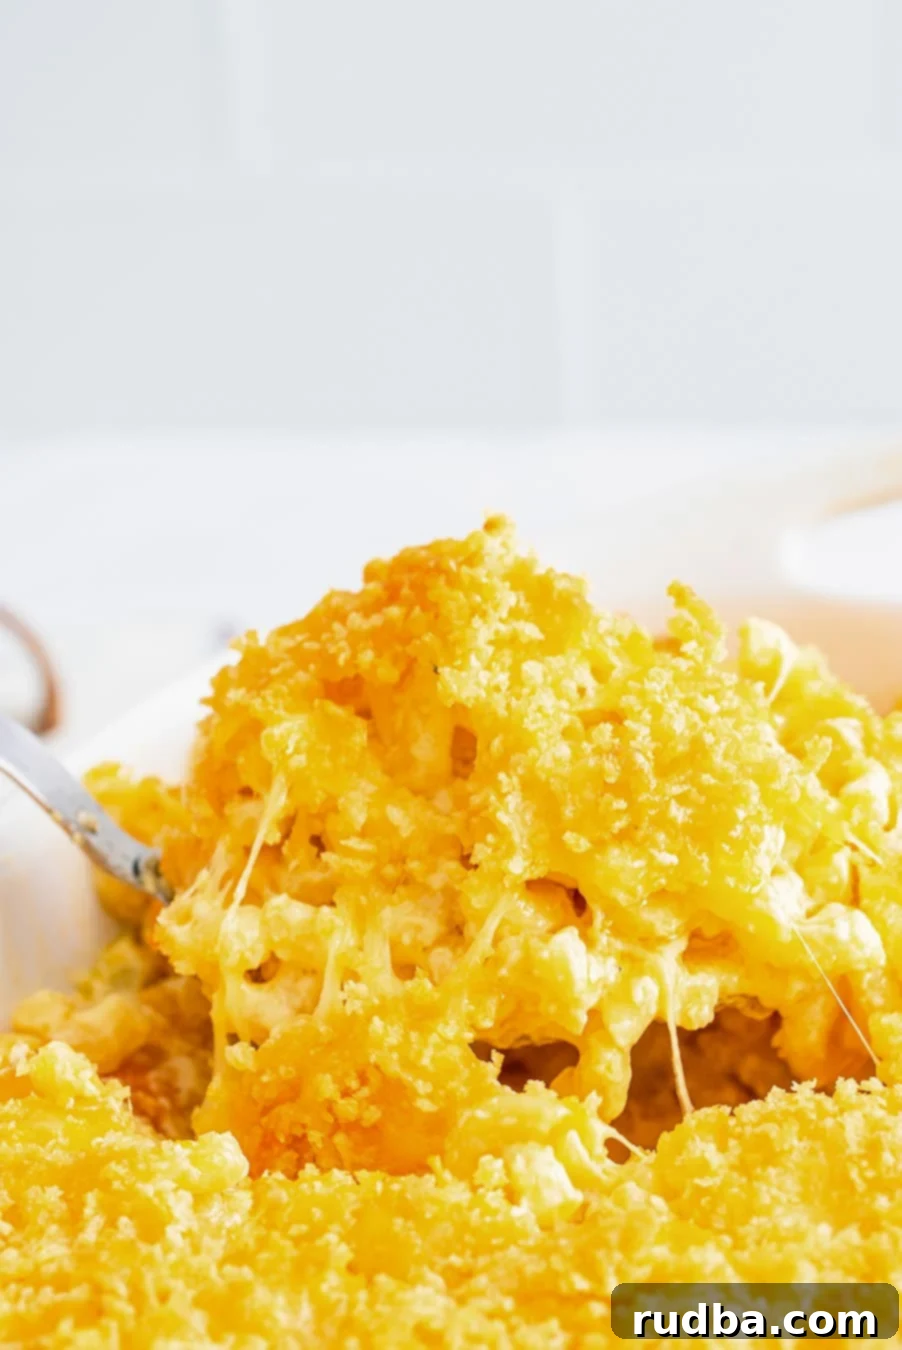
Why Baked Mac and Cheese is the Ultimate Comfort Food
Mac and cheese is probably one of my favorite ways to get my cheese fix. It’s comfort food at its absolute best, and what’s more, it’s a surprisingly versatile dish. While I absolutely adore this classic baked mac and cheese recipe, I also love experimenting with exciting variations like Lobster Mac and Cheese and Loaded Mac and Cheese. Each of these takes that fundamental, beloved mac and cheese taste and consistency and elevates it with unique flavors. But for true, soul-satisfying comfort, a simple yet perfectly executed baked mac and cheese reigns supreme. Its creamy texture, rich flavor, and satisfying crunch from the topping make it a staple in countless households, especially in the South. This recipe embodies all those cherished qualities. Let me show you how to create this amazing dish that’s sure to become a family favorite!
How to Make the Best Baked Mac and Cheese: A Step-by-Step Guide
Creating this delicious homemade baked mac and cheese from scratch is simpler than you might think. Follow these detailed steps to ensure a perfect, creamy, and cheesy result every time. Precision in your steps will lead to that coveted, smooth cheese sauce and a perfectly baked finish that everyone will crave.
- Prepare Your Workspace & Pasta – Begin by preheating your oven to a robust 400 degrees Fahrenheit (200 degrees Celsius). This ensures your oven is perfectly hot and ready when your mac and cheese is prepared for baking, leading to that ideal golden-brown topping and bubbly interior. Next, cook your macaroni pasta according to the package directions in well-salted boiling water. Salting the water is crucial as it seasons the pasta from the inside out, adding a foundational layer of flavor to your entire dish, which can’t be added later as effectively. Once cooked to al dente (meaning it still has a slight bite), drain the pasta thoroughly. It’s important to set it aside to cool slightly; this cooling prevents the pasta from overcooking and becoming mushy when mixed with the hot cheese sauce, maintaining its desired texture.
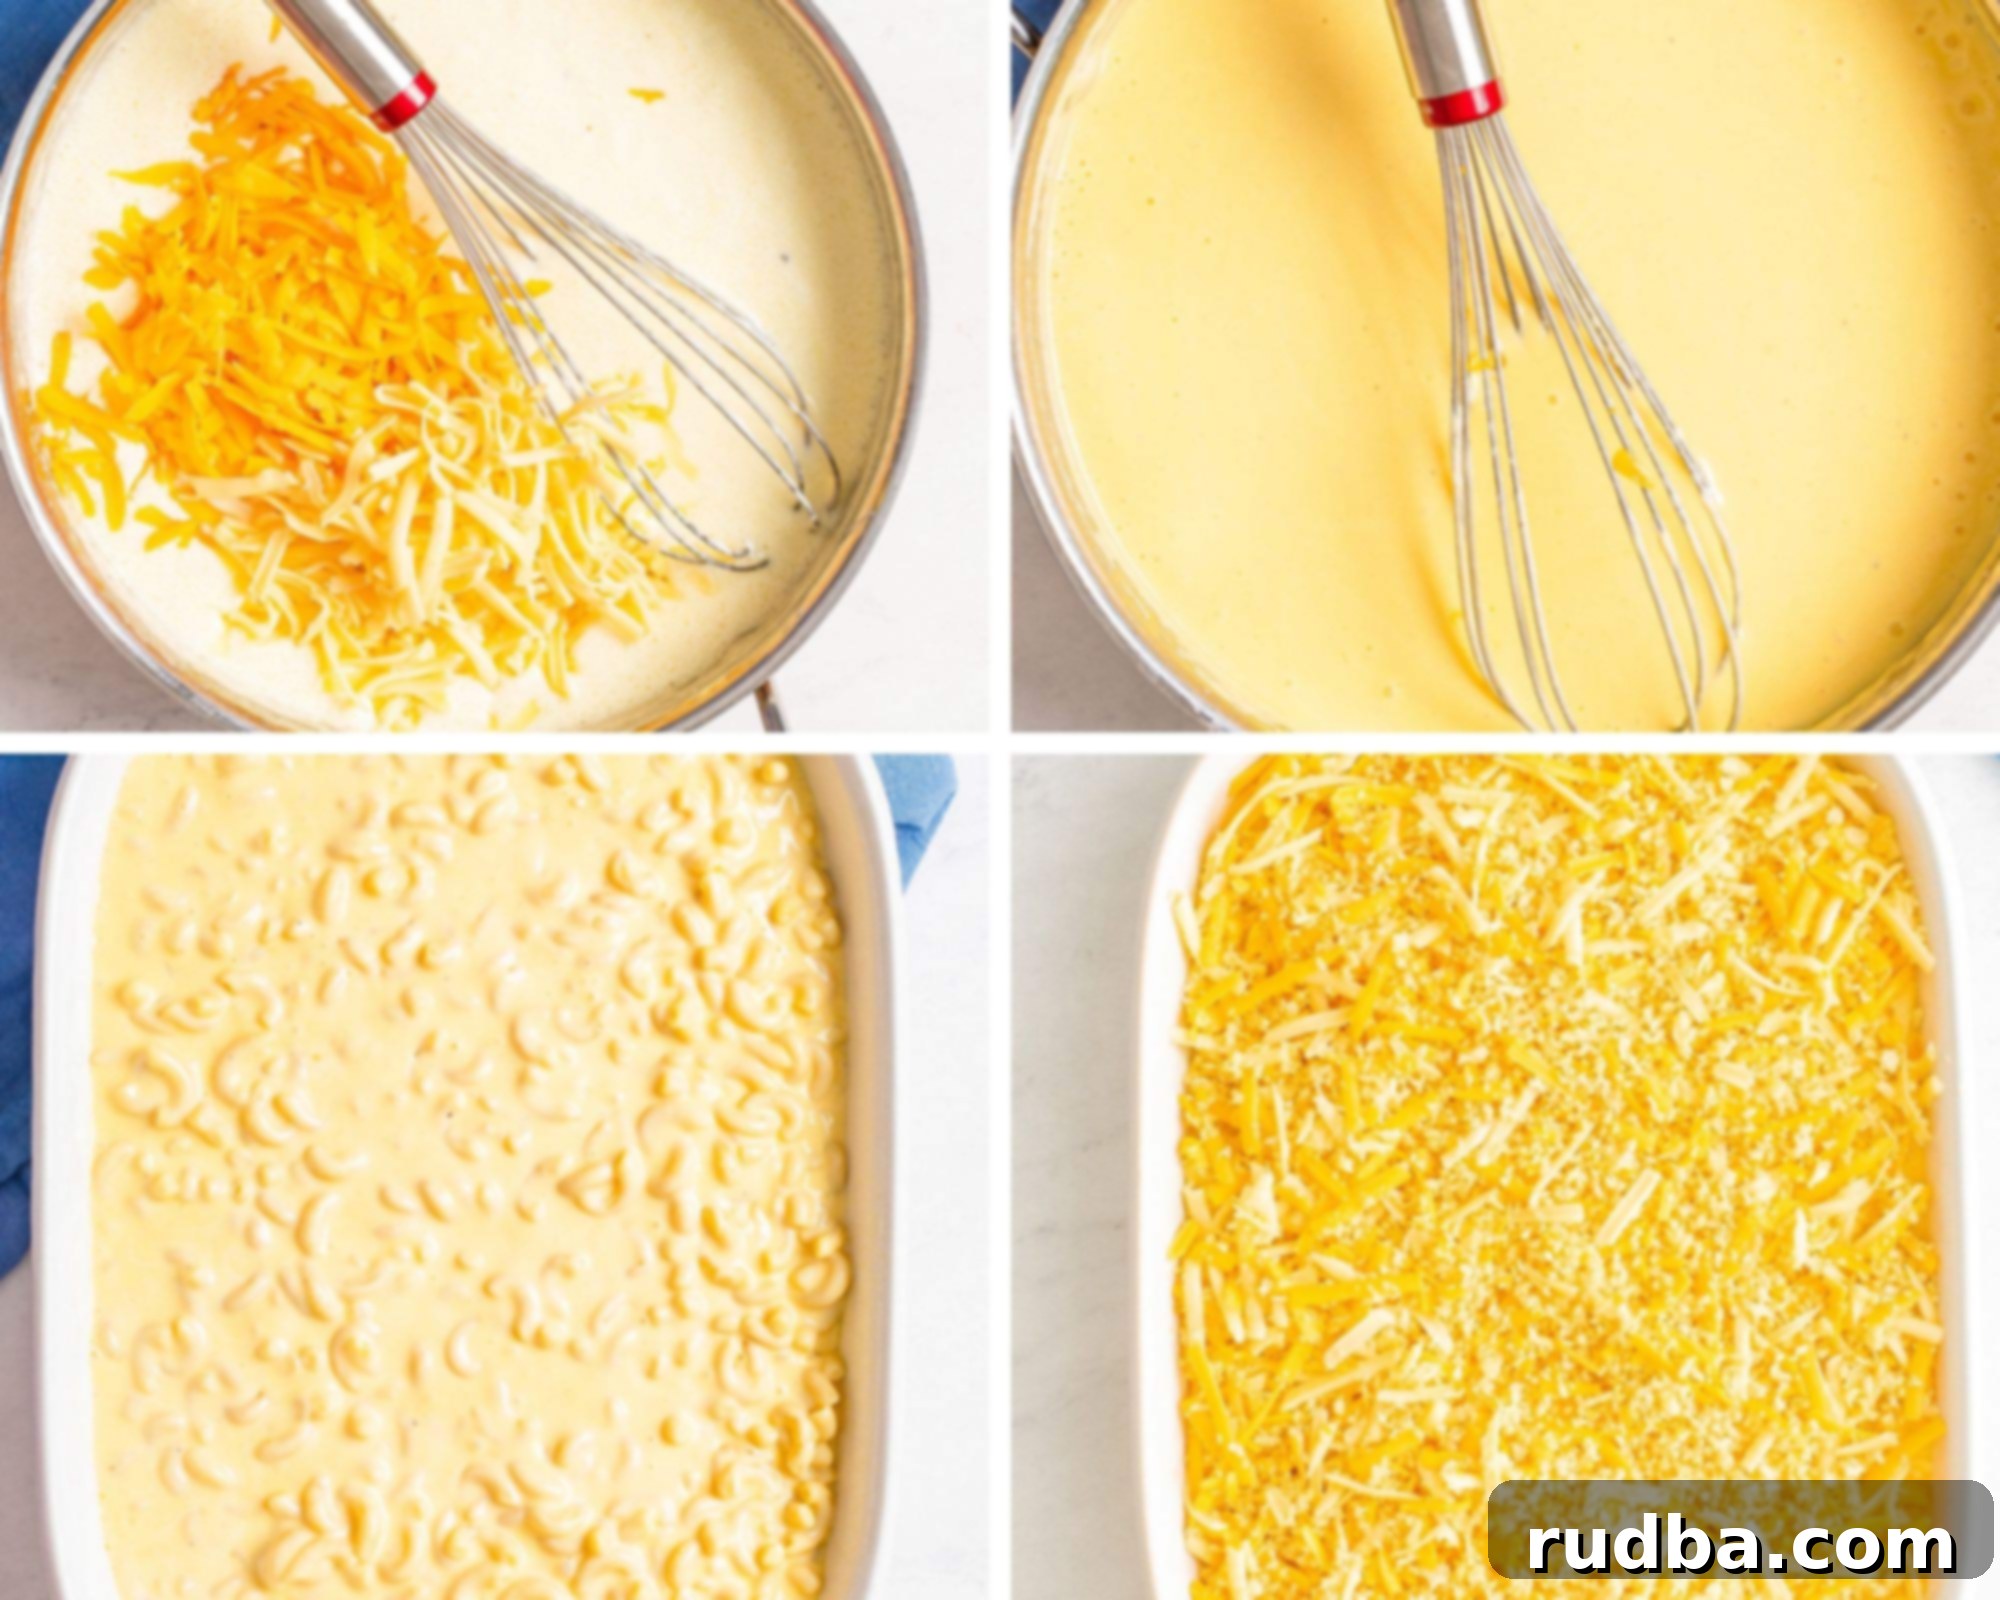
- Begin Crafting the Velvety Cheese Sauce – In a large, heavy-bottomed skillet or Dutch oven, melt half of your butter (approximately 2 tablespoons, based on the recipe card below) over medium heat. Using a heavy-bottomed pan helps distribute heat evenly and prevents scorching. Once the butter is fully melted and slightly shimmering, sprinkle in the all-purpose flour. This combination forms a roux, which is the essential base that will thicken your entire cheese sauce, giving it body and richness. Whisk this mixture continuously for about one to two minutes. This crucial step cooks out the raw flour taste, preventing your sauce from tasting pasty or chalky. Gradually pour in the cold milk (cold milk helps prevent lumps when added to a hot roux), whisking constantly to incorporate it smoothly into the roux. Continue stirring until all lumps disappear and you have a smooth, creamy liquid. Patience here is key to achieving a truly silken sauce.
- Complete the Rich Cheese Sauce – Continue to cook the milk and roux mixture over medium heat, stirring frequently. As it heats, it will visibly thicken. It should reach a consistency where it coats the back of a spoon without running off immediately. Once it reaches this perfect consistency, remove the skillet from the heat to prevent the cheese from scorching or becoming stringy. Now, stir in half of your shredded cheese (a vibrant mix of sharp cheddar and creamy gouda, as specified in the recipe card, works wonderfully for a deep, complex flavor and superb melt). The residual heat from the sauce will melt the cheese beautifully and seamlessly. Add the dry mustard – this might seem like an unusual ingredient, but it’s a chef’s secret weapon that subtly enhances the cheesy flavor, making it “cheesier” without imparting a strong mustard taste. Season generously with salt and freshly ground black pepper to taste, adjusting to your preference. Finally, gently fold in your cooked and cooled macaroni until every single piece is thoroughly coated in the luxurious, rich cheese sauce. This ensures a consistent cheesy bite in every spoonful.
- Prepare the Crispy Breadcrumb Topping – In a separate small skillet, melt the remaining butter (3 tablespoons, specifically for the topping) over medium heat. Once melted, add the panko breadcrumbs. Panko breadcrumbs are highly recommended here because their larger, flaky structure provides a superior, airy crunch compared to standard fine breadcrumbs. Stir in a touch of paprika (which adds a subtle smoky warmth and a lovely reddish hue, enhancing the visual appeal of your topping), a pinch of salt, and a dash of pepper. Cook this mixture, stirring frequently and consistently, until the breadcrumbs turn a beautiful golden brown and become wonderfully crispy. Be careful not to burn them, as they can go from golden to burnt very quickly. Remove from heat immediately once perfectly golden.
- Assemble for Baking – Lightly grease a 9×13 inch baking dish. This prevents the mac and cheese from sticking and makes for easier cleanup. Transfer the cheesy macaroni mixture into the prepared baking dish, spreading it evenly across the bottom. Then, generously sprinkle the remaining half of your shredded cheese over the top of the macaroni layer. This creates another layer of gooey cheese as it bakes. Finally, scatter the golden-brown breadcrumb mixture evenly over the cheese. This thoughtful layering ensures a perfect balance of a creamy interior, an extra layer of melted cheese, and a satisfyingly crispy, savory topping with every bite.
- Bake to Golden Perfection and Serve – Place the assembled baking dish into your preheated 400-degree F oven. Bake for approximately 20-25 minutes, or until the top is gloriously golden brown and bubbly around the edges. This bubbling indicates that the cheese sauce is hot, gooey, and thoroughly melded with the pasta, and the topping is perfectly crisp. Once baked to perfection, carefully remove the dish from the oven. It’s important to let it rest for about 5-10 minutes before serving. This brief resting period allows the hot cheese sauce to set slightly, making for easier, cleaner servings and preventing it from being too runny. Serve warm and enjoy this magnificent, homemade southern baked mac and cheese!
Top Tips and Creative Recipe Variations for Your Baked Mac and Cheese
Elevate your baked mac and cheese game with these pro tips and exciting variations. Whether you’re looking to meal prep, add a flavor twist, or cater to dietary needs, these suggestions will help you customize your dish perfectly, ensuring it’s always a hit!
- Storage Solutions for Leftovers – This baked mac and cheese makes fantastic leftovers, making it an excellent candidate for meal prep. To properly store, allow the entire dish to cool completely to room temperature first. Then, transfer it to an airtight container. It will keep beautifully in the refrigerator for up to one week, maintaining its flavor and texture. For longer storage, you can freeze it for up to two months. When freezing, consider portioning it into individual servings in freezer-safe containers for easy thawing and reheating later, which can save a lot of time on busy days.
- Reheating for Best Results – The best way to reheat this creamy baked mac and cheese is often in the microwave. For a single serving, place it in a microwave-safe dish, add a splash of milk (about a tablespoon or two per serving) to help rehydrate the sauce and prevent it from drying out, and heat in 30-second intervals, stirring in between, until heated through. For larger portions, a conventional oven at 300°F (150°C) covered with foil can also work. If reheating from the freezer, it’s best to let it thaw completely in the refrigerator overnight before warming. This gradual thawing helps maintain the integrity of the cheese sauce and prevents it from separating.
- Spice Things Up for a Kick – If you’re a fan of heat and crave a spicy mac and cheese, it’s incredibly easy to add a kick. You can include a pinch or more of crushed red pepper flakes directly into the cheese sauce while it’s simmering, allowing the heat to infuse. For a more pronounced spice and a tangy bite, consider stirring in some finely chopped pickled jalapeños. Alternatively, a dash of your favorite smoked paprika or a few dashes of hot sauce (like Tabasco or sriracha) can also transform the flavor profile, giving it a delightful warmth and complexity.
- Achieving a Thicker Sauce – Sometimes, you might find your cheese sauce a little thinner than desired. If you need a thicker mixture, simply let it simmer a little longer on the stovetop, uncovered, over medium-low heat. This allows some of the excess moisture to evaporate, concentrating the sauce and making it denser. Remember that the sauce will naturally thicken quite a bit as it cools, so don’t over-thicken it on the stove, or it might become too dense and gummy once it cools down.
- Thinning a Too-Thick Sauce – On the flip side, a sauce that’s too thick can be tricky to work with, resulting in a gummy or clumpy texture. If your cheese sauce becomes too dense, gradually add a touch of warm milk (or even a splash of cream for extra richness) a tablespoon at a time, whisking it in until you reach your desired pourable, yet creamy, consistency. Do this gently to avoid diluting the flavor too much, and taste as you go.
- Creative Garnish Ideas – While a golden breadcrumb topping is traditional and undeniably delicious, don’t hesitate to get creative with other garnishes. Freshly chopped herbs like parsley, chives, or even cilantro (if you’re adventurous!) can add a burst of freshness and vibrant color. Crispy bacon bits are always a welcome addition, providing a salty, smoky crunch that pairs perfectly with cheese. Caramelized onions, sautéed mushrooms, or a sprinkle of toasted nuts (like pecans or walnuts) can also add sophisticated layers of flavor and texture, turning a simple dish into something gourmet.
- Making it Gluten-Free – Adapting this recipe for gluten-free diets is quite straightforward. Simply replace the all-purpose flour with a high-quality gluten-free all-purpose flour mix (ensure it contains xanthan gum for the best thickening results, or add a quarter teaspoon if it doesn’t). You’ll also need to use your favorite gluten-free pasta in place of traditional macaroni. If elbow macaroni is hard to find in a gluten-free version, other short pasta shapes like shells, rigatoni, penne, or bow-tie pasta work equally well and hold the sauce beautifully.
- Adding Protein for a Main Course – To transform this classic side dish into a hearty main course, incorporating protein is a fantastic idea. Cooked and seasoned shredded chicken, diced ham, browned ground beef or turkey, or even flaked tuna are excellent additions. You can stir the cooked protein directly into the cheese mixture before layering, or create separate layers of pasta, protein, and cheese in your baking dish. Remember that the meat should already be fully cooked and seasoned before adding it to the mac and cheese to ensure proper cooking and flavor integration. You might need to slightly increase the amount of cheese sauce to adequately coat the extra ingredients.
- Make Ahead Options for Convenience – For easy entertaining or busy weeknight meals, you can prepare this mac and cheese ahead of time. Assemble the entire dish, including the breadcrumb topping, in your baking dish. Cover it tightly with plastic wrap and refrigerate for up to 24 hours. When ready to bake, let it sit at room temperature for about 30 minutes while your oven preheats, then bake as directed, possibly adding an extra 5-10 minutes to ensure it’s thoroughly heated through and bubbly in the center.
- Cheese Sauce Consistency is Key – When making your roux and adding milk, aim for a sauce that is thick enough to coat the back of a spoon but still pourable and smooth. Over-thickening can lead to a dense, pasty mac and cheese, while too thin will result in a soupy dish that lacks the desired richness. Always adjust with more milk or by simmering longer as needed, tasting and checking consistency regularly.
Choosing the Perfect Cheese for Your Baked Mac and Cheese
The heart and soul of any outstanding mac and cheese, especially a baked one, lies in its cheese blend. I personally love to use a robust mixture of sharp cheddar and creamy gouda when crafting this particular recipe. Cheddar provides that classic, tangy mac and cheese flavor that everyone recognizes and loves, offering a familiar comfort. Meanwhile, gouda introduces a milder, buttery richness and an incredibly smooth, meltable texture, which helps create that desirable gooey stretch. This combination results in a complex and satisfying flavor profile that is both traditional and elevated.
However, the beauty of mac and cheese is its incredible versatility when it comes to cheese choices. I’ve yet to encounter a mac and cheese recipe I didn’t like, and many of them have featured a wide array of cheese options. Seriously, the sky is truly the limit! Almost any good melting cheese will work wonderfully, allowing you to tailor the dish precisely to your taste preferences and what you have on hand. If you’re not a huge fan of the strong, sharp notes of cheddar, feel free to swap it out or complement it with other fantastic melting cheeses. Consider adding mozzarella for an incredible stretch and mild flavor that blends well with others, shredded pepper jack for a gentle spicy kick and excellent melt, Gruyère for a nutty, earthy depth that adds sophistication, or even fontina for its exceptional creaminess and buttery undertones. A thoughtful blend of 2-3 different cheeses often yields the most dynamic and delicious results, providing layers of flavor and varied textures. Don’t be afraid to experiment – choose what you love, and you’ll love the outcome! Freshly grated cheese is always recommended over pre-shredded for the best melt.
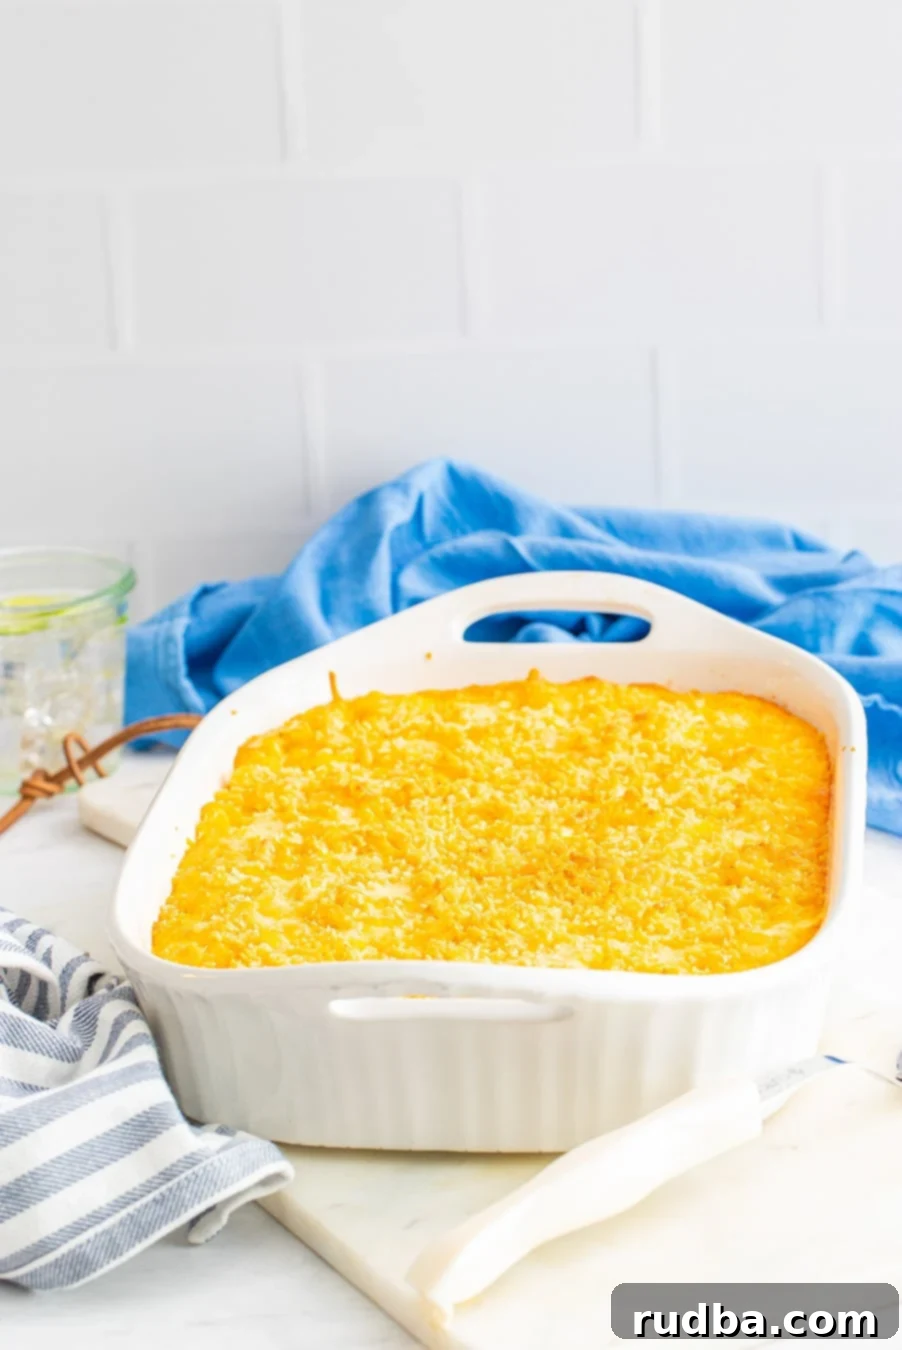
Pairing and Serving Suggestions for Your Baked Mac and Cheese
This classic southern baked mac and cheese is hearty enough to be a meal on its own, especially with added protein, but it also shines brilliantly as a side dish. For a balanced meal, pair it with a crisp green salad or some steamed green beans, broccoli, or asparagus to add freshness and contrast to its richness. It’s a natural and beloved companion to barbecue, roasted chicken, grilled pork chops, or a juicy steak, soaking up all those delicious juices. For a truly indulgent comfort food feast, serve it alongside other southern staples like collard greens, sweet cornbread, or crispy fried chicken. Don’t forget a sprinkle of fresh chopped parsley or chives on top for a final pop of color and a hint of fresh flavor before serving!
Frequently Asked Questions About Baked Mac and Cheese
Here are answers to some common questions about making and enjoying baked mac and cheese:
Can I use different types of pasta?
Absolutely! While elbow macaroni is the traditional choice and works perfectly for its shape that captures the sauce, many other short pasta shapes work wonderfully too. Consider using medium shells (conchiglie), penne, rigatoni, or even cavatappi (corkscrew pasta). The key is to choose a pasta that has nooks, ridges, or a tubular shape to effectively hold onto that delicious, creamy cheese sauce in every bite.
How do I prevent the cheese sauce from becoming grainy?
Grainy cheese sauce is a common issue that can be easily avoided with a few techniques. It usually happens if the heat is too high when adding the cheese, or if you add cold cheese to a very hot sauce which can cause the proteins to seize. Always remove the sauce from direct heat before stirring in the cheese, and add it gradually, allowing it to melt smoothly with the residual heat. Stir continuously until fully incorporated. Using freshly grated cheese (instead of pre-shredded, which often contains anti-caking agents like cellulose) also significantly helps ensure a silkier, creamier melt.
Can I make this dairy-free?
Adapting this recipe for dairy-free diets is certainly possible, but it requires specific substitutions for butter, milk, and cheese. You would need to use a dairy-free butter alternative, a rich plant-based milk (like unsweetened full-fat almond milk, oat milk, or cashew milk), and a blend of good-quality dairy-free shredded cheeses that are specifically formulated for melting well. Be aware that the texture and flavor profile will be different from the traditional dairy version, but with the right ingredients, it can still be a delicious and satisfying dish.
What if my breadcrumbs get soggy?
Soggy breadcrumbs can be disappointing. This usually happens if there isn’t enough melted butter to properly coat them, or if they aren’t cooked long enough to get truly crispy. Ensure you use the specified amount of melted butter to coat the panko thoroughly in the skillet, and cook them until they are truly golden brown and audibly crisp before removing them from the heat. Another tip is to make sure your macaroni mixture isn’t too wet on top when you add the breadcrumbs; if it is, the moisture can seep into the crumbs. Finally, always add the crispy breadcrumbs right before baking.
If you enjoyed this creamy baked macaroni and cheese recipe then you will also enjoy this instant pot mac and cheese. These cheesy scalloped potatoes are another favorite! You can also find other delicious recipes and cooking tutorial videos on Youtube and Facebook. Happy cooking!
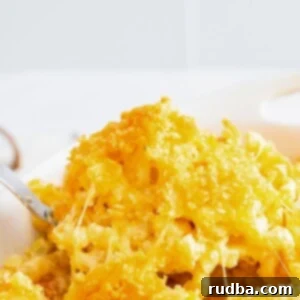
Baked Mac and Cheese
Save RecipeSaved Recipe
Pin Recipe
Rate Recipe
Print Recipe
Ingredients
- 1 lb macaroni
- 3 cups cheddar cheese
- 2 cups gouda cheese
- 4 tbsp butter , salted
- 1/4 cup all-purpose flour
- 4 1/2 cups whole milk
- 1/2 tsp dry mustard
- salt and pepper to taste
Topping
- 1 cup panko breadcrumbs
- 3 tbsp melted butter , salted
- 1/2 cup cheddar cheese
- 1/4 tsp paprika, optional
Instructions
-
Preheat oven to 400 degrees F.
-
Cook the macaroni in salted boiling water according to packaging instructions.
-
In a large skillet, melt 4 tbsp butter and whisk in the all-purpose flour. Whisk for 1-2 minutes. Stir in the milk. Cook over medium-high heat until the sauce thickens, stirring frequently.
-
Once the sauce thickens, add the cheddar cheese and gouda cheese, dry mustard, and season generously with salt and pepper. Stir in the cooked macaroni and check for seasoning. Add more salt and pepper if needed.
-
In a small skillet melt 3 tbsp of butter. Stir in the breadcrumbs and paprika. Cook until golden.
-
Place the macaroni in a 9×13 greased baking dish. Top the macaroni with the breadcrumb mixture and 1/2 cup cheddar cheese. Bake for 20 minutes or until golden and bubbly.
-
Enjoy!
Nutrition
Nutrition information is automatically calculated, so should only be used as an approximation.
Additional Info
Like this recipe? Leave a comment below!
