Ultimate Fruity Pebble Cheesecake: A Vibrant & Creamy Dessert Masterpiece
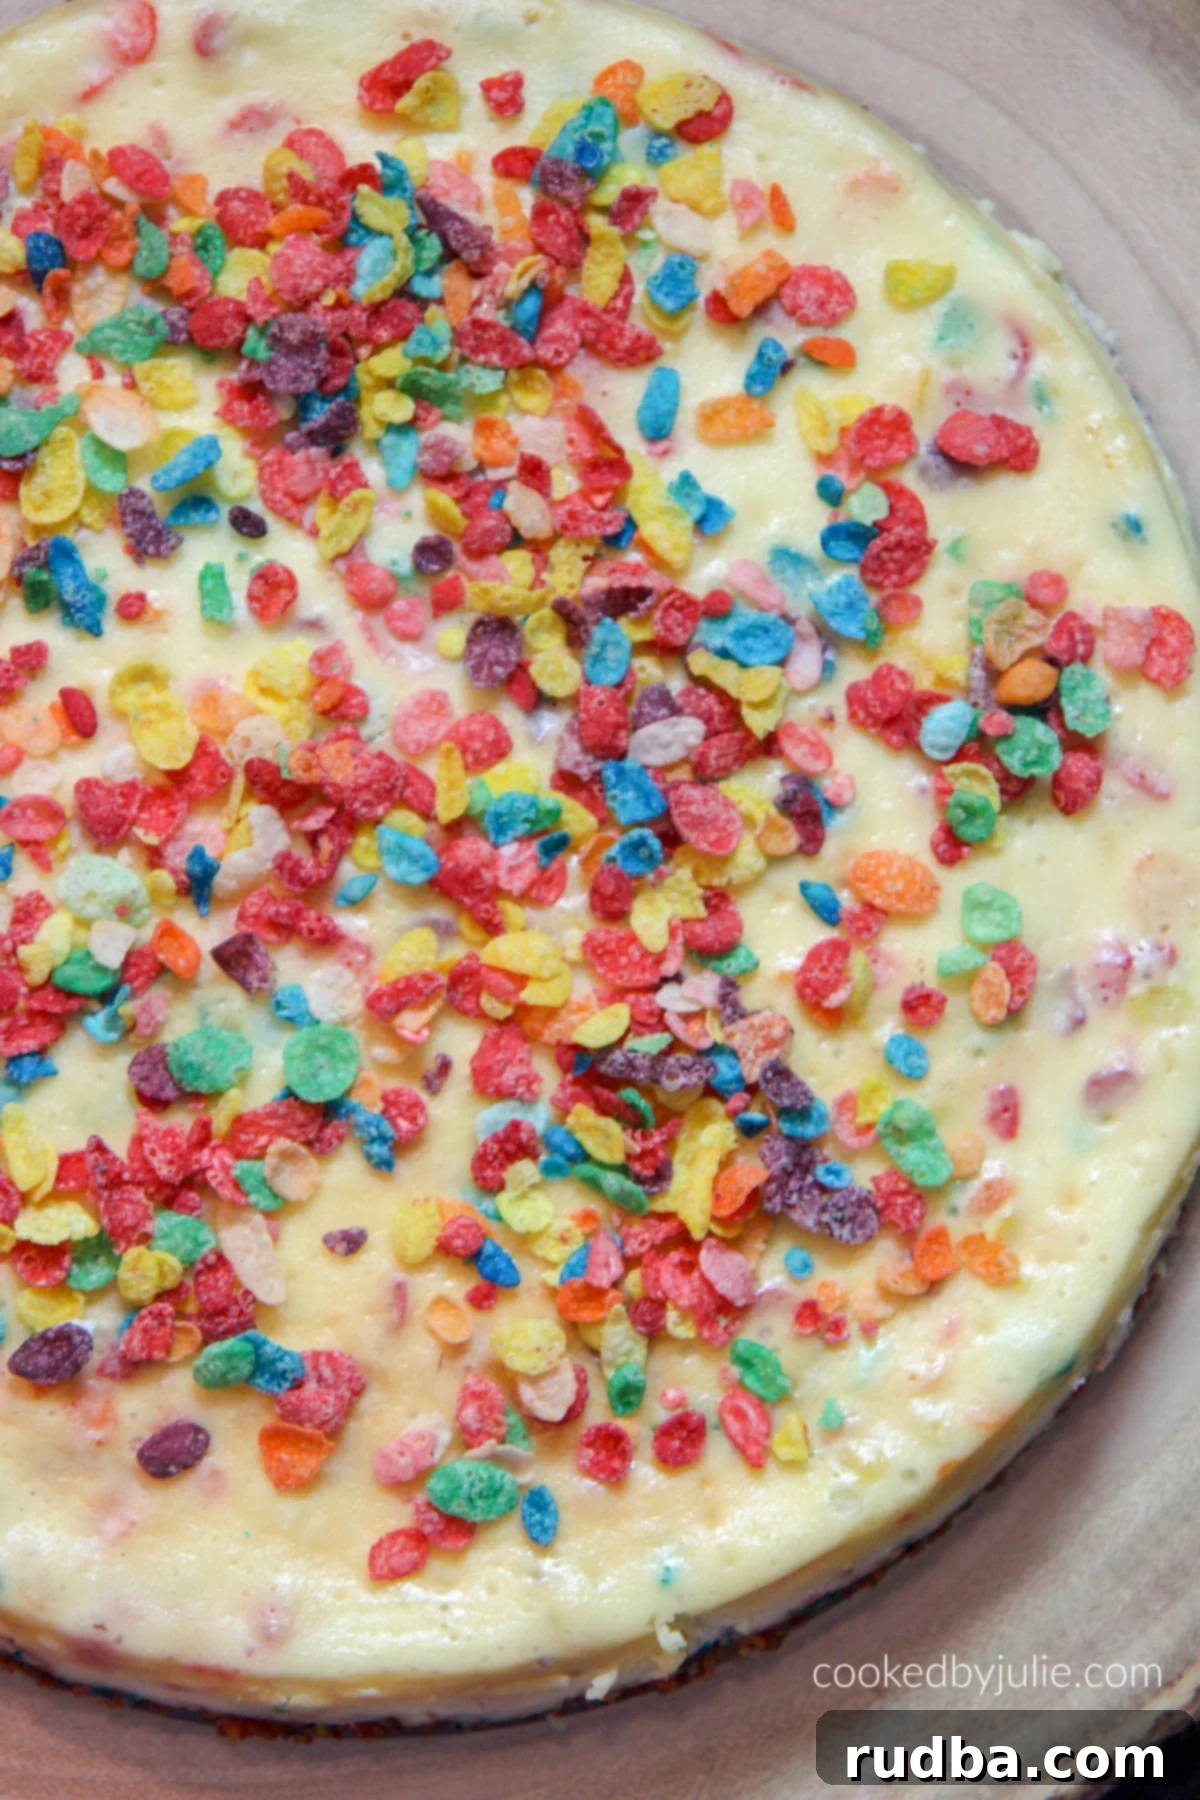
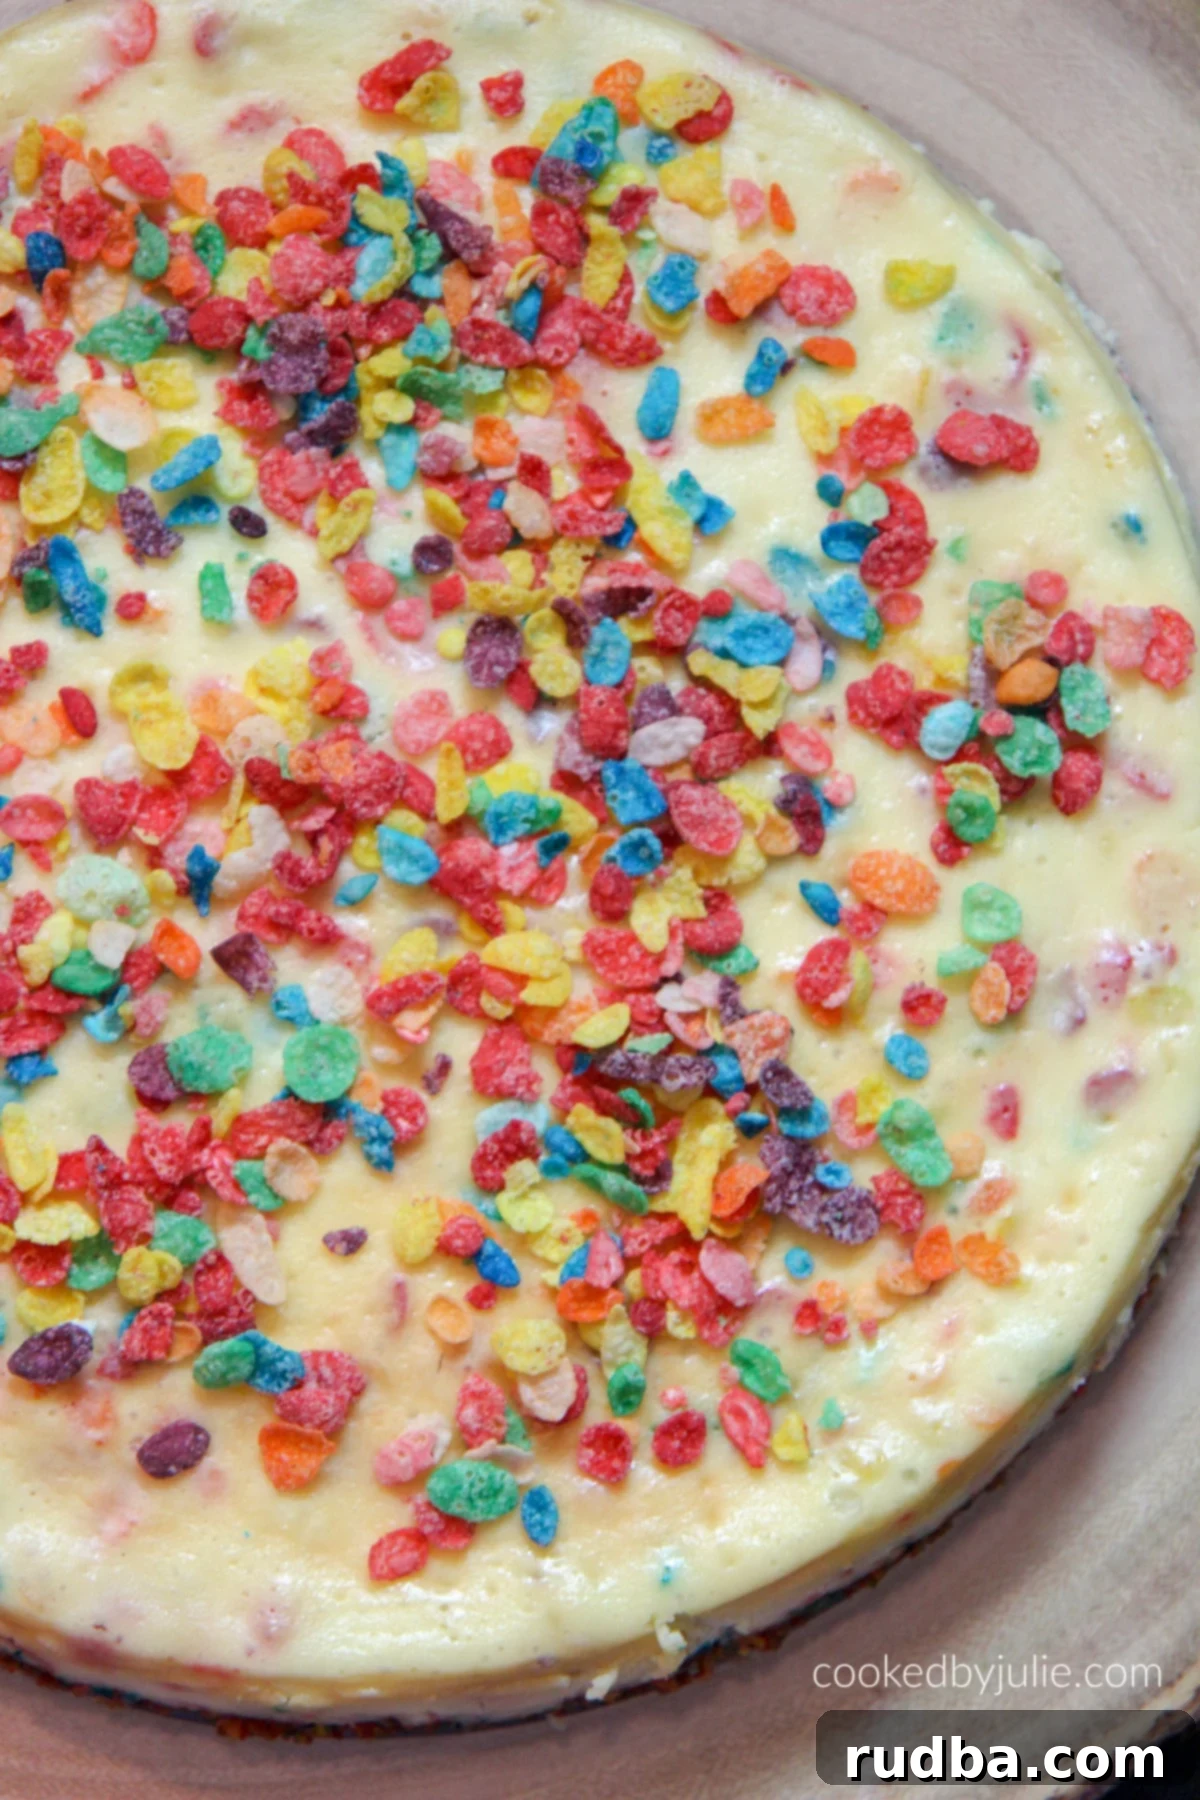
Prepare to be utterly enchanted by this incredible Fruity Pebble Cheesecake – a dessert that promises an explosion of color and flavor in every bite! This recipe transforms the classic, silky-smooth cheesecake into a playful, show-stopping treat, infused with the nostalgic crunch and vibrant hues of your favorite childhood cereal. Perfectly baked to achieve a creamy texture with an unexpected crispiness, this cheesecake is ideal for any celebration. Whether you’re planning a birthday party, a festive gathering, or simply want to indulge in a truly unique dessert, this Fruity Pebble Cheesecake is sure to impress everyone who tastes it.

As a passionate baker, I’ve spent years perfecting my signature cheesecake base, known for its unparalleled smoothness and consistent richness. This Fruity Pebble Cheesecake builds upon that beloved foundation, adding a whimsical and delicious twist that makes it truly special. The genius lies in incorporating Fruity Pebbles not just as a topping, but also directly into the creamy batter. This simple addition introduces a delightful, subtle crunch that contrasts beautifully with the cheesecake’s velvety texture. It’s a surprising textural element that elevates the entire dessert, proving that sometimes, even a classic can benefit from a touch of playful innovation. Who would have thought cheesecake needed that satisfying cereal crunch? It’s truly a game-changer.
Why This Fruity Pebble Cheesecake Will Be Your New Favorite Dessert
This isn’t just another cheesecake; it’s an experience! Here’s why this Fruity Pebble Cheesecake stands out and is bound to become a staple in your dessert repertoire:
- A Burst of Nostalgic Flavor: The sweet, fruity notes of Fruity Pebbles blend harmoniously with the rich, tangy cream cheese, creating a flavor profile that’s both comforting and exciting.
- Visually Stunning: The vibrant, multi-colored cereal makes this dessert an absolute showstopper. It’s guaranteed to draw oohs and aahs on any dessert table, making it especially appealing for children’s parties and festive occasions.
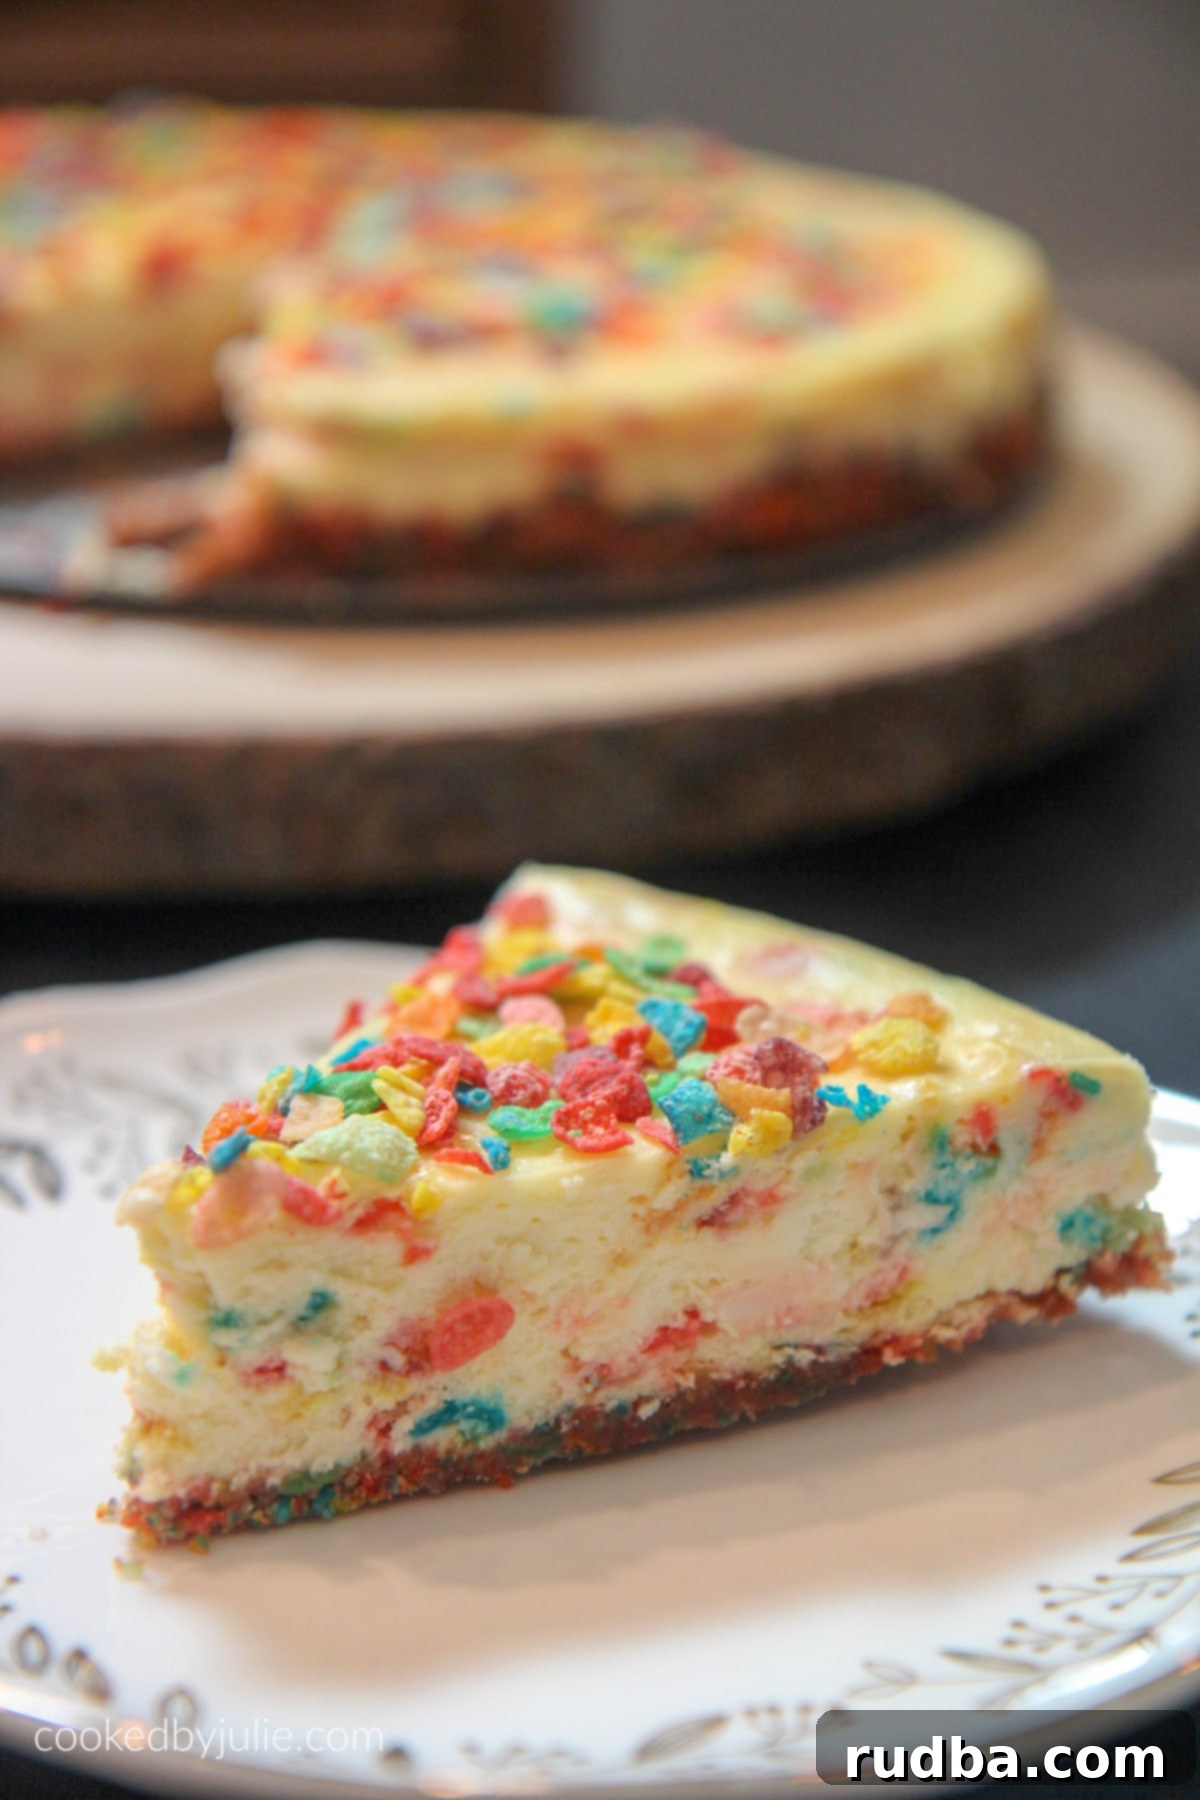
- Incredible Texture Contrast: The robust, crunchy Fruity Pebble crust and the extra cereal sprinkled on top provide a fantastic textural counterpoint to the incredibly smooth and creamy cheesecake filling. It’s a sensory delight.
- Surprisingly Easy to Make: Despite its impressive appearance, this recipe is designed to be straightforward and accessible for home bakers. With clear, step-by-step instructions, you can achieve professional-looking and tasting results.
- Perfect for Any Occasion: While it’s festive enough for birthdays and holidays, it’s also a wonderfully unique treat for a casual weekend indulgence or a special family dinner.
If you’re as devoted to cheesecake as I am, you’ll surely appreciate exploring other delightful variations. For more inspiration, be sure to check out some of my other tried-and-true recipes: the decadent Salted Caramel Cheesecake, a rich and gooey classic; the cheerfully vibrant Funfetti Cheesecake, another perfect choice for celebrations; and the irresistible Strawberry Oreo Cheesecake, which combines fruity freshness with a beloved cookie crunch. Each recipe is crafted to deliver maximum flavor and enjoyment.
This Fruity Pebble Cheesecake was born from a desire to combine the familiar comfort of breakfast cereal with the elegant indulgence of a gourmet dessert. The secret to its success is not only in the high-quality ingredients but also in the method that preserves the cereal’s delightful crispiness. When baked into the crust, the Fruity Pebbles form a sturdy yet tender base, while the additional cereal sprinkled on top after baking provides that final, satisfying crunch and visual pop. It’s a dessert that truly captures the essence of fun and deliciousness.
While this cheesecake is a complete delight on its own, it can be enhanced with simple garnishes. A cloud of freshly whipped cream adds an extra layer of richness and lightness. For those who enjoy an even sweeter touch, a light drizzle of condensed milk or a simple vanilla glaze would be wonderful. However, its vibrant appearance and balanced flavor mean it often needs little else to make a grand statement!
Crafting the Perfect Fruity Pebble Crust for Your Cheesecake
The foundation of an exceptional cheesecake lies in its crust, and for this Fruity Pebble Cheesecake, we’re creating a base that’s as exciting as the filling itself. It was essential to integrate the star ingredient right from the start, which means a vibrant, crunchy crust made entirely from Fruity Pebbles and butter! This ingenious crust isn’t just about adding a festive burst of color; it’s about establishing a deliciously sweet and texturally intriguing base that perfectly complements the creamy cheesecake filling. The beauty of this approach is its inherent sweetness from the cereal, meaning no additional sugar is required for the crust. This simplicity ensures a perfectly golden, fragrant, and delightfully crisp foundation that holds up beautifully to the rich filling.
To achieve the ideal texture for your crust, it’s best to process the Fruity Pebbles into coarse crumbs. Avoid turning them into a fine powder; a slight varied texture adds to the charm and provides more pronounced pockets of crunch. Once crushed, these colorful crumbs are then mixed with unsalted melted butter. The butter acts as a binding agent, allowing you to firmly press the mixture into the bottom of your springform pan. This pressing is key to creating a compact and sturdy crust that won’t crumble when sliced and will offer that satisfying crispness in every forkful. Make sure to press it down evenly to ensure consistent thickness and baking.

Just observe the visual appeal of that delicious fruity pebble crust in the image above! It’s not merely a supporting element; it’s an integral part of the cheesecake’s overall charm and flavor. This eye-catching crust promises a delightful burst of fruity cereal goodness and a satisfying crunch, setting the perfect stage for the luscious, creamy filling that follows. It’s truly a testament to how creative ingredients can transform a classic dessert.
Essential Tips for a Flawless, Crack-Free Fruity Pebble Cheesecake
Achieving a perfectly smooth, crack-free, and delicious cheesecake, especially one with special additions like Fruity Pebbles, benefits greatly from understanding a few key techniques. These expert tips will guide you toward cheesecake perfection every single time.
Ingredient Preparation is Key
- Room Temperature Ingredients are Non-Negotiable: This is perhaps the most crucial tip for any cheesecake! Ensure your cream cheese, eggs, and sour cream are at proper room temperature. Softened cream cheese mixes far more smoothly with other ingredients, preventing lumps in your batter and ensuring a uniform, silky consistency. Cold ingredients, on the other hand, require longer mixing times, which can incorporate too much air into the batter – a common culprit for cracks during the baking and cooling process.
- Choose Quality Ingredients: For the richest, creamiest texture and best flavor, opt for full-fat cream cheese. High-quality vanilla extract also makes a noticeable difference in the overall taste profile of your cheesecake.
Mixing the Cheesecake Filling to Perfection
- Avoid Overmixing: This cannot be stressed enough. After you’ve added the eggs, mix only until they are just incorporated into the batter. Overmixing introduces excess air, which, as mentioned, can expand rapidly in the hot oven and then contract too quickly during cooling, leading to unsightly cracks on your cheesecake’s surface. A dense, smooth, and lump-free batter is the goal.
- Thoroughly Scrape Down the Bowl: Regularly pause to scrape down the sides and bottom of your mixing bowl with a rubber spatula. This ensures that all ingredients are thoroughly combined and there are no unmixed pockets of cream cheese or sugar, contributing to an even texture throughout.
The Importance of a Water Bath (Bain-Marie)
The water bath method is not merely a suggestion for a truly perfect cheesecake; it is absolutely essential. This technique provides a moist, gentle, and evenly heated environment for your cheesecake to bake. This gentle, consistent heat prevents the edges from baking and setting too quickly while the center remains raw, which is one of the most common causes of cracks. Furthermore, a water bath contributes significantly to that signature silky-smooth, custardy texture that all cheesecake connoisseurs adore.
- Properly Seal Your Springform Pan: Use at least two layers of heavy-duty aluminum foil (or even three layers of standard foil) to tightly wrap the bottom and sides of your springform pan. This crucial step prevents any water from seeping into your delicious Fruity Pebble crust and making it soggy.
- Use Boiling Water: Fill the larger baking dish with water that is already boiling. Starting with hot water immediately creates steam in the oven, optimizing the baking environment from the very beginning.
Baking and Cooling for a Flawless Finish
Patience is a virtue, especially when it comes to baking and cooling cheesecake. The cooling process is just as vital as the baking itself for preventing cracks and ensuring optimal texture.
- Gradual Cooling is Key: After the initial baking time, turning off the oven and allowing the cheesecake to slowly cool inside (with the oven door cracked open) prevents any drastic temperature changes. Rapid cooling is a significant factor in causing cheesecakes to crack.
- Thorough Chilling: A minimum of 4 hours in the refrigerator, and ideally overnight, is absolutely necessary for the cheesecake to fully set, firm up, and for all the incredible flavors to meld beautifully. This thorough chilling also ensures clean, perfect slices every time.
Making Ahead and Storing Your Fruity Pebble Cheesecake
This Fruity Pebble Cheesecake is an excellent dessert to prepare in advance, making it a fantastic choice for entertaining guests or simply ensuring you have a delightful treat on hand without any last-minute stress. Its flavors often deepen and improve with a little time in the fridge.
- Preparation in Advance: You can comfortably bake this cheesecake up to 2-3 days before you plan to serve it. Once it has fully chilled and set according to the recipe instructions, cover it loosely but securely with plastic wrap and store it in the refrigerator.
- Refrigeration Storage: Any leftover cheesecake should be stored in an airtight container or covered tightly with plastic wrap in the refrigerator. It will maintain its best quality for up to 5 days.
- Freezing for Longer Storage: If you wish to store the cheesecake for a longer period, freezing is a great option. Once the cheesecake is completely chilled and firm, carefully remove it from the springform pan. Place the whole cheesecake (or individual slices) on a freezer-safe plate or baking sheet and freeze until solid (this usually takes about 1 to 2 hours). Once firm, wrap it tightly in several layers of plastic wrap, followed by a final layer of aluminum foil to protect it from freezer burn. It can be stored in the freezer for up to 1 month. To serve, thaw the cheesecake overnight in the refrigerator before unwrapping and enjoying.
Fruity Pebble Cheesecake Recipe Card

Fruity Pebble Cheesecake
Save RecipeSaved Recipe
Pin Recipe
Rate Recipe
Print Recipe
Ingredients
Fruity Pebble Crust:
- 3 cups fruity pebble
- 7 tbsp unsalted melted butter
Cheesecake Filling:
- 24 ounces softened cream cheese
- 1 cup sugar
- 1 cup sour cream
- 3 eggs
- 3/4 cups fruity pebbles
- 1 tsp vanilla extract
Instructions
-
Preheat oven to 325 F (160 C).
-
Wrap an 8-inch springform pan with heavy-duty aluminum foil (or two layers of regular foil), ensuring no water can seep in during the water bath. Set aside.
-
For the crust: Combine the 3 cups of crushed fruity pebble crumbs with the 7 tbsp of unsalted melted butter in a bowl. Mix thoroughly until the crumbs are evenly moistened. Press this mixture firmly and evenly onto the bottom of the prepared 8-inch springform pan. Use the back of a spoon or a flat-bottomed glass to ensure a compact crust. Set aside.
-
For the cheesecake filling: In a large mixing bowl, using an electric mixer, beat the 24 ounces of softened cream cheese on medium speed until it is completely smooth and creamy, with absolutely no lumps remaining. Scrape down the sides of the bowl as needed.
-
Add the 1 cup of sugar, 1 cup of sour cream, and 1 tsp of vanilla extract to the cream cheese mixture. Continue to mix on low speed, just until all the ingredients are well incorporated and the mixture is smooth. Be careful not to overmix at this stage.
-
Add the 3 eggs one at a time to the cheesecake mixture, mixing on the lowest speed possible only until each egg is just incorporated. Stop mixing as soon as the yolk disappears into the batter to avoid incorporating too much air, which can lead to cracks.
-
Gently stir in the 3/4 cups of fruity pebbles into the cheesecake batter using a spatula. Fold them in carefully to distribute them evenly without crushing them excessively.
-
Pour the cheesecake filling evenly over the prepared fruity pebble crust in the springform pan. Gently tap the pan on the counter a few times to release any large air bubbles that might be trapped.
-
To prepare the water bath: Place the foil-wrapped 8-inch springform pan into a larger oven-safe baking dish (such as a roasting pan). Carefully pour about 1 inch of boiling water into the larger baking dish, ensuring the water level does not exceed the top edge of the aluminum foil on the springform pan.
-
Carefully transfer the baking dish with the cheesecake in its water bath to the preheated oven. Bake for 10 minutes at 325 F (160 C).
-
After 10 minutes, reduce the oven temperature to 300 F (150 C) and continue to bake for an additional 1 hour and 15 minutes. The cheesecake should appear mostly set around the edges but still have a slight jiggle in the center (a circle about 2 inches in diameter) when gently shaken.
-
Turn the oven off completely, but leave the cheesecake inside with the oven door closed for 30 minutes. This slow, gradual cooling helps prevent cracks from forming on the surface.
-
After the 30 minutes, open the oven doors slightly (leaving them ajar by a few inches) and allow the cheesecake to sit in the cooling oven for an additional 10 minutes.
-
Carefully remove the cheesecake from the water bath and the larger baking dish. Place the springform pan on a wire rack to cool completely. Immediately run a thin knife or an offset spatula along the inner edge of the springform pan to gently loosen the cheesecake from the sides. This step is crucial for preventing cracks as the cheesecake cools and contracts.
-
Allow the cheesecake to cool fully at room temperature for about 1 hour. Once cool to the touch, cover it loosely with plastic wrap and transfer it to the refrigerator for a minimum of 4 hours, or ideally overnight, to fully chill and set. This chilling time is essential for optimal flavor and texture.
-
Once thoroughly chilled and firm, carefully remove the sides of the springform pan. Decorate the top of the cheesecake generously with extra fruity pebbles just before serving. Slice, serve, and enjoy this colorful and creamy dessert!
Notes
Nutrition
Nutrition information is automatically calculated and should only be used as an approximation. Individual results may vary based on specific ingredients and preparation methods.
Additional Info
Like this recipe? Leave a comment below!
