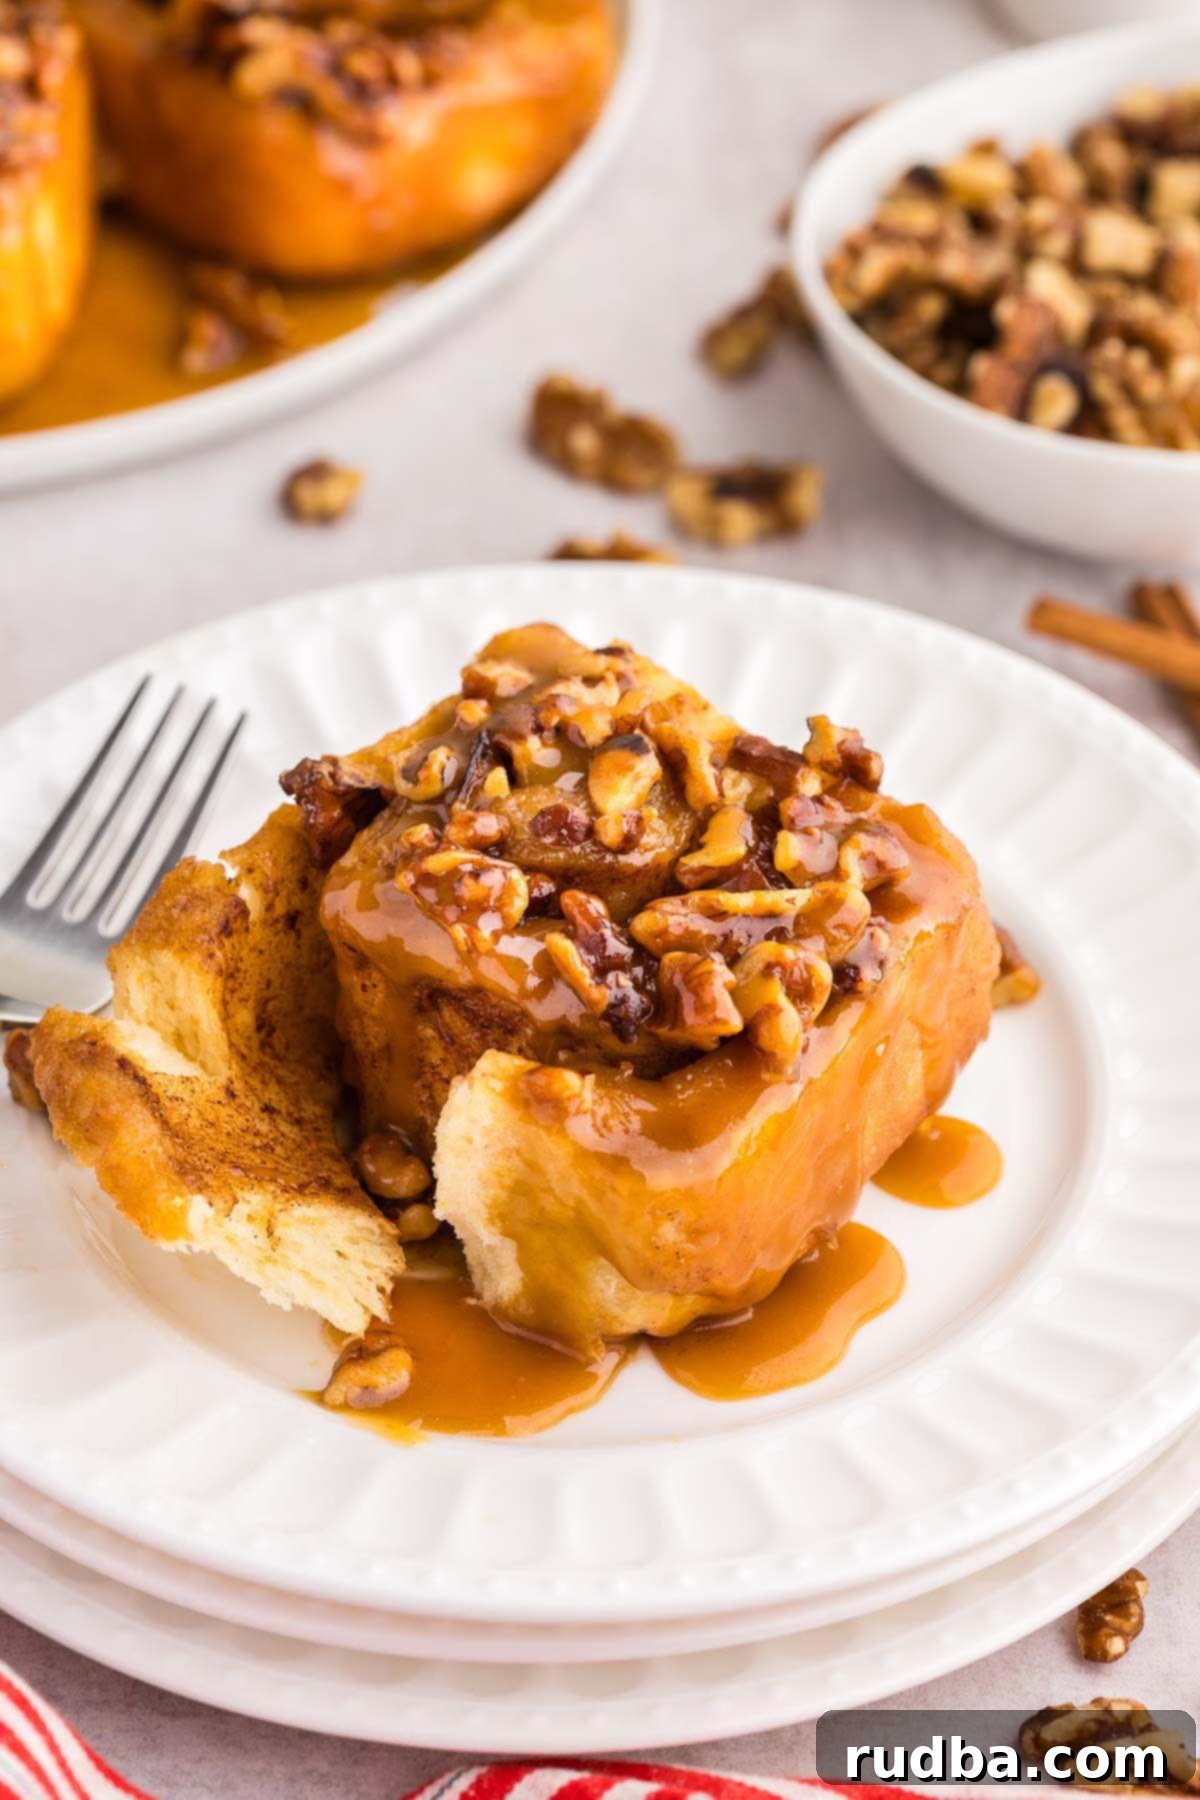
The Ultimate Homemade Sticky Buns: Perfectly Soft, Gooey, and Irresistible
There’s nothing quite like the comforting aroma and irresistible taste of fresh, homemade sticky buns. These delightful pastries are a true culinary masterpiece, combining a super soft, tender dough with a rich, buttery caramel topping and crunchy pecans. My recipe guarantees a perfectly gooey, yet not overly sweet, experience that will have everyone reaching for more. Whether it’s a special holiday breakfast, a leisurely brunch, or a comforting treat on a chilly afternoon, these homemade sticky buns are guaranteed to bring warmth and joy to your table.
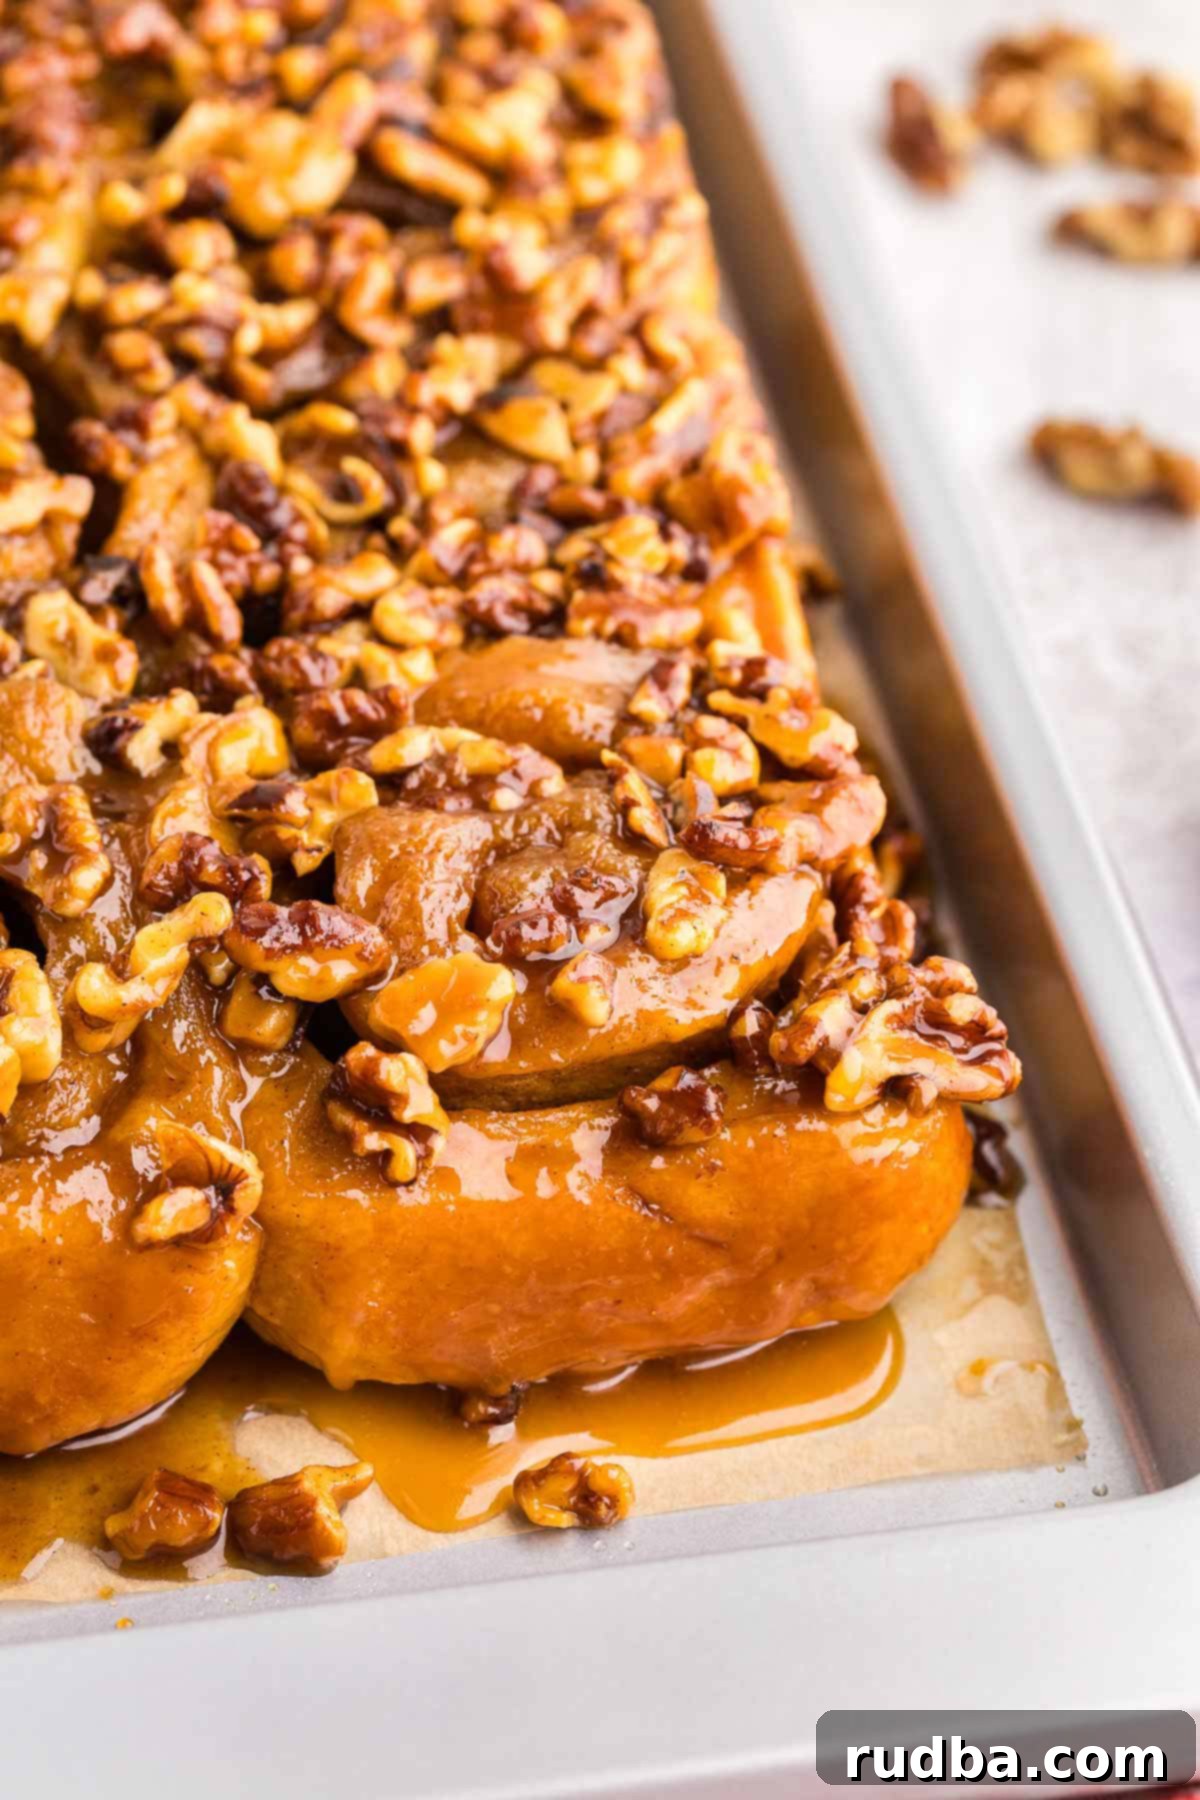
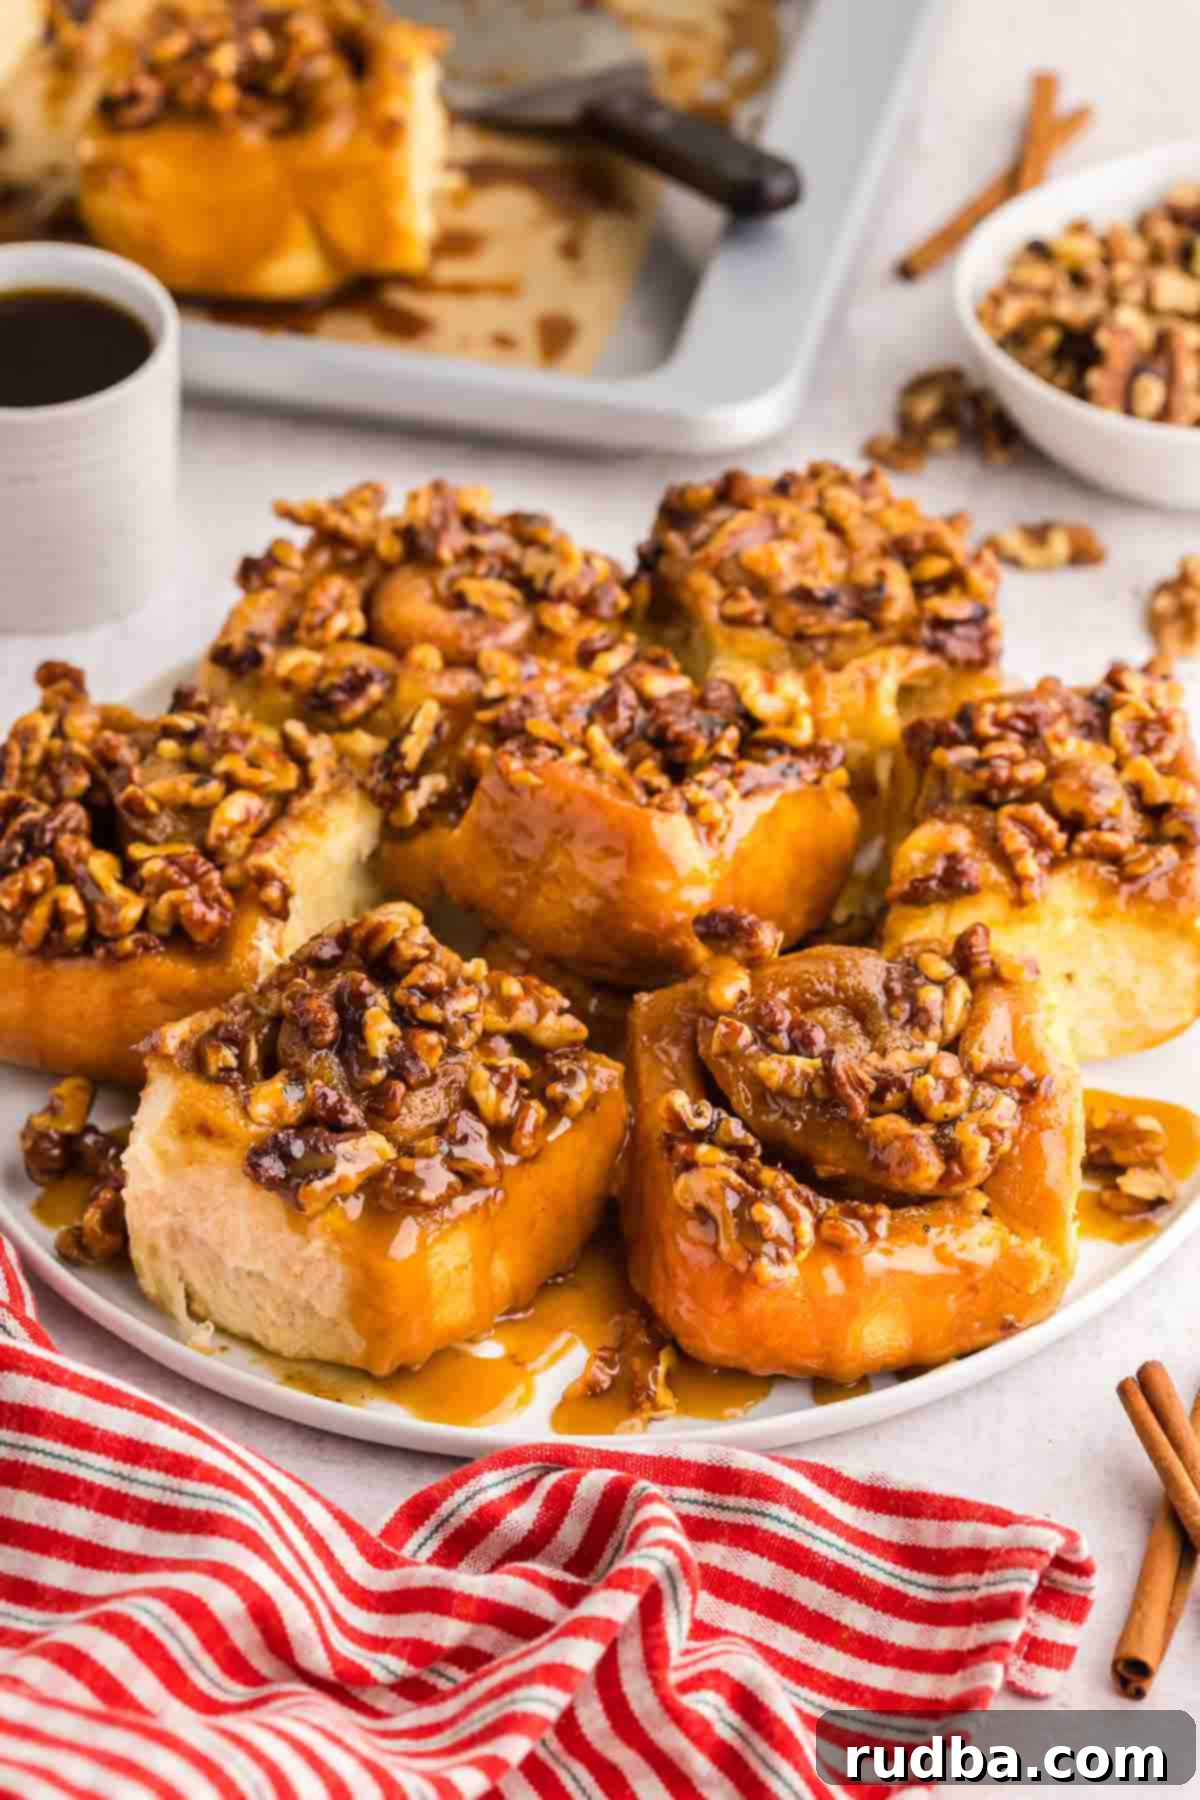
Crafted with love from scratch, this recipe walks you through creating a tender, yeasted dough that bakes up incredibly fluffy and light. The magic happens when these soft rolls are inverted, allowing a decadent, molten caramel sauce, generously studded with crunchy pecans, to cascade over every nook and cranny. The result is a symphony of textures and flavors – the soft, airy interior, the gloriously sticky-sweet exterior, and the satisfying crunch of nuts. While you can certainly enjoy them any time of year, they hold a special place in my heart for holiday mornings, especially for making Christmas morning truly magical. There’s just something about that warm, sweet indulgence that makes festive celebrations even more memorable. For the absolute best experience, serve these delicious sticky buns warm, perhaps alongside a steaming cup of coffee or a cold glass of milk, letting the caramel melt deliciously in every single bite.
If you’re a fan of sweet rolls and enjoy baking, you might also love these incredibly delicious cinnamon rolls, which offer a similar comfort but with a different spicy twist. Mastering homemade sweet rolls is a rewarding journey, and these caramel pecan sticky buns are a fantastic next step for any home baker looking to impress.
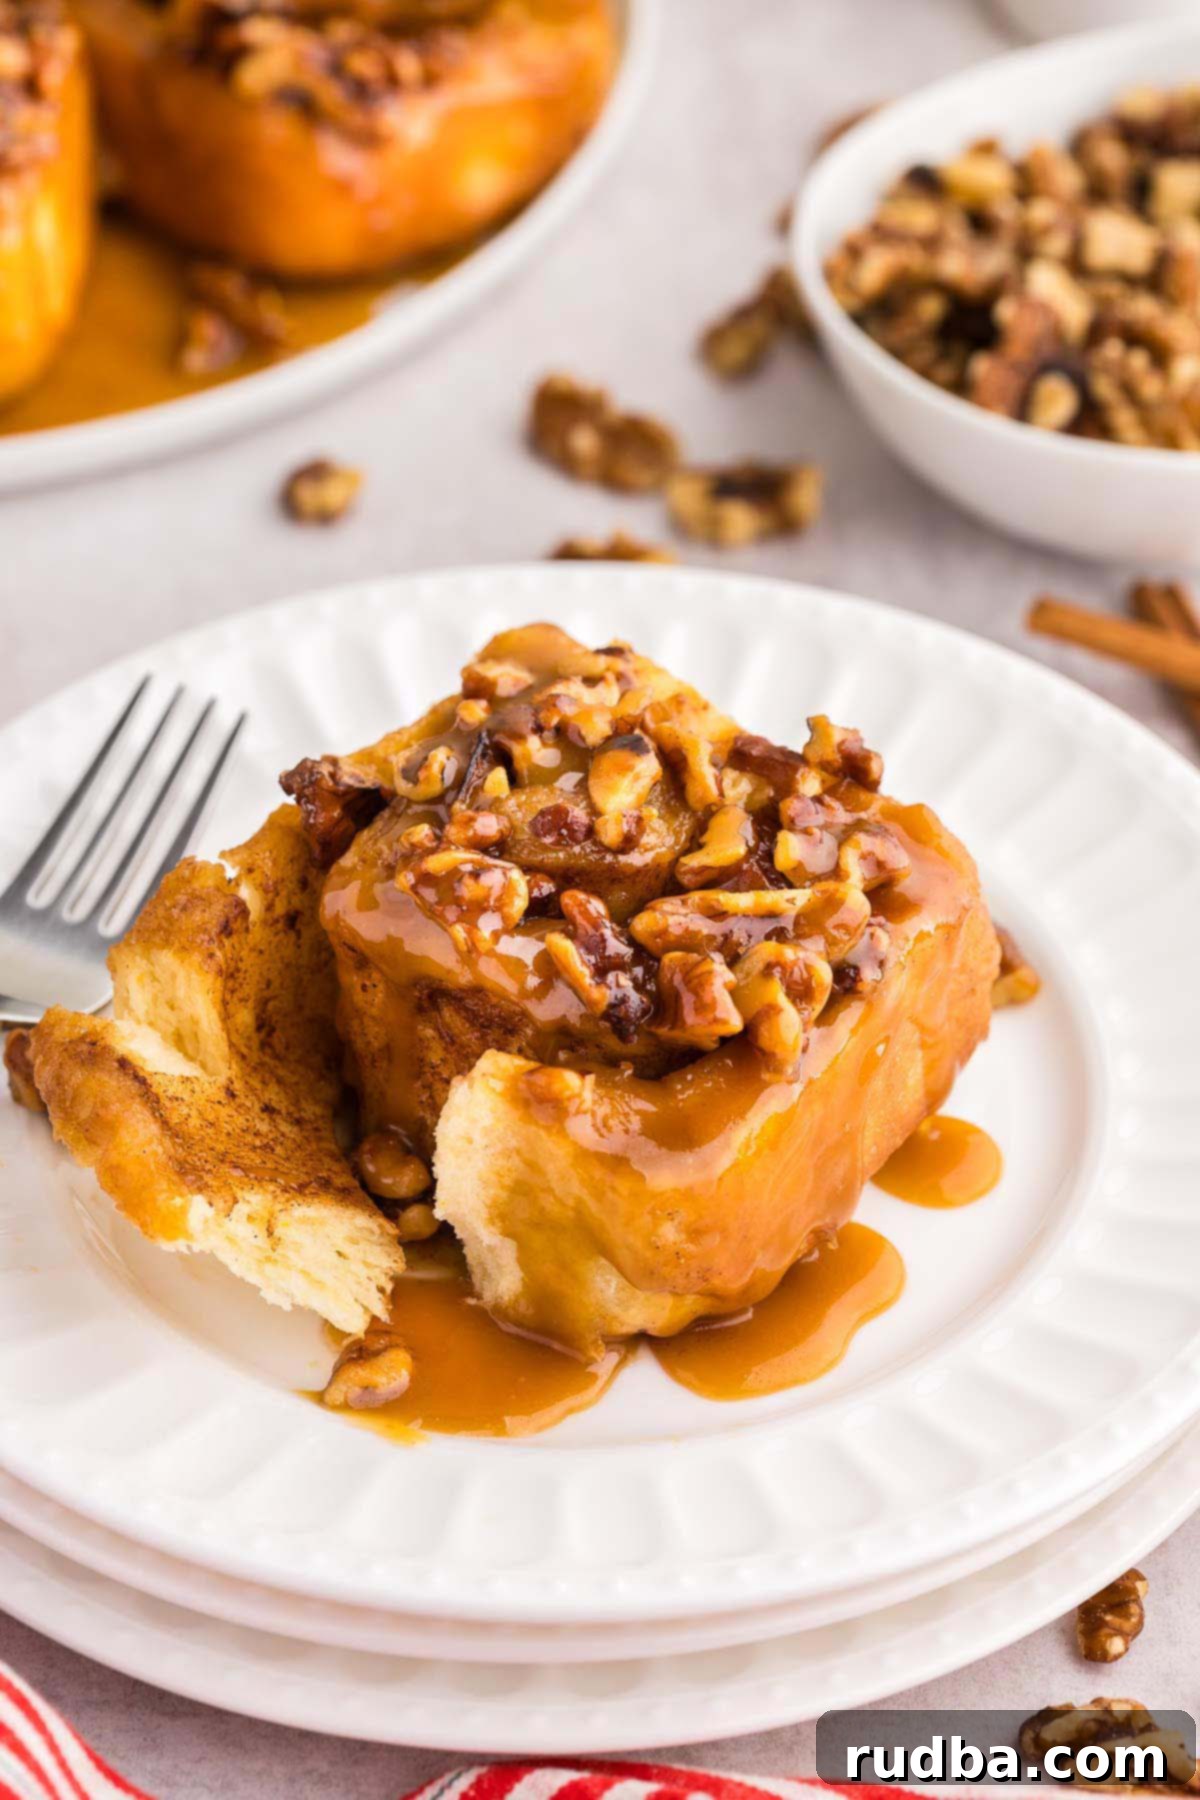
Table of Contents
- Key Ingredient Notes
- Expert Baking Tips for Perfect Sticky Buns
- Storage and Reheating Recommendations
- Homemade Sticky Buns Recipe
Key Ingredient Notes for Your Perfect Sticky Buns
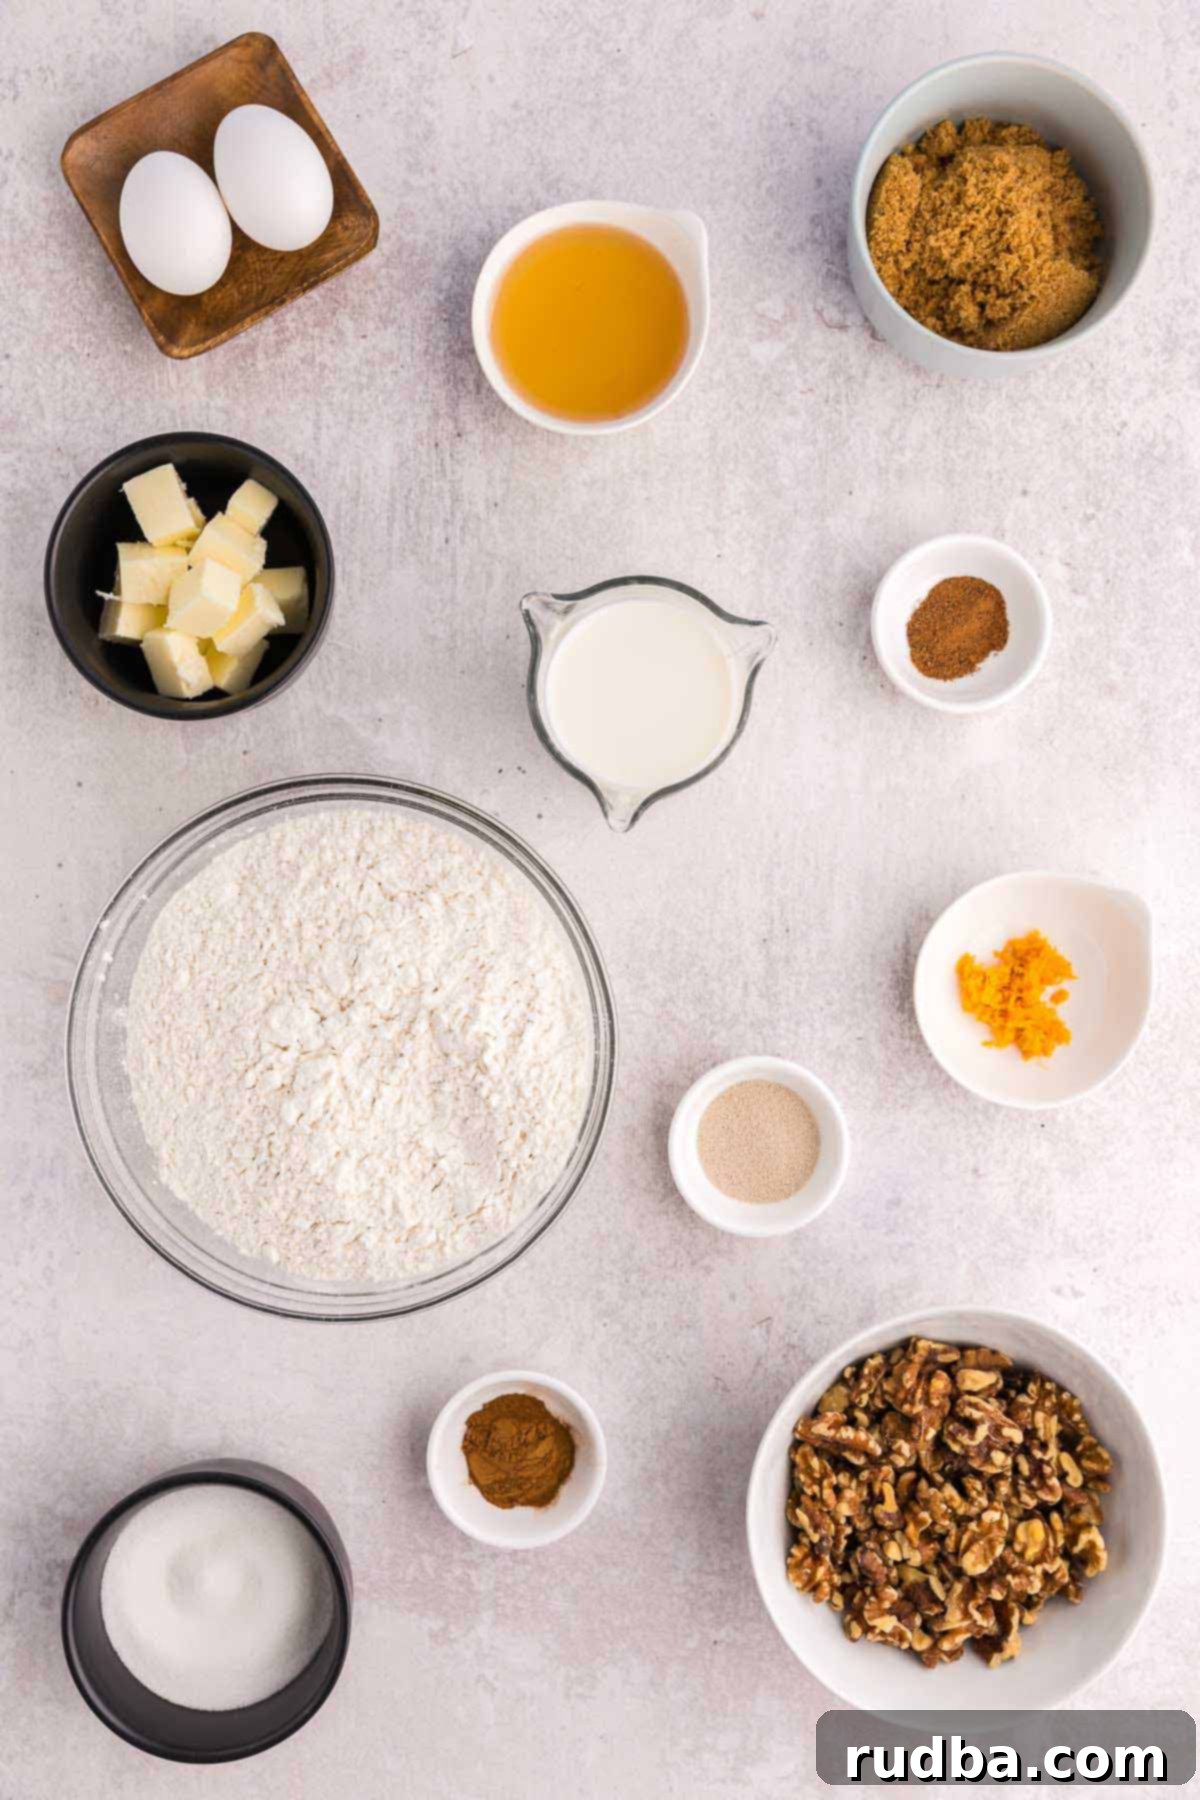
Understanding the role of each ingredient is crucial for achieving the perfect sticky bun. Below are some important details to consider for the best results, ensuring your homemade sticky buns are nothing short of spectacular. For precise ingredient quantities and complete step-by-step instructions, please refer to the detailed recipe card below.
- All-Purpose Flour – For this recipe, standard all-purpose flour provides the ideal structure and tenderness that we want in a soft, fluffy bun. It’s vital to measure flour correctly: spoon it into your measuring cup and then level it off with a straight edge. This method prevents over-packing the flour, which can lead to a dense, dry dough rather than the light and airy texture we’re aiming for.
- Salted Butter – This is a critical ingredient for both the tender dough and the luscious sticky caramel topping. Using salted butter helps to subtly balance the sweetness, ensuring the rolls are perfectly sticky without becoming overly cloying. If you only have unsalted butter on hand, you can certainly use it, but remember to add a pinch of salt (approximately ¼ teaspoon per stick of butter used) to compensate for the missing salt, especially in the caramel.
- Pecans (or Walnuts) – The quintessential crunchy element of these sticky buns often comes from pecans, which offer a rich, buttery, and earthy flavor that beautifully complements the sweet caramel. However, if pecans aren’t your preference, chopped walnuts make an excellent alternative with their own distinct nutty profile. For those who prefer a nut-free sticky bun, you can simply omit them entirely without compromising the overall deliciousness of the roll itself. Lightly toasting your chosen nuts before adding them can also significantly enhance their flavor and crunch.
- Light Brown Sugar – For that signature deep caramel color and rich, molasses-like depth of flavor in both the sticky topping and the cinnamon filling, light brown sugar is absolutely essential. Always ensure your brown sugar is soft and fresh. If it’s hard, clumpy, or feels like a brick, it indicates it’s dried out, which can negatively affect the texture and moisture content of your caramel and filling. Fresh, soft brown sugar is key for achieving a smooth, flowing caramel and a moist, flavorful filling.
- Instant Dry Yeast – This type of yeast is wonderfully convenient as it doesn’t typically require prior proofing and can be mixed directly with the dry ingredients. However, it’s paramount to always double-check the expiration date on your yeast package. Expired yeast is inactive and will simply fail to activate, preventing your dough from rising and, unfortunately, ruining your entire baking effort. Ensuring your yeast is fresh and active is the first step to successful sticky buns.
- Warm Whole Milk – Milk contributes significantly to the rich flavor and incredibly soft texture of the dough. Ensuring the milk is warm – but crucially, *not hot* – is vital for activating the yeast properly. The ideal temperature range is between 105°F and 115°F (40°C-46°C). Milk that is too hot will kill the yeast, rendering it ineffective, while milk that is too cold won’t activate it properly, resulting in a sluggish or non-existent dough rise.
- Honey – A touch of honey in the sticky caramel topping adds another layer of subtle, complex sweetness and imparts a beautiful, glossy sheen. It also plays a role in enhancing the overall stickiness and depth of the caramel’s flavor profile, elevating it beyond just sugar and butter.
Expert Baking Tips for Perfect Sticky Buns Every Time
Achieving bakery-quality sticky buns at home is entirely within reach, especially with these insider tips to guide you. Pay close attention to these details, and you’ll be rewarded with a batch of perfectly tender, sweet, and sticky treats that are sure to impress.
- The Best Way to Cut Rolls: The Dental Floss Trick – Many bakers reach for knives or dough cutters, but I’ve consistently found that unflavored dental floss works absolute wonders for cleanly slicing the rolled dough. The floss cuts through the soft dough with precision, without flattening or distorting the delicate spiral shape of the rolls, ensuring each sticky bun maintains its beautiful form. To use, simply slide a long piece of floss underneath the log of dough, bring the ends up, cross them over the top, and pull tightly to slice. It’s a surprisingly effective and satisfying method!
- Always Check Your Yeast’s Expiry Date – This tip cannot be stressed enough! Yeast is a living organism, and if it’s expired or has been improperly stored, it will be inactive and unable to make your dough rise. Always verify the date on the yeast package before you begin baking. If you’re at all unsure, you can easily “proof” a small amount: dissolve a teaspoon of yeast in about ¼ cup of warm milk (around 105-115°F) with a pinch of sugar. If it foams and becomes bubbly within 5-10 minutes, your yeast is active and ready to bring your sticky buns to life.
- Precision with a Ruler for Uniformity – For perfectly uniform sticky buns that bake evenly and look professionally made, a ruler is an invaluable tool when rolling out the dough. Aim for a rectangular shape approximately 12 inches by 18 inches. Consistency in size ensures that all buns bake at the same rate, preventing some from being undercooked while others are dry.
- Avoid Overbaking at All Costs – Overbaked sticky buns are a baker’s lament – dry, hard, and devoid of their delightful soft, tender texture. Keep a very close eye on your buns during the last few minutes of baking. They should achieve a beautiful golden brown color on top. For absolute certainty, use an instant-read thermometer. The center of the rolls should reach an internal temperature of 185°F (85°C). If you notice the buns browning too quickly on the surface, you can loosely tent the pan with aluminum foil to prevent further browning while the interior finishes cooking.
- Serve Warm for Maximum Enjoyment – While undeniably delicious at any temperature, sticky buns are truly at their peak when served warm. The caramel topping will be delightfully gooey and flowing, the dough incredibly soft and tender, and the sweet aroma will fill your kitchen, enhancing the entire experience. A quick reheat in the microwave for 10-15 seconds per bun is all it takes to revive their freshly baked glory, making every bite a warm, sticky dream.
- Adjusting Dough Stickiness as Needed – A slightly sticky dough is often a good sign; it indicates proper hydration and is crucial for achieving tender, moist buns. If, however, your dough feels excessively sticky and difficult to manage after kneading, you can incrementally mix in a tablespoon of all-purpose flour at a time until it’s more workable. Incorporate each addition fully before deciding if more is needed. Conversely, if your dough feels too dry or stiff, a teaspoon of milk can help. The ultimate goal is a dough that is soft, pliable, elastic, and just slightly tacky to the touch.
- Patience with Rising Times – Dough rising is a delicate process that is significantly influenced by ambient room temperature and humidity. It’s essential not to rush this step. Allow the dough to double in size in a warm, draft-free spot. This first rise typically takes anywhere from 1.5 to 2 hours, and the second rise after shaping will take about 15-30 minutes. A slow, steady rise is key for developing both the best flavor and the most tender texture in your sticky buns.
Storage and Reheating Recommendations for Your Delicious Sticky Buns
While sticky buns are undeniably best enjoyed fresh and warm from the oven, proper storage can extend their deliciousness for a few days, and freezing allows you to savor them even longer. Here’s how to keep your sticky buns as delightful as the day they were baked, ensuring you can enjoy that sweet, gooey goodness whenever a craving strikes.
Short-Term Storage:
For any leftover rolls you plan to enjoy within a few days, the best way to store them is in an air-tight container. Keep the container at room temperature. They will maintain their quality and delightful texture for up to 3 days. To bring them back to their optimal soft and gooey state, reminiscent of fresh-baked, simply microwave individual buns for a short burst – typically 10-20 seconds, depending on the power of your microwave. This gentle reheating will sufficiently re-melt the caramel and soften the tender dough, making them almost as good as fresh out of the oven.
Long-Term Storage: Freezing Sticky Buns
These homemade sticky buns are excellent candidates for freezing, making them a perfect make-ahead option for busy mornings, holiday feasts, or unexpected cravings throughout the week. Freezing them correctly ensures they retain their wonderful texture and flavor when thawed and reheated.
- Individual Freezing Method for Convenience: The most recommended way to freeze sticky buns is individually. This smart method prevents them from sticking together in a large clump and allows you the flexibility to grab just one or two at a time, minimizing waste and maximizing convenience.
- First, allow the freshly baked sticky buns to cool completely to room temperature after baking. This step is crucial to prevent condensation and ice crystals from forming during freezing.
- Once cooled, carefully separate them into individual buns.
- Arrange the individual buns on a single layer on a sheet pan, ensuring they do not touch each other.
- Place the entire sheet pan in the freezer for 1-2 hours, or until the buns are completely solid. This “flash freezing” step is key to preventing them from sticking together once they are combined in a storage bag.
- Once frozen solid, transfer the individual sticky buns into a freezer-safe zipper-top bag or an airtight freezer container. Make sure to press out as much air as possible before sealing to prevent freezer burn, which can affect the texture and flavor.
- As an alternative, you can individually wrap each bun tightly in plastic wrap, then place them all into a larger freezer bag for an extra layer of protection against freezer burn.
- Thawing and Reheating Frozen Sticky Buns:
- To thaw, simply take the desired number of buns out of the freezer.
- You can thaw them overnight in the refrigerator for a gradual thaw, or at room temperature for a few hours if you’re in a bit more of a hurry.
- Once thawed (or even from frozen, with slightly longer reheating times), reheat them in the microwave for 20-40 seconds per bun until warmed through and the caramel is gooey. For a crispier exterior, you can reheat them in a preheated oven (around 300°F/150°C) for 5-10 minutes, or until thoroughly warmed and fragrant.
With these comprehensive storage and reheating tips, you can always have a delicious, warm sticky bun ready to enjoy, whether it’s for a spontaneous treat, a planned breakfast gathering, or just to satisfy that sweet craving.
Tried This Delicious Sticky Buns Recipe?
Your feedback means the world to me and helps our entire baking community! If you’ve baked these homemade sticky buns, please take a moment to leave a review below and share your experience. I genuinely love hearing how these recipes turn out for you, and I would greatly appreciate your thoughts, tips, or any variations you tried. Your reviews not only encourage me but also help other aspiring bakers decide to give this wonderful recipe a try. Thank you for being a part of our culinary journey! ❤️
Sticky Buns
Save RecipeSaved Recipe
Pin Recipe
Rate Recipe
Print Recipe
Equipment
-
9×13 baking dish
Ingredients
- 4 ½ – 5 cups all-purpose flour, spooned and leveled
- ½ cup granulated sugar
- 2 teaspoons INSTANT dry yeast, see notes
- 1 cup warm whole milk, not over 110F (see notes)
- 6 tbsp salted butter, melted
- 2 large eggs
Sticky Caramel Topping
- 1/2 cup salted butter
- 2/3 cup brown sugar
- 1/4 cup whole milk
- 1/4 cup honey
- 1 cup chopped walnuts or pecans
Sticky Bun Filling
- 3/4 cup brown sugar
- 1 tablespoon ground cinnamon
- 1/4 cup salted butter, softened
Instructions
Making the Dough
-
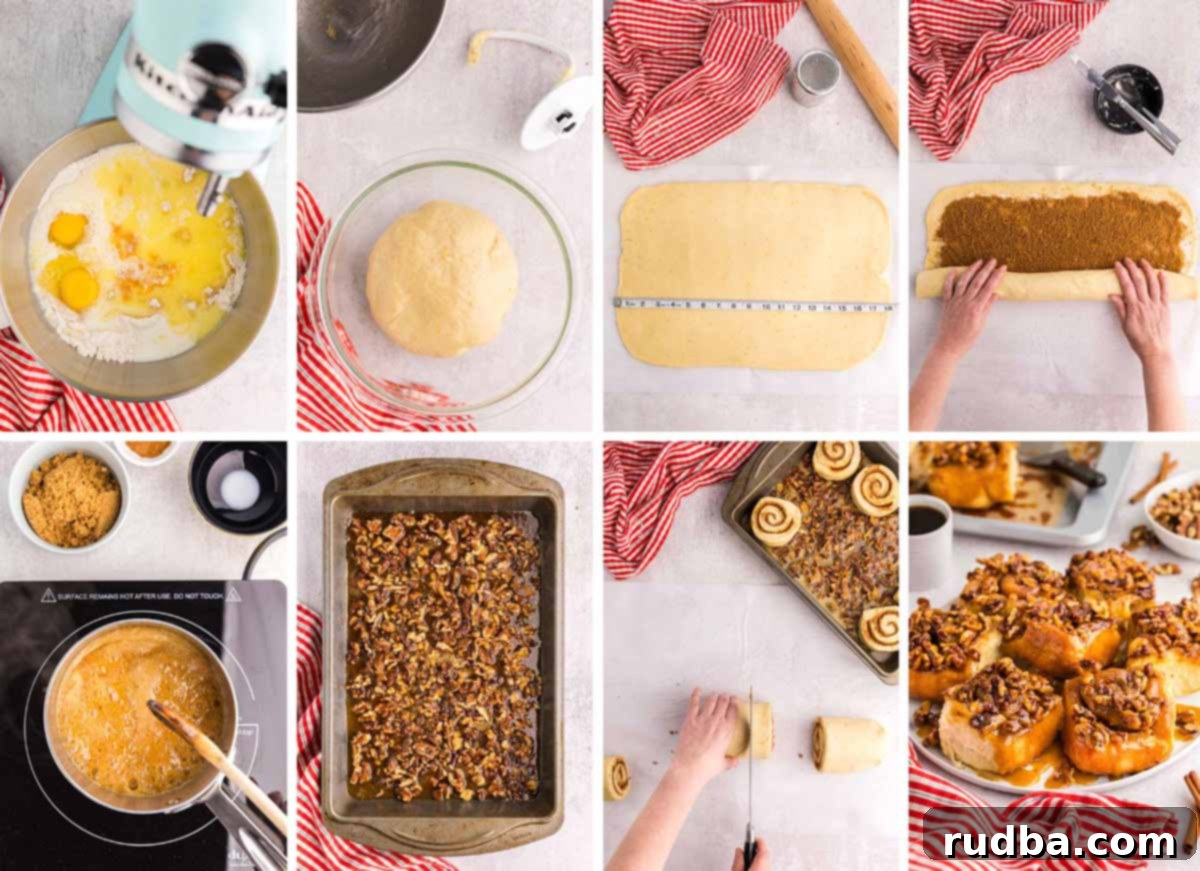
In the mixing bowl of a stand mixer stir together 4 ½ cups of the flour, ½ cup sugar, and 2 teaspoons of instant yeast.
-
Pour in the warm milk, melted butter, and 2 eggs.
-
Using the dough hook attachment, turn the stand mixer on low to combine all the ingredients. Once the ingredients come together you can increase the speed to medium (level 4 on a KitchenAid Stand Mixer).
-
Continue to let the dough hook knead the dough for 5-6 minutes. If the dough is sticking to the sides or bottom of the bowl, you can add a tablespoon at a time of more flour just until it stops sticking. The dough shouldn’t be too dry, it should be slightly sticky.
-
If you don’t have a stand mixer with a dough hook you can knead by hand. Kneading by hand will take about 10-15 minutes until you get a smooth elastic ball of dough with no lumps.
-
Place the dough ball in a lightly oiled bowl and cover with plastic wrap. Place in a warm spot away from drafts to allow it to double in size, about 1 ½ – 2 hours. While waiting, make the Sticky Caramel Topping and the Sticky Bun Filling.
Making the Topping
-
Grease the sides of a 9×13 baking pan (I used a metal baking pan for best heat transfer).
-
In a small saucepan add the butter, brown sugar, whole milk, and honey. Turn the heat up to medium and cook with some stirring until the mixture begins to boil, about 4 minutes (it will seem like it is really boiling, this is normal).
-
Remove the saucepan from the heat and pour the caramel sauce evenly into the prepared 9×13 pan.
-
Sprinkle the chopped roasted nuts on top of the caramel mixture, then set the pan aside.
Making the Filling
-
Combine the brown sugar and cinnamon and set aside. (The butter will be used later in assembly)
Assembling the Sticky Buns
-
Preheat the oven to 350F.
-
Once the dough has doubled in size gently release the air by pressing down on the dough. Bring the dough onto a lightly floured surface and roll it out into a rectangular shape approximately 12”x18”. You can adjust the edges with your hands if necessary to get it as rectangular as possible.
-
Evenly spread out the soft butter over the rolled-out dough leaving a small border around the edge approximately 1” wide. (I now realize you only need the 1” border on the long sides, not the short sides, but that’s what I did – you get less cinnamon sugar on the end rolls if you leave a 1” wide border on the short ends – not the end of the world)
-
Sprinkle the sticky bun filling (sugar/cinnamon/nutmeg mixture) evenly over the butter
-
Tightly roll up the dough starting at one of the long ends. Pinch the seam together.
-
Cut the 18” log into 12 even pieces using a sharp serrated knife. (I see some people use dental floss but this did not work for me). See notes for getting even slices.
-
Place the 12 cut rolls into the prepared pan and on top of the nuts and caramel.
-
Cover the pan with plastic wrap and allow the dough to rise again (about 15-30 minutes). The rolls should puff up a bit, and once they are touching each other remove the plastic wrap and place the pan in the 350F oven. Bake for 28-30 minutes. The tops should be browned a bit and an instant read thermometer placed into the middle roll should read 180F or more. If the buns are browning too fast you can tent some aluminum foil over them.
-
Remove the pan from the oven and let the buns cool for about 5 minutes, but not completely.
-
Place a suitable serving platter or baking sheet over the buns, and in one quick motion flip the pan so that the rolls are now sitting on the serving platter (the tops of the buns are now the bottoms of the buns). Let the 9×13 pan sit on top for a minute or two to allow as much of the caramel to drip down on top of the buns.
-
Remove the 9×13 pan.
-
Sticky buns are best served warm. Enjoy!
Notes
- Many people use knives or dough cutters, but I find dental floss works best, it cuts cleanly without flattening the rolls.
- Make sure the yeast isn’t expired, always check the date before using it. Expired yeast can ruin the entire recipe!
- Use a ruler to measure for best results.
- Don’t over bake the rolls, otherwise they’ll turn out dry and hard. Bake the rolls until they’re golden brown or until the center of the rolls reach an internal temperature of 185 degrees F.
- Serve the rolls warm for best results!
- If your dough is too sticky, feel free to mix in a tablespoon of flour. The dough shouldn’t be too dry, it should be slightly sticky.
Nutrition
Nutrition information is automatically calculated, so should only be used as an approximation.
Additional Info
Like this recipe? Leave a comment below!
