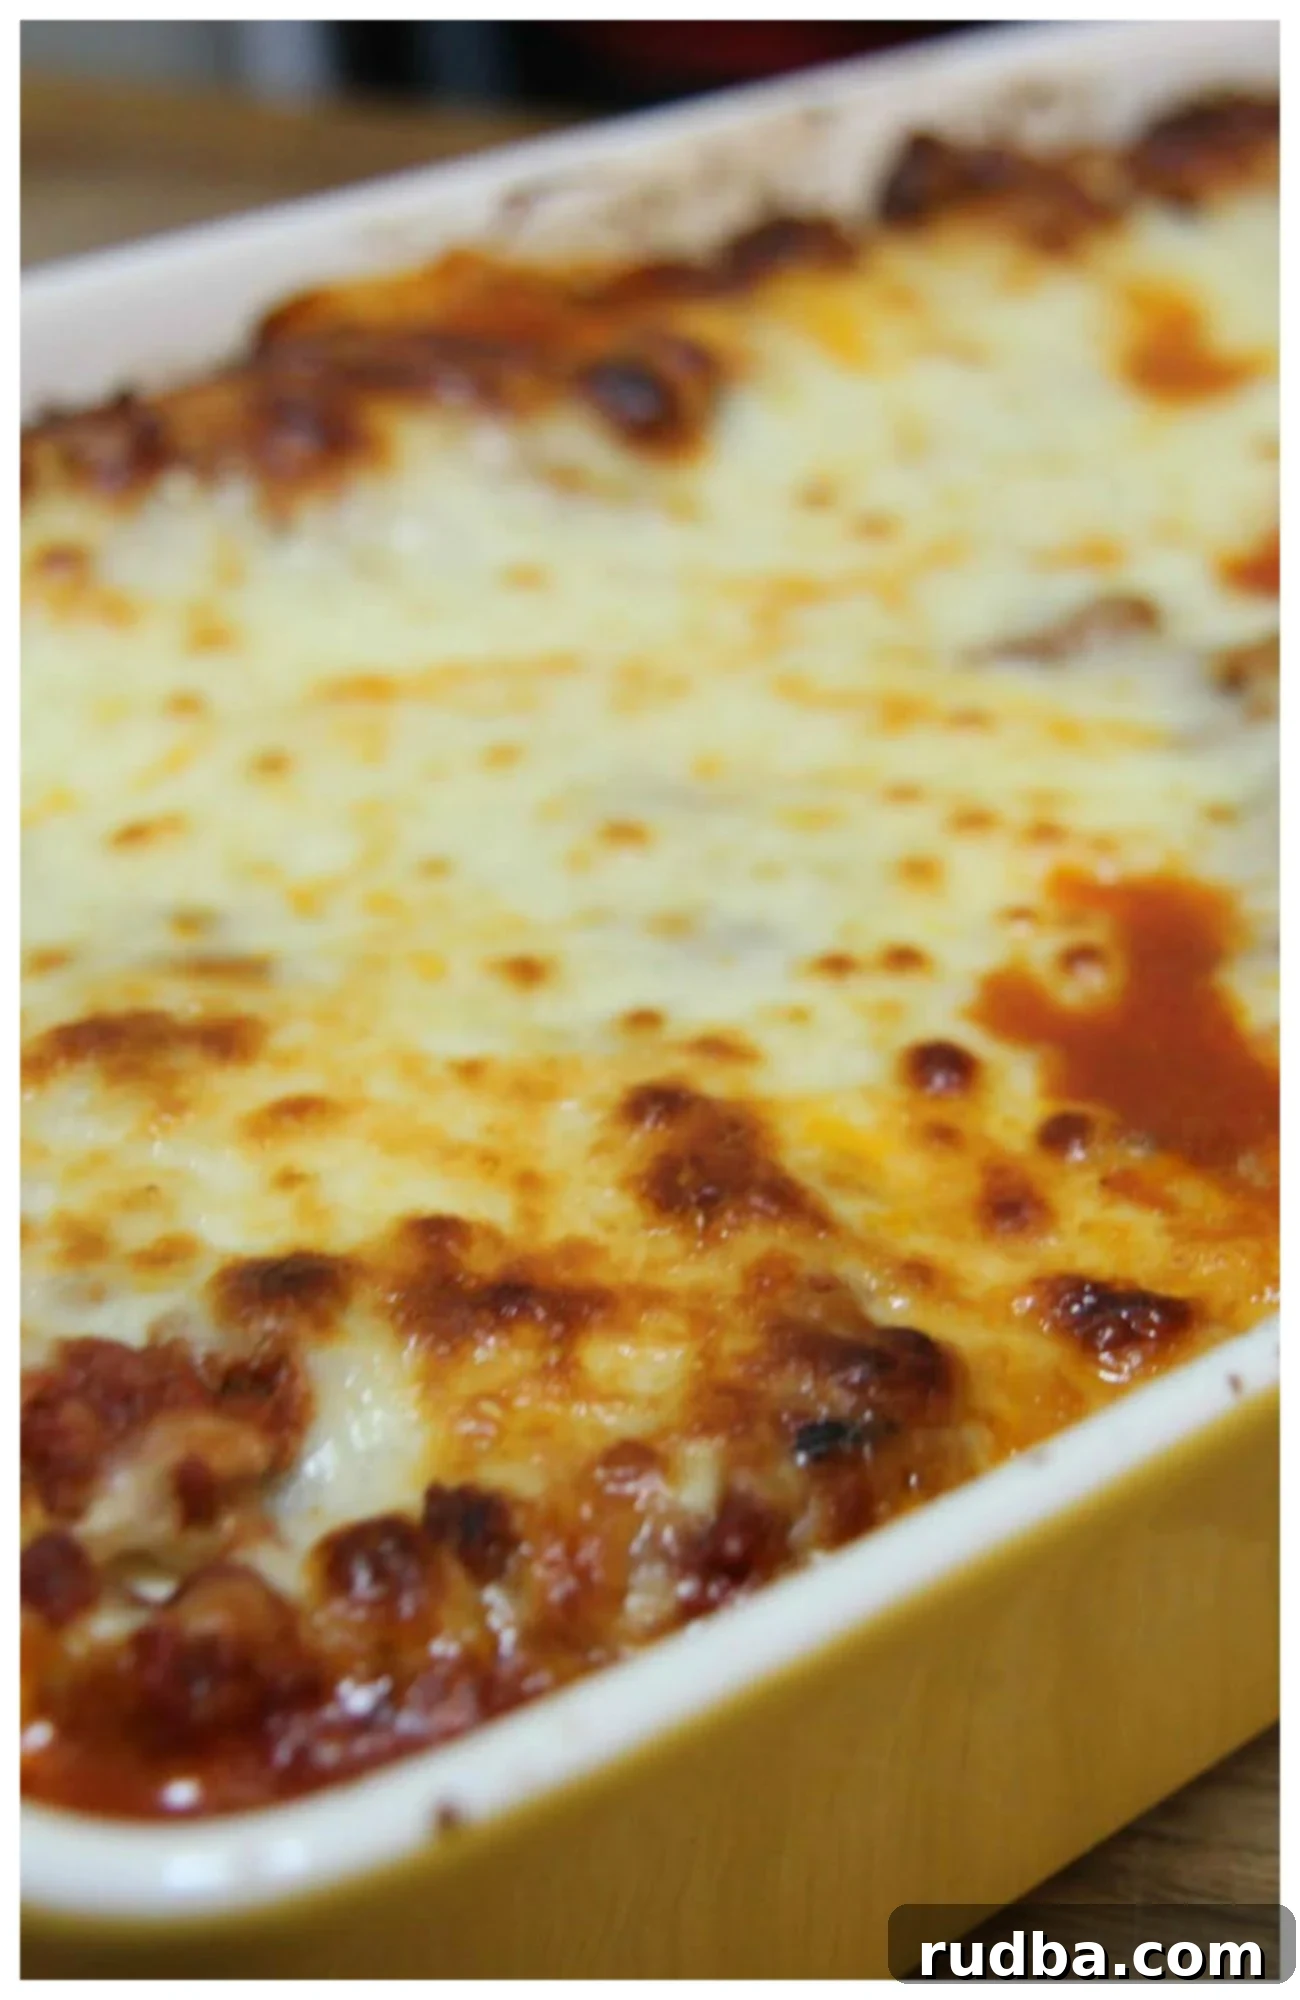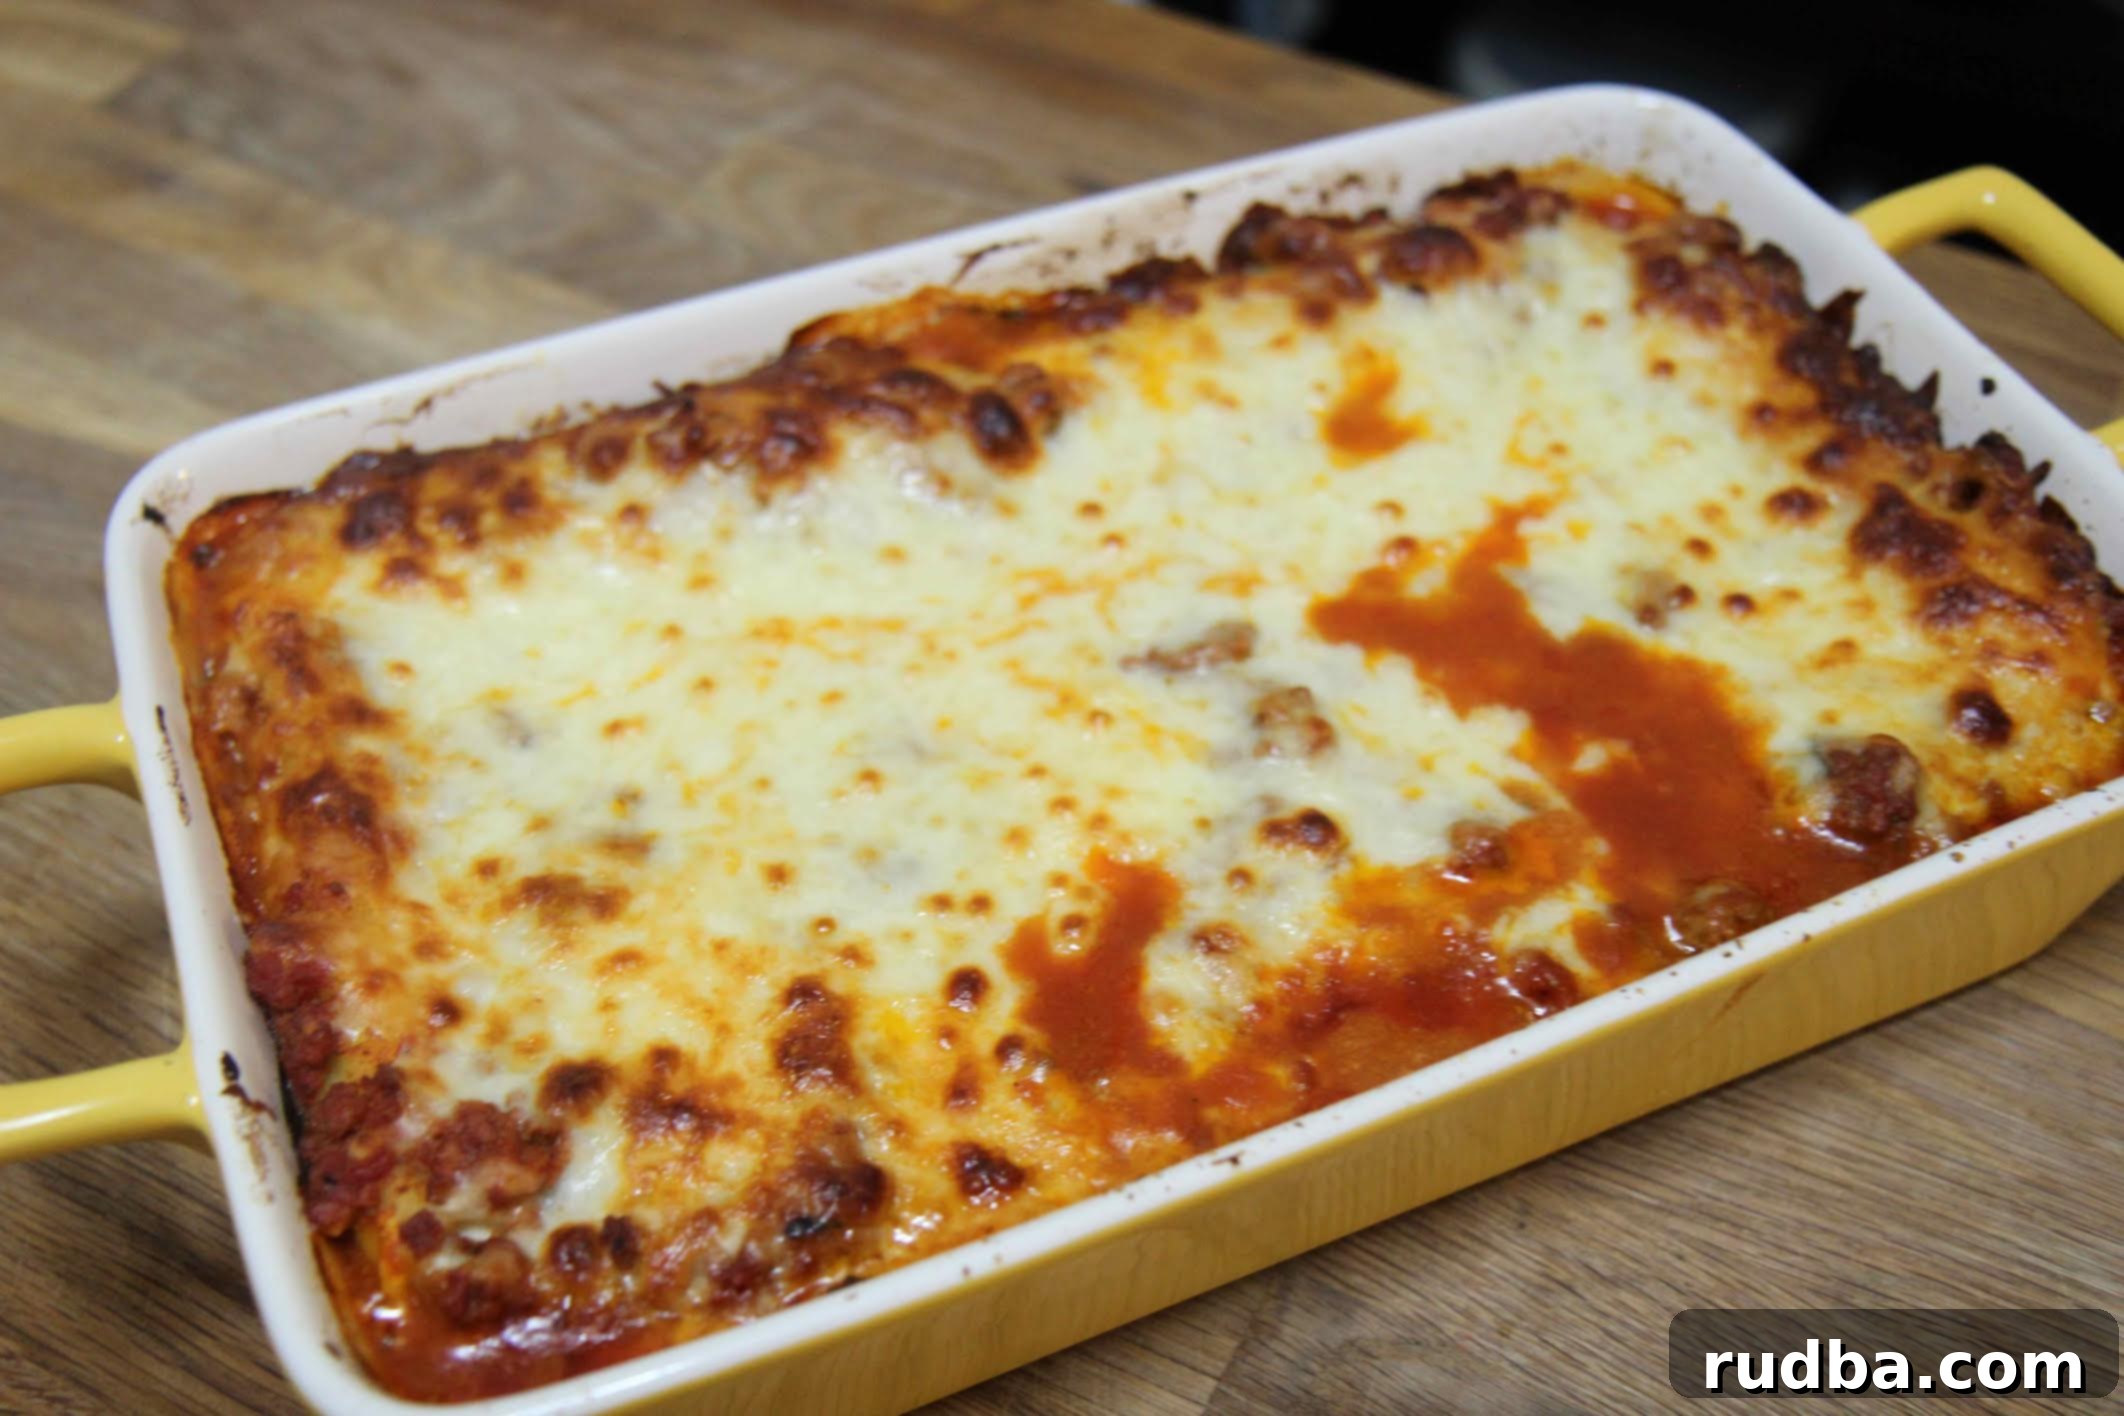
Ultimate Homemade Manicotti with Rich Meat Sauce & Creamy Cheese Filling
Manicotti holds a special place in my heart now, though it wasn’t always this way. As a child, whenever my mom would painstakingly prepare this exquisite dish, I’d often find myself sent to my room for refusing to eat it. Looking back, I realize the immense effort involved – mothers shouldn’t spend hours in the kitchen only to have their culinary creations rejected. Oh, how times have changed! Nowadays, I could happily devour an entire casserole of this cheesy goodness all by myself, given an entire day, of course!
This recipe is a labor of love, but every step is worth the incredible flavor payoff. We’re talking about a truly homemade experience, from a rich, slow-simmered meat sauce to a decadent three-cheese filling. Forget bland, store-bought versions; this is the authentic, comforting Italian dish that will have everyone asking for seconds. It’s perfect for a cozy family dinner or an impressive meal for guests. Trust me, the aroma alone will make your home feel like a traditional Italian trattoria.


Homemade Manicotti
Save RecipeSaved Recipe
Pin Recipe
Rate Recipe
Print Recipe
Ingredients
- 1 lb ground beef
- 1 package manicotti shells
- 1 small onion, finely chopped
- 2 cloves garlic, minced
- 1 tsp red chili flakes (optional, for a kick)
- 28 oz crushed tomatoes
- 3/4 cup dry red wine (e.g., Chianti, Merlot)
- 1/2 tbsp brown sugar
- 4 cups shredded mozzarella cheese
- 1 cup grated parmesan cheese
- 32 oz whole milk ricotta cheese
- 1/4 cup fresh parsley, chopped
- 2 tbsp fresh basil, chopped
- 2 tsp granulated garlic
- salt and pepper to taste
- Olive oil, for cooking
- Pinch of dried oregano
Instructions
-
Begin by preparing the rich meat sauce. Heat a generous drizzle of olive oil in a large skillet or Dutch oven over medium-high heat. Add the finely chopped onions and sauté for about 1 minute until they start to soften.
-
Stir in the minced garlic and red pepper flakes (if using) and cook for just 10 seconds until fragrant, being careful not to burn the garlic.
-
Add the ground beef to the skillet. Use a wooden spoon to break up the meat into small crumbles as it cooks.
-
Once the beef is completely browned and no pink remains, drain any excess fat. Season the beef with granulated garlic, oregano, salt, and black pepper to taste.
-
Pour in the crushed tomatoes and red wine. Stir well to combine all ingredients, scraping up any browned bits from the bottom of the pan to infuse maximum flavor into your sauce.
-
Place a lid on the pot, reduce the heat to low, and let the sauce simmer gently for 1 hour. Stir occasionally to prevent sticking and ensure even cooking. This slow simmer is key to developing a deep, rich flavor.
-
While the sauce simmers, bring a large pot of heavily salted water to a rolling boil. You’ll use this for the manicotti shells.
-
After 1 hour, check the sauce. It should have thickened considerably. Stir in the brown sugar to balance the acidity of the tomatoes and the fresh basil for a burst of herbaceous flavor. Taste and adjust seasonings as needed.
-
Prepare the cheese filling: In a medium bowl, combine the whole milk ricotta cheese, chopped fresh parsley, grated parmesan cheese, granulated garlic, and 1 cup of the shredded mozzarella cheese. Mix thoroughly until all ingredients are well incorporated. Season with salt to taste.
-
For easy stuffing, transfer the ricotta mixture into a large ziplock bag. Snip off one corner of the bag; this will act as a makeshift piping bag. Set aside.
-
Cook the manicotti shells in the boiling salted water according to package directions, aiming for al dente. Drain the pasta and immediately rinse thoroughly with cold water to prevent sticking and stop the cooking process. Carefully lay them flat on a clean surface or towel.
-
Preheat your oven to 400 degrees Fahrenheit (200 degrees Celsius).
-
To assemble the manicotti, spread about 1 cup of the meat sauce evenly across the bottom of a large casserole dish (e.g., 9×13 inch). This prevents the pasta from sticking and adds flavor to the base.
-
Using the ziplock bag, pipe the ricotta filling into each manicotti shell, filling both ends evenly until plump.
-
Arrange the filled manicotti shells in a single layer over the sauce in the casserole dish. Ladle the remaining meat sauce generously over the manicotti, ensuring each shell is well covered.
-
Evenly top the entire dish with the remaining shredded mozzarella and parmesan cheese.
-
Cover the casserole dish tightly with aluminum foil and place it in the preheated oven. Bake for 10 minutes, or until the cheese is completely melted, bubbly, and the dish is heated through. For a golden-brown top, you can remove the foil for the last 5 minutes.
-
Serve immediately with a fresh green salad and warm garlic bread, if desired. Enjoy your truly comforting and satisfying homemade manicotti!
Video
Nutrition
Nutrition information is automatically calculated, so should only be used as an approximation.
Additional Info
Like this recipe? Leave a comment below!
The Magic of Homemade Meat Sauce
While some might opt for a jar of pre-made sauce, I cannot stress enough the world of difference a homemade meat sauce makes in this manicotti recipe. It’s the soul of the dish, providing depth, richness, and an authentic Italian flavor that simply cannot be replicated. Our sauce starts with quality ground beef, slowly simmered with aromatic onions and garlic. The addition of red wine not only deglazes the pan, capturing all those delicious browned bits, but also adds a layer of complexity and acidity that perfectly complements the sweetness of crushed tomatoes and a touch of brown sugar.
Allowing the sauce to simmer for an hour is crucial. This isn’t just about cooking; it’s about melding flavors, letting the ingredients marry and develop into something truly extraordinary. The long cooking time breaks down the tomatoes, tenderizes the meat, and concentrates the spices, resulting in a robust, hearty sauce that coats every strand of pasta and truly elevates the entire dish. Don’t skip this step – your taste buds will thank you!
Crafting the Perfect Creamy Cheese Filling
The cheese filling is just as vital as the sauce, providing a creamy, savory contrast to the robust meat. Our recipe calls for a classic trio: whole milk ricotta, shredded mozzarella, and grated parmesan cheese. Each plays a specific role: ricotta lends its signature creamy texture and mild, slightly sweet flavor; mozzarella adds that irresistible gooey stretch when baked; and parmesan delivers a sharp, salty punch, enhancing the overall savoriness.
While this combination is my go-to, feel free to experiment! My aunt, for instance, prefers cottage cheese instead of ricotta for a slightly different texture and tang. For those seeking a gourmet twist, a small amount of goat cheese can introduce a lovely earthy flavor. Fresh herbs like parsley and basil are essential, brightening the filling with their aromatic notes. Don’t forget a touch of granulated garlic to tie all the flavors together. The key is to ensure your ricotta is well-drained to prevent a watery filling, making for perfectly firm and flavorful manicotti.
Mastering Manicotti Shells: Tips for Success
Working with manicotti shells can sometimes be a bit tricky, but with a few simple tips, you’ll be stuffing them like a pro. First, always cook your shells al dente – they should be firm enough to handle without tearing but pliable enough to fill. Overcooked shells will become flimsy and break apart, making assembly a nightmare.
Once cooked, immediately drain and rinse them with cold water. This stops the cooking process and prevents them from sticking together. Gently lay them out on a clean kitchen towel to dry slightly. The ziplock bag trick for the filling is a game-changer; it provides much more control and less mess than spooning the mixture directly into the shells. Simply snip a corner, and pipe the creamy filling effortlessly into each pasta tube from both ends for even distribution.
Assembling Your Masterpiece: Layer by Layer
Assembling manicotti is a satisfying process that brings all your hard work together. Start by spreading a thin layer of your rich meat sauce at the bottom of your casserole dish. This creates a flavorful bed for the pasta and helps prevent it from sticking. Carefully fill each manicotti shell with the cheese mixture, ensuring they’re plump and firm but not overstuffed, which could cause them to burst.
Arrange the filled shells in a single layer in the dish, then generously ladle the remaining meat sauce over them, making sure every crevice is covered. This not only adds flavor but also keeps the pasta moist during baking. Finally, a generous layer of mozzarella and parmesan cheese creates that irresistible golden-brown, bubbly crust that everyone loves. Covering the dish with foil for most of the baking time ensures the manicotti heats through evenly and stays tender, while a quick uncover at the end gives you that perfect cheesy top.
Serving Suggestions for a Complete Meal
Manicotti is a hearty and complete meal on its own, but pairing it with a few complementary sides can elevate the dining experience. A crisp green salad with a light vinaigrette offers a refreshing contrast to the rich pasta. Crusty garlic bread is practically a requirement, perfect for soaking up any extra sauce. For a more indulgent touch, consider a side of roasted asparagus or broccoli. To complete the Italian theme, a medium-bodied red wine like Chianti or a lighter Sangiovese would pair beautifully with the meat sauce.
Make-Ahead and Storage Tips
Manicotti is an excellent dish for meal prepping or feeding a crowd, as it can be prepared in advance. You can assemble the entire casserole, cover it tightly with plastic wrap and then foil, and refrigerate it for up to 2 days before baking. When ready to bake, add an extra 10-15 minutes to the covered baking time to ensure it heats through evenly.
For longer storage, manicotti freezes beautifully. Assemble the dish, cover it tightly with foil, and freeze for up to 3 months. Thaw overnight in the refrigerator before baking, or bake directly from frozen, allowing extra time (around 1.5 to 2 hours) until bubbling and hot. Leftovers can be stored in an airtight container in the refrigerator for 3-4 days and reheated in the oven or microwave.
Frequently Asked Questions About Manicotti
What’s the difference between manicotti and cannelloni?
While often confused, manicotti and cannelloni are distinct. Manicotti shells are typically ridged and machine-made, often sold in dried pasta boxes, and are meant to be stuffed with a savory filling. Cannelloni, on the other hand, are smooth, often larger, and can be homemade from fresh pasta sheets rolled around a filling. Functionally, they both serve as cylindrical pasta filled with deliciousness, but their appearance and preparation can differ.
Can I use no-boil manicotti shells?
Yes, you can! If you’re short on time, no-boil manicotti shells can be a convenient alternative. Keep in mind they might absorb more liquid from the sauce during baking, so ensure your sauce is sufficiently wet. Follow the package instructions carefully, as they often require more liquid in the casserole dish or a longer covered baking time.
Can I make this manicotti recipe vegetarian?
Absolutely! To make this recipe vegetarian, simply omit the ground beef from the sauce. You can replace it with sautéed mushrooms, lentils, or a plant-based ground meat substitute for added texture and heartiness. Alternatively, you can make a simpler marinara sauce without any meat. The cheese filling itself is vegetarian, so no changes are needed there.
How can I prevent my manicotti from being dry?
The key to moist manicotti is ample sauce and sufficient moisture in the cheese filling. Ensure you spread a layer of sauce at the bottom of the dish, thoroughly cover the filled shells with sauce, and add a little moisture (like an egg or a splash of milk) to your ricotta mixture if it seems too dry. Also, covering the dish with foil during baking helps trap steam and prevents the pasta from drying out.
Conclusion: A Timeless Italian Classic
This homemade manicotti recipe is more than just a meal; it’s a culinary journey that brings warmth and comfort to your table. From the rich, slow-cooked meat sauce to the creamy, cheesy filling, every component works in harmony to create a dish that is truly unforgettable. It’s a testament to the idea that some things are just better made from scratch, with a little patience and a lot of love.
We hope you enjoy preparing and savoring this classic Italian favorite as much as we do. It’s a dish that transforms skeptics into ardent fans, proving that even childhood aversions can evolve into lifelong passions. Share your manicotti creations and experiences with us in the comments below!
