Ultimate Homemade Hawaiian Sweet Rolls: Soft, Fluffy & Irresistibly Sweet

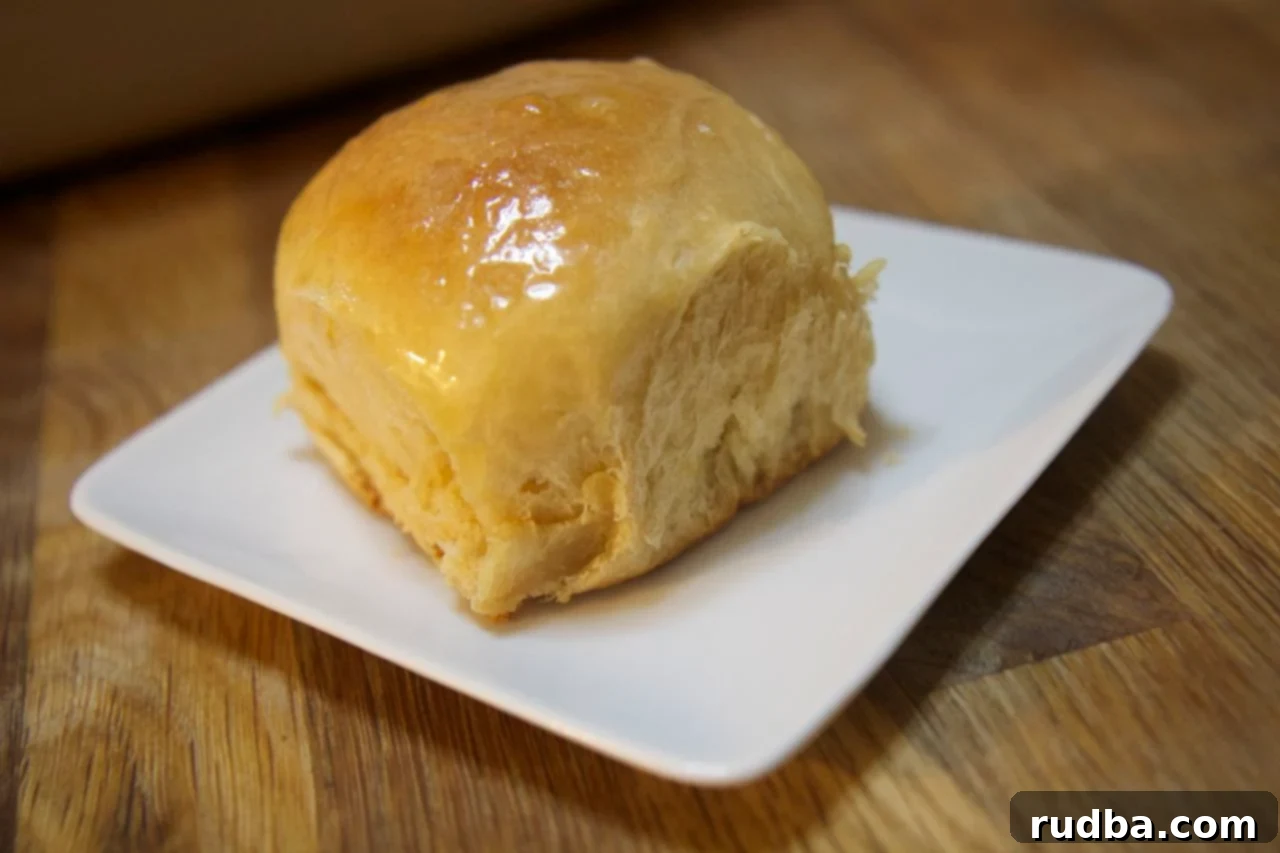
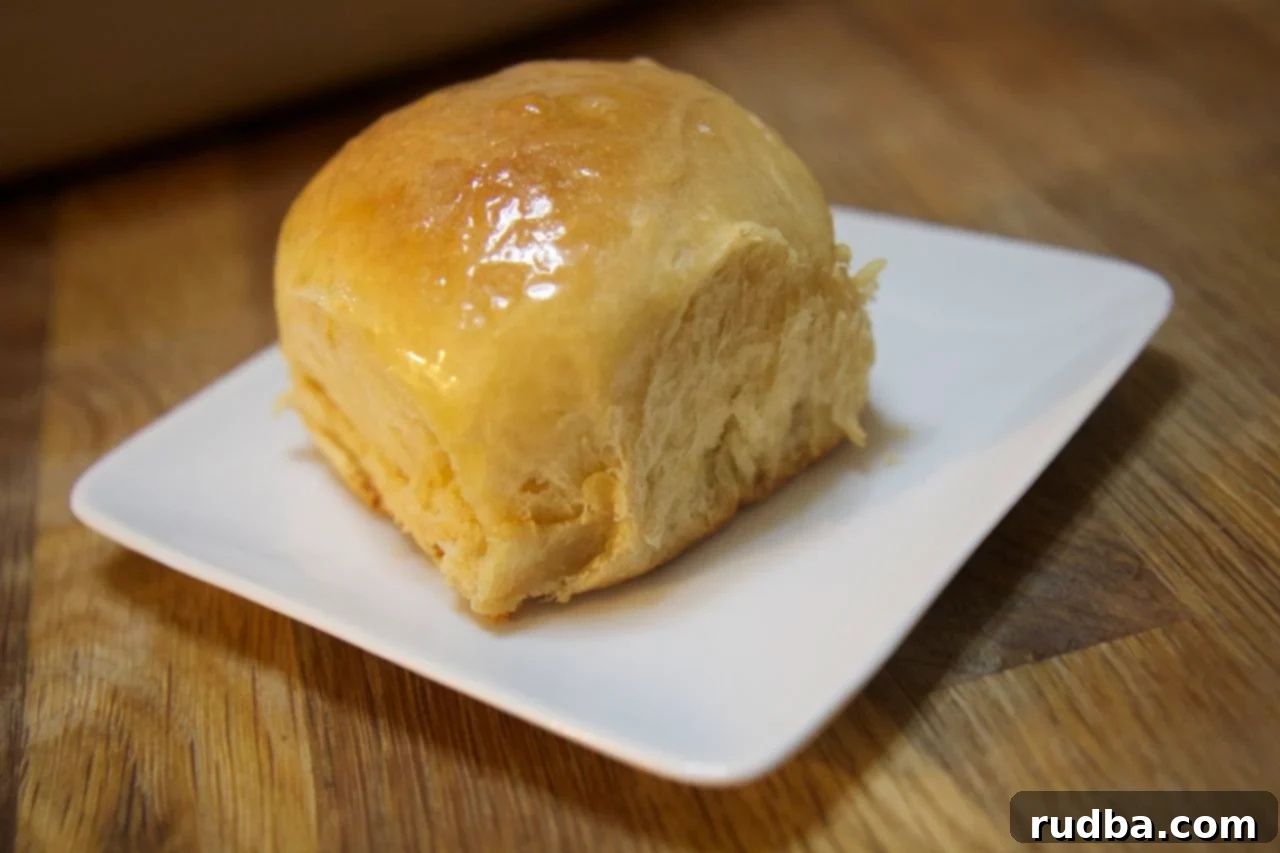
There’s nothing quite like the irresistible charm of a freshly baked batch of **Hawaiian sweet rolls**. Their signature golden-brown crust, pillowy-soft interior, and distinct hint of sweetness make them a beloved staple for any meal. Forget the store-bought versions; these homemade rolls, infused with the delightful flavors of pineapple and rich brown sugar, elevate your baking game to a whole new level. Whether you enjoy them warm straight from the oven, transform them into mouth-watering sliders, or use them as a foundation for savory dishes, their versatility is truly unmatched.
Imagine biting into a soft, fluffy roll, where each chew brings a perfect balance of sweet and savory. These aren’t just rolls; they’re an experience. While they are phenomenal on their own, buttered and warm, they become extraordinary when paired with a savory filling. Think of mini ham and Gruyere cheese sliders – an absolute game-changer! Their delicate sweetness perfectly complements the salty ham and nutty cheese, creating a symphony of flavors that will have everyone reaching for more. I’ve even used them to make incredible stuffing for holiday meals, proving just how adaptable these little sweeties are. Get ready to impress your family and friends with this incredible recipe that promises to be a new favorite in your kitchen.
The Sweet History of Hawaiian Rolls
While often associated with the islands of Hawaii, the popular “Hawaiian sweet roll” we know today has roots that extend beyond the Pacific. The original inspiration is believed to come from Portuguese sweet bread, known as “Pão Doce,” brought to Hawaii by immigrants in the late 19th and early 20th centuries. This traditional bread, enriched with milk, eggs, and sugar, found a new home and unique adaptation in the vibrant culinary landscape of Hawaii. Over time, ingredients like pineapple juice (or crushed pineapple, as in this recipe) became popular additions, lending a distinctive tropical sweetness and moisture that defines the modern Hawaiian roll.
The widespread fame of these rolls largely comes from brands like King’s Hawaiian, which introduced them to the mainland United States. However, making them at home allows for a level of freshness, flavor, and customization that simply can’t be replicated. Our recipe pays homage to this delicious history, bringing that authentic, comforting taste right into your kitchen with natural ingredients and a touch of homemade love.
Unlocking the Magic: Key Ingredients and Their Roles
Each ingredient in this Hawaiian sweet roll recipe plays a crucial role in achieving that perfect texture and flavor profile:
- All-Purpose Flour: The foundation of our rolls, providing the structure. Using the right amount is key for a tender crumb.
- Dry Active Yeast: The leavening agent that makes our rolls light and airy. Activating it properly in warm milk is essential for a good rise.
- Warm Milk: Not just for activating yeast, but also adds richness and contributes to the soft texture of the dough. Temperature is critical – too hot kills the yeast, too cold prevents activation.
- Crushed Pineapples (Drained): This is where the magic happens! The pineapple provides natural sweetness and a subtle tang, while its moisture helps keep the rolls incredibly tender. Draining ensures the dough isn’t too wet.
- Brown Sugar: Adds depth of sweetness with its molasses notes, complementing the pineapple beautifully and contributing to the rolls’ golden hue.
- Unsalted Butter (Melted): Adds richness, flavor, and a tender crumb. Using unsalted butter gives you control over the overall saltiness.
- Olive Oil: Contributes to the softness and elasticity of the dough, making it easier to work with and ensuring a moist result.
- Eggs: Provide structure, richness, and help tenderize the dough, giving it a beautiful golden color.
- Salt: Balances the sweetness, enhances flavor, and regulates yeast activity.
Understanding these roles helps you appreciate the simple yet profound chemistry happening as you bake these delightful rolls.

Hawaiian Sweet Rolls
Save RecipeSaved Recipe
Pin Recipe
Rate Recipe
Print Recipe
Ingredients
- 4 cups all-purpose flour
- 1 tsp salt
- 2/3 cup crushed pineapples drained
- 1/4 cup olive oil
- 1/3 cup brown sugar
- 1/3 cup warm milk
- 1/2 stick unsalted butter
- 2 1/2 tsp dry active yeast
- 2 eggs
Egg Wash
- 1 egg
- 1 tbsp water
Instructions
-
Activate the Yeast: In the bowl of a standing mixer (or a large mixing bowl), gently stir the dry active yeast into the warm milk. The ideal temperature for the milk is around 105-115°F (40-46°C). If it’s too hot, it will kill the yeast; too cold, and it won’t activate. Let this mixture sit undisturbed for about 5-6 minutes until it becomes visibly foamy. This foam indicates that your yeast is alive and ready to work its magic.
-
Combine Wet Ingredients: Once the yeast mixture is beautifully foamy, proceed to beat in the eggs, olive oil, melted unsalted butter, brown sugar, thoroughly drained crushed pineapples, and salt. Mix until all these wet ingredients are well combined, ensuring the brown sugar has dissolved.
-
Add Flour and Knead: Gradually add the all-purpose flour to the wet mixture. If using a standing mixer, attach the dough hook and knead on medium-low speed for 8-10 minutes. The goal is to achieve a dough that is slightly tacky to the touch but no longer sticky. It should be smooth and elastic. If kneading by hand, turn the dough out onto a lightly floured surface and knead vigorously for 10-15 minutes until it reaches the desired consistency.
-
Final Hand Knead (Optional but Recommended): For an extra-smooth dough, lightly flour your work surface and knead the dough by hand for an additional minute or two. This helps develop the gluten further, contributing to a wonderfully soft texture.
-
First Rise: Lightly grease a large bowl with a little olive oil or cooking spray. Place the dough in the greased bowl, turning it once to coat. Cover the bowl tightly with plastic wrap or a clean kitchen towel. Let the dough rise in a warm place (an oven with just the light on, or a sunny spot) for about an hour, or until it has clearly doubled in size. This crucial step develops flavor and lightness.
-
Divide the Dough: Once risen, gently punch down the dough to release the air. Transfer the dough to your lightly floured work surface. Divide the dough into 12 equal pieces. For best results and uniform rolls, use a kitchen scale to ensure each piece weighs the same.
-
Shape the Rolls: Take each piece of dough and shape it into a smooth, round dinner roll. The trick is to tuck the edges underneath, creating tension on the top surface, which results in a perfectly round, smooth ball.
-
Second Rise: Generously butter a 9×13 inch baking pan. Arrange the shaped dough balls in the prepared pan, leaving a little space between each roll. They will expand during the second rise and baking. Cover the pan again and let it rise in a warm place for an additional 40 minutes, or until the rolls have doubled in size and look visibly puffy.
-
Bake: While the rolls are on their second rise, preheat your oven to 350°F (175°C). Prepare the egg wash by whisking one egg with 1 tablespoon of water. Just before baking, gently brush the risen dough balls with the egg wash. This will give them a beautiful golden-brown sheen. Bake for 25 minutes, or until the rolls are deeply golden and cooked through. An internal temperature of 200-210°F (93-99°C) indicates they are fully baked.
-
Serve and Enjoy: Once out of the oven, for an extra touch of flavor and shine, brush the warm rolls with a little extra melted butter. Let them cool slightly before serving. Enjoy your homemade Hawaiian sweet rolls!
Tips for Baking Perfect Hawaiian Sweet Rolls
- Yeast Temperature is Key: Always check your warm milk temperature with a thermometer. Too hot, and you’ll kill the yeast, preventing your rolls from rising. Too cold, and the yeast won’t activate properly.
- Don’t Skimp on Kneading: Kneading develops the gluten in the flour, which is essential for the rolls’ soft and chewy texture. Resist the urge to add too much extra flour during kneading, even if the dough seems a little sticky. A slightly tacky dough is perfect.
- Warm Rising Environment: Yeast loves warmth. If your kitchen is cool, find a warm spot for your dough to rise. A turned-off oven with just the light on is a perfect mini proofing box.
- Drain Pineapple Well: Excess moisture from the crushed pineapple can make your dough too wet and difficult to handle. Squeeze out as much liquid as possible before adding it to the mixture.
- Proper Shaping: Taking the time to properly shape each roll by tucking the edges under creates tension, which helps them rise evenly and maintain a beautiful round shape.
- Don’t Overbake: Overbaking can lead to dry rolls. Keep an eye on them and remove them from the oven as soon as they’re golden brown and cooked through. A quick brush of melted butter after baking adds moisture and shine.
Creative Ways to Enjoy Your Hawaiian Sweet Rolls
While these rolls are divine on their own, their versatility shines when incorporated into other dishes. Here are some delicious ideas:
- Classic Sliders: The most popular choice! Fill them with leftover ham and Swiss cheese, pulled pork, cheeseburger patties, or even BBQ chicken. Bake for a few minutes to melt the cheese and warm the fillings.
- Breakfast Sandwiches: Split and fill with scrambled eggs, bacon or sausage, and a slice of cheese for a delightful start to your day.
- Sweet Treats: Spread with cream cheese frosting, fruit jams, or a simple cinnamon-sugar butter for a dessert-like roll.
- Garlic Knots (with a twist): Brush with garlic butter and a sprinkle of Parmesan for a sweet and savory side dish.
- Stuffing/Dressing: Cube stale rolls and use them as the base for a uniquely flavorful stuffing during holidays.
- Bread Pudding: Their sweet and soft nature makes them an excellent choice for a rich and comforting bread pudding.
Troubleshooting Common Baking Issues
- Dough didn’t rise: This is usually due to inactive yeast. Ensure your milk is at the correct temperature (105-115°F) and that your yeast isn’t expired.
- Rolls are dense: Could be under-kneading (not enough gluten development), over-kneading (gluten breaks down), or insufficient rising time. Ensure the dough doubles in size during both rises.
- Rolls are dry: Overbaking is a common culprit. Keep an eye on the cooking time and consider brushing with melted butter immediately after removing from the oven.
Video
Nutrition
Nutrition information is automatically calculated, so should only be used as an approximation.
Additional Info
Like this recipe? Leave a comment below!
Why Bake Hawaiian Sweet Rolls at Home?
While store-bought Hawaiian rolls are convenient, making them from scratch offers a truly rewarding experience. The aroma of freshly baked bread filling your home is incomparable. Beyond the sensory delight, homemade rolls allow you to control the quality of ingredients, ensuring no artificial flavors or preservatives are added. You can adjust the sweetness to your preference, and the fresh taste and tender texture far surpass anything you’ll find pre-packaged. It’s a culinary journey that brings joy and delicious results.
Storing and Reheating Your Homemade Rolls
To keep your Hawaiian sweet rolls fresh, store them in an airtight container or a large zip-top bag at room temperature for up to 3-4 days. For longer storage, you can freeze them for up to 2-3 months. Simply wrap them tightly in plastic wrap, then place them in a freezer-safe bag or container.
To reheat, if frozen, thaw them at room temperature first. Then, warm them in a preheated oven at 300°F (150°C) for about 5-10 minutes, or until soft and warmed through. You can also quickly microwave them for 10-20 seconds for a quick warm-up, but be careful not to overheat, as this can make them tough.
This recipe for **homemade Hawaiian sweet rolls** is more than just instructions; it’s an invitation to create something truly special in your kitchen. With their soft, fluffy texture and perfect balance of sweetness, these rolls are guaranteed to become a family favorite. Whether served as a comforting side, the star of your slider party, or even transformed into a unique stuffing, their delightful flavor will leave a lasting impression. So gather your ingredients, follow these simple steps, and prepare to enjoy the taste of a tropical paradise, right from your oven. Happy baking!
