Irresistible Oreo Peppermint Cake Pops: Your Easy No-Bake Holiday Treat

Get ready to discover your new favorite holiday dessert! These Oreo Peppermint Cake Pops are unbelievably easy to make and bursting with festive flavor. What if I told you that you could create these delightful treats without ever touching a cake mix or turning on your oven? That’s right, these are “cake pops” in name and spirit, but they’re entirely no-bake, using the magic of crushed Oreos and cream cheese to form a deliciously rich, truffle-like center.
I must admit, my journey with peppermint wasn’t always a love story. In fact, I used to actively dislike it! Then, a few years ago, my mom brought home some chocolate peppermint cake pops from Starbucks. I was skeptical, to say the least. But with just one bite, I was completely hooked. The balance of rich chocolate, cool peppermint, and a sweet coating was simply divine. From that moment, I knew I had to recreate that incredible experience at home, and ideally, make it even easier.
The result? These incredibly delicious Oreo Peppermint Cake Pops. They’ve quickly become an all-time favorite, especially during the holiday season. If you’re already a fan of peppermint, you’re in for a real treat. And if you’re like my past self, a peppermint skeptic, I’m confident these will convert you. They’re that good. Prepare yourself for a dessert that’s not only a crowd-pleaser but also surprisingly simple to whip up!
Why These “Cake Pops” Are Different (and Better!)
The term “cake pop” usually implies baking a cake, crumbling it, and mixing it with frosting. While that method yields delicious results, it can be a bit time-consuming. My recipe for Oreo Peppermint Cake Pops takes a delightful shortcut. We’re using Oreo cookies, which already have that perfect crumbly texture and rich chocolate flavor, combined with cream cheese for moisture and binding. This creates a dense, fudgy, and incredibly flavorful “cake” base that requires absolutely no baking. It’s truly a no-fuss dessert that delivers maximum impact, making it ideal for busy holiday preparations or spontaneous sweet cravings.
The beauty of this method lies in its simplicity. You don’t need to worry about baking a cake that might be too dry or too moist. The Oreos and cream cheese provide a consistent, irresistible base every time. This also means fewer dishes and less time spent in the kitchen, allowing you more time to enjoy the festive season or simply relax with a homemade treat. Plus, the combination of classic chocolate Oreos with the refreshing kick of peppermint is a match made in dessert heaven, especially when encased in a smooth, sweet chocolate shell.


Oreo Peppermint Cake Pops
Pin Recipe
Rate Recipe
Print Recipe
Ingredients
- 1 package of Oreo Cookies
- 8 oz cream cheese
- 10 peppermint candies
- 16 oz melted chocolate
- 1 tbsp shortening
- sprinkles for decorating
Instructions
-
Prepare the Oreos: Place the entire package of Oreo Cookies into a food processor. Pulse 7-8 times until the cookies are finely crushed into a consistent crumb. You want a texture similar to coarse sand, with no large chunks remaining. If you don’t have a food processor, you can place the cookies in a large Ziploc bag and crush them with a rolling pin or the bottom of a heavy pan.
-
Combine with Cream Cheese: Transfer the crushed Oreos into a large mixing bowl. Add the softened 8 oz cream cheese. Ensure your cream cheese is at room temperature to make mixing much easier and prevent lumps.
-
Crush the Peppermints: Smash the 10 peppermint candies into small pieces. You can use a Ziploc bag and a rolling pin for this as well. Aim for small, crunchy bits, but not a fine powder, as you want to feel the peppermint texture in the cake pops. Set these aside for now.
-
Mix Oreo and Cream Cheese: Using a sturdy spatula or your hands (which works best for thorough mixing), combine the crushed Oreos and cream cheese until they are thoroughly incorporated. The mixture should be uniform, moist, and stick together easily when pressed.
-
Add Peppermint: Now, add the crushed peppermints to the Oreo-cream cheese mixture. Mix again until the peppermint pieces are evenly distributed throughout the dough. The cool mint flavor will be present in every bite!
-
Roll the Balls: Using your hands, scoop out about 1 tablespoon of the Oreo mixture. Roll it into a smooth, compact ball. The size should be uniform for even dipping and a polished look.
-
Continue Rolling: Repeat the rolling process until you have used up all of the Oreo mixture. You should get approximately 12 cake pops from one batch.
-
Chill the Balls: Place the rolled balls onto a baking sheet lined with parchment paper or wax paper. This prevents them from sticking and makes for easy removal later.
-
Freeze for Firmness: Place the baking sheet with the Oreo balls into the freezer for at least 40 minutes. This step is crucial as it helps the balls firm up, making them easier to handle and preventing them from falling apart when dipped in warm chocolate.
-
Prepare the Chocolate Coating: While the cake pops are chilling, melt 16 oz of white chocolate. You can do this in a microwave (in 30-second intervals, stirring well each time) or over a double boiler. Once melted and smooth, stir in 1 tablespoon of shortening. The shortening helps thin the chocolate slightly, making it smoother and easier to dip, giving your cake pops a professional-looking finish. Transfer the melted chocolate to a tall, narrow glass or mug – this makes dipping much more efficient.
-
Attach the Sticks: Take the chilled Oreo balls out of the freezer. Dip the very tip of each cake pop stick (if using) into the melted white chocolate, then immediately insert the chocolate-dipped end into the center of an Oreo ball, about 1/4 of the way in. The chocolate acts like glue, securing the stick to the pop. Return these to the freezer for an additional 5-10 minutes to set the chocolate “glue.”
-
Dip and Coat: Remove the cake pops from the freezer. Hold each pop by its stick and completely dip it into the melted white chocolate, ensuring it’s fully covered. Gently tap the stick against the edge of the glass to allow any excess chocolate to drip off. Rotate the pop slowly as you tap to ensure a smooth, even coating.
-
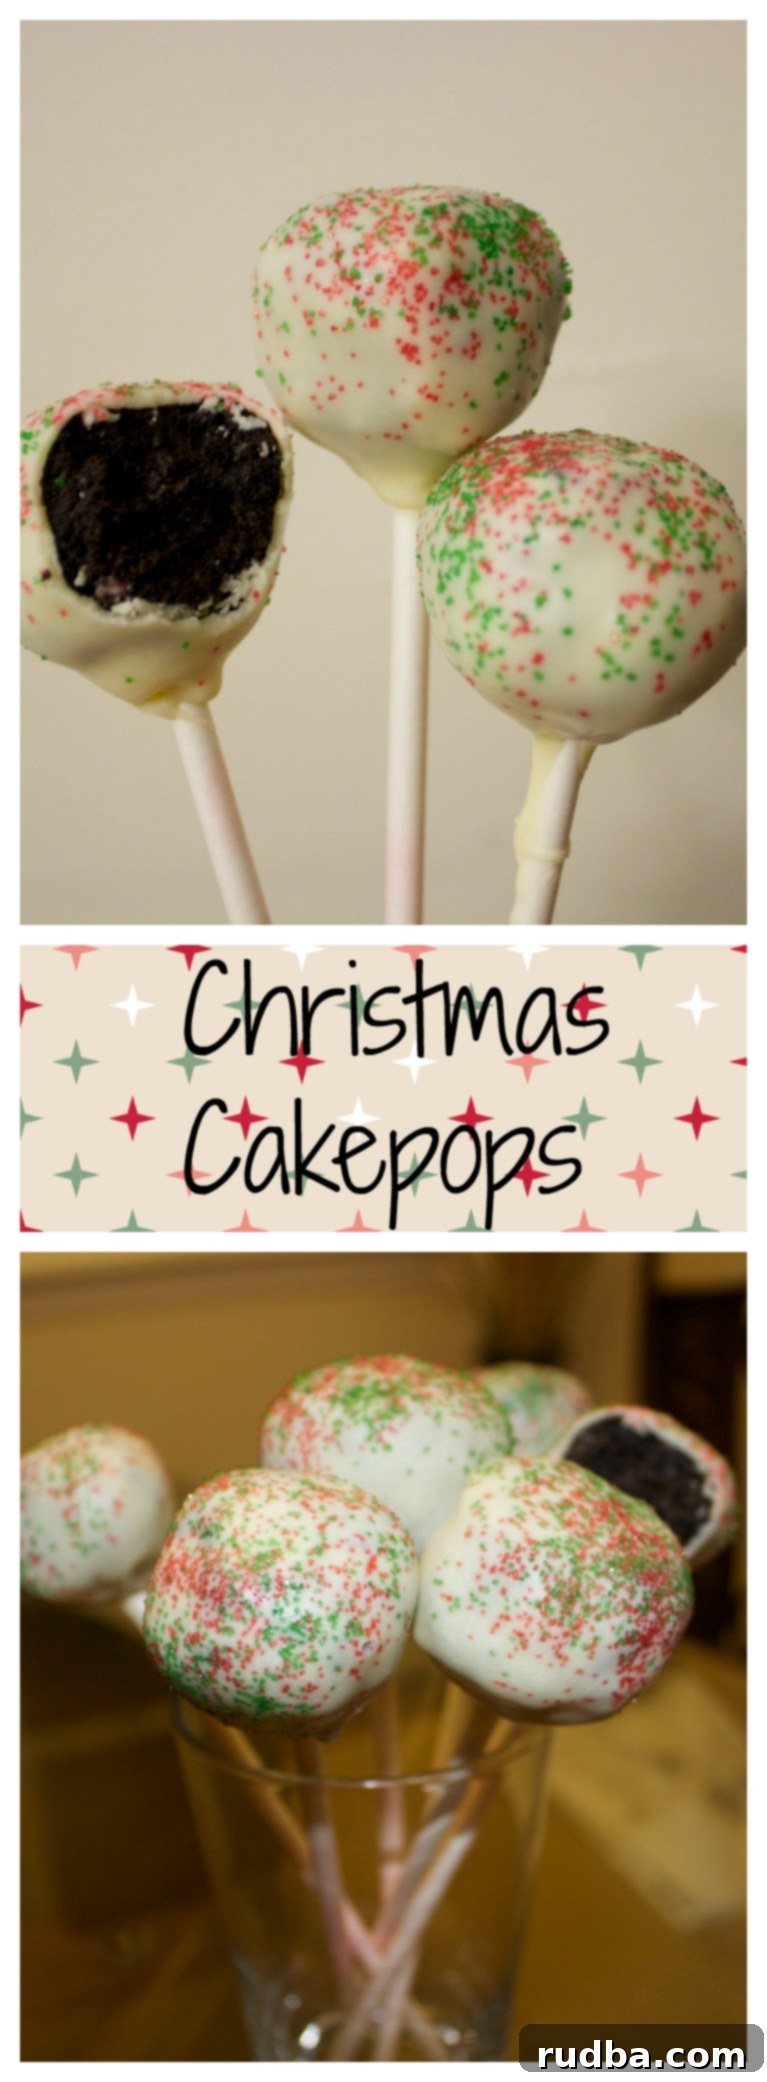
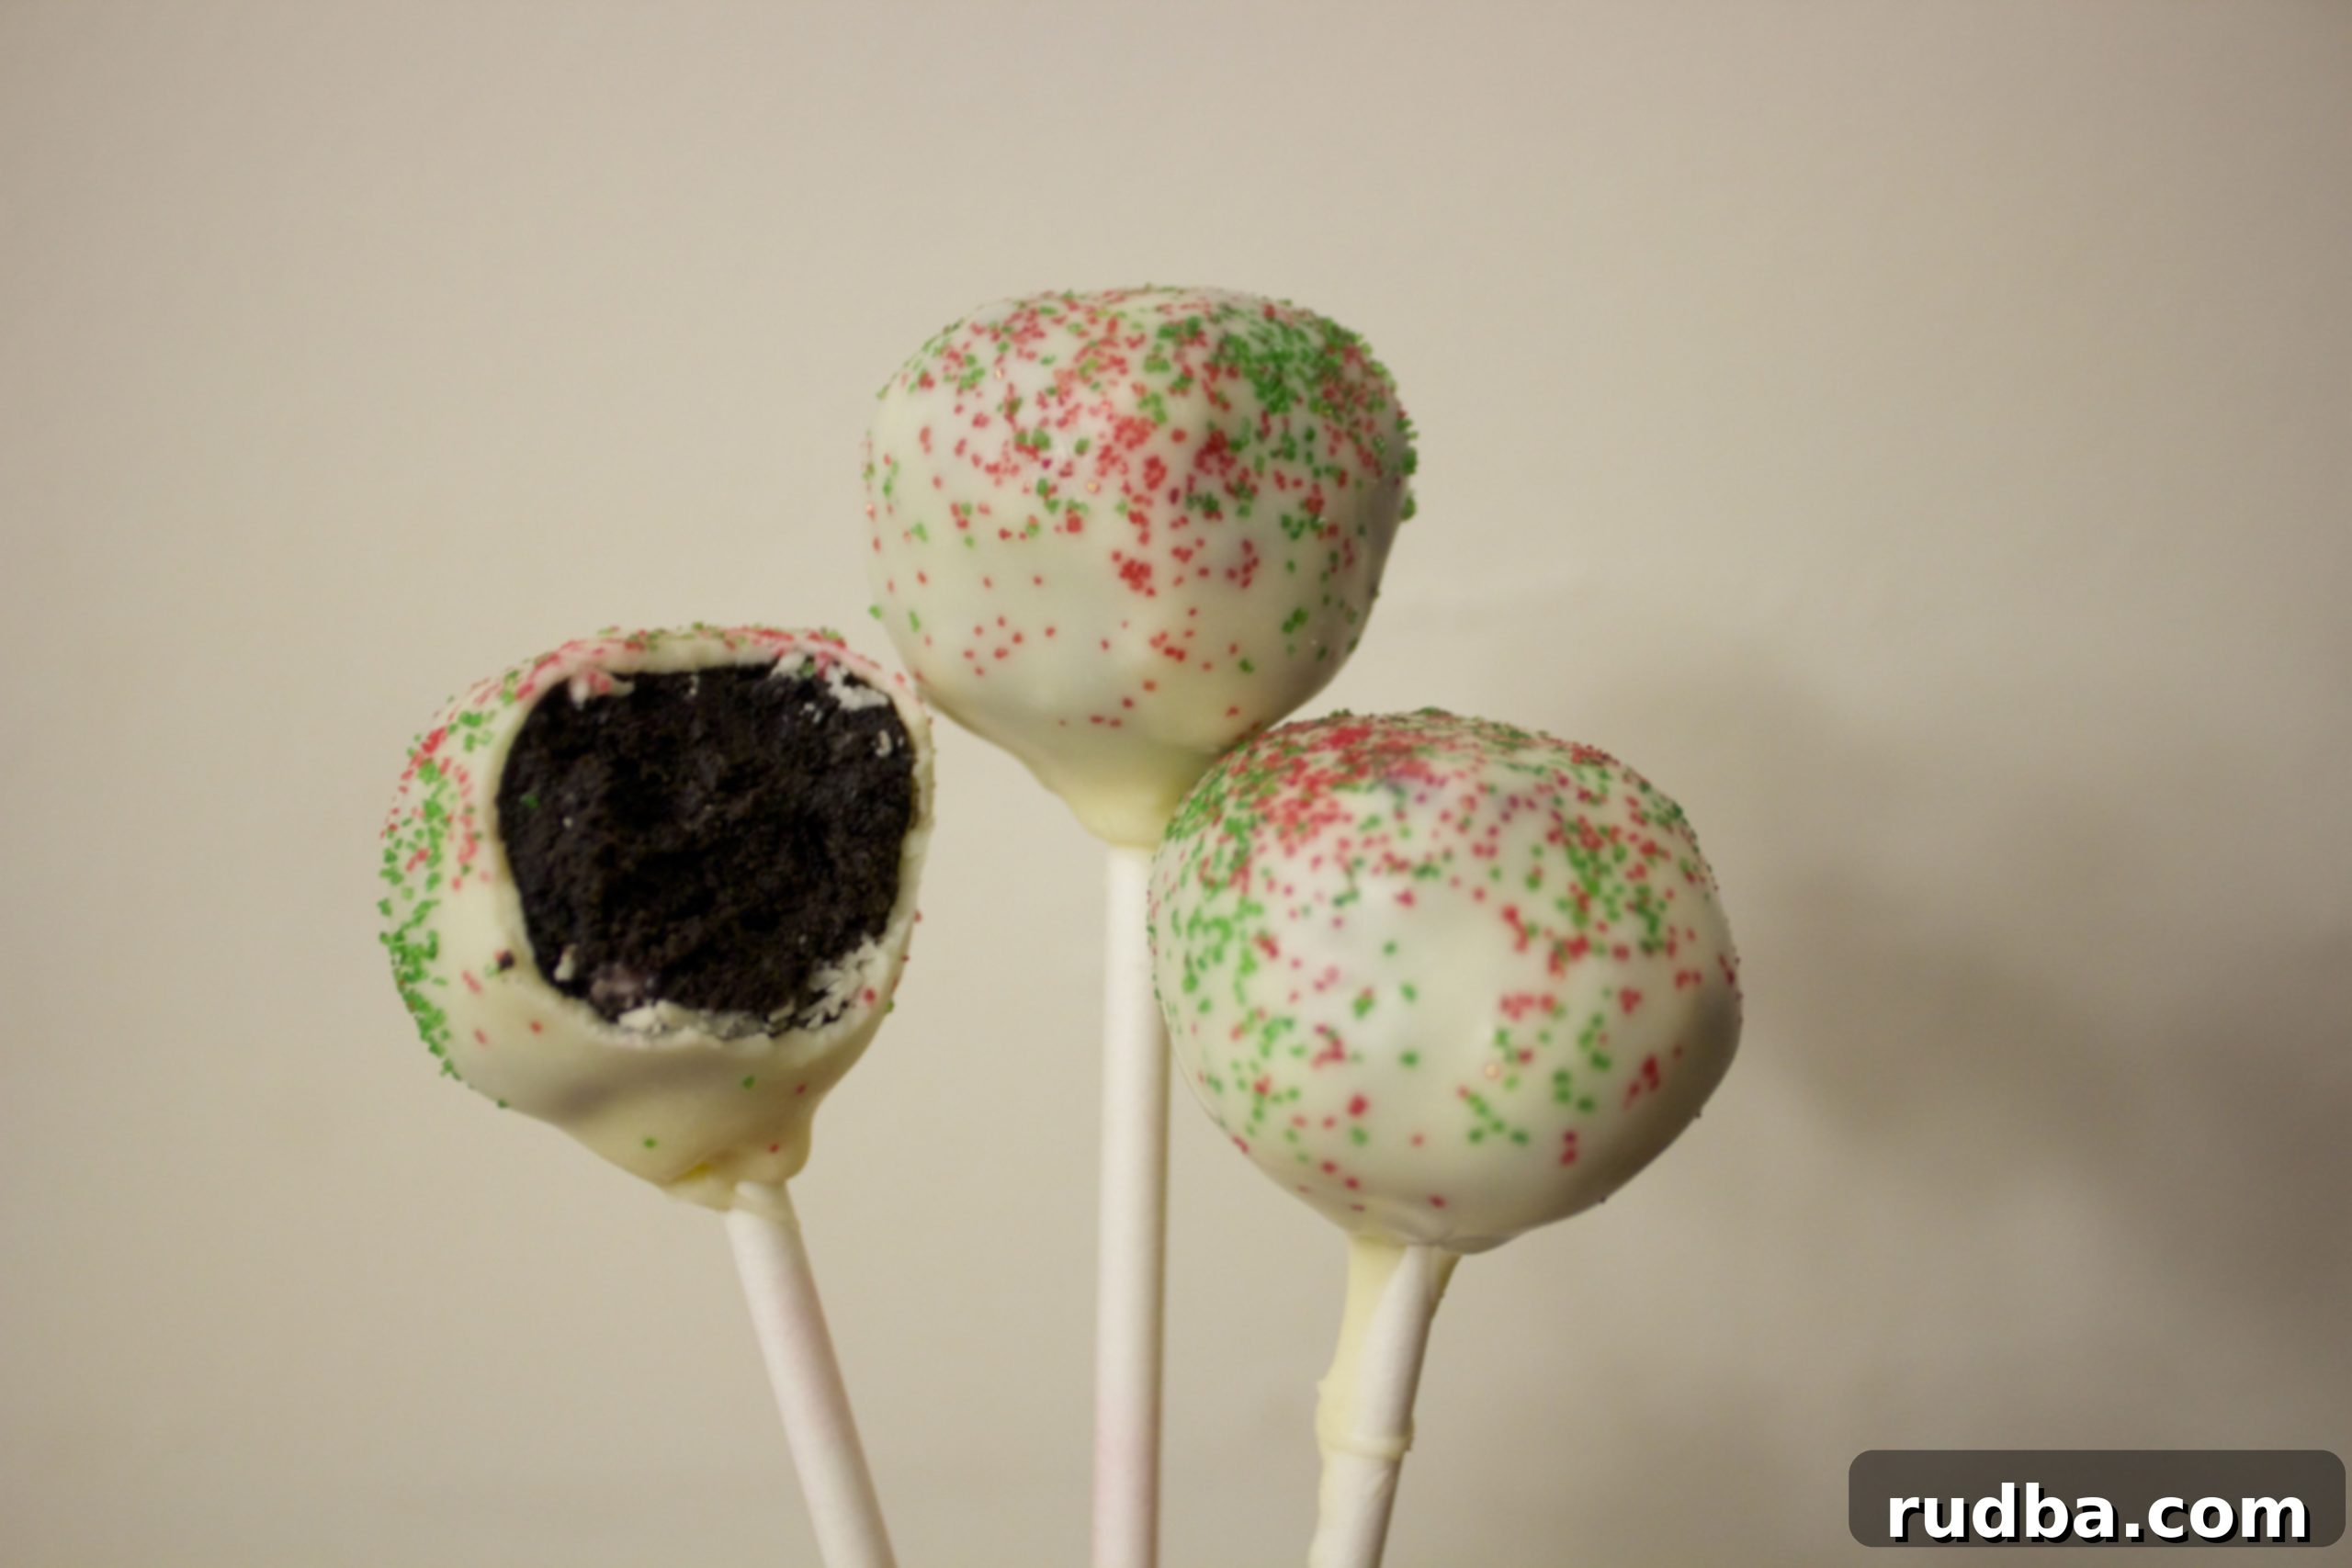
Decorate and Set: Immediately after dipping, while the chocolate is still wet, add sprinkles for decorating if desired. Red and green sugar crystals or crushed candy canes are perfect for a festive touch. Place the finished cake pops upright in a block of Styrofoam or a tall glass (if not using sticks, place them back on parchment paper) and let them set for about 10 minutes, or until the chocolate coating is firm. Once set, they are ready to enjoy!
Nutrition
Nutrition information is automatically calculated, so should only be used as an approximation.
Additional Info
Like this recipe? Leave a comment below!
Tips for Perfect Oreo Peppermint Cake Pops
- Room Temperature Cream Cheese: This is key! Softened cream cheese blends smoothly with the crushed Oreos, preventing lumps and creating a uniform, easy-to-roll mixture. If it’s too cold, it will be lumpy and hard to mix.
- Fine Oreo Crumbs: Whether using a food processor or a Ziploc bag and rolling pin, aim for very fine cookie crumbs. This ensures a smooth consistency for your cake pop base. Avoid large chunks.
- Don’t Overdo the Peppermint: While delicious, too much crushed peppermint candy can make the mixture grainy or overly strong. Stick to the recommended amount for the perfect balance.
- Thorough Chilling is Essential: Do not skip the freezing step! Chilling the Oreo balls makes them firm, preventing them from dissolving in the warm chocolate and helping the chocolate coating set quickly and smoothly.
- Melting Chocolate Wisely: White chocolate can be finicky. Melt it gently in a microwave (30-second intervals, stirring well each time) or over a double boiler. Adding a tablespoon of shortening or coconut oil helps thin the chocolate for a smoother dip and a more professional finish, preventing it from being too thick or clumpy.
- Use a Tall, Narrow Container for Dipping: This allows you to fully submerge the cake pops without having to use an excessive amount of chocolate.
- Decorate Immediately: Once a cake pop is dipped, add your sprinkles or crushed candy canes right away, before the chocolate sets.
- Drip Off Excess Chocolate: Gently tap the stick against the side of your dipping container to remove excess chocolate. This prevents pooling at the base of the pop and ensures a neat finish.
Variations & Customizations for Your Peppermint Oreo Balls
While the classic Oreo Peppermint Cake Pops are truly exceptional, there are many ways to customize them to suit your taste or occasion:
- Different Oreo Flavors: Experiment with other Oreo varieties! Golden Oreos would work beautifully with a vanilla or caramel twist, while Mint Oreos could double down on the peppermint flavor. For an even richer chocolate experience, try Double Stuffed Oreos.
- Alternative Chocolate Coatings: Instead of white chocolate, you could use melted dark chocolate, milk chocolate, or even colored candy melts to match a specific theme or holiday. Drizzle different colored chocolates on top for an artistic touch.
- Extra Peppermint Kick: For serious peppermint lovers, you could add a tiny amount (1/4 to 1/2 teaspoon) of peppermint extract to the Oreo-cream cheese mixture. Be cautious, as extracts are potent!
- Topping Galore: Beyond sprinkles and crushed peppermint candies, consider finely chopped nuts, mini chocolate chips, cocoa powder dusting, or even a drizzle of caramel or fudge sauce.
- No Peppermint? No Problem! If peppermint isn’t your thing, you can easily omit it and still have fantastic Oreo cake pops. Add a splash of vanilla extract, a pinch of cinnamon, or even finely grated orange zest for a different flavor profile.
- Adult Version: For an adult-friendly treat, consider adding a tablespoon of peppermint schnapps or a liqueur like Baileys to the cream cheese mixture for an extra layer of indulgence.
Serving and Storage Suggestions
These easy Oreo Peppermint Cake Pops are perfect for a variety of occasions:
- Holiday Parties: Their festive appearance and delicious flavor make them an ideal addition to any Christmas or New Year’s Eve spread. Arrange them on a platter for an eye-catching display.
- Edible Gifts: Package a few cake pops in small treat bags with a ribbon for a thoughtful homemade gift. They’re much appreciated by friends, family, and teachers!
- Dessert Tables: A tray of these colorful cake pops will elevate any dessert table at a birthday or special event.
- After-Dinner Treat: Keep them on hand for a delightful after-dinner treat or a sweet pick-me-up during the day.
Storage: Store your finished Oreo Peppermint Cake Pops in an airtight container in the refrigerator for up to 1 week. If you need to store them longer, they can be frozen for up to 1 month. Thaw in the refrigerator before serving.
Frequently Asked Questions About Oreo Peppermint Cake Pops
Q: Can I use a different type of cookie besides Oreos?
A: Absolutely! While Oreos provide a classic chocolate flavor and excellent texture, you can experiment with other sandwich cookies like Nutter Butters (for a peanut butter twist), Golden Oreos, or even graham crackers (though you might need to adjust the cream cheese slightly as graham crackers are less moist than Oreos).
Q: My melted chocolate is too thick or lumpy. What can I do?
A: This is a common issue with white chocolate. Ensure you’re melting it slowly and gently. If it’s too thick, add a teaspoon of shortening, coconut oil, or a neutral oil (like vegetable oil) at a time, stirring until you reach a smoother, dippable consistency. If it’s seized (hardened and clumpy), unfortunately, it’s often beyond repair and you may need to start with a fresh batch.
Q: Do I have to use cake pop sticks?
A: No, sticks are optional! You can roll the mixture into balls, chill them, and then dip them. If not using sticks, simply place the dipped balls back onto parchment paper to set. They’re often called “Oreo Peppermint Truffles” or “Oreo Peppermint Balls” when served without sticks.
Q: Can I make these ahead of time?
A: Yes, these are perfect for making ahead! You can prepare the Oreo balls and store them in an airtight container in the refrigerator for up to 3-4 days before dipping. Once dipped and decorated, they can be stored in the refrigerator for up to a week.
Q: How can I make these more festive for Christmas?
A: Beyond the red and green sprinkles, consider using green or red candy melts for the coating. You can also crush candy canes into varying sizes for a more pronounced peppermint crunch and visual appeal. Drizzling a contrasting color of chocolate on top once the main coating has set also adds a professional and festive touch.
Q: My cake pops are falling off the sticks. What went wrong?
A: This usually happens if the Oreo balls weren’t chilled enough, or if the initial chocolate “glue” on the stick wasn’t fully set before dipping. Ensure the balls are thoroughly frozen and that the chocolate on the stick tip has hardened before proceeding to the full dip. Also, make sure your melted chocolate for dipping isn’t too hot, as this can melt the pop from the inside.
Conclusion
These Oreo Peppermint Cake Pops are more than just a recipe; they’re a simple, joyful way to bring a touch of homemade magic to any occasion. Whether you’re a seasoned baker or a kitchen novice, these no-bake wonders prove that incredible flavor doesn’t have to be complicated. With their delightful crunch, creamy texture, and refreshing peppermint kick, they’re guaranteed to become a cherished part of your holiday traditions. So go ahead, whip up a batch, and share the joy!
