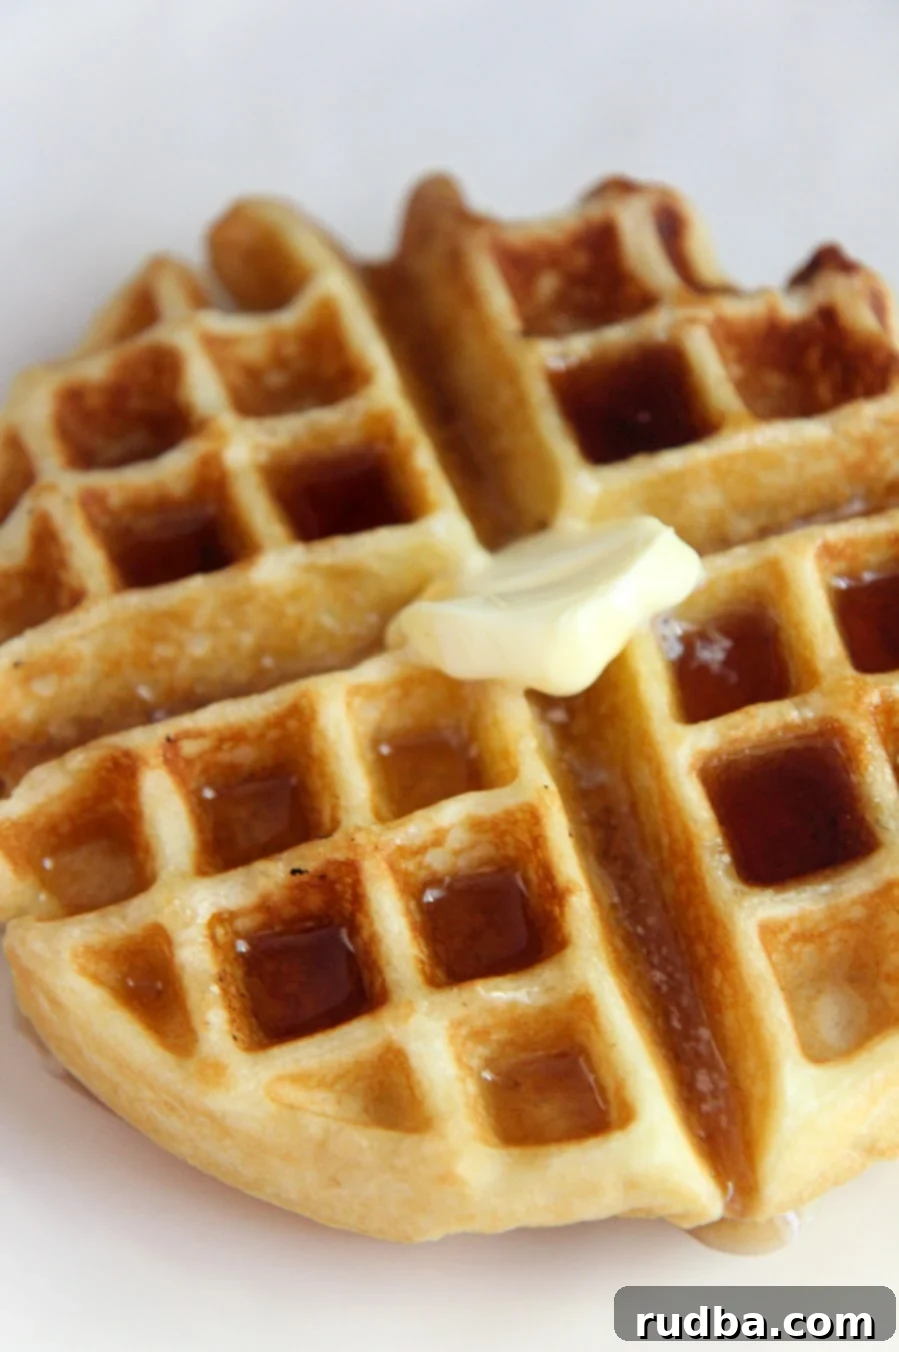
Ultimate Fluffy Buttermilk Belgian Waffles: Easy Homemade Recipe for Breakfast & Brunch
Imagine a perfect morning: the comforting hum of a waffle iron, the sweet aroma of baking batter filling your kitchen, and then, a stack of golden-brown waffles, ready to be devoured. These aren’t just any waffles; these are **fluffy buttermilk Belgian waffles**, designed for pure indulgence and surprisingly easy to make. Forget the complicated steps of separating eggs or intricate techniques – this recipe is wonderfully straightforward, making it accessible for even beginner cooks. You’ll achieve that coveted texture: irresistibly crispy on the outside, yet incredibly light and airy on the inside.
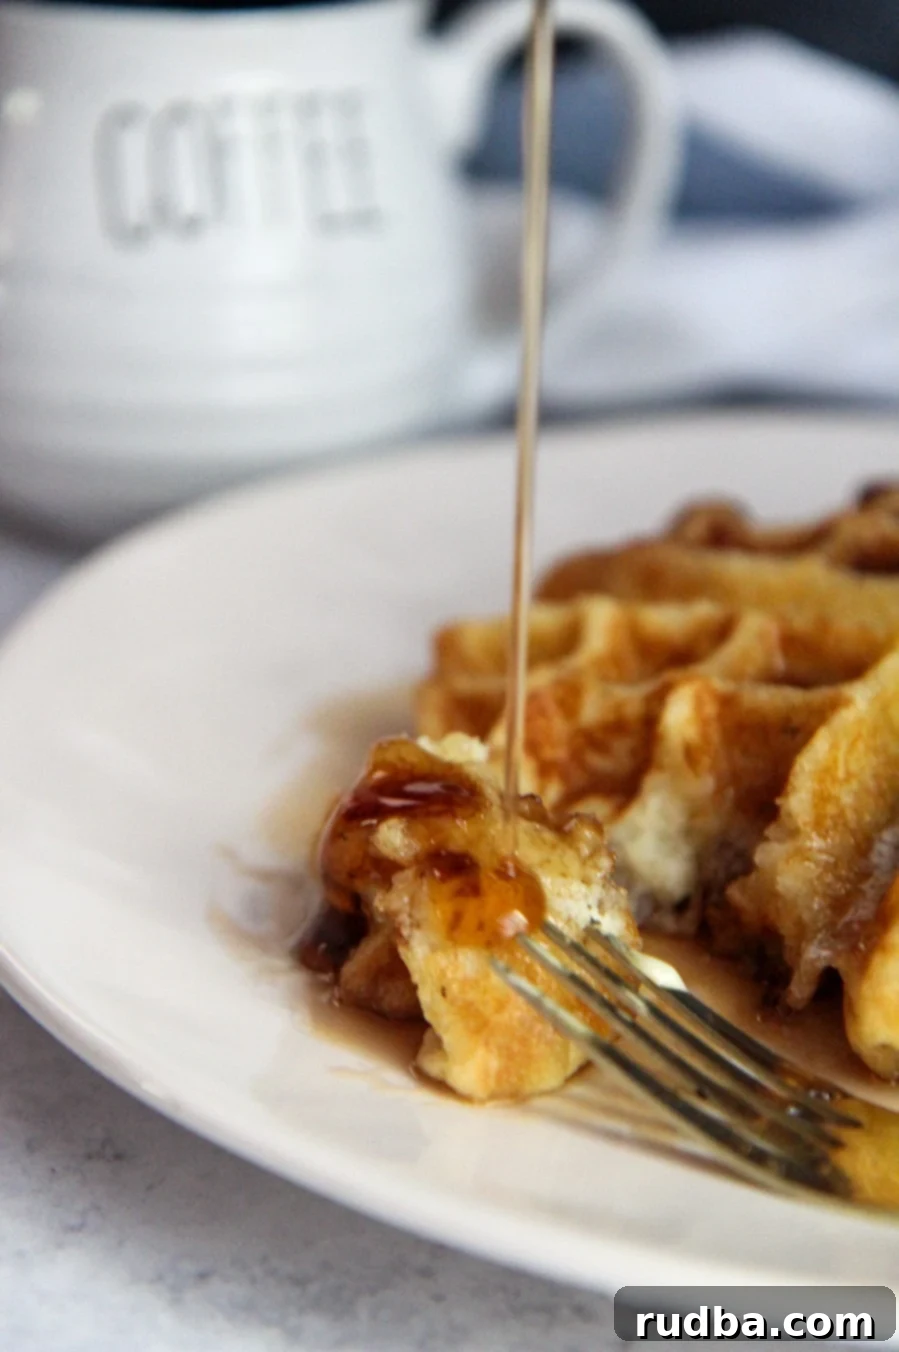
Whether you’re planning a decadent weekend breakfast, a leisurely brunch with loved ones, or even a comforting “brinner” (breakfast for dinner), these homemade waffles are guaranteed to be a crowd-pleaser. The magic truly happens when you top them with a generous drizzle of warm maple syrup, a melting dollop of softened butter, and perhaps a fresh cup of coffee or a cold glass of milk. Get ready to transform your ordinary meal into a special occasion with a stack of homemade perfection!
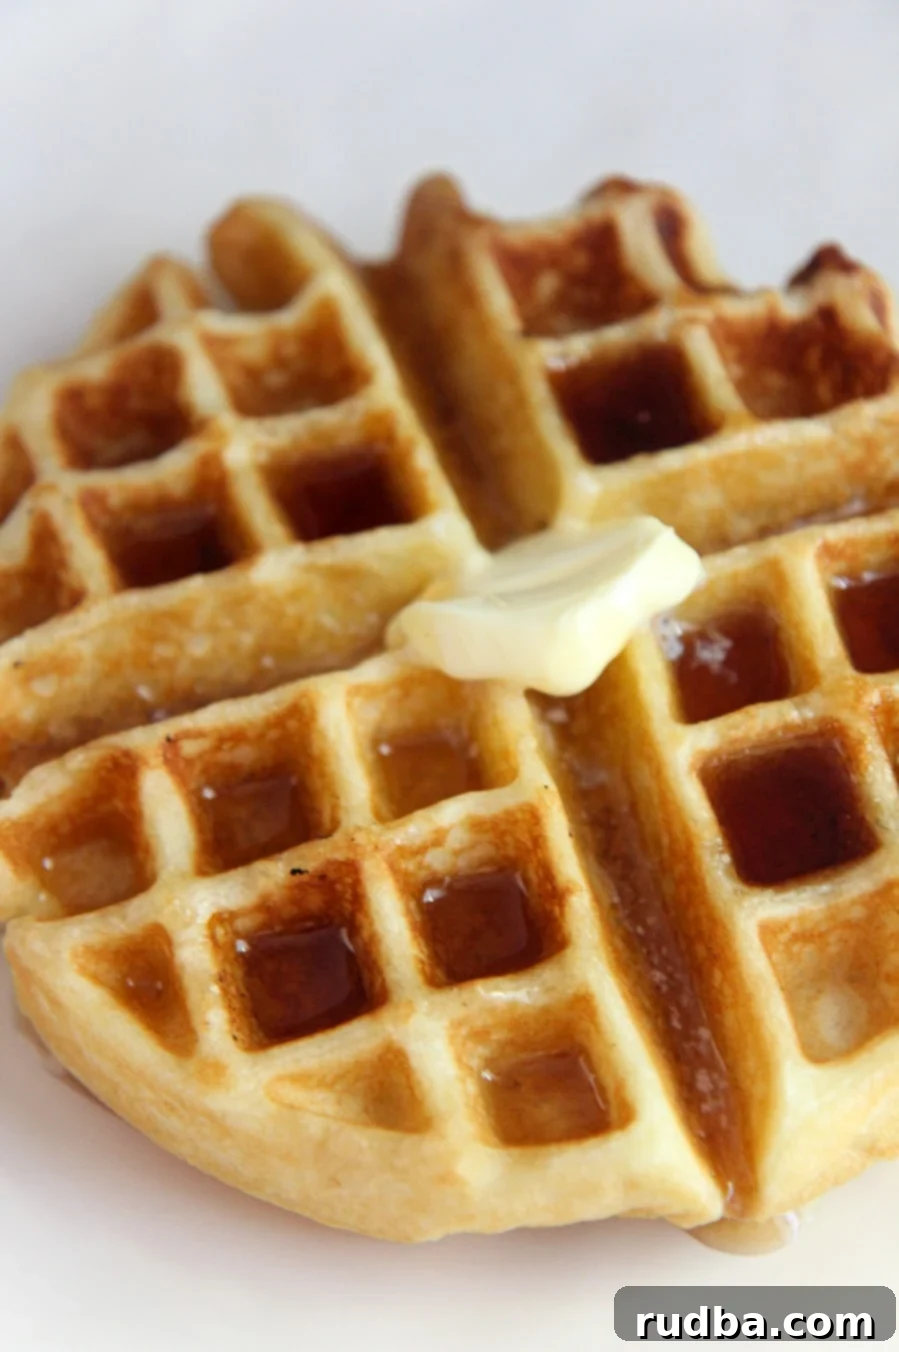
Achieving Waffle Perfection: My Top Tips for Crispy, Fluffy Waffles Every Time
While this recipe for buttermilk Belgian waffles is incredibly simple, a few expert tips can elevate your results from good to absolutely glorious. Mastering these techniques will ensure your waffles consistently come out with that perfect crispy exterior and tender, fluffy interior. Here are my tried-and-true secrets:
1. The Golden Ratio of Batter: Don’t Underfill Your Iron
One of the most common pitfalls in waffle making is being too shy with the batter. For a truly substantial Belgian waffle, I highly recommend adding approximately **1 cup or slightly more** of batter to the center of your waffle iron. The exact amount will depend on the size and depth of your specific waffle maker, so don’t hesitate to experiment during your first few batches. In my experience, underfilling the iron leads to disappointingly thin waffles with uneven, “wonky” edges that lack the signature Belgian waffle heft and deep pockets. A generous pour ensures your waffles expand beautifully to fill every crevice of the grid, creating those essential deep wells perfect for cradling syrup and a multitude of toppings.
2. Strategic Preheating: Timing Your Waffle Iron for Optimal Results
The timing of when you switch on your waffle iron plays a crucial role in preventing dry, brittle waffles. My best advice is to only turn on the waffle iron *after* you’ve finished preparing your batter. This seemingly small adjustment prevents the iron from becoming excessively hot while you’re still mixing ingredients, or worse, leaving it to bake empty for too long. In the past, I would often preheat too early, and by the time my batter was ready, the iron was scorching hot. This extreme, prolonged heat would often “shock” the batter, leading to waffles that were overly dry, stiff, and lacked that desirable tender, moist interior. Allowing the iron to heat up only after the batter is mixed (even for just a few minutes) ensures it reaches the ideal cooking temperature without becoming overheated, promoting even cooking, a beautifully browned crust, and a perfectly fluffy inside.
3. The Cooling Rack Secret: Your Key to Un-Soggy Waffles
This tip is a non-negotiable for preserving crispness! As soon as your waffles are done cooking and removed from the iron, immediately **transfer them to a wire cooling rack** for at least a minute, or even a few minutes, before moving them to a plate or serving. The science behind this is simple: hot waffles release steam. If you place them directly onto a flat plate, that steam gets trapped underneath, quickly condensing and turning those beautiful, crispy edges into a sad, soggy mess. A cooling rack, however, allows air to circulate freely around the entire waffle, preventing steam buildup and preserving that delightful, satisfying exterior crunch. This simple step makes all the difference!
The Magic of Buttermilk and How to Make the Most of It
Buttermilk is a true hero ingredient in this recipe, contributing significantly to the tender crumb, delicate texture, and subtle tangy flavor that makes these Belgian waffles so special. Its acidity plays a vital role by reacting with the baking powder, producing carbon dioxide bubbles that act as a powerful leavening agent. This chemical reaction is what makes the waffles rise so beautifully, resulting in an incredibly light and airy structure. Furthermore, buttermilk’s acidity helps to break down gluten in the flour, which further contributes to a wonderfully tender and soft waffle.
Given that buttermilk is often sold in larger containers and tends to have a shorter shelf life compared to regular milk, it’s always a good idea to have a plan for any leftovers. Don’t let that precious buttermilk go to waste! Think about other delicious recipes that benefit from its unique properties. For instance, you could whip up a batch of this incredibly moist and flavorful buttermilk cornbread, or try your hand at fluffy buttermilk pancakes, tender biscuits, fried chicken marinade, or even a creamy salad dressing. Having a few go-to buttermilk recipes on hand ensures you make the most of your purchase and enjoy its versatility beyond just waffles.
No Buttermilk? No Problem! (Quick DIY Buttermilk Substitute)
If you find yourself without buttermilk but a sudden craving for these amazing waffles strikes, you can easily make a homemade substitute with ingredients you likely already have. For every 1 cup of buttermilk required in a recipe, simply measure out 1 cup of regular milk (dairy or non-dairy alternatives like almond or soy milk work too) and add 1 tablespoon of white vinegar or lemon juice. Stir it gently and let it sit at room temperature for 5-10 minutes. During this time, the milk will curdle slightly and thicken, mimicking the acidity and texture of real buttermilk. While fresh buttermilk is always preferred for its authentic, nuanced flavor, this quick substitute works wonderfully in a pinch and won’t compromise the leavening in your waffles!
What to Serve with Your Buttermilk Belgian Waffles: Endless Possibilities!
The beauty of homemade waffles, especially these fluffy buttermilk Belgian ones, is their incredible versatility. While my absolute favorite way to enjoy them is with classic warm maple syrup and plenty of softened butter, the topping possibilities are truly endless! Whether you’re serving them for a grand breakfast, a festive brunch, or even a delightful dessert, here are some ideas to inspire your next waffle creation:
Sweet Topping Ideas:
- Fresh Fruit Medley: Brighten your waffles with a vibrant mix of fresh berries (strawberries, blueberries, raspberries, blackberries), sliced bananas, ripe peaches, or a medley of seasonal fruits. They add natural sweetness, beautiful color, and a burst of refreshing juiciness.
- Homemade Whipped Cream or Ice Cream: For an extra layer of decadence, a generous dollop of homemade whipped cream or a scoop of your favorite vanilla (or even chocolate, strawberry, or coffee!) ice cream transforms waffles into an indulgent dessert.
- Syrups Galore: Beyond the essential maple syrup, explore other delicious options like rich chocolate syrup, gooey caramel sauce, homemade fruit compotes (such as a warm berry compote or spiced apple cinnamon), or even a delicate drizzle of honey or agave nectar.
- Nutty Crunch: Add a delightful textural contrast and rich flavor with chopped pecans, walnuts, slivered almonds, or even candied nuts. A sprinkle of toasted coconut flakes also works wonders.
- Sprinkles & Sweet Confetti: For a fun, festive touch, especially appealing to kids (or the kid in you!), a sprinkle of colorful jimmies or mini chocolate chips on top makes any waffle feel like a celebration.
- Powdered Sugar: A simple, elegant dusting of powdered sugar (confectioners’ sugar) adds a subtle touch of sweetness and a sophisticated finish.
- Fruit Curds: For a zesty, tangy counterpoint, try a spoonful of lemon, lime, or passion fruit curd.
Savory Pairings:
Don’t limit waffles to sweet toppings! Their mild flavor and sturdy structure make them an excellent base for savory combinations for a more robust and unexpected meal:
- Fried Chicken & Gravy: The iconic “chicken and waffles” combination is legendary for a reason – the salty, crispy fried chicken perfectly balances the sweet, fluffy waffle for an unforgettable experience.
- Crispy Bacon or Savory Sausage: A side of perfectly cooked crispy bacon or savory breakfast sausage makes for a hearty and satisfying breakfast plate.
- Fried Egg & Avocado: For a trendy and delicious brunch option, top a warm waffle with a perfectly fried or poached egg and slices of creamy avocado, perhaps with a sprinkle of everything bagel seasoning.
- Smoked Salmon & Cream Cheese: For a sophisticated and elegant brunch, spread a thin layer of cream cheese on your waffle and top with delicate slices of smoked salmon, fresh dill, and capers.
Belgian Waffles vs. Regular Waffles: What’s the Delicious Difference?
While all waffles provide a delightful, patterned canvas for breakfast bliss, Belgian waffles stand out with distinct characteristics that set them apart from their “regular” counterparts. Understanding these differences can enhance your appreciation for this particular recipe and help you choose the right waffle for any craving:
1. Grid Depth and Size:
The most immediate and noticeable difference lies in the waffle iron itself. Belgian waffle irons are specifically designed with deeper and larger grids compared to standard waffle irons. This structural difference results in waffles that are significantly thicker and feature much deeper pockets. These deep pockets are not just for aesthetics; they are functional, making Belgian waffles ideal for holding generous amounts of syrup, fruit, whipped cream, and other toppings without them spilling over. Regular waffles, on the other hand, are generally thinner with shallower, less pronounced grids.
2. Texture and Leavening:
Belgian waffles are renowned for their incredibly light, airy, and fluffy interior, which is beautifully encased in a wonderfully crispy, golden-brown exterior. This distinctive and sought-after texture is often achieved through a more substantial amount of leavening agent. In this specific recipe, we use a generous **1 tablespoon of baking powder**, which provides a powerful lift and creates that cloud-like texture we all love. Some traditional Belgian waffle recipes might even incorporate yeast as a leavening agent, which requires a longer proofing time but yields a distinct, slightly yeasty flavor and an even more ethereally light result. However, for sheer ease, speed, and consistent fluffiness, I find using baking powder to be a much more straightforward and equally effective method.
Regular waffles tend to be denser and sometimes more cake-like in texture, typically using less leavening or a different ratio of ingredients that results in a flatter, more compact form.
3. Ingredients and Preparation:
While the basic building blocks (flour, eggs, milk, fat) are similar across most waffle recipes, Belgian waffle recipes often traditionally call for beaten egg whites to be folded into the batter. This step significantly contributes to their airy lightness. However, one of the fantastic features of this particular recipe is that it cleverly skips the egg separation step, making it much simpler and quicker to prepare while still delivering fantastic fluffiness thanks to the ample baking powder and the acidity of the buttermilk. Occasionally, traditional Belgian waffles also feature pearl sugar (large granules of sugar) folded into the batter, which caramelizes during cooking, creating delightful pockets of sweet, crunchy goodness.
In summary, if you’re craving a substantial, delightfully airy, and deeply pocketed waffle that can confidently handle a bounty of toppings, Belgian waffles are your ultimate choice. This buttermilk version, with its simplified preparation, delivers all the classic charm and deliciousness you could ever wish for.
Customizing Your Waffles: Mix-ins and Variations for Every Taste
One of the absolute best things about making waffles from scratch is the freedom to customize them to your heart’s content! While these buttermilk Belgian waffles are deliciously satisfying on their own, adding extra ingredients can easily elevate them to new levels of flavor, texture, and fun. Don’t be afraid to get creative with various mix-ins stirred directly into the batter just before cooking:
- Chocolate Chips: A timeless favorite! Mini or regular chocolate chips (dark, milk, or white chocolate) melt into pockets of gooey deliciousness.
- Fresh Berries: Gently fold in fresh blueberries, raspberries, or chopped strawberries for bursts of fruity flavor and juiciness. Be careful not to overmix to avoid crushing them too much and coloring the batter.
- Other Fruits & Zest: Diced apples, shredded coconut, or even a pinch of lemon or orange zest can add wonderful aromatic and flavorful dimensions to your waffles.
- Nuts: Chopped pecans, walnuts, or almonds provide a delightful crunch and nutty flavor that complements the soft waffle texture.
- Spices: A dash of cinnamon, nutmeg, cardamom, or pumpkin pie spice can transform your waffles into a warm, seasonal treat.
- Buttermilk Blueberry Waffles: If you’re a big fan of berries, you might specifically enjoy experimenting with a batch of buttermilk blueberry waffles, a delightful and popular variation on this classic recipe.
Feel free to experiment with different combinations to find your perfect personalized waffle creation! The possibilities are truly endless.
How to Store and Reheat Buttermilk Belgian Waffles for Easy Meals
One of the greatest advantages of making a big batch of these delicious homemade waffles is that they freeze beautifully, making them perfect for quick and easy breakfasts or snacks on busy mornings! You can enjoy the taste of fresh waffles anytime with minimal effort. Here’s how to properly freeze and reheat your homemade Belgian waffles to maintain their amazing taste and texture:
Freezing Instructions:
- Cool Completely: After cooking, it is absolutely crucial to let the waffles cool down completely to room temperature on a wire rack. This step is vital because if you freeze them while still warm, the residual heat will create condensation, leading to ice crystals and ultimately soggy waffles when thawed or reheated.
- Flash Freeze for Separation: Once fully cooled, arrange the waffles in a single layer on a parchment paper-lined baking sheet. Ensure they are not touching each other. Transfer the baking sheet to the freezer and freeze for about one hour, or until the waffles are completely solid. This “flash freezing” step prevents the waffles from sticking together when you later transfer them to a storage bag, allowing you to easily grab just one or two at a time.
- Store in Freezer-Safe Bag or Container: Once the waffles are completely frozen solid, transfer the individual waffles to a heavy-duty, freezer-safe, airtight bag or an airtight container. To prevent freezer burn, remove as much air as possible from the bag before sealing.
- Label and Freeze: Don’t forget to label the bag or container with the date. Properly stored, frozen waffles can be kept for up to 3 months, ready whenever a craving strikes!
Reheating Frozen Waffles:
Reheating frozen waffles is incredibly easy and brings them back to that desired crispy-on-the-outside, fluffy-on-the-inside perfection, almost like they were freshly made!
- Oven Method (Recommended for multiple waffles): Preheat your oven to 350°F (175°C). Place the frozen waffles in a single layer directly on a wire rack set over a baking sheet (or on a lined baking sheet if you don’t have a rack). Bake for about 10-15 minutes, or until they are heated through and have regained their crisp texture.
- Toaster or Toaster Oven Method (Best for individual servings): For a quick option and maximum crispness, place a frozen waffle directly into your toaster or toaster oven. Toast on a medium setting until it’s golden brown and hot throughout. This method works exceptionally well for single servings and replicates the fresh-from-the-iron experience.
- Air Fryer Method (Fast and extra crispy): Preheat your air fryer to 350°F (175°C). Place frozen waffles in a single layer in the air fryer basket (do not overcrowd). Cook for 3-5 minutes, flipping halfway through if necessary, or until heated through and satisfyingly crispy.
With these simple storage and reheating tips, enjoying delicious homemade waffles on even the busiest weekday morning has never been easier!
Frequently Asked Questions (FAQs) About Buttermilk Belgian Waffles
Q: Can I use regular milk instead of buttermilk in this recipe?
A: While buttermilk provides a unique tang and exceptional tenderness that is highly recommended for these waffles, you can create a simple substitute if you don’t have any on hand. For every 1 cup of buttermilk required, simply measure out 1 cup of regular milk (dairy or non-dairy works) and stir in 1 tablespoon of white vinegar or lemon juice. Let it sit for 5-10 minutes until it curdles slightly before using. This acidulated milk will mimic buttermilk’s properties for leavening and tenderness.
Q: My waffles aren’t crispy; what might have gone wrong?
A: Several factors can affect waffle crispness. Ensure your waffle iron is adequately preheated to the correct temperature before adding batter – but not scorching hot (see my tips above!). Also, avoid opening the iron too early during the cooking process. Crucially, transfer cooked waffles immediately to a wire cooling rack after removal from the iron. Placing them on a flat plate traps steam and leads to sogginess.
Q: Can I prepare the waffle batter ahead of time?
A: For the absolute best results and fluffiest waffles, it’s ideal to use the batter freshly made. The leavening agents (baking powder) are most active shortly after being mixed with the wet ingredients. If you absolutely must prepare it ahead, you can store the batter in an airtight container in the refrigerator for up to 1 hour, but be aware that the waffles might be slightly less fluffy due to the decreasing activity of the leavening. Always give it a gentle stir before using.
Q: Why are my waffles sticking to the waffle iron?
A: Waffles sticking to the iron is a common issue that can usually be resolved. First, ensure your waffle iron is properly seasoned according to the manufacturer’s instructions, especially if it’s new. Always lightly spray or brush the waffle iron plates with cooking spray or melted butter before each waffle, even if it claims to be non-stick. Overmixing the batter can also develop too much gluten, which can make waffles stickier. Lastly, ensure your iron is sufficiently hot; a cold iron is more prone to sticking.
Q: Can I make these buttermilk Belgian waffles gluten-free?
A: While this specific recipe calls for all-purpose flour, you can often substitute it with a good quality 1:1 gluten-free all-purpose flour blend. Look for a blend that specifically includes xanthan gum, as this helps with the structure. Results may vary slightly in texture and rise, but many people have great success adapting waffle recipes to be gluten-free with these types of blends.
If you’ve enjoyed mastering these delicious fluffy buttermilk Belgian waffles, then you’re sure to love exploring other delightful breakfast and brunch recipes! For more culinary inspiration, helpful cooking tutorial videos, and to connect with a community of food lovers, be sure to check out Julie’s YouTube channel and Facebook page. Happy cooking and even happier eating!
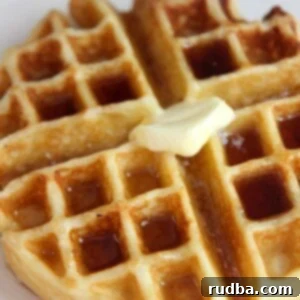
Buttermilk Belgian Waffles
Save RecipeSaved Recipe
Pin Recipe
Rate Recipe
Print Recipe
Equipment
-
Waffle Iron
Ingredients
- 2 cups all-purpose flour
- 1 tbsp baking powder
- 1/4 tsp salt
- 1 tbsp sugar
- 2 cups buttermilk
- 2 eggs
- 1/2 cup unsalted butter, melted
Instructions
-
In a large mixing bowl, combine the sugar, eggs, buttermilk, and melted butter. Whisk them together until they are well incorporated and smooth.
-
Gradually add the all-purpose flour, baking powder, and salt to the wet ingredients. Mix until just combined. Be careful not to overmix the batter; a few small lumps are perfectly fine and actually help achieve a more tender waffle texture.
-
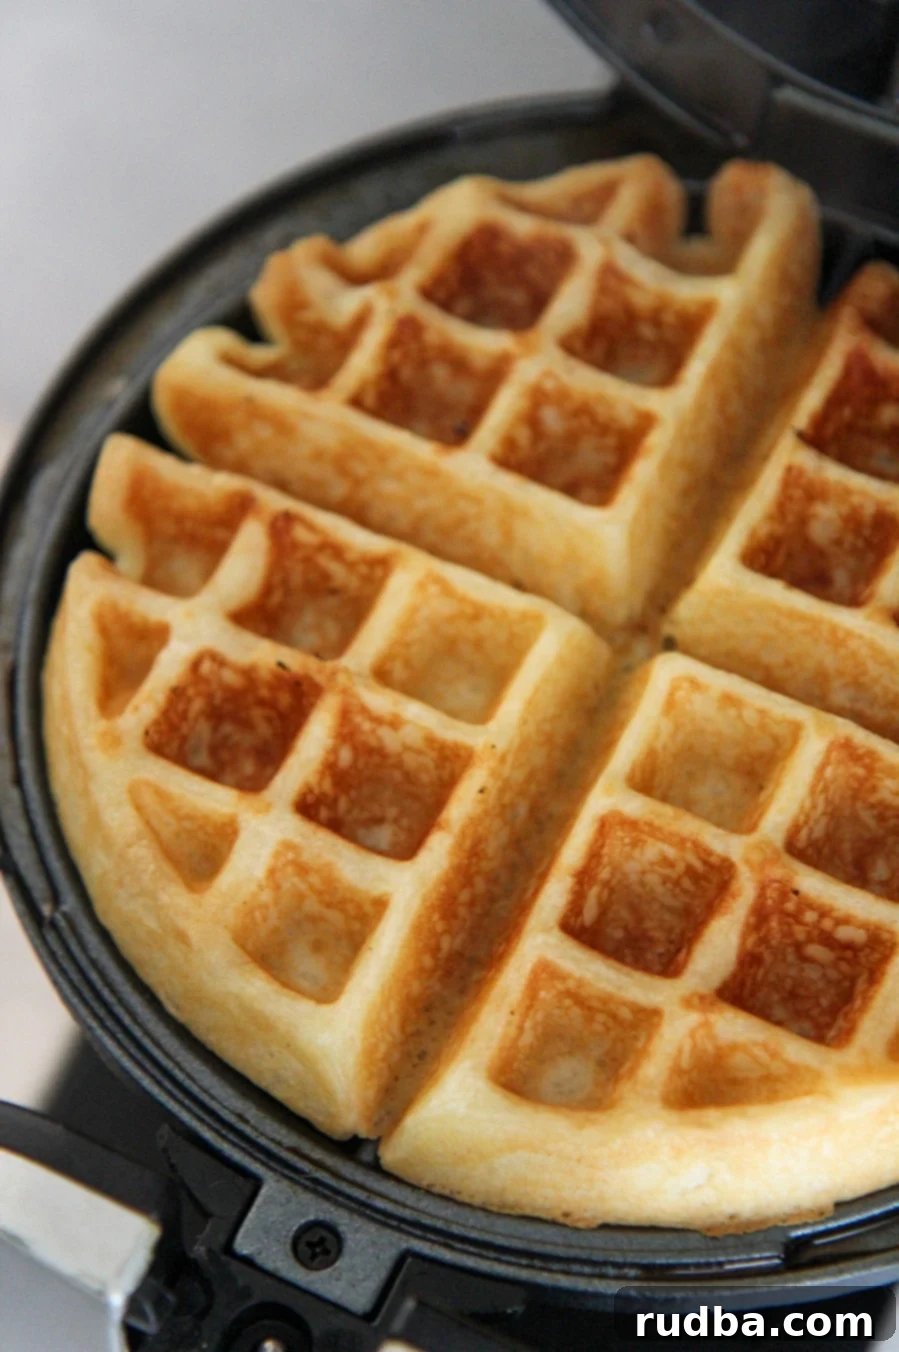
Preheat your waffle iron (remember to turn it on only after your batter is prepared). Lightly spray the waffle iron plates with cooking spray or brush with a little melted butter. Pour about 1 cup (or the appropriate amount for your specific iron) of the waffle batter into the center of the preheated iron. Close the lid and cook according to your waffle iron’s instructions, typically until golden brown and steam largely stops escaping.
-
Once cooked, carefully remove the waffle and transfer it immediately to a wire cooling rack for a minute or two before serving. This step is crucial for maintaining crispness! Enjoy warm, topped generously with your favorite maple syrup and softened butter.
Notes
- To prevent dry waffles, ensure your waffle iron is adequately hot but not scorching. Turn it on only after your batter is ready to prevent overheating.
- Do not overmix the batter. Overmixing can develop gluten, leading to tougher, less fluffy waffles. A few lumps are perfectly acceptable and often desirable!
- For maximum crispness, place cooked waffles on a wire rack for a minute or two before serving. This allows steam to escape and prevents them from becoming soggy.
Nutrition
Nutrition information is automatically calculated, so should only be used as an approximation.
Additional Info
Like this recipe? Leave a comment below!
