The Best Lemon Garlic Roast Chicken: Juicy, Crispy, and Bursting with Flavor
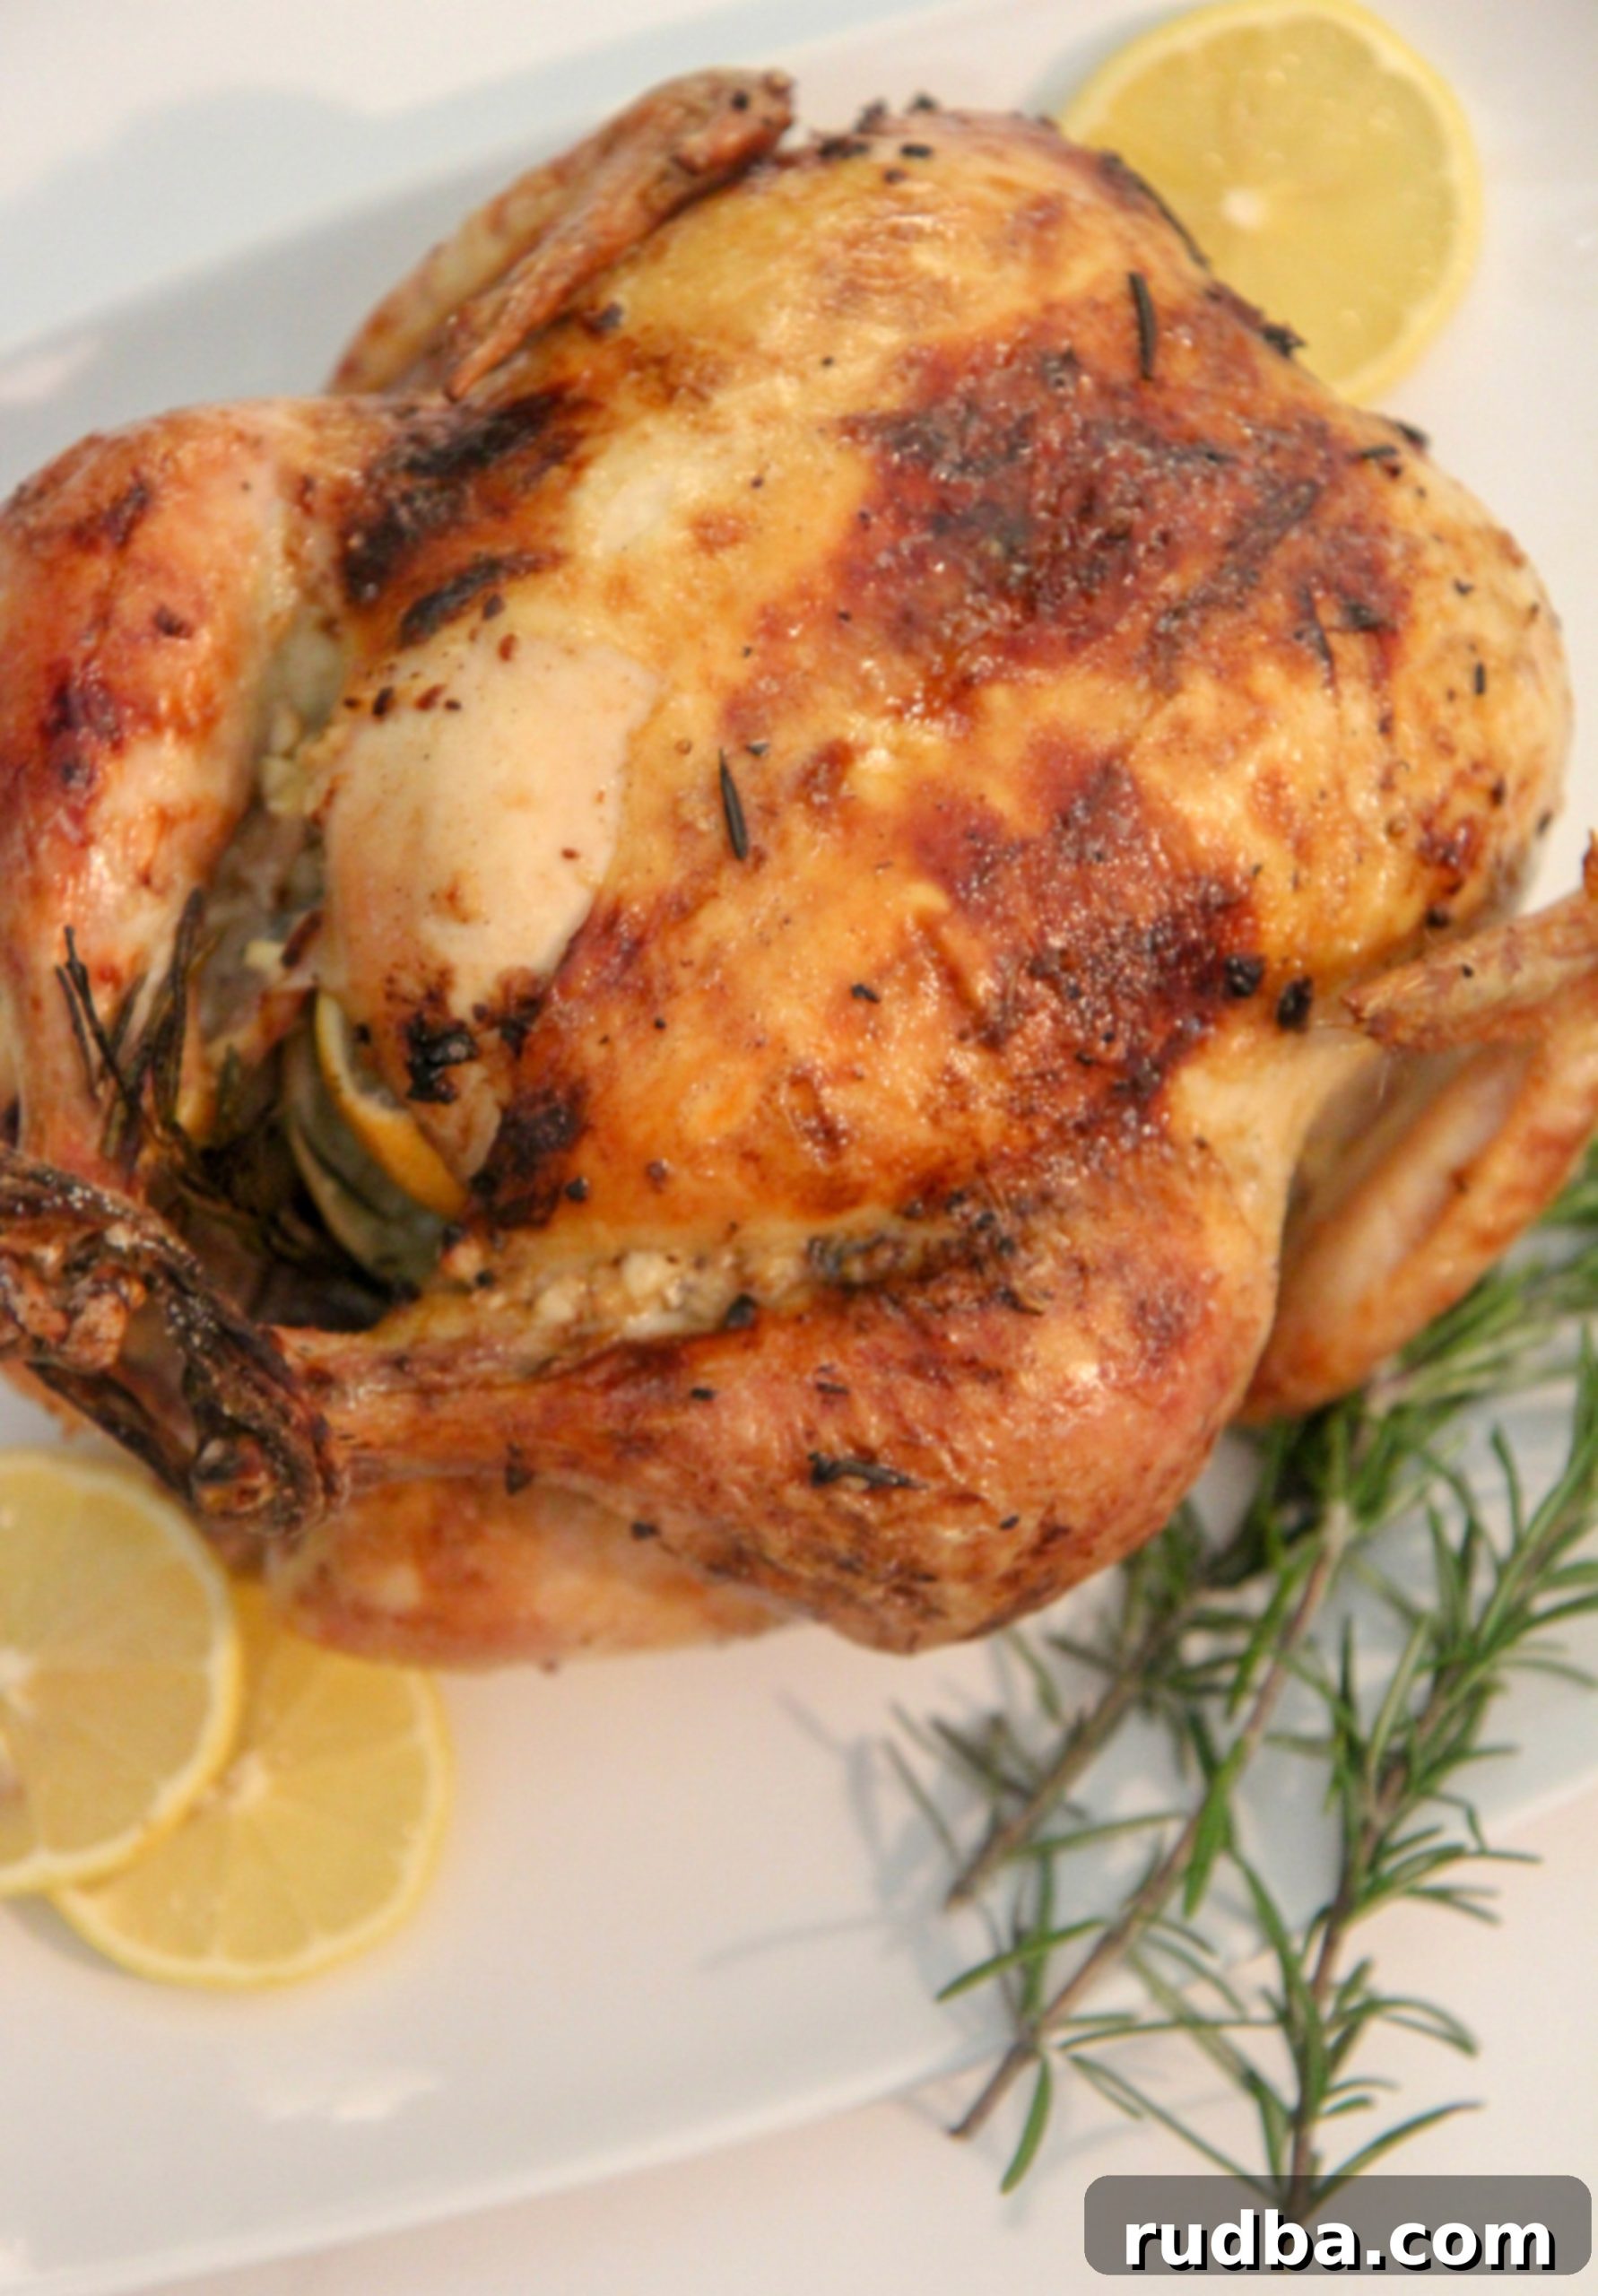
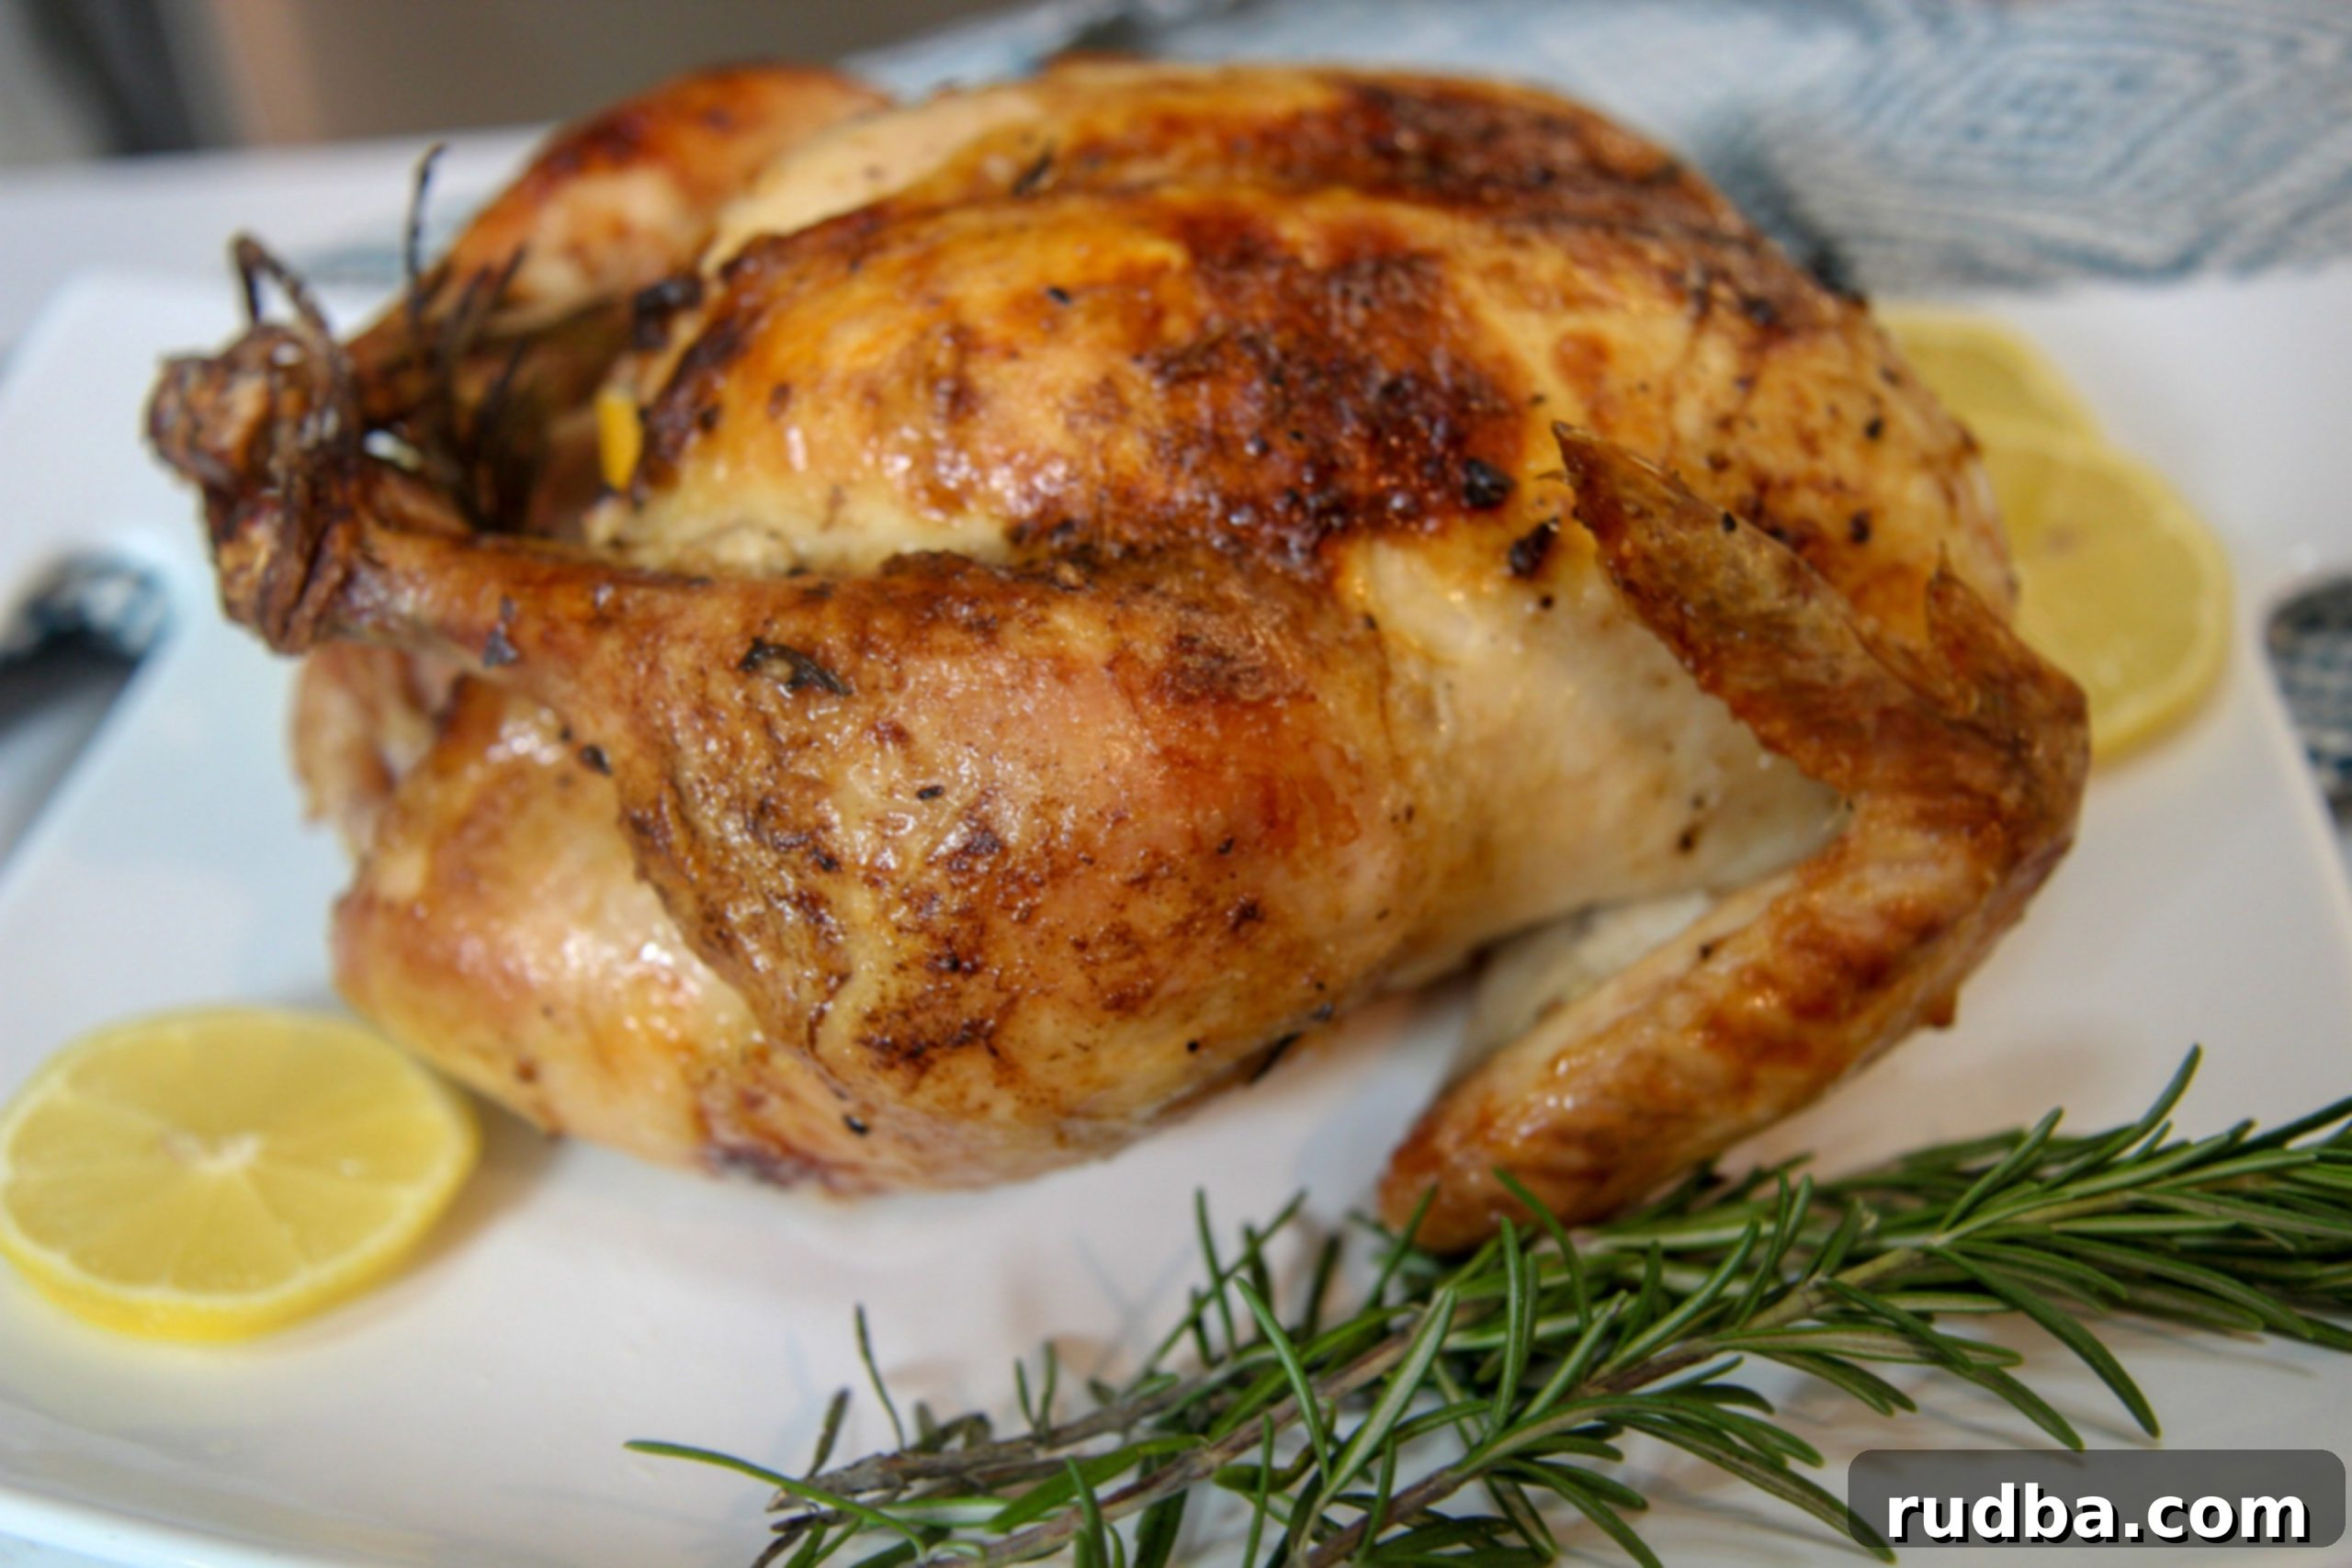
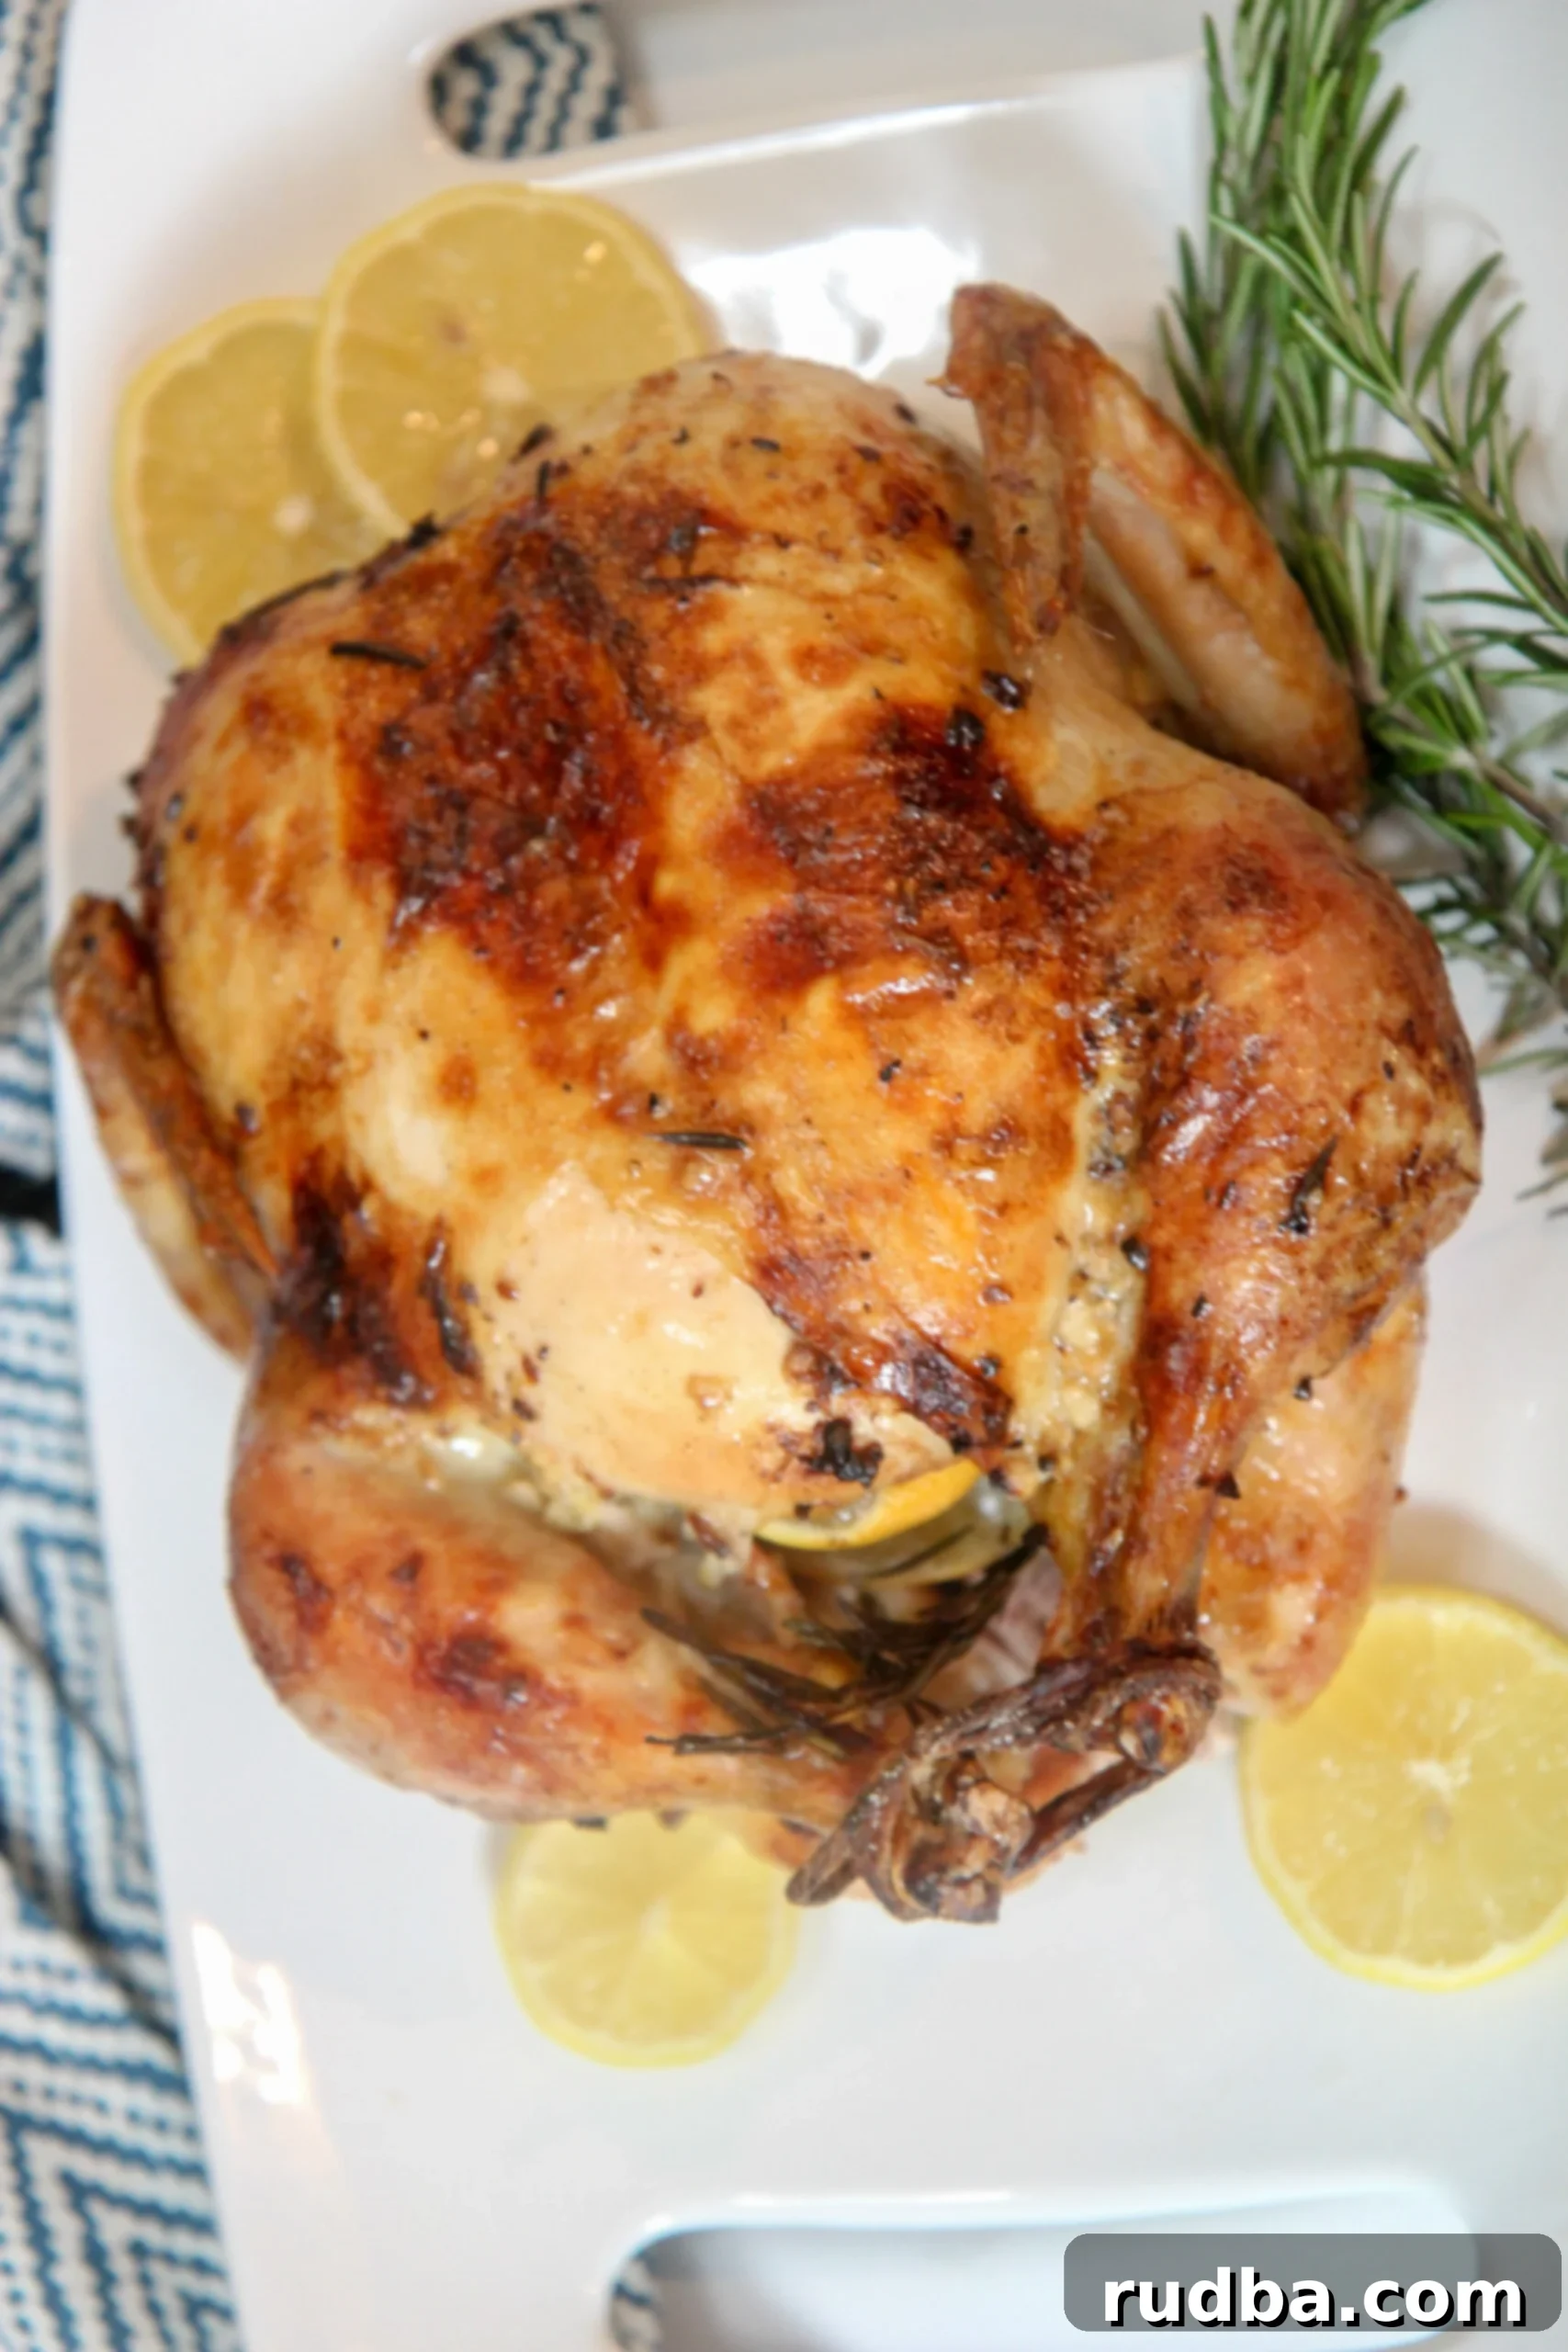
Prepare to impress with this incredibly tender, juicy, and flavorful lemon garlic roast chicken. Boasting a perfectly crispy skin and succulent meat, this recipe will quickly become a family favorite. Seasoned generously with aromatic rosemary and potent garlic, then brined overnight for maximum moisture and taste, it truly stands out as one of the finest roast chicken recipes you’ll ever encounter. Forget dry, bland poultry – this is roast chicken perfection!
Crafted with just a handful of simple ingredients, this homemade roast chicken easily surpasses any store-bought rotisserie chicken in both taste and quality. Serve it alongside classic creamy mashed potatoes and sweet honey roasted carrots for a complete and unforgettable meal.

There’s nothing quite like the comforting aroma of a whole roasted chicken filling your kitchen. This particular lemon garlic roast chicken recipe elevates a classic dish to new heights. Every bite is an experience of moist, tender meat contrasted with an irresistibly crispy skin. The secret to its unparalleled juiciness lies in a simple overnight brine, while a flavorful butter rub ensures every inch is infused with bright lemon, pungent garlic, and fragrant rosemary. It’s a dish that looks impressive but is surprisingly easy to achieve, making it perfect for weeknight dinners and special occasions alike.
Many people find roasting a whole chicken intimidating, fearing a dry or unevenly cooked bird. However, with a few key techniques and a focus on proper preparation, you can achieve restaurant-quality results at home. This comprehensive guide will walk you through each step, from the crucial brining process to smart roasting and resting tips, ensuring your lemon garlic roast chicken is nothing short of spectacular. Get ready to enjoy the most flavorful and juicy chicken you’ve ever made!
The Magic of Brining: Unlocking Unbeatable Juiciness
The first and most crucial step to achieving an incredibly tender and juicy roast chicken is brining. Brining involves soaking the chicken in a saltwater solution (and often other aromatics) for several hours. This process works on a scientific level: the salt in the brine penetrates the muscle fibers, helping them retain moisture during cooking. It also gently denatures the proteins, making the meat more tender. The result is a chicken that stays succulent and flavorful, even if it cooks for a little longer than intended, which is a common challenge with whole birds.
For this lemon garlic roast chicken, an overnight brine is highly recommended. This allows ample time for the salt and water to work their magic, resulting in a perfectly seasoned and remarkably moist chicken that truly melts in your mouth. If you’re short on time, a minimum of 4 hours will still make a noticeable difference in juiciness and flavor, but for the absolute best results, plan ahead for an overnight soak. This simple step is a game-changer for homemade roast chicken.
Preparing Your Chicken for Roasting: Key Steps for Success
Once your chicken has finished its brining period, proper preparation before it hits the oven is essential. After removing it from the brine, rinse the chicken thoroughly under cold water to wash off any excess salt from the surface. Then, and this is a critical step for crispy skin, pat the chicken completely dry with paper towels, both inside and out. Any residual moisture on the skin will steam rather than crisp, preventing that coveted golden-brown crunch.
Allowing the chicken to come to room temperature for about 30-60 minutes before roasting also promotes more even cooking. A cold bird will take longer to cook through, increasing the risk of the exterior drying out before the interior is done. While the chicken rests, you’ll prepare a delectable compound butter mixture infused with finely minced garlic, fresh lemon juice, a hint of salt, and freshly ground black pepper. This aromatic butter will be generously rubbed under the skin and all over the exterior of the chicken, ensuring a rich flavor and helping to crisp up the skin beautifully during the roasting process.
Roasting Times and Temperatures for a Perfect Whole Chicken
The roasting time for a whole chicken largely depends on its size and your specific oven. As a general guideline, when roasting a whole chicken at 400 degrees F (200 degrees C), a good rule of thumb is to roast it for approximately 20 minutes per pound. For instance, a 5-pound chicken would typically require around 100 minutes (1 hour and 40 minutes) of roasting time. However, this is just a starting point, and it’s essential to monitor the chicken’s internal temperature for accuracy.
To prevent the delicate breast meat from drying out, which tends to cook faster than the darker leg and thigh meat, I recommend covering the breasts loosely with aluminum foil for the initial part of the roasting process. This helps to shield them from direct heat, allowing the rest of the chicken to cook more evenly. Using kitchen twine to tie the chicken legs together (a technique known as trussing) is also beneficial. Trussing helps the chicken cook more uniformly and results in a more compact, attractive presentation, preventing the leg meat from getting overly dry.
The most important tool for achieving perfectly roasted chicken is a reliable meat thermometer. Always insert the thermometer into the thickest part of the thigh, without touching the bone. The safe internal temperature for cooked chicken is 165 degrees F (74 degrees C). Once the thermometer reads this temperature, remove the chicken from the oven immediately to prevent overcooking and ensure maximum juiciness.
Do I Need to Rinse Raw Chicken? Addressing Food Safety Concerns
The practice of rinsing raw chicken is a topic of ongoing debate and has evolved with modern food safety understanding. While many home cooks were traditionally taught to rinse chicken, current food safety recommendations from health organizations, including the CDC, generally advise against it. The primary concern is that rinsing raw chicken under the tap can cause bacteria (such as Salmonella or Campylobacter) to splash and spread to your sink, countertops, and other kitchen surfaces, potentially contaminating your kitchen and increasing the risk of foodborne illness.
The good news is that rinsing raw chicken is largely unnecessary. The high heat of the oven during roasting is more than sufficient to kill all harmful bacteria present on the chicken’s surface. The crucial step for food safety is always ensuring that the chicken reaches a safe internal temperature of 165 degrees F (74 degrees C). If, however, rinsing your chicken is a deeply ingrained habit that provides you with personal peace of mind, you can still do so. Just be extremely diligent about sanitizing your kitchen afterward. Thoroughly clean and disinfect your sink, faucet, cutting boards, and any surfaces that may have come into contact with splashed water or raw chicken juices immediately after handling.
Is Kitchen Twine Necessary for Roasting? Understanding Trussing
No, kitchen twine is not strictly required for roasting a whole chicken, but it is highly recommended for optimal results, especially if you’re aiming for that picture-perfect, evenly cooked bird. Tying the chicken legs (a technique known as trussing) offers several significant benefits:
- Promotes Even Cooking: Trussing helps the chicken cook more uniformly by keeping the legs and wings tucked in close to the body. This prevents these smaller, faster-cooking parts from overcooking and drying out before the larger breast section is done.
- Achieves Crispier Skin: A trussed chicken has a more compact shape, allowing for more even exposure to the oven’s heat. This promotes better air circulation around the entire bird, leading to a more consistently crispy and golden-brown skin all around.
- Enhances Presentation: A trussed chicken holds a neater, more compact shape, which looks more appealing and elegant when presented on a platter, making it ideal for entertaining or special meals.
If you don’t have traditional kitchen twine on hand, don’t worry! You can easily improvise by using strips of aluminum foil to tie the legs together, or any sturdy, food-safe string you might have. Alternatively, you can completely skip this step. While the chicken might cook a little less evenly and appear slightly less tidy, it will still be incredibly delicious, particularly with the benefits of brining and the flavorful butter rub.

Expert Tips for Roasting the Perfect Lemon Garlic Chicken
Achieving a show-stopping roast chicken is easier than you think with these additional tips:
- Use a Roasting Rack: For truly crispy skin all around, place your chicken on a wire roasting rack set inside a roasting pan. This elevates the chicken, allowing hot air to circulate underneath and preventing the bottom from becoming soggy. If you don’t have a rack, you can create a makeshift one with a bed of chopped root vegetables (like carrots, onions, and potatoes) for the chicken to sit on. These vegetables will also absorb delicious pan drippings and roast beautifully.
- Don’t Forget to Rest the Chicken: This step is non-negotiable for a juicy bird! After removing the chicken from the oven, it’s crucial to let it rest, loosely tented with aluminum foil, for at least 10-15 minutes before carving. This allows the muscle fibers to relax and the juices to redistribute throughout the meat, ensuring every slice is incredibly tender and moist. Skipping this step will result in juices running out when you cut into it, leaving you with drier chicken.
- Baste for Enhanced Flavor and Color: The reserved butter mixture is your secret weapon for continuously infusing flavor and achieving that beautiful golden-brown, crispy skin. Basting the chicken every 20 minutes or so helps to keep the skin moist, encourages browning, and builds layers of delicious lemon-garlic-rosemary flavor.
- Trust Your Thermometer, Not Just the Clock: Remember that oven temperatures can vary, and chickens differ in size and shape. Always rely on a reliable meat thermometer to confirm doneness rather than strictly adhering to the clock. This ensures both food safety and optimal texture.
- Make Delicious Pan Drippings or Gravy: Don’t let those flavorful pan drippings go to waste! The succulent juices and browned bits at the bottom of the pan are liquid gold. They make an excellent base for a quick pan gravy or can simply be drizzled over the carved chicken and side dishes for an extra boost of moisture and incredible taste.
Serving Suggestions & Creative Variations
This lemon garlic roast chicken is incredibly versatile and pairs wonderfully with a variety of side dishes, making it perfect for any meal. Beyond the suggested creamy mashed potatoes and honey roasted carrots, consider serving it with:
- Roasted asparagus or green beans tossed with a sprinkle of sea salt.
- A fresh, vibrant garden salad with a light lemon-herb vinaigrette to cut through the richness.
- Crusty artisan bread or warm garlic bread to soak up all the delicious pan juices.
- Fluffy quinoa or a savory wild rice pilaf for a hearty grain accompaniment.
- Simple steamed broccoli with an extra squeeze of fresh lemon juice for a touch of freshness.
For creative variations, feel free to experiment with different herbs like fresh thyme or oregano, or add a touch of smoked paprika or onion powder to the butter rub for a subtle smoky depth or extra savory note. A sprinkle of red pepper flakes can introduce a delightful hint of heat if you enjoy a little kick in your roast chicken.
Storing and Reheating Leftovers
Should you miraculously have any leftovers from this ridiculously delicious lemon garlic roast chicken (it’s often devoured quickly!), proper storage is key to enjoying them later. Store cooked chicken in an airtight container in the refrigerator for up to 3-4 days. To reheat, you can slice the chicken and gently warm it in a skillet over medium-low heat with a splash of chicken broth or water to prevent it from drying out. Alternatively, reheat larger pieces in the oven at 300°F (150°C) until warmed through, also covered with foil to retain moisture.
Leftover roast chicken is a versatile ingredient that can be repurposed into countless meals. It’s fantastic in sandwiches, added to fresh salads, incorporated into wraps, or used as a flavorful protein boost in soups and stews. It’s a wonderful way to make meal prep easy and extend the deliciousness of your home-cooked chicken.
If you enjoyed this ridiculously delicious lemon garlic roast chicken recipe and want to explore more amazing chicken dishes, then you will love these juicy oven-baked chicken thighs. These creamy smothered chicken thighs are another fantastic and comforting favorite! You can also find other delicious recipes and helpful cooking tutorial videos on Youtube and Facebook. Happy cooking!

Lemon Garlic Roast Chicken
Save RecipeSaved Recipe
Pin Recipe
Rate Recipe
Print Recipe
Ingredients
- 1/4 cup kosher salt
- 6 1/2 cups water
- 5-6 lb whole chicken
- 5 garlic cloves, minced
- 2 lemons (1 juiced, 1 sliced for cavity/garnish)
- 4 ounces unsalted butter, softened
- Salt and pepper to taste
- 1 sprig fresh rosemary, roughly chopped (plus extra for garnish)
Instructions
-
Prepare the Brine: In a large pot or brining bag, combine 6 1/2 cups of water and 1/4 cup of kosher salt. Stir until the salt is fully dissolved.
-
Brine the Chicken: Submerge the whole chicken in the saltwater solution. Ensure it is fully covered. Place the pot or bag in the refrigerator for a minimum of 4 hours, or ideally, overnight (8-12 hours) for maximum juiciness and flavor.
-
Rinse and Dry: After brining, remove the chicken from the solution. Rinse the chicken thoroughly under cold running water to remove excess salt. Pat the chicken completely dry with paper towels, both inside and out. This step is crucial for crispy skin. Let the chicken sit at room temperature for 30-60 minutes before roasting for more even cooking.
-
Prepare Butter Rub: Preheat your oven to 400°F (200°C). In a small bowl, mix the softened unsalted butter with the minced garlic, the juice of 1 lemon, a pinch of salt, and a dash of pepper. Add the chopped fresh rosemary.
-
Season the Chicken: Carefully rub about two-thirds of the butter mixture under the skin of the chicken, especially over the breast meat. Rub the remaining butter mixture all over the outside of the chicken, reserving about 2 tablespoons for basting later. Sprinkle some extra salt and pepper on the skin for added crispiness and flavor. You can also place the sliced lemon and a sprig of rosemary inside the cavity.
-
Initial Roast: If desired, tie the chicken legs together with kitchen twine. Place the chicken on a roasting rack in a roasting pan. Cover the chicken breasts loosely with aluminum foil to prevent them from drying out too quickly. Bake for 20 minutes at 400°F (200°C).
-
Continue Roasting & Basting: After 20 minutes, baste the chicken with the leftover butter mixture. Re-cover the breast with foil and return the chicken to the oven. Continue roasting, basting every 20-30 minutes, ensuring even cooking and flavor development.
-
Crisp the Skin: After the chicken has cooked for about 45-60 minutes (depending on size), remove the foil from the breast. Continue roasting until the skin is beautifully golden brown and crispy.
-
Check for Doneness: Cook until a meat thermometer inserted into the thickest part of the thigh (without touching the bone) registers 165°F (74°C). Total cooking time will vary but is typically around 1 hour 40 minutes to 2 hours for a 5-6 lb chicken.
-
Rest and Carve: Once done, remove the chicken from the oven and transfer it to a cutting board. Tent loosely with foil and let it rest for 10-15 minutes before carving. This allows the juices to redistribute, resulting in a more tender and juicy chicken.
-
Serve: Carve the chicken and serve immediately with your favorite side dishes. Enjoy!
Video
Nutrition
Nutrition information is automatically calculated, so should only be used as an approximation.
Additional Info
Like this recipe? Leave a comment below!
