The Ultimate Homemade Jelly Donuts Recipe: Soft, Fluffy, and Bursting with Flavor
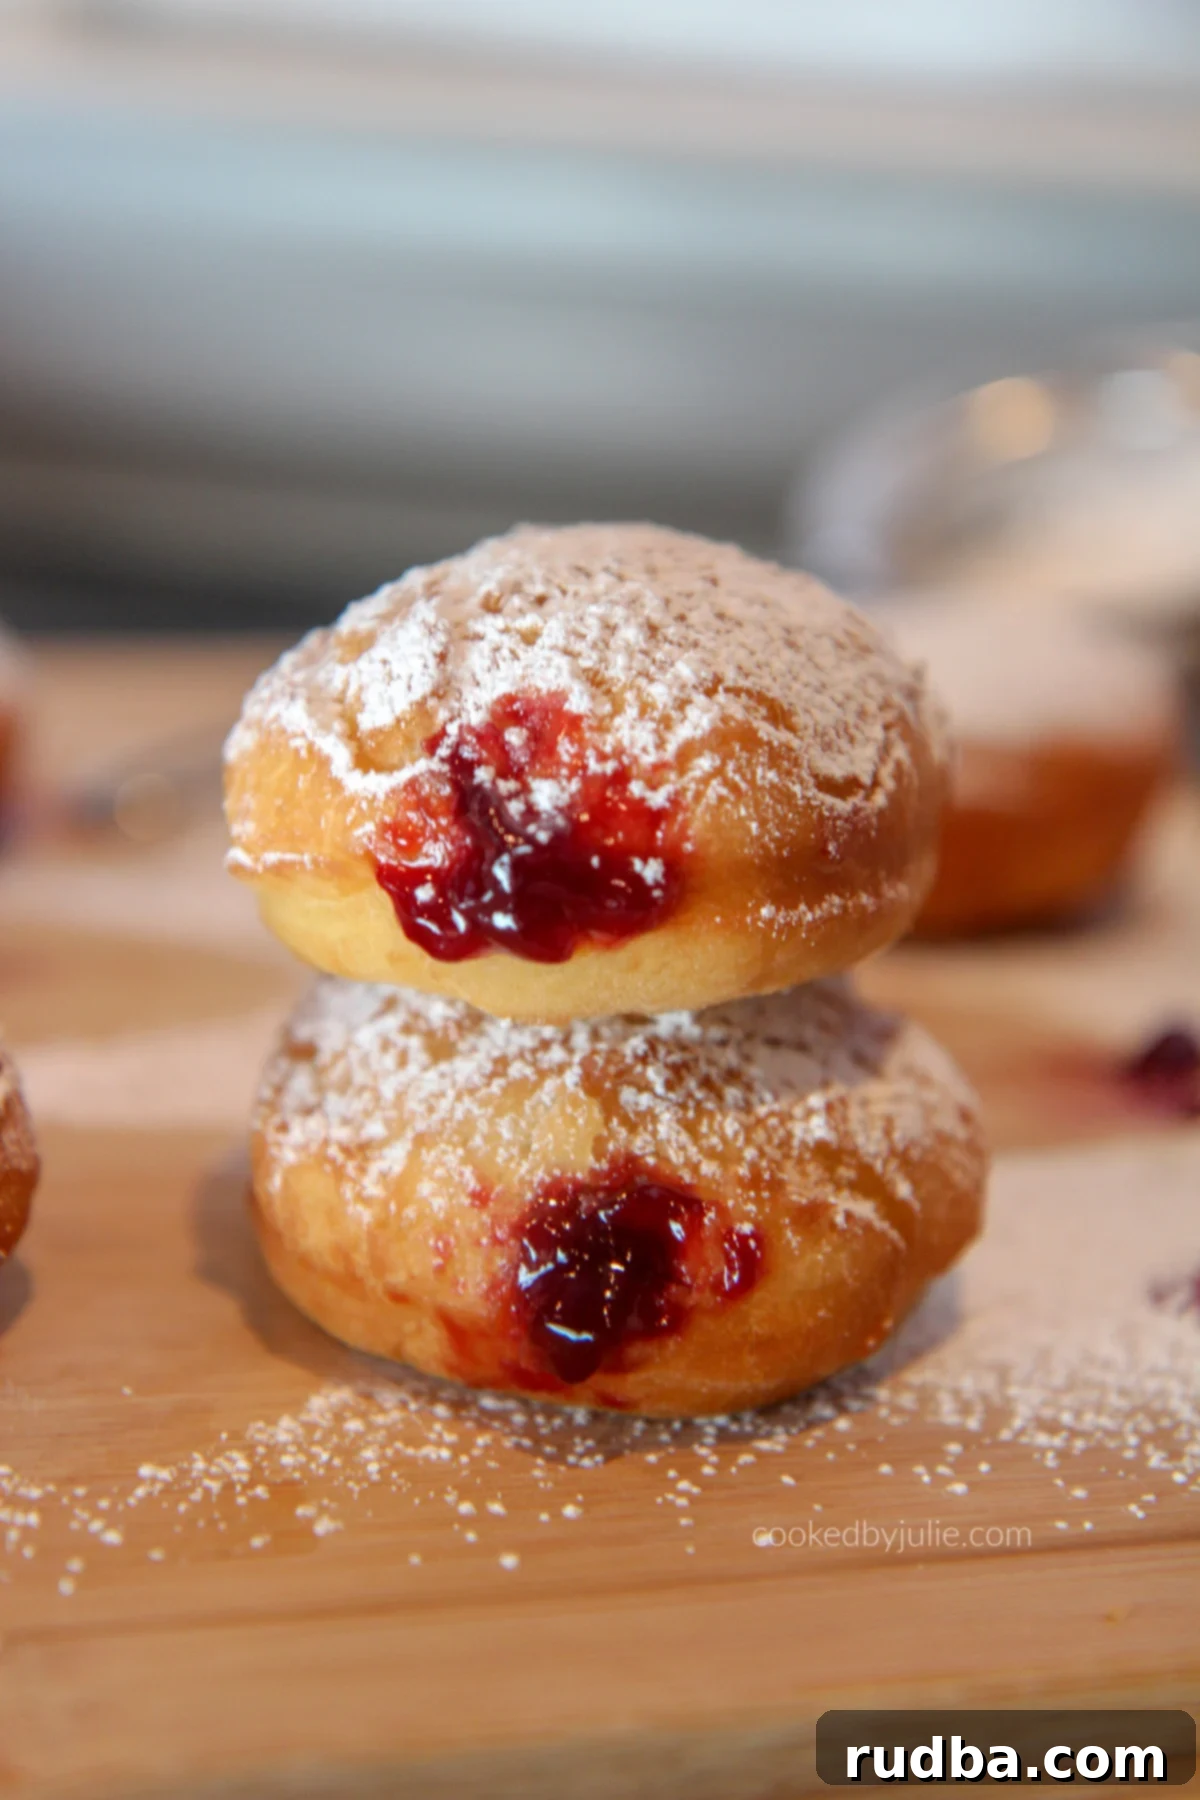
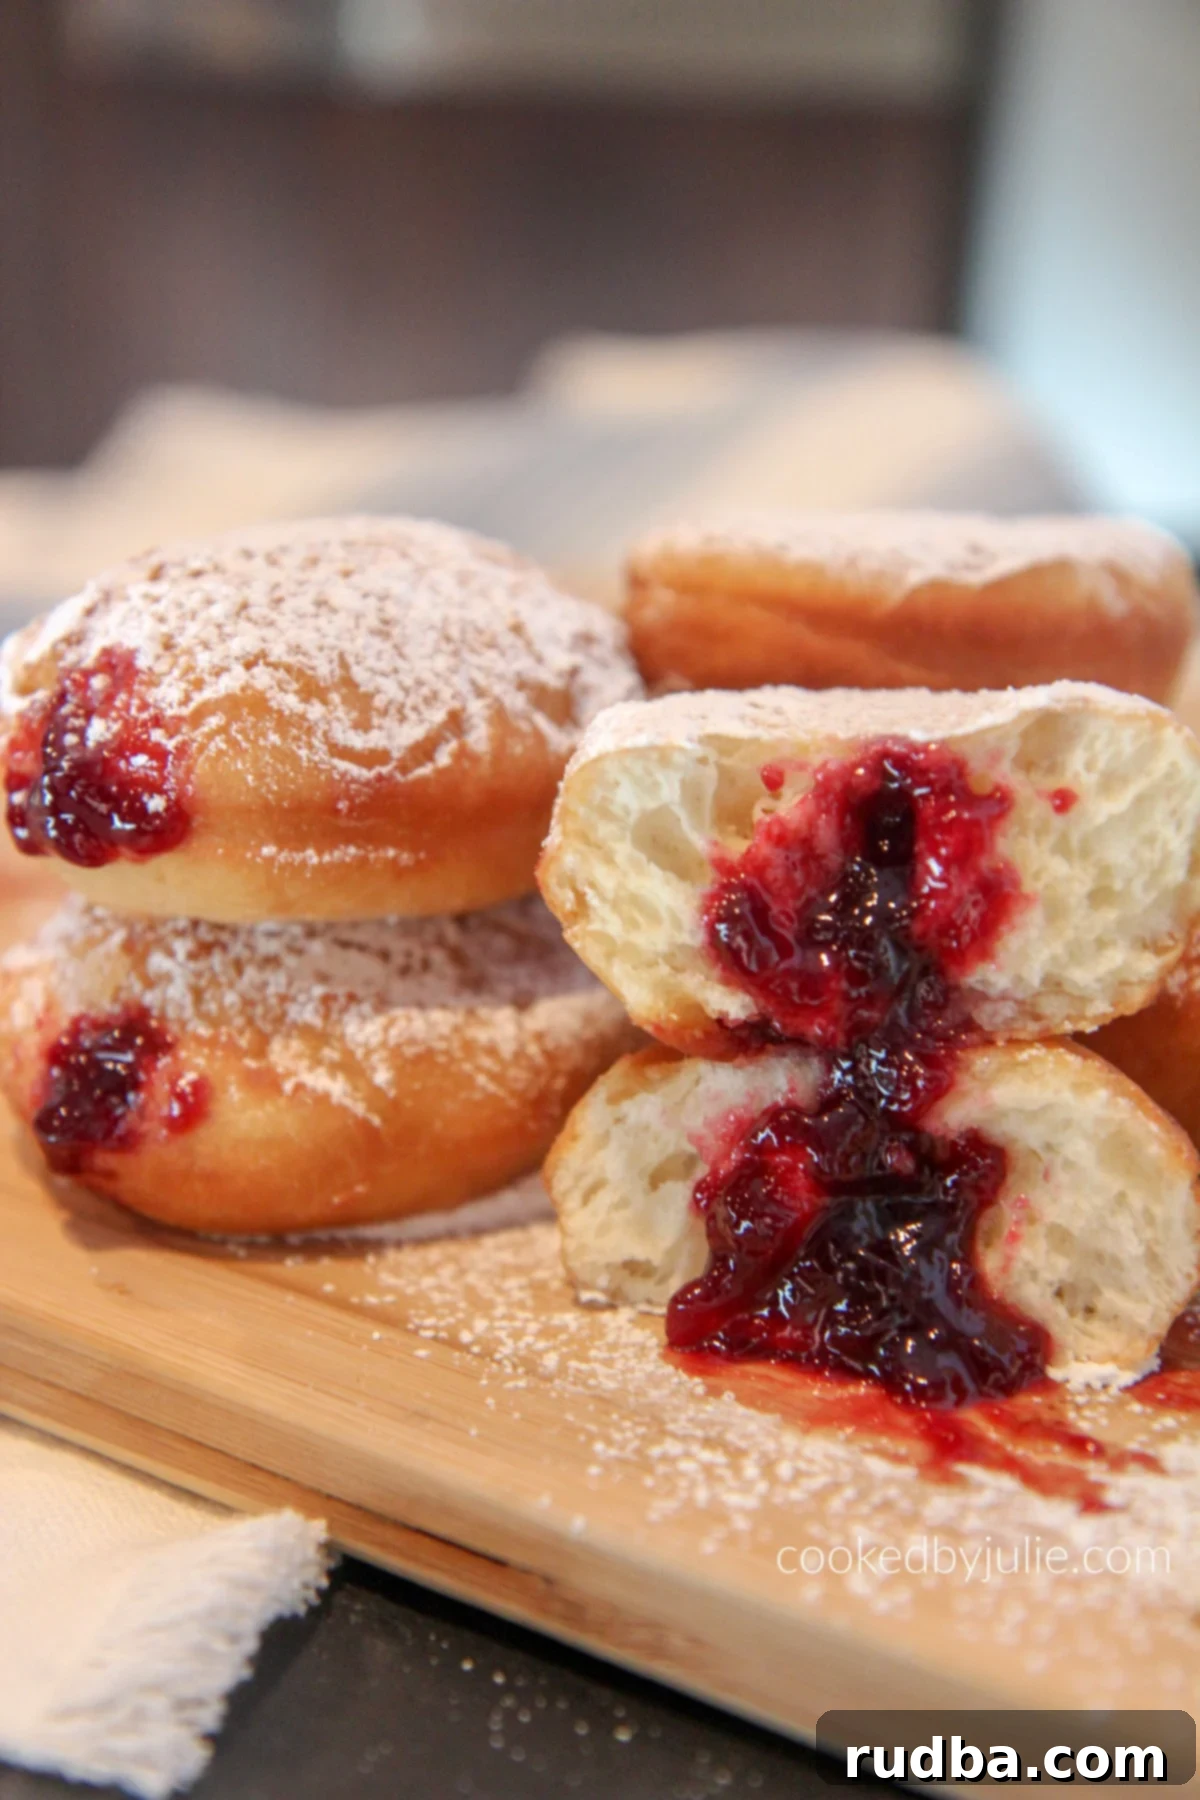
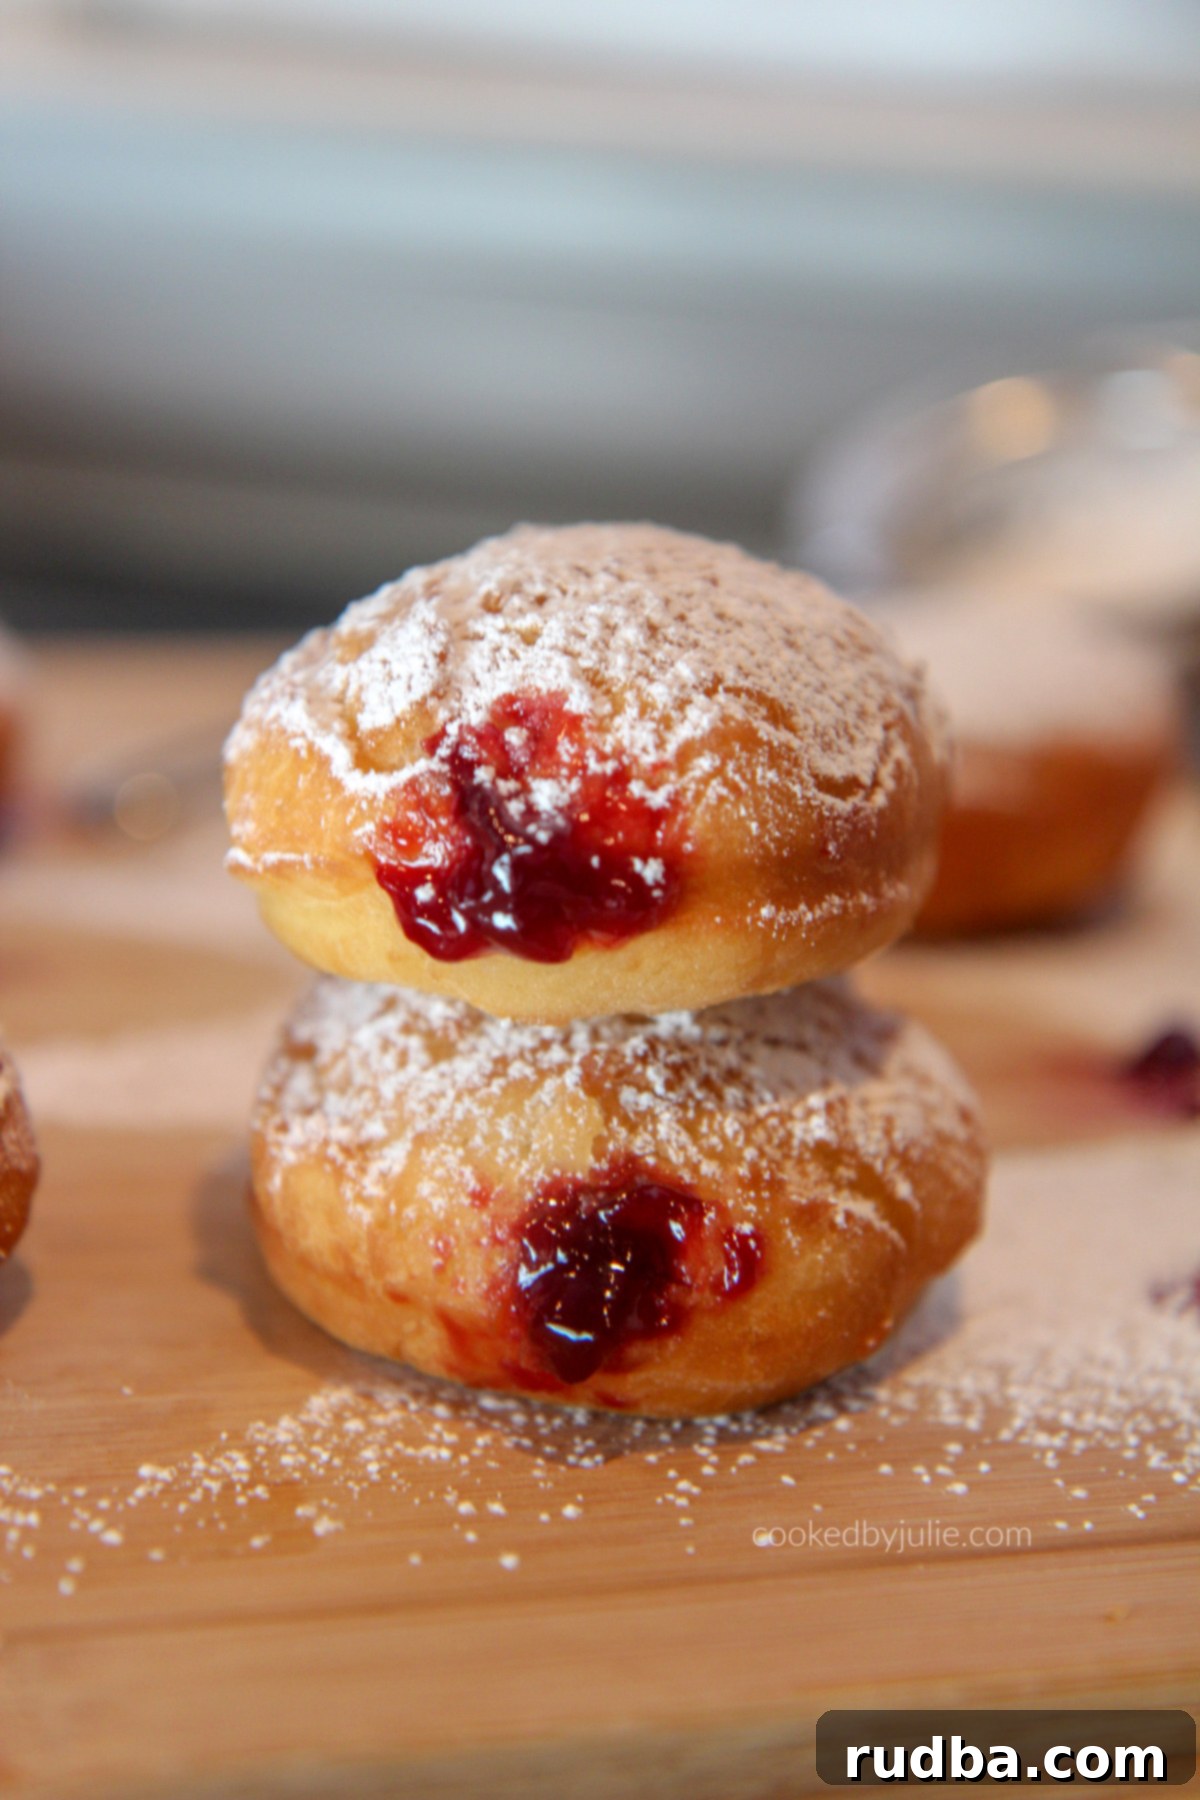
Imagine biting into a warm, fluffy donut, its soft interior giving way to a burst of sweet and tangy raspberry jelly, all enveloped in a delicate dusting of powdered sugar. This isn’t just a dream; it’s the reality of making your own homemade jelly donuts. Often called “Sufganiyot” in Jewish tradition, these fried dough delights are a beloved treat across cultures, perfect for any time of day. While bakery donuts are convenient, nothing compares to the freshness, incredible texture, and customizable flavor of a batch made right in your own kitchen.
Forget your preconceptions about deep-frying; this recipe makes the process simple and rewarding. These pillowy donuts are guaranteed to be super soft on the inside with a perfectly crisp, golden-brown exterior, creating a delightful contrast with the smooth jelly filling. Whether you’re celebrating a special occasion or simply craving a comforting sweet, homemade jelly donuts are an experience you won’t want to miss. They stand proudly alongside other cherished treats like Sticky Buns or rich M&M Brownies, always ready to bring a smile to your face.

Why Homemade Jelly Donuts Are Simply the Best
The idea of making donuts from scratch can seem intimidating, but I promise, it’s far less complicated than you might think! The effort is absolutely worth it, as homemade jelly donuts taste a million times better than anything you’ll find at a commercial bakery. When you make them at home, you control every ingredient, ensuring a fresh, wholesome, and incredibly flavorful result. There’s a distinct joy in creating something so delicious with your own hands, from the moment the dough comes together to the first bite of a warm, jelly-filled treat.
A Treat for Every Occasion
There’s no wrong time for a jelly donut. Whether you enjoy them for breakfast with your morning coffee, as a delightful brunch item, or a satisfying dessert, these fluffy delights are always a hit. The combination of a hot cup of coffee and a fresh jelly donut is a classic pairing that provides instant comfort and joy. They’re perfect for holiday gatherings, weekend indulgences, or simply as a special treat to brighten an ordinary day.
Choosing Your Perfect Jelly Filling
While this recipe highlights the classic appeal of seedless raspberry jelly – a personal favorite for its vibrant flavor and smooth texture – the beauty of homemade donuts lies in your ability to customize the filling. Don’t be afraid to experiment with different varieties to find your ideal match!
- Raspberry Jelly: Our featured choice. Its sweet and tart profile perfectly complements the rich, fried dough. Opt for seedless for the smoothest experience.
- Strawberry Jelly: A universally loved and comforting flavor that’s always a crowd-pleaser. Its sweetness is wonderfully balanced with the donut.
- Blueberry Jelly: Offers a slightly different fruity tang and a beautiful color. Great for those who enjoy a milder fruit flavor.
- Apricot Preserves: For a more sophisticated and deeply aromatic filling, apricot provides a lovely golden hue and complex sweetness.
- Nutella: If you’re a chocolate and hazelnut lover, consider creating Nutella Stuffed Donuts. They are just as decadent and delicious, offering a rich, creamy alternative to fruit jellies.
- Custard or Cream: For a non-fruit option, a homemade vanilla custard or pastry cream makes an incredibly luscious filling, transforming the donut into an even more indulgent dessert.
Whichever filling you choose, ensure it’s of good quality and not too thin, as a runny jelly can make filling difficult and potentially lead to a messy situation!
The Great Topping Debate: Powdered Sugar vs. Granulated Sugar
Once your jelly donuts are beautifully fried and filled, the final touch is a generous coating of sugar. The choice between powdered (confectioners’) sugar and granulated sugar comes down to personal preference and the desired texture.
- Powdered Sugar: This is my preferred topping. It creates a delicate, melt-in-your-mouth sweetness that dissolves beautifully on the tongue. It gives the donuts that elegant, snow-dusted look and enhances their pillowy texture without adding any crunch.
- Granulated Sugar: If you like a bit of textural contrast, rolling your warm donuts in granulated sugar is an excellent option. The crystals adhere to the warm dough, providing a satisfying sweet crunch with every bite.
The good news is, you absolutely cannot go wrong! A fresh, homemade jelly donut, whether adorned with fine powdered sugar or glistening granulated crystals, is a pure delight.
How to Make Jelly Donuts: A Simple Step-by-Step Overview
Making these irresistible treats at home is a process that’s far simpler than it appears. While there’s some waiting involved as the dough rises, the active preparation and cooking time are quite manageable. The key to success lies in understanding the stages and giving the yeast enough time to work its magic. Here’s a quick overview:
A Quick Look at the Process:
- Activate the Yeast: Combine dry active yeast with warm water and let it sit for about 5 minutes until foamy, indicating it’s ready.
- Mix the Dough: In a mixing bowl, combine the yeast mixture with milk, sugar, salt, melted vegetable shortening, eggs, vanilla extract, and all-purpose flour. Mix until you achieve a slightly tacky, smooth dough.
- First Rise: Place the dough in a greased bowl, cover it, and let it rise in a warm place for approximately 2 hours, or until it has noticeably doubled in size. This crucial step develops flavor and the airy texture.
- Shape the Donuts: Roll out the risen dough to a 1/2-inch thickness. Use a circular cookie or biscuit cutter to cut out individual donut shapes.
- Second Rise: Arrange the cut donut shapes on a baking sheet, cover them loosely, and allow them to rise for an additional 1 hour. This final proofing ensures maximum fluffiness.
- Fry to Golden Perfection: Heat a neutral-tasting oil to 350-375°F (175-190°C). Fry the donuts for about 1 minute per side until they are beautifully golden brown.
- Cool, Fill, and Top: Let the fried donuts cool slightly on a wire rack. Once cooled, use a piping bag and skewer to fill them with your chosen jelly, then generously top them off with powdered or granulated sugar.
And then, all that’s left to do is enjoy your culinary masterpiece!

Essential Tips for Flawless Homemade Jelly Donuts
To ensure your homemade jelly donuts turn out perfectly every time, keep these key tips in mind:
- Yeast Temperature is Crucial: When activating your dry active yeast, the water temperature should be around 105-115°F (40-46°C). Water that is too hot will kill the yeast, preventing your dough from rising. Water that is too cold won’t activate it effectively. A kitchen thermometer is invaluable here.
- Achieving the Right Dough Consistency: Don’t over-flour your dough! It should remain slightly tacky to the touch. Adding too much flour can result in dense, tough donuts rather than the desired light and airy texture. Knead until smooth and elastic but still soft.
- The Art of Proofing: A warm, draft-free environment is essential for proper dough rising. If your kitchen is cool, you can turn your oven on to its lowest setting for a few minutes, then turn it off and place the covered bowl of dough inside. This creates a cozy spot for the yeast to work.
- Oil Temperature Control: This is perhaps the most critical factor for perfect frying. Maintain an oil temperature between 350-375°F (175-190°C). Use a deep-fry thermometer and adjust your heat as needed. If the oil is too cool, your donuts will become greasy and heavy. If it’s too hot, the outside will burn before the inside is cooked through, leaving you with raw centers.
- Choose the Right Frying Oil: Opt for a neutral-tasting oil with a high smoke point, such as vegetable oil, canola oil, grapeseed oil, or sunflower oil. These oils won’t impart any unwanted flavors to your delicate donuts.
- Don’t Overcrowd the Pot: Fry your donuts in small batches, usually 2-3 at a time, depending on the size of your pot. Overcrowding will drastically lower the oil temperature, leading to greasy donuts and uneven cooking.
- Cool Properly Before Filling: After frying, transfer the donuts to a wire rack to cool. This allows excess oil to drain and prevents the bottoms from becoming soggy. Ensure they are cool enough to handle but still slightly warm for the best filling experience.
- Efficient Filling Technique: For a clean and easy fill, use a piping bag fitted with a long, thin piping nozzle. If you don’t have one, you can use a skewer or chopstick to create a small hole in the side of the donut, then use a piping bag with a standard round tip to gently inject the jelly. Fill until the donut feels plump and slightly heavy.
Storing Your Freshly Made Donuts
Homemade jelly donuts are truly at their peak when enjoyed fresh, ideally on the day they are made. The delicate balance of crisp exterior and fluffy interior is best right out of the fryer. If you happen to have any leftovers, though, you can still keep them delicious for a short period:
- Storage: Store the donuts in an airtight container at room temperature. They will retain their freshness for 1-2 days. Be aware that the powdered sugar topping might absorb some moisture and disappear over time; a quick re-dusting before serving can refresh their appearance.
- Reheating: If you prefer them warm, a quick zap in the microwave for 10-15 seconds per donut can restore some of their initial softness. Be cautious not to overheat, as the jelly filling can become extremely hot.
Explore More Sweet Treats for Breakfast & Dessert:
If you enjoyed the delightful process of making these homemade jelly donuts, you’ll love diving into these other fantastic recipes. Expand your baking repertoire with more delicious ideas from my kitchen, perfect for starting your day or ending a meal on a sweet note:
-
Lemon Ricotta Pancakes
-
French Toast
-
Tres Leches French Toast
-
Apple Fritters
-
Fresh Strawberry Donuts
-
Mango Banana Smoothie
Frequently Asked Questions About Homemade Jelly Donuts
- Q: Can I make the donut dough ahead of time?
- A: Absolutely! You can prepare the dough up to the first rise, then place the greased, covered bowl in the refrigerator overnight (8-12 hours). The cold temperature will slow down the yeast activity. The next day, gently punch down the dough, let it come to room temperature for about 30 minutes, and then proceed with shaping and the second rise.
- Q: What if I don’t have a circular cookie cutter?
- A: No specialized equipment? No problem! A clean drinking glass or a jar lid with a sharp edge works perfectly as a substitute for a circular cookie cutter. Just dip the rim in flour before each cut to prevent sticking.
- Q: How do I know when my frying oil is at the right temperature without a thermometer?
- A: While a thermometer is highly recommended for accuracy, you can perform a simple test: drop a small piece of dough (about 1/2 inch) into the hot oil. If it sizzles immediately and floats to the top within 10-15 seconds, the oil is ready. If it quickly turns dark brown, the oil is too hot. If it sinks to the bottom or doesn’t sizzle, it’s not hot enough.
- Q: Can I bake these jelly donuts instead of frying them?
- A: This recipe is specifically formulated for frying to achieve the classic light, airy, and crisp texture of a traditional jelly donut. While you could bake a yeast dough, the result would be more akin to a sweet bun or roll rather than a true donut, lacking the signature fried exterior. For a baked donut, you would typically use a cake-based donut recipe.
- Q: How much jelly should I use to fill each donut?
- A: The amount of jelly is entirely up to your personal preference! A good starting point is about 1 to 2 tablespoons per donut. You can gauge the filling by gently squeezing the donut; you’ll feel it plump up as it fills, but be careful not to overfill and cause it to burst.

Jelly Donuts
Save RecipeSaved Recipe
Pin Recipe
Rate Recipe
Print Recipe
Ingredients
- 2 1/2 tsp dry active yeast
- 1/4 cup warm water, 110 degrees
- 1 1/2 cup milk
- 1/2 cup sugar
- 1 tsp salt
- 1/4 cup vegetable shortening, melted
- 2 eggs
- 1 tsp vanilla extract
- 5 cups all-purpose flour
- 1/4 cup powdered sugar
- 1 cup seedless raspberry jelly
Instructions
-
In a large mixing bowl, combine the water and yeast and let it proof for 5 minutes.
-
When the 5 minutes are up, add the eggs, melted shortening, milk, salt, vanilla extract, sugar, and mix until well incorporated.
-
Add the flour 1 cup at a time and knead until you’re left with a slightly tacky ball of dough.
-
Place the dough in a greased bowl, cover, and place somewhere warm for 2 hours or until the dough doubles in size.
-
Roll out the dough into a 1/2 inch thickness and cut out the donuts using a cookie or biscuit cutter.
-
Cover the cutouts and let it rise for an additional 1 hour.
-
Fry the donuts for 1 minute on each side.
-
Let the donuts cool.
-
Using a piping bag and skewer, fill the donuts with jelly and then top them off with powdered sugar.
-
Enjoy!
Video
Notes
If the dough is too sticky, add more flour. Careful not to add too much flour.
Nutrition
Nutrition information is automatically calculated, so should only be used as an approximation.
Additional Info
Like this recipe? Leave a comment below!
