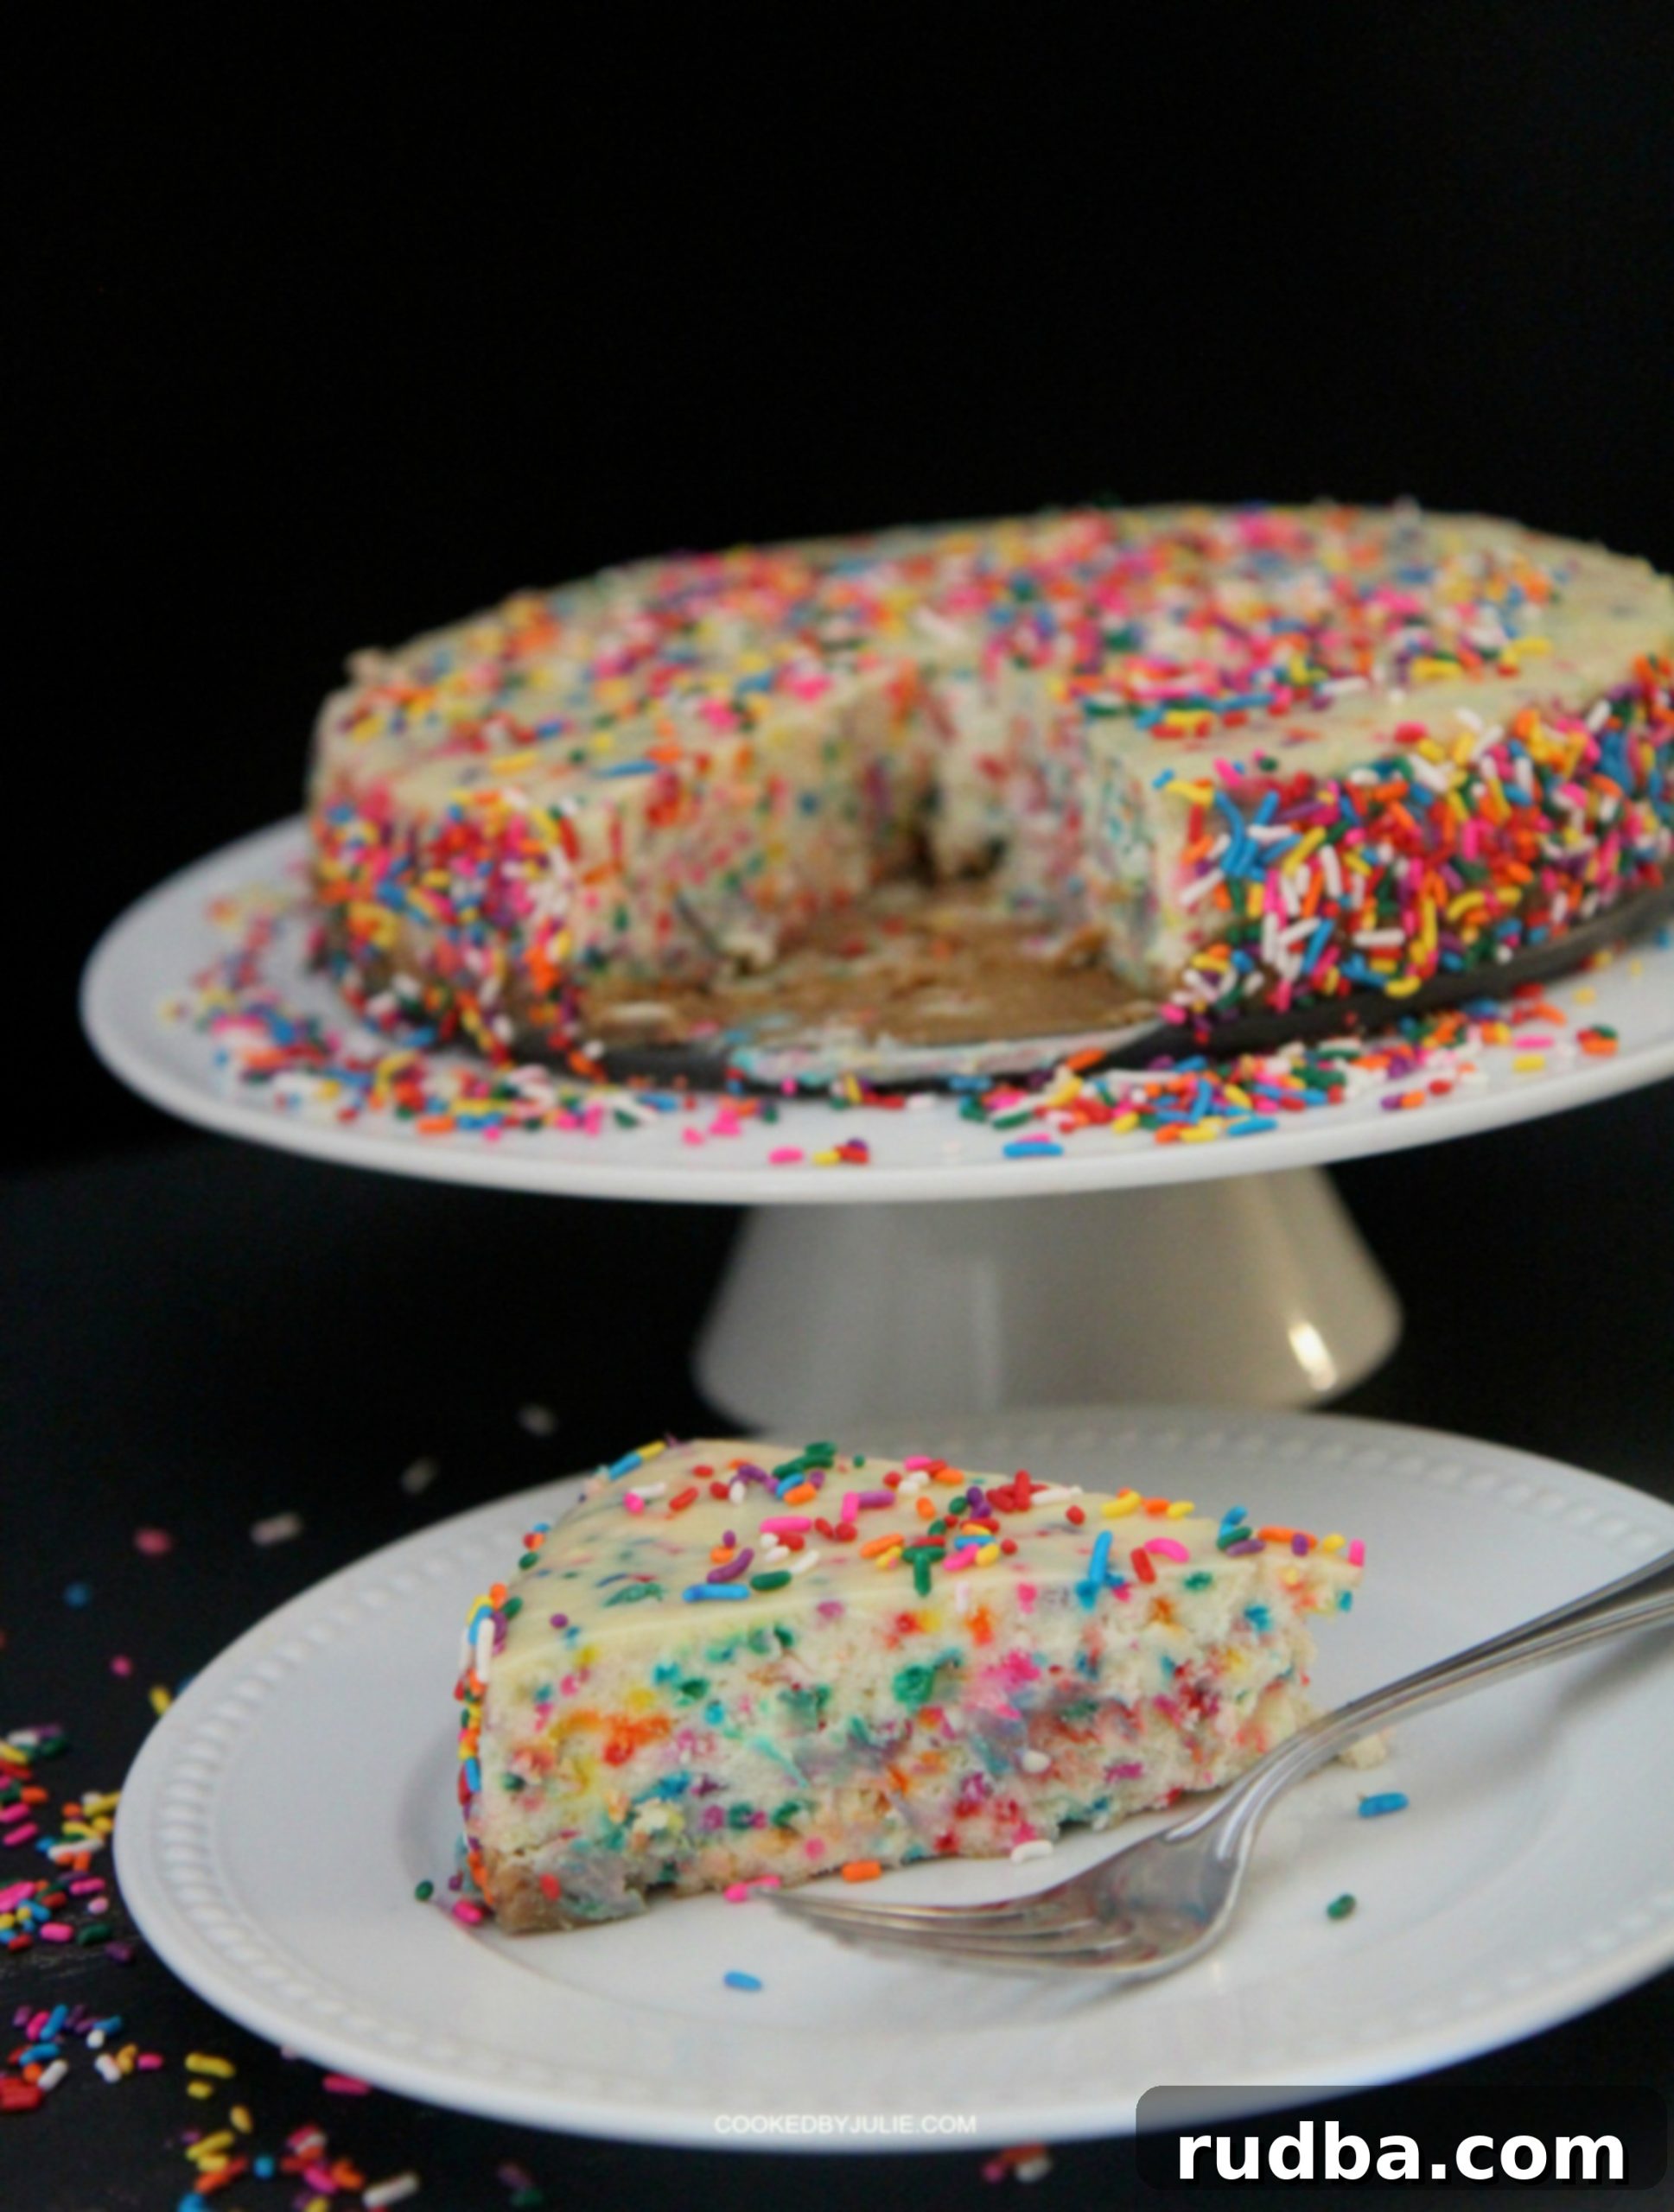
Ultimate Funfetti Cheesecake: Your Guide to a Creamy, Colorful, and Celebration-Ready Dessert
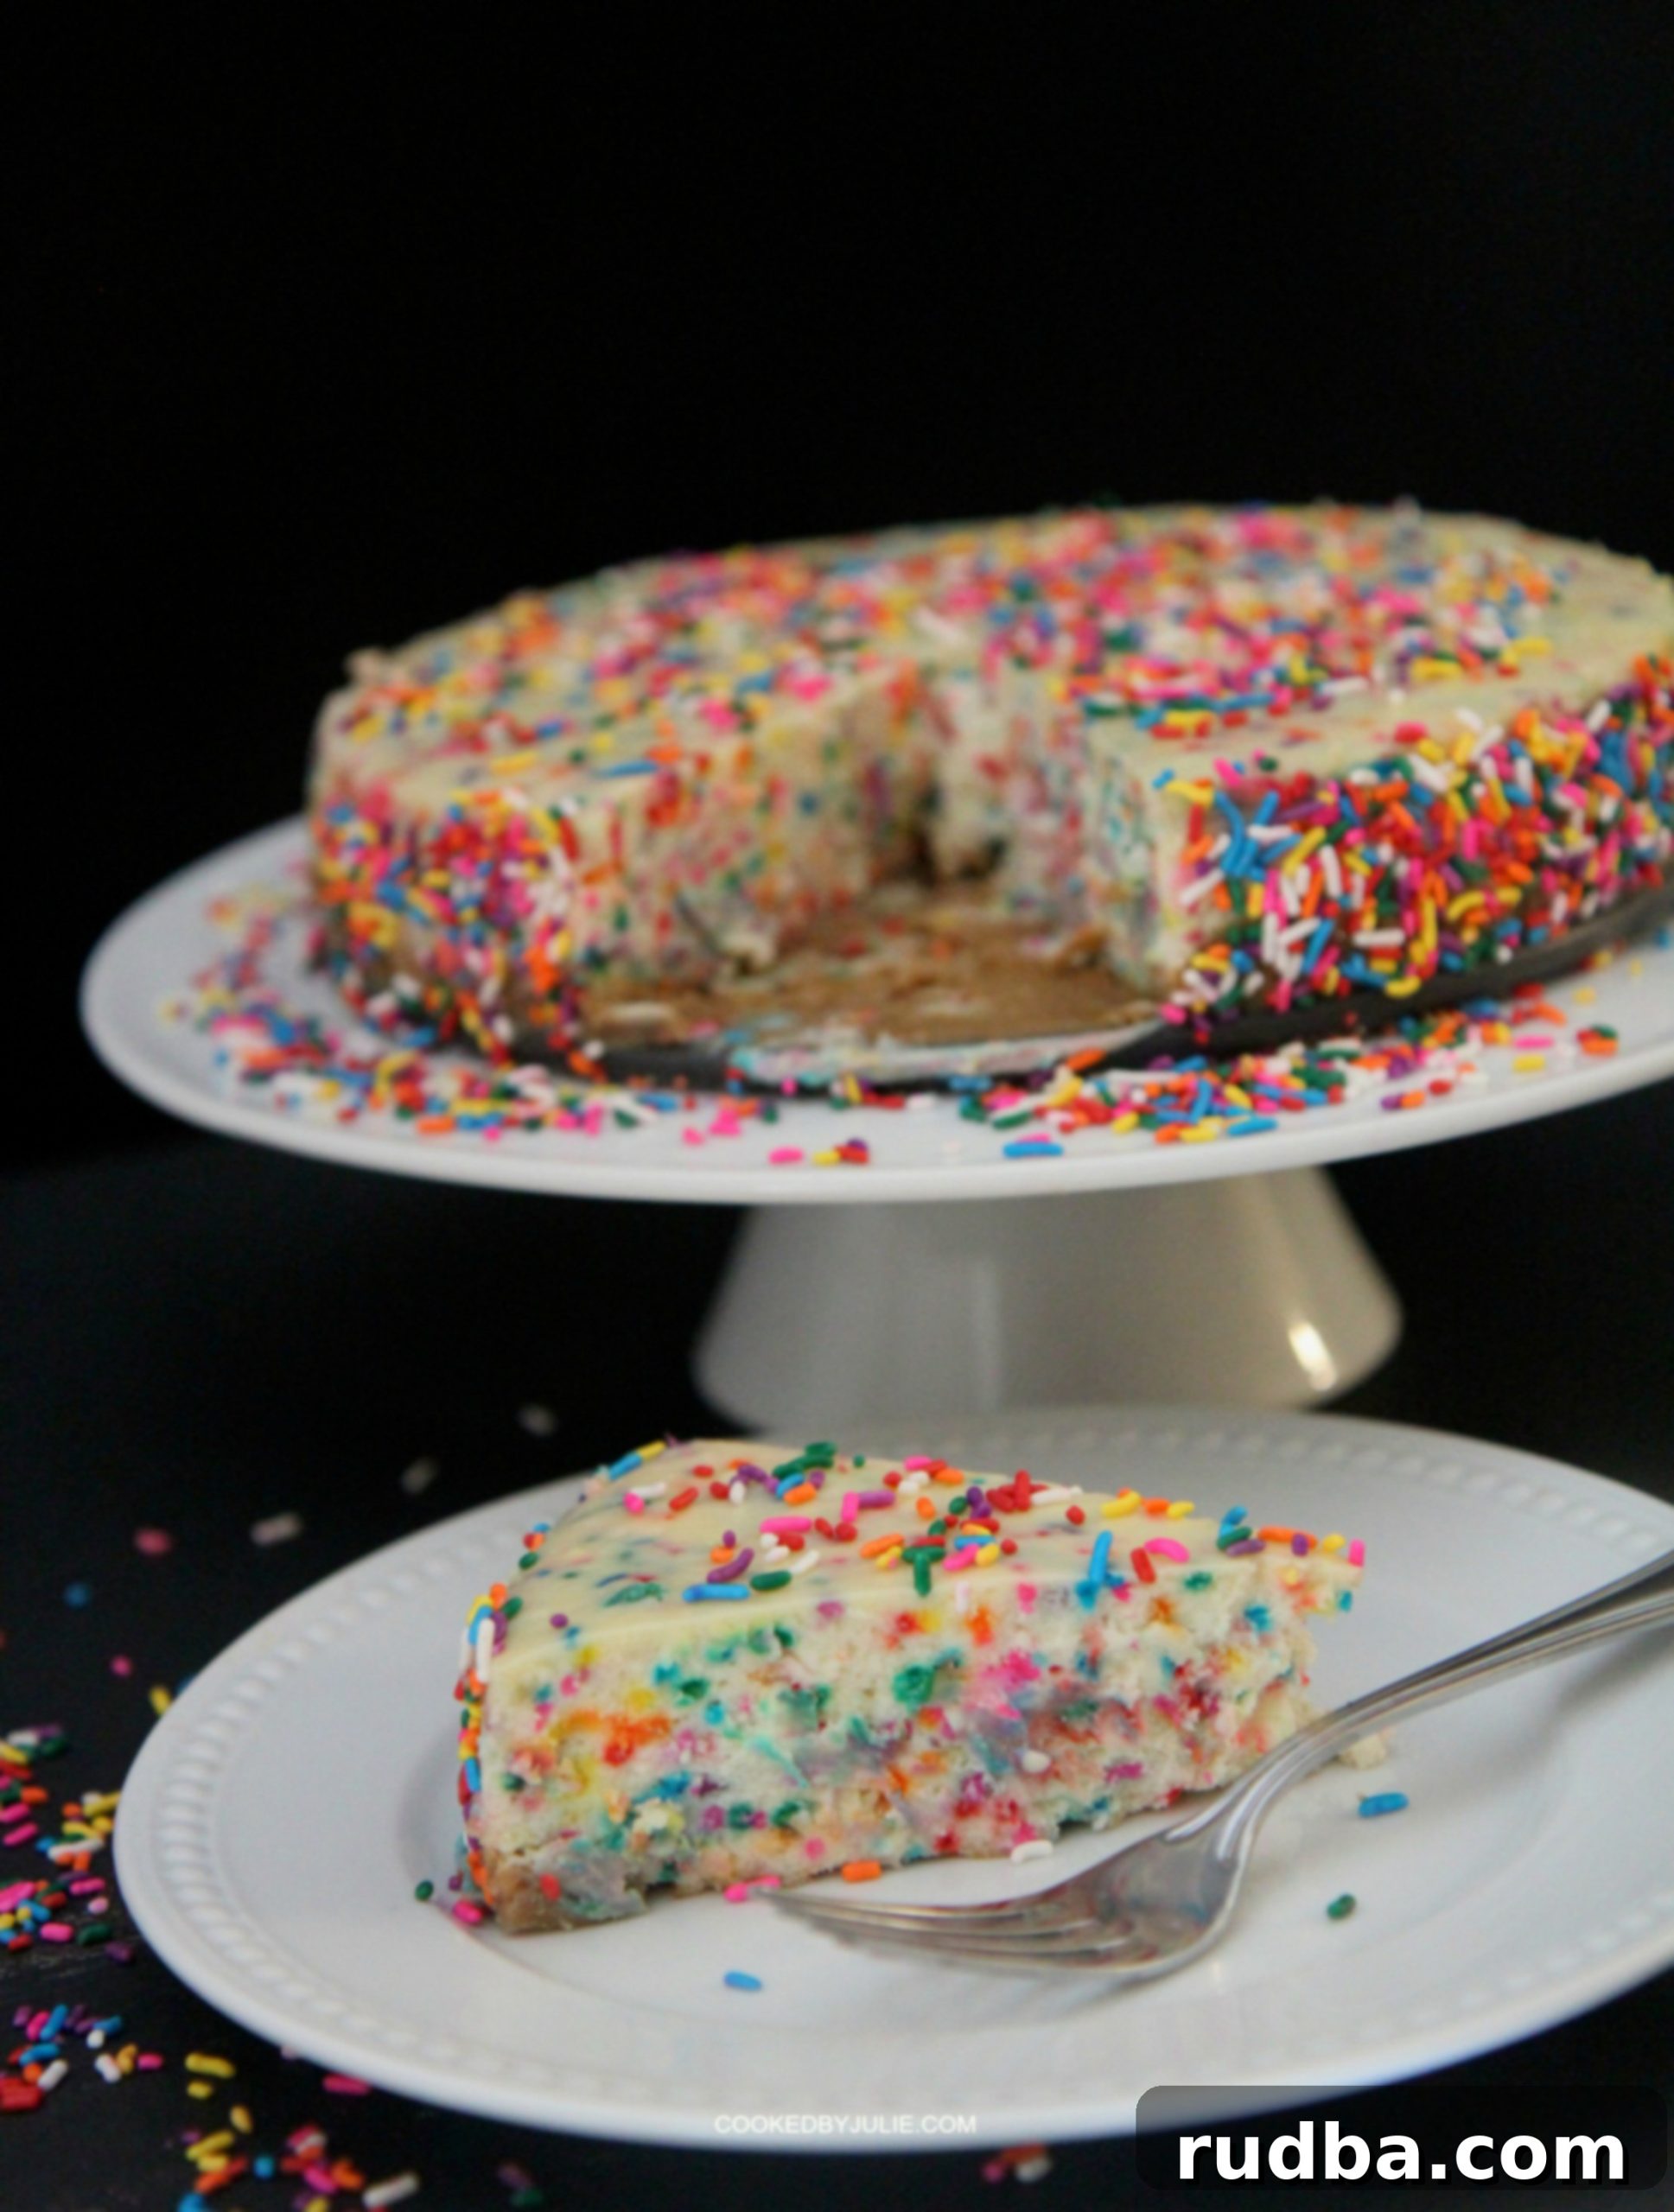
Prepare to delight your senses with the ultimate Funfetti Cheesecake! If you’re searching for a dessert that’s not only incredibly delicious but also visually stunning and perfect for any celebration, look no further. This recipe takes a beloved classic cheesecake base—one that has been perfected over countless batches—and elevates it with a joyful explosion of colorful sprinkles. It’s the ideal way to bring a smile to anyone’s face, whether it’s for a birthday, holiday, or just a Tuesday that needs a little extra cheer. I admit, I rely on this tried-and-true cheesecake foundation again and again, and for good reason: it consistently delivers the most decadent, rich, and flawlessly creamy results. Even after baking three plain cheesecakes for Christmas, the allure of adding sprinkles and calling it “funfetti” was simply irresistible. And I was right – I definitely wasn’t “cheesecaked out” after all!
Why This Funfetti Cheesecake Recipe is a Must-Try for Every Occasion
What makes this Funfetti Cheesecake stand out from the rest? It all comes down to a few critical factors, starting with the quality of your ingredients and a meticulously refined baking technique. As I always emphasize, especially in the accompanying video, the secret to an unbelievably smooth and rich cheesecake lies in using good quality, properly softened cream cheese. When combined with the precise baking method outlined here, you are guaranteed a cheesecake that’s not just delicious but also perfectly baked, boasting that signature creamy texture without any unsightly cracks. This base recipe is truly unbeatable, forming a perfect canvas whether you choose to adorn it with vibrant rainbow sprinkles, or even unexpected delights like chopped, drained pineapples (a personal favorite of mine!).
The beauty of this particular recipe lies in its reliability. Many bakers dread the possibility of a cracked cheesecake, but with these instructions, you’ll achieve a beautiful, smooth top every single time. It’s a testament to the balance of ingredients and the gentle baking process. The joy of a homemade cheesecake is unparalleled, and when it looks as good as it tastes, it makes the effort even more rewarding.
Achieving Cheesecake Perfection: No Cracks and Oh So Creamy!
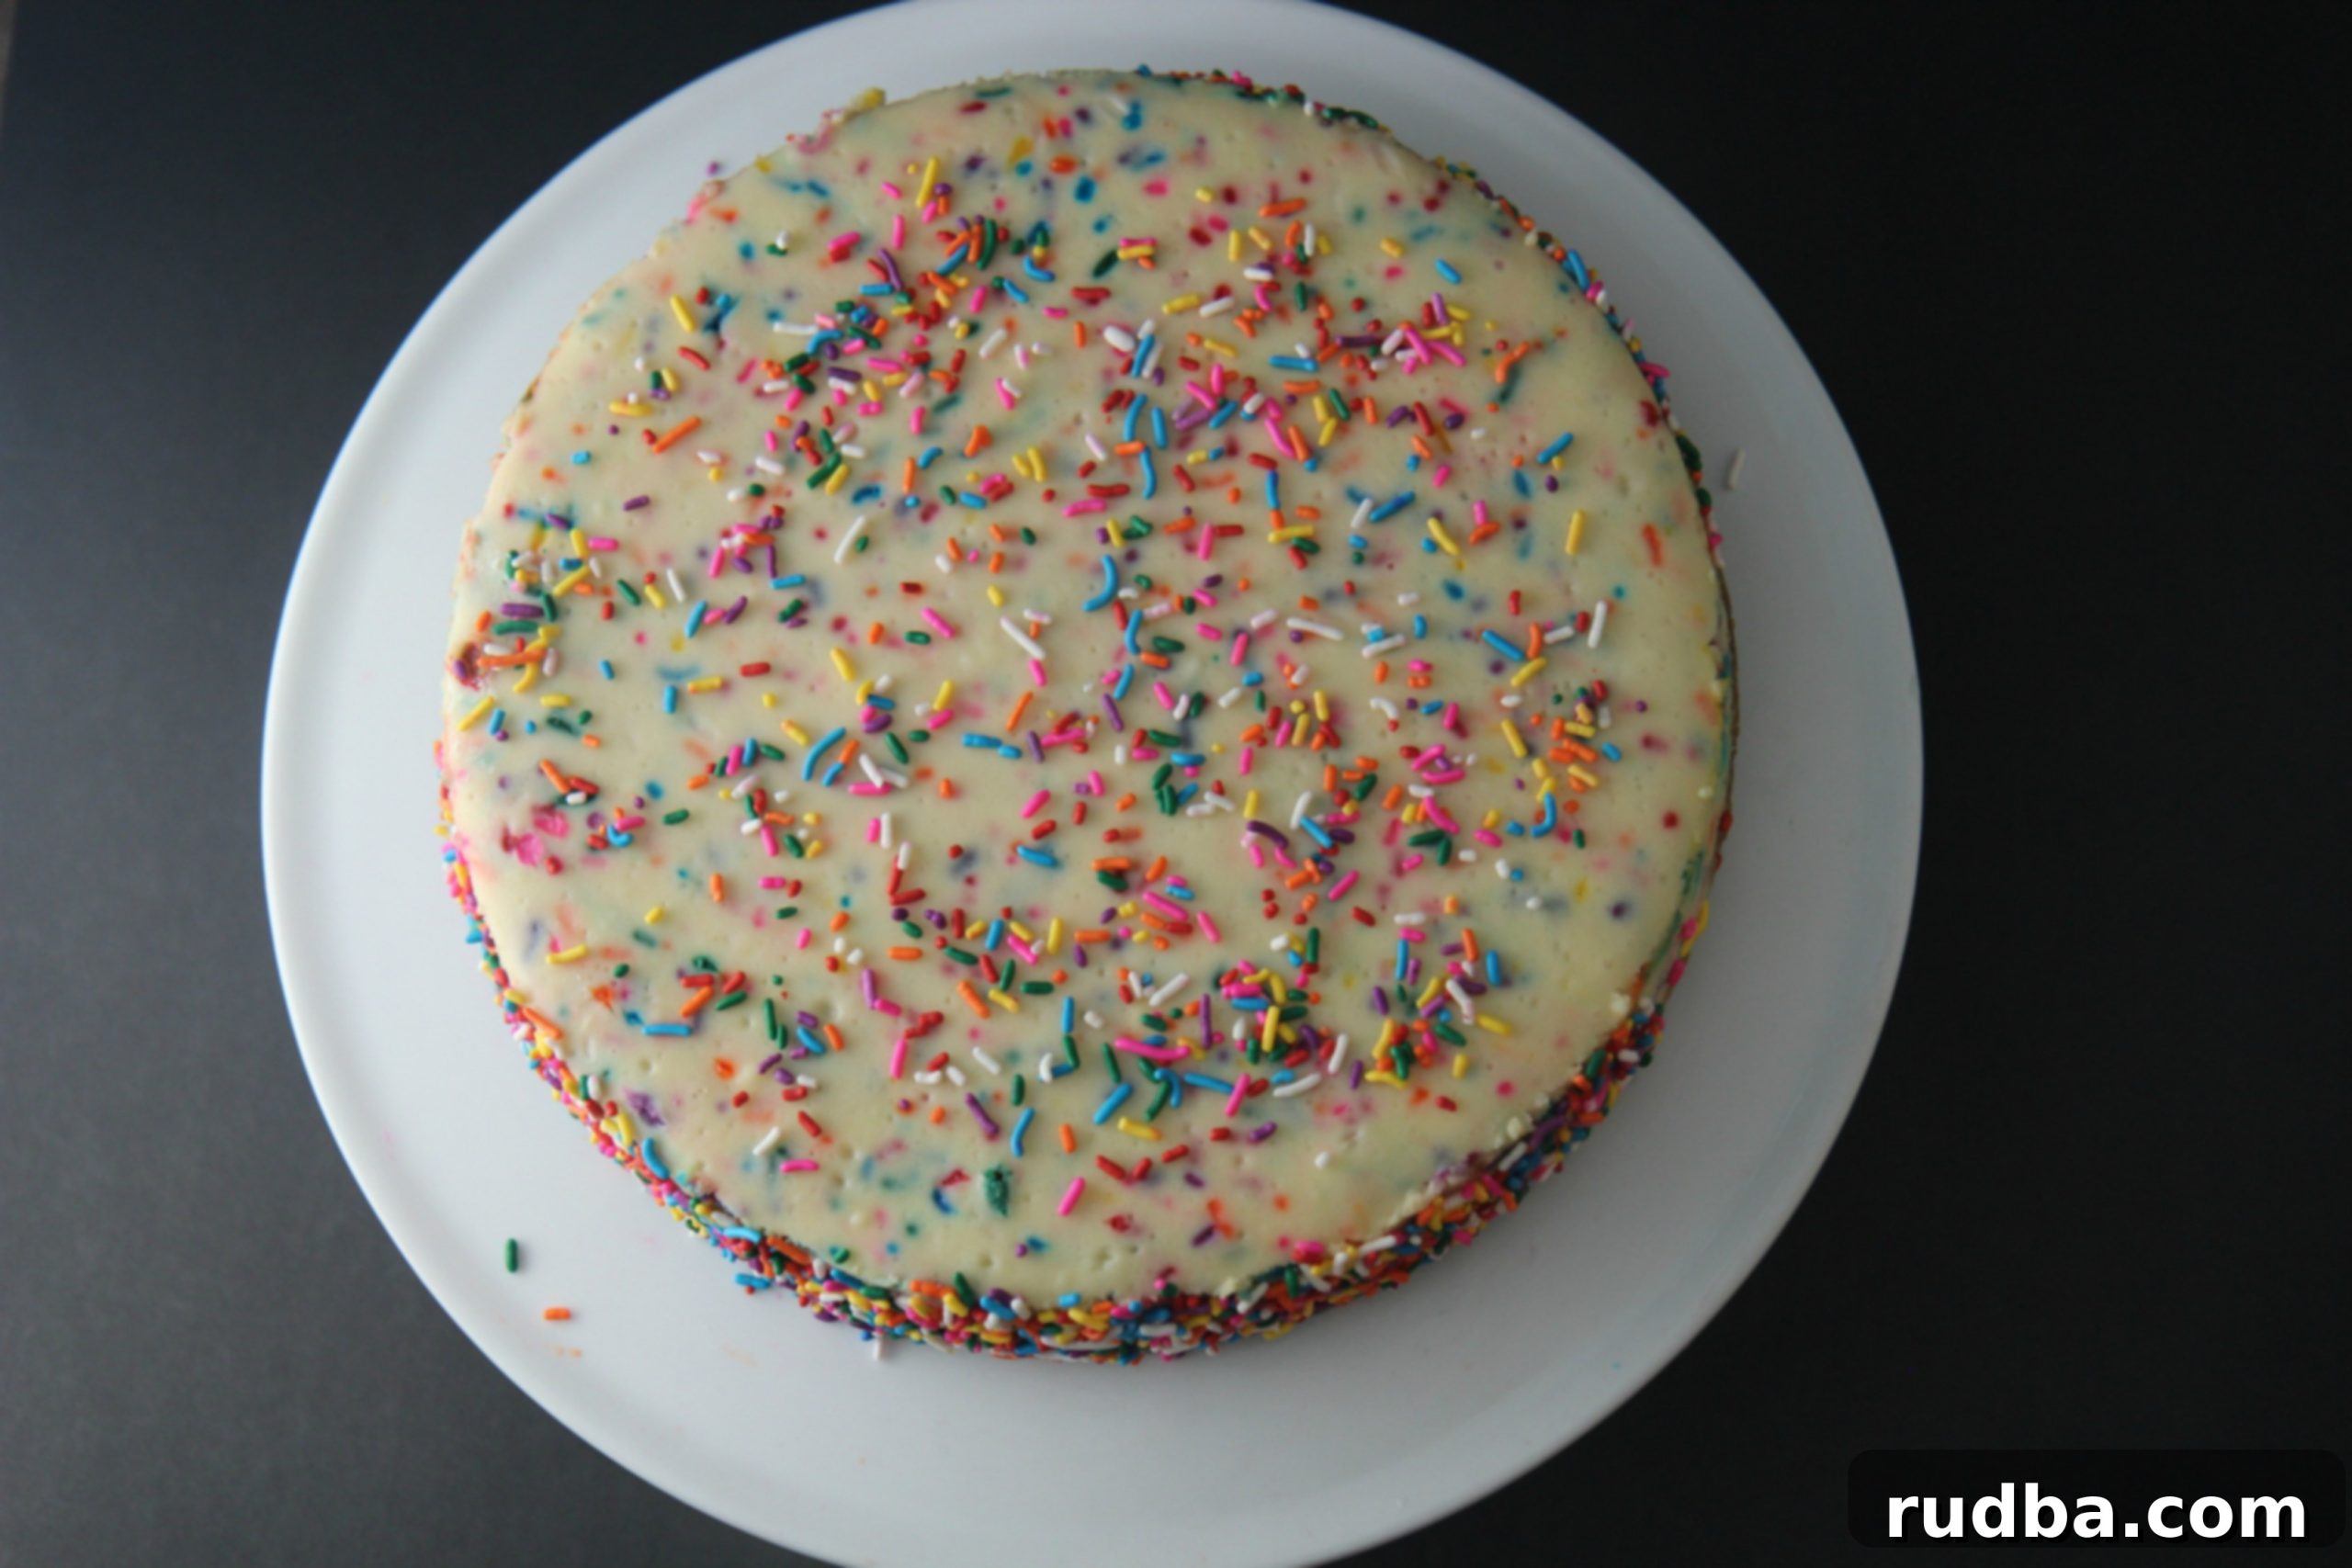
The hallmark of a truly exceptional cheesecake is its velvety smooth texture and a pristine, crack-free surface. This Funfetti Cheesecake recipe is designed to deliver just that. We achieve this perfection through a combination of using room temperature ingredients, careful mixing, and a critical baking method: the water bath. A water bath (bain-marie) creates a moist, even heat environment in your oven, which prevents the cheesecake from cooking too quickly around the edges and developing cracks from rapid temperature changes. It’s a simple step that makes all the difference, ensuring your cheesecake bakes uniformly and emerges from the oven looking absolutely flawless.
Beyond the water bath, the cooling process is equally crucial. Instead of pulling the cheesecake out of the oven immediately, we allow it to gradually cool down inside the oven first, with the oven turned off and then with the door slightly ajar. This gradual transition from hot to warm to room temperature is key to preventing the cheesecake from shrinking too rapidly and creating those dreaded cracks. Patience during cooling will reward you with a cheesecake that is not just beautiful but also boasts an unparalleled creamy consistency that melts in your mouth with every bite. The added bonus of vibrant sprinkles creates a dessert that you truly “eat with your eyes first,” promising a celebratory experience before the first forkful even touches your lips.
The Magic of Sprinkles: Turning a Classic into a Celebration
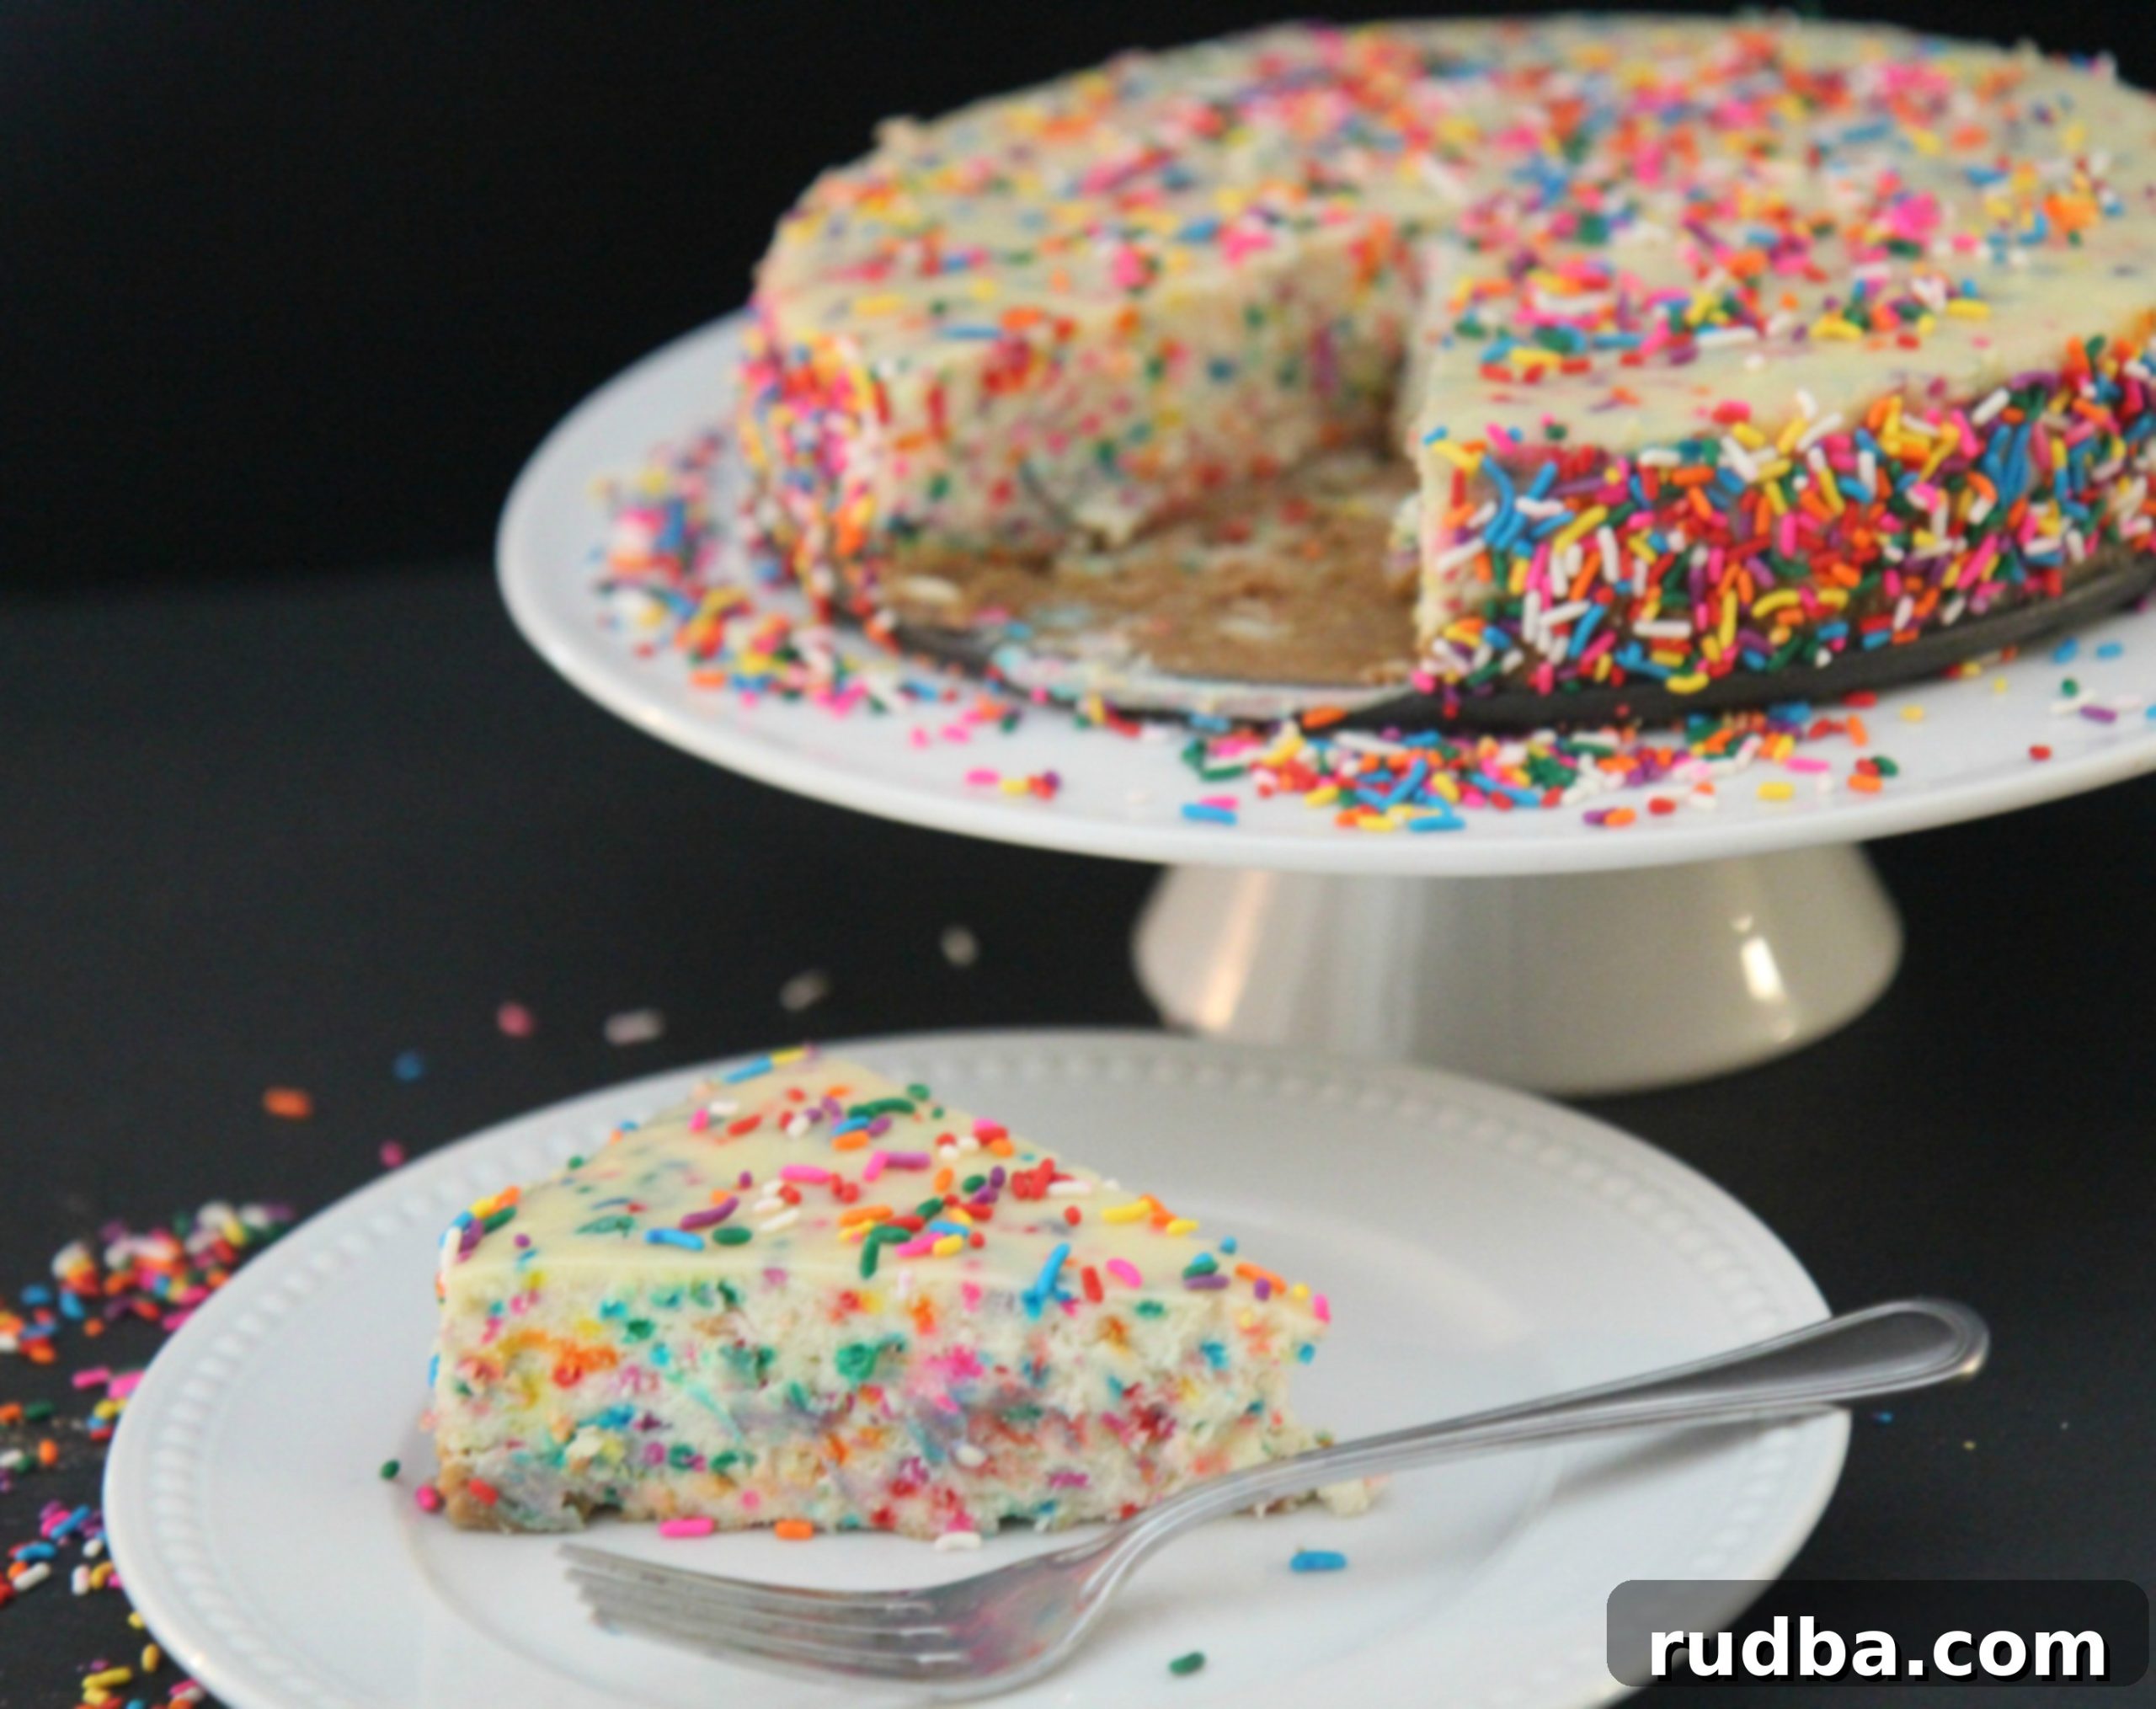
Sprinkles are more than just a decoration; they’re tiny bursts of joy that transform a classic dessert into a festive masterpiece. The term “funfetti” itself evokes a sense of celebration, and rightly so. These colorful confectionery bits add not only visual appeal but also a subtle, delightful crunch and an extra hint of sweetness that complements the rich, tangy cheesecake perfectly. For this Funfetti Cheesecake, we incorporate the sprinkles directly into the filling, ensuring every slice is dotted with cheerful specks of color. This creates an inviting cross-section that promises a party in every mouthful.
When choosing your sprinkles, opt for good quality jimmie-style sprinkles (the rod-shaped ones) or confetti sprinkles (flat, disk-shaped) that hold their color well during baking. Avoid nonpareils (tiny ball-shaped sprinkles) as they can sometimes bleed their color or dissolve too much in the moist cheesecake batter. The goal is to maintain distinct, vibrant colors throughout the cake, making each serving a miniature work of art. The final flourish of extra sprinkles on top just before serving elevates the presentation, making this cheesecake truly celebration-worthy.
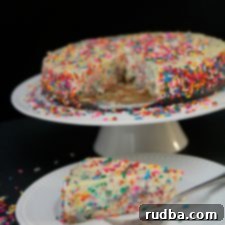
Funfetti Cheesecake
Save RecipeSaved Recipe
Pin Recipe
Rate Recipe
Print Recipe
Ingredients
Crust
- 1 1/2 cups graham cracker crumbs
- 7 tbsp unsalted butter
Filling
- 24 ounces softened cream cheese
- 1 cup sugar
- 1 cup sour cream
- 3/4 cup sprinkles
- 1 tsp vanilla extract
- 3 eggs
Instructions
-
Preheat your oven to 325 F (160 C). This ensures the oven is at the correct temperature for even baking.
-
To prepare for the water bath, wrap the bottom and sides of an 8-inch springform pan tightly with several layers of heavy-duty aluminum foil. This prevents water from seeping into the crust during baking. Set the wrapped pan aside.
-
In a medium bowl, combine the melted butter with the graham cracker crumbs. Press this mixture firmly and evenly onto the bottom of the prepared 8-inch springform pan to form the crust. Set aside.
-
For the creamy filling, place the softened cream cheese in a large mixing bowl. Beat the cream cheese on medium speed with an electric mixer until it is completely smooth and free of lumps, about 2-3 minutes.
-
Gradually add the granulated sugar, sour cream, and vanilla extract to the cream cheese mixture. Continue mixing on low speed until all ingredients are just well incorporated. Avoid overmixing at this stage to prevent incorporating too much air.
-
Add the eggs one at a time, mixing gently after each addition until just incorporated. Be very careful not to overmix the batter once the eggs are added, as this can lead to cracks in the finished cheesecake. Finally, gently fold in the sprinkles with a spatula until evenly distributed throughout the batter.
-
Carefully pour the prepared cheesecake filling over the graham cracker crust in the springform pan. Gently tap the pan on the counter a few times to release any trapped air bubbles.
-
To prepare the essential water bath, place the foil-wrapped 8-inch springform pan into a larger baking dish (such as a roasting pan). Carefully pour boiling water into the larger baking dish until it reaches about 1 inch up the sides of the springform pan.
-
Carefully transfer the baking dish with the cheesecake in the water bath to the preheated oven. Let it bake at 325 F (160 C) for exactly 10 minutes.
-
After 10 minutes, reduce the oven temperature to 300 F (150 C) without opening the oven door. Allow the cheesecake to bake for an additional 1 hour and 15 minutes. The center should still be slightly jiggly.
-
Once the baking time is complete, turn off the oven completely but leave the cheesecake inside with the oven door closed for another 30 minutes. This slow cooling helps prevent cracks.
-
After 30 minutes, open the oven doors slightly (a few inches) and let the cheesecake sit in the cooling oven for an additional 10 minutes. This further aids in gradual cooling.
-
Carefully remove the cheesecake from the water bath and remove the foil. Run a thin knife or offset spatula along the inner edge of the springform pan to gently loosen the cheesecake from the sides. This prevents the cheesecake from sticking and cracking as it continues to cool.
-
Allow the cheesecake to cool completely at room temperature for about 1 hour. Once cooled, cover it loosely with plastic wrap and place it in the refrigerator for a minimum of 4 hours, or preferably overnight, to chill and set fully.
-
Before serving, carefully unlatch and remove the sides of the springform pan. Decorate your beautiful Funfetti Cheesecake with extra sprinkles on top for a final festive touch. Slice and enjoy!
Video
Nutrition
Nutrition information is automatically calculated, so should only be used as an approximation.
Additional Info
Like this recipe? Leave a comment below!
Essential Tips for Baking Your Best Funfetti Cheesecake
Creating a flawless Funfetti Cheesecake is within reach if you pay attention to a few key details. Firstly, ensure all your dairy ingredients, especially the cream cheese and eggs, are at room temperature. This allows them to blend smoothly and incorporate air evenly, resulting in a lighter, creamier texture and helping to prevent lumps. Beat the cream cheese until it’s perfectly smooth before adding other ingredients.
Secondly, avoid overmixing, especially after adding the eggs. Overmixing introduces too much air, which can cause the cheesecake to puff up in the oven and then fall dramatically, leading to cracks. Mix just until combined for each step. The water bath method is non-negotiable for that signature crack-free, silky smooth finish. Don’t skip wrapping your springform pan thoroughly with foil, and always use boiling water for the bath. Finally, proper cooling is as important as baking. The gradual cooling process inside the oven, as detailed in the instructions, is crucial for preventing temperature shock and maintaining that smooth top. Patience here truly pays off!
Fun Variations to Personalize Your Funfetti Cheesecake
While this Funfetti Cheesecake is a star on its own, there are many ways to customize it to your taste or for a specific occasion. Instead of plain vanilla extract, consider adding almond extract for a subtle, nutty undertone, or even a hint of lemon zest for a brighter flavor profile. For an extra layer of decadence, drizzle melted white chocolate or a simple vanilla glaze over the chilled cheesecake.
You can also experiment with different types of sprinkles or mix-ins. While rainbow sprinkles are classic for “funfetti,” you could use holiday-themed sprinkles (like red and green for Christmas or pastels for Easter), or even chocolate sprinkles for a subtle chocolatey touch. For a more adventurous twist, fold in a small amount of finely chopped, well-drained canned pineapples into the filling, as I sometimes enjoy – it adds a delightful tropical zing and extra texture. Just be sure to drain them extremely well to avoid adding excess moisture to the batter. The possibilities are endless, making this recipe a versatile base for your culinary creativity!
Serving and Storing Your Delicious Funfetti Cheesecake
Once your Funfetti Cheesecake has completely chilled and set, it’s ready to be the centerpiece of your dessert table. For the cleanest slices, use a sharp knife warmed under hot water and wiped clean between each cut. This will ensure beautiful, smooth slices that showcase the vibrant sprinkles within. Serve it chilled, perhaps with a dollop of whipped cream or a few fresh berries for added freshness and contrast.
Store any leftover cheesecake covered loosely with plastic wrap in the refrigerator for up to 3-4 days. For longer storage, slices can be individually wrapped in plastic wrap and then aluminum foil, and frozen for up to 1-2 months. Thaw frozen cheesecake in the refrigerator overnight before serving. This ensures you can enjoy this delightful treat for days or even weeks after you bake it.
Frequently Asked Questions About Baking Funfetti Cheesecake
Q: Why did my cheesecake crack?
Cheesecakes often crack due to sudden temperature changes or overmixing. Overmixing incorporates too much air, which expands during baking and then collapses, causing cracks. Rapid cooling (taking it out of the oven too soon) can also cause temperature shock, leading to cracks. Our recipe addresses this by using a water bath for even baking and a gradual cooling process inside the oven. Ensure your cream cheese and eggs are at room temperature and mix only until just combined.
Q: Can I use a different type of crust?
Absolutely! While a graham cracker crust is traditional and pairs wonderfully with cheesecake, you can certainly experiment. Crushed vanilla wafers, shortbread cookies, or even chocolate cookies (like Oreos, with the cream filling removed) make excellent alternatives. Just ensure you maintain the correct ratio of crumbs to butter so the crust holds together well.
Q: What kind of sprinkles are best for Funfetti Cheesecake?
For the best results, use jimmie-style sprinkles (the small, rod-shaped ones) or confetti sprinkles (flat, disc-shaped). These types tend to hold their shape and color well during baking, creating clear, vibrant specks of color in your cheesecake. Avoid using nonpareils (the tiny ball-shaped sprinkles) as they often bleed their color into the batter or dissolve, which can make the cheesecake look muddy.
Q: Can I make this Funfetti Cheesecake ahead of time?
Yes, cheesecake is an excellent make-ahead dessert! In fact, it often tastes even better the day after it’s baked, as the flavors have more time to meld and the texture fully sets. You can bake it up to 2-3 days in advance and keep it stored in the refrigerator. Just add the extra sprinkles for decoration shortly before serving to keep them fresh and vibrant. This makes it a perfect option for entertaining and special occasions.
Embrace the joy of baking and the sheer delight that comes from serving a homemade Funfetti Cheesecake. This recipe is a celebration in itself, promising creamy perfection, vibrant colors, and an unforgettable taste that will leave everyone asking for more. Get ready to bake, decorate, and enjoy!
