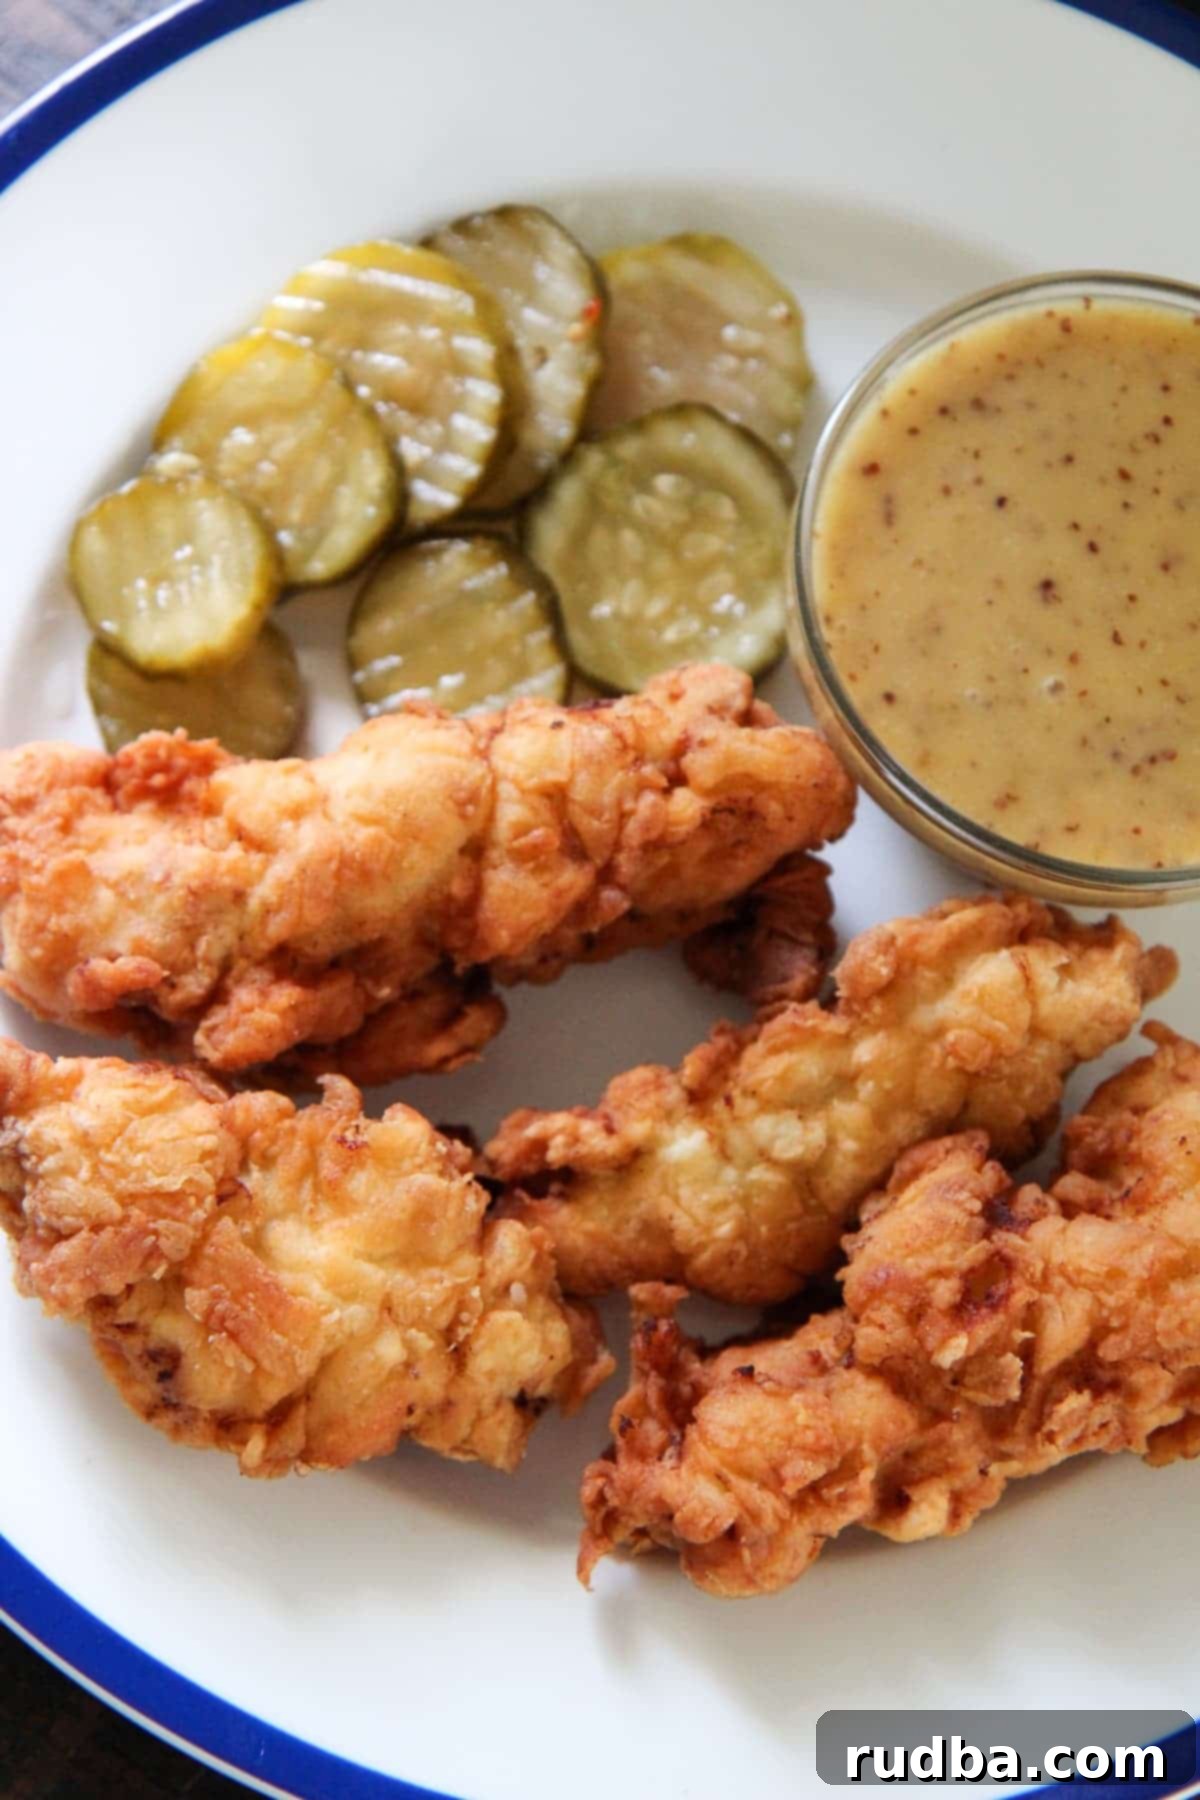
Irresistibly Crispy Buttermilk Chicken Tenders with Homemade Honey Mustard Sauce
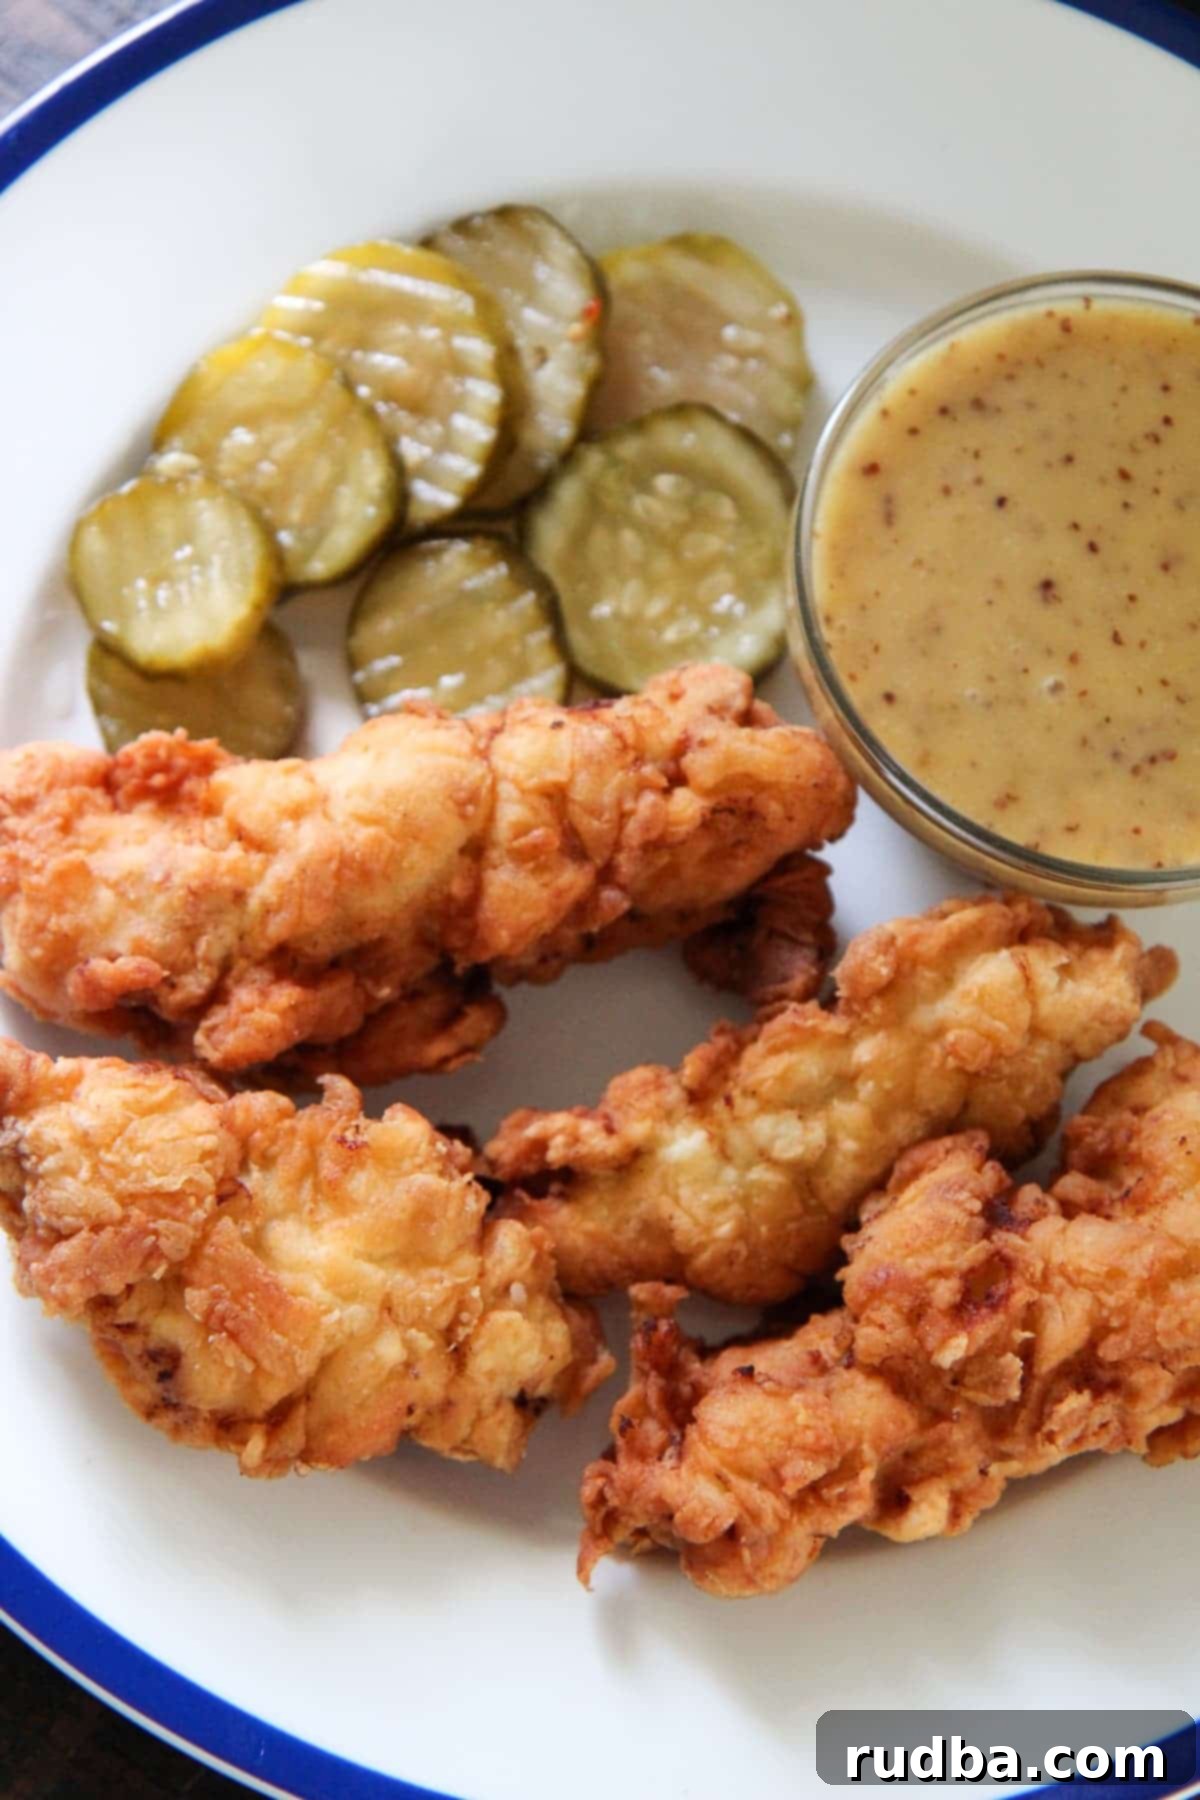
Prepare to elevate your home cooking with these incredibly crispy and utterly delicious buttermilk chicken tenders. Seasoned to perfection and fried until golden brown, these tenders are guaranteed to be an instant hit, whether you’re hosting a party, feeding a hungry family, or simply craving the ultimate comfort food. Forget about takeout – this homemade version is so much better, boasting a crunch that’s simply irresistible and juicy, tender chicken inside.
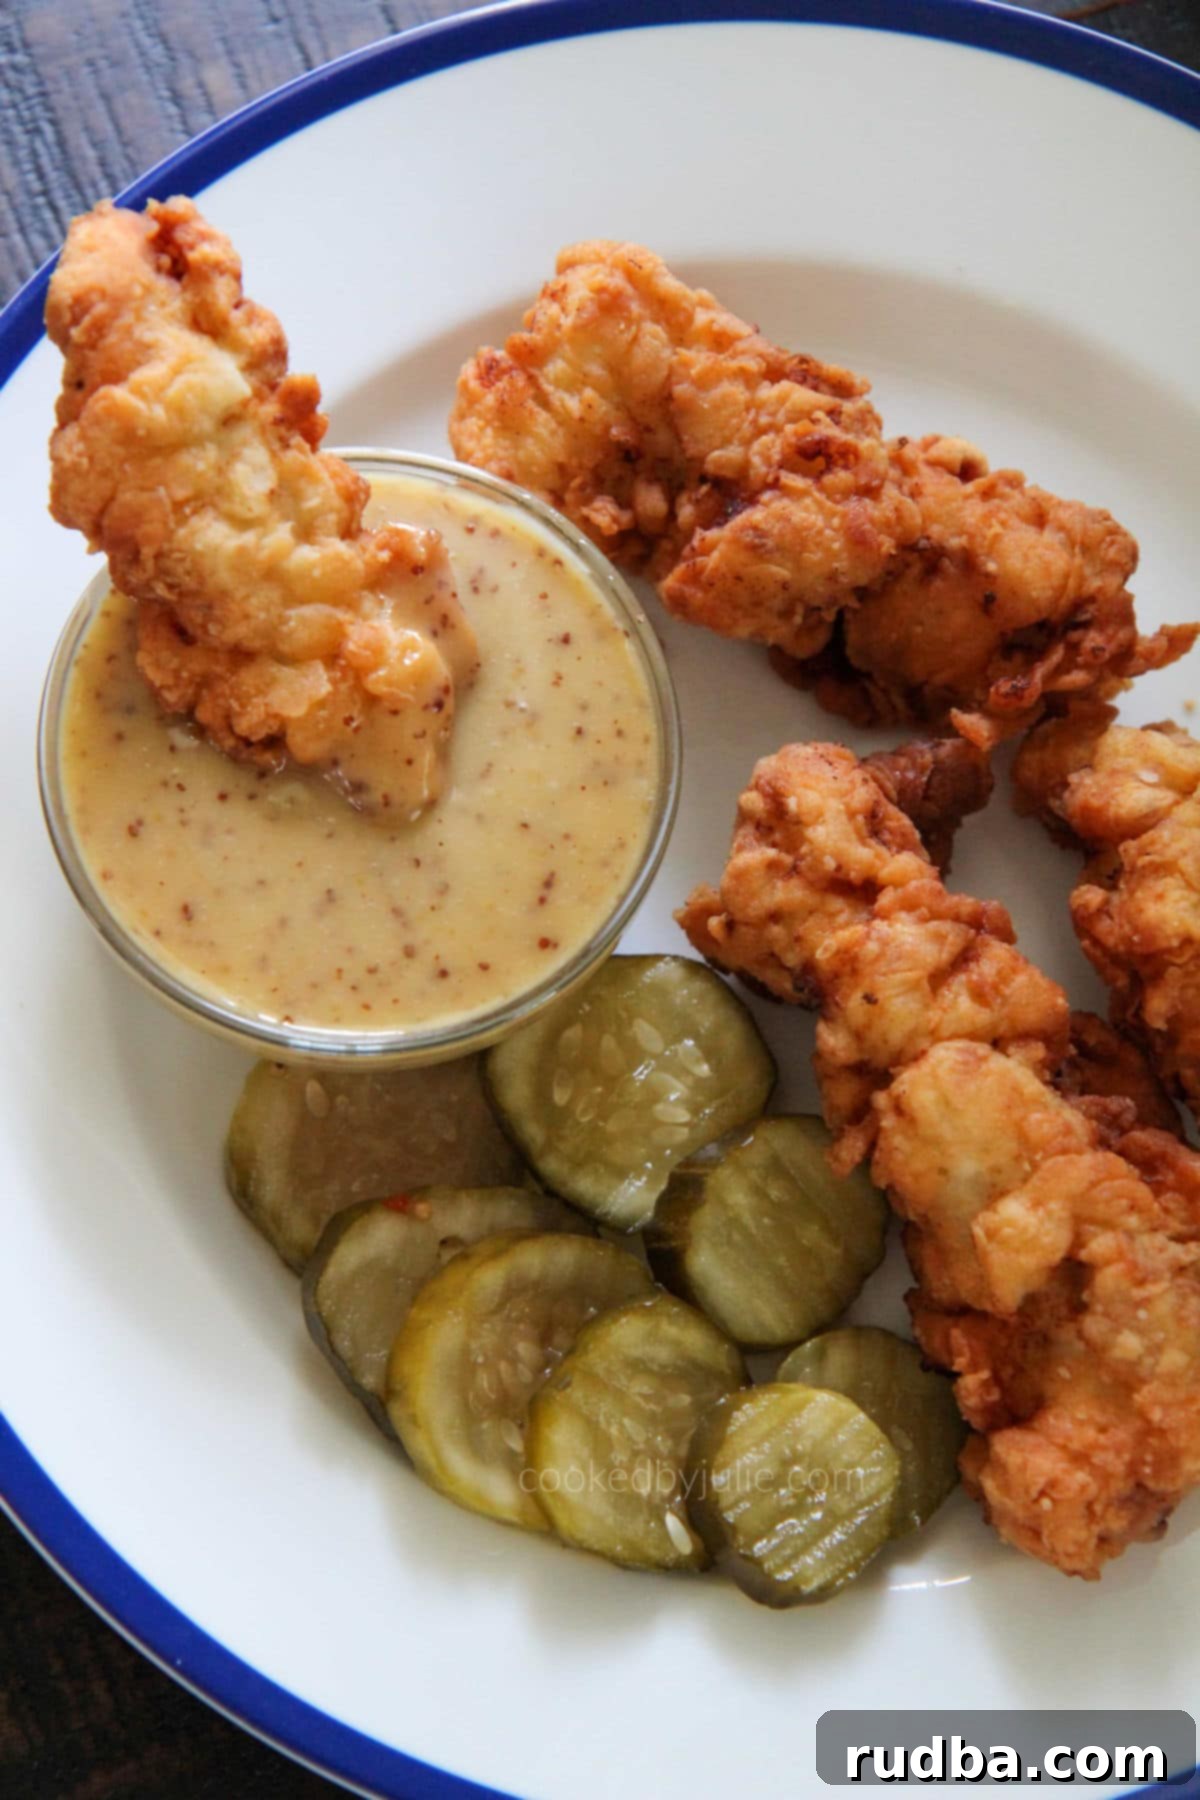
The Secret to Perfect Chicken Tenders: Buttermilk and Baking Powder
My excitement for this recipe is boundless, and for good reason! It consistently delivers chicken tenders that far surpass anything you can get from a restaurant. We’re talking about perfectly crunchy, incredibly well-seasoned chicken tenders, elevated by a phenomenal homemade honey mustard sauce. What’s not to love about that?
The magic truly happens with a couple of key ingredients: buttermilk and baking powder. These aren’t just add-ins; they are crucial for achieving that signature tender interior and super crispy exterior. The buttermilk works wonders as a marinade, thanks to its mild acidity. This acidity gently breaks down the tough protein fibers in the chicken, resulting in incredibly tender and moist meat. It also infuses the chicken with a subtle tang that complements the savory seasoning beautifully.
Then there’s the unsung hero, baking powder. When combined with the all-purpose flour, baking powder reacts with the buttermilk’s acidity and the heat of the frying oil to create tiny air bubbles. These bubbles expand during cooking, leading to a lighter, airier, and exceptionally crispy coating that shatters with every bite. This double-whammy of buttermilk and baking powder is the secret weapon for truly superior fried chicken tenders.
Did I mention that these are buttermilk fried chicken tenders? I genuinely believe this recipe will give my Honey Butter Fried Chicken – one of the most popular recipes on my blog – a serious run for its money. That’s how confident I am in its deliciousness!
For the best frying results, I highly recommend using peanut oil. Its high smoke point and neutral flavor are ideal for deep-frying, ensuring your chicken cooks evenly without imparting any unwanted tastes.
Crafting Your Tenders: Choosing the Right Chicken
When it comes to making chicken tenders, you have a couple of excellent options. You can either use pre-cut chicken tenderloins, which are naturally portioned and ready to go, or you can opt for boneless, skinless chicken breasts. If you choose chicken breasts, simply slice them lengthwise into strips, about ½ to ¾ inch thick. This ensures uniform cooking and creates those classic tender shapes. Both options will yield fantastic results, so pick whichever is most convenient for you.
Homemade Honey Mustard Sauce: A Must-Try Accompaniment
While store-bought honey mustard can be convenient, nothing quite compares to the fresh, vibrant flavor of a homemade version. Fried chicken and honey mustard are a match made in culinary heaven, so of course, I had to create a scratch-made sauce for this recipe. And trust me, you’ll want to make it! It’s incredibly simple, requiring just a few common pantry staples, and the resulting sauce is wonderfully creamy, perfectly balanced between sweet and tangy, and utterly addictive.
All you need is mayonnaise, Dijon mustard, and honey. Whisked together, these ingredients transform into a rich, luscious sauce that perfectly complements the savory, crispy chicken. The slight kick from the Dijon mustard cuts through the richness of the fried chicken, while the honey adds a touch of sweetness that makes it universally appealing.
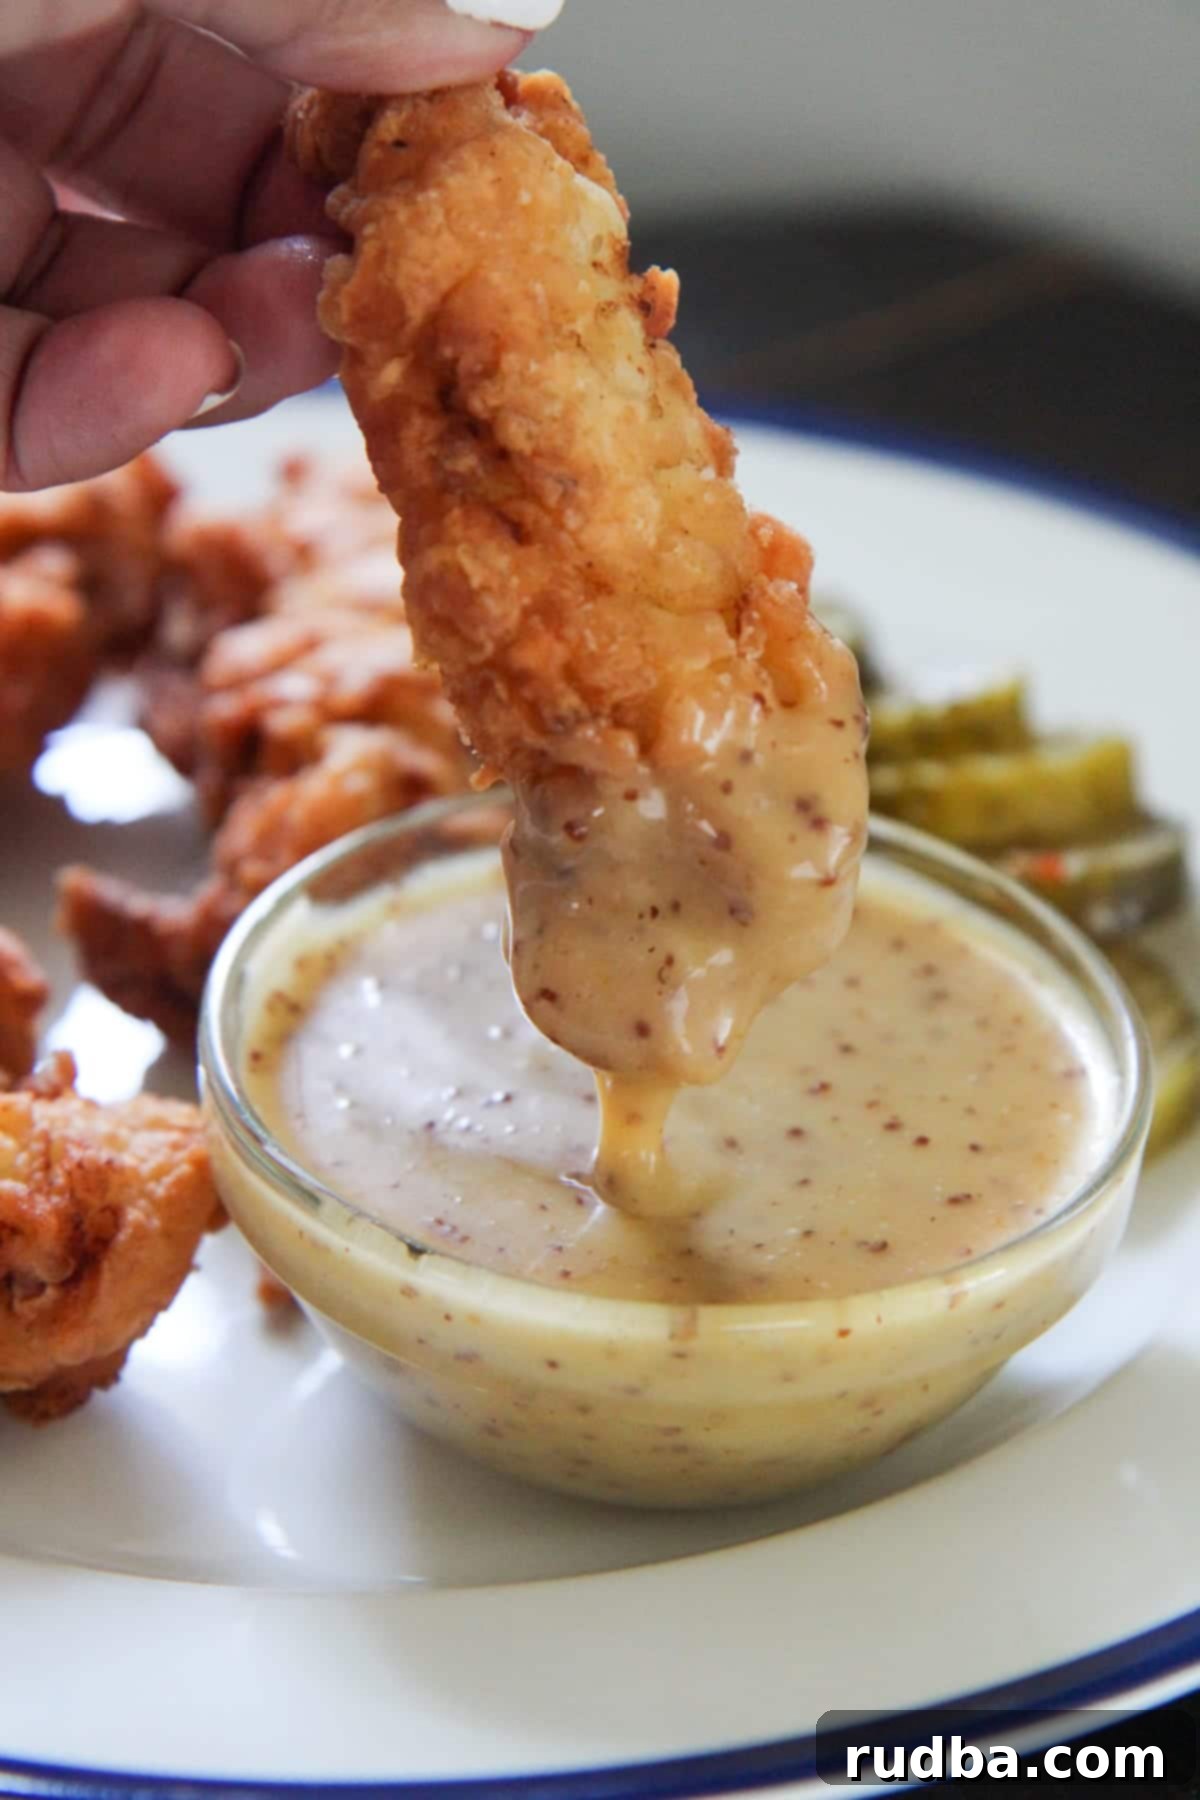
Serving Suggestions: The Perfect Sides for Your Chicken Tenders
No plate of crispy chicken tenders is complete without some incredible side dishes. For the ultimate comfort food experience, there are a few pairings that truly stand out, no ifs, ands, or buts! My top recommendations include:
- Coleslaw: The cool, creamy, and slightly tangy crunch of a fresh coleslaw provides a fantastic textural and flavor contrast to the warm, crispy chicken.
- Four Cheese Mac and Cheese: Rich, cheesy, and utterly comforting, a decadent mac and cheese is the quintessential partner for fried chicken, offering a smooth, satisfying counterpoint.
And to wash it all down? Nothing beats a cold glass of Classic Lemonade. Its refreshing tartness is the perfect palate cleanser.
Beyond these classics, consider other delicious options like crispy French fries, fluffy mashed potatoes, steamed green beans, or sweet corn on the cob. For a lighter touch, a simple green salad with a vinaigrette dressing can add freshness to the meal. The versatility of chicken tenders means you can pair them with almost anything!
How to Make Chicken Tenders – Step-by-Step Guide
This recipe promises the easiest and most delicious chicken tenders you’ll ever make. Follow these detailed steps to achieve perfectly crispy and juicy results every time:
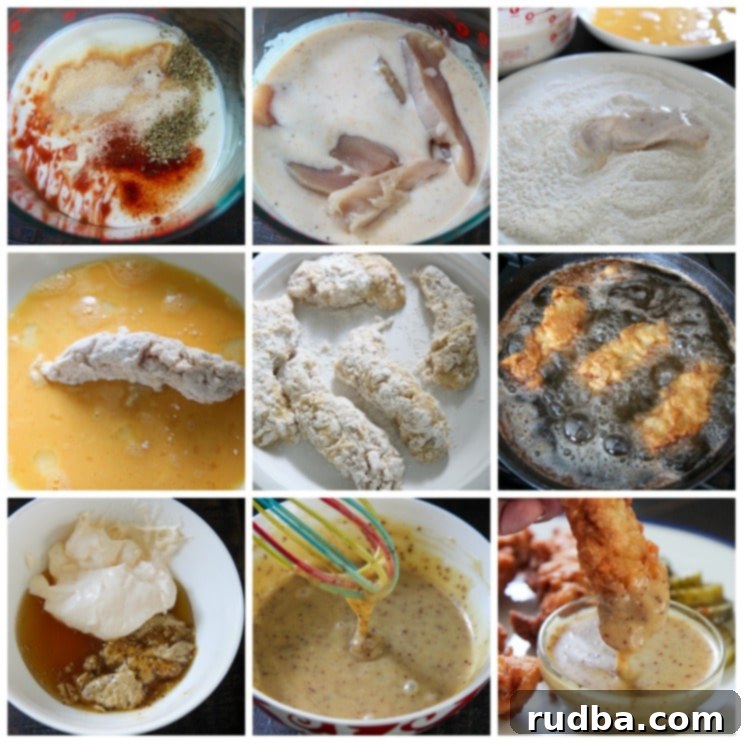
- Prepare the Buttermilk Marinade: In a large mixing bowl, combine the buttermilk with your chosen seasonings: granulated garlic, onion powder, paprika, salt (we’ll use 1 tsp here), oregano, and a dash of hot sauce for a little kick. Whisk everything together until well combined.
- Marinate the Chicken: Add your chicken tenderloins or sliced chicken breasts to the buttermilk mixture. Ensure all pieces are fully submerged and coated. Cover the bowl and refrigerate for at least one hour. For even more tender and flavorful chicken, you can marinate it overnight (8-12 hours). This step is crucial for tenderizing the meat.
- Bring to Room Temperature: After marinating, remove the chicken from the refrigerator and let it sit at room temperature for about 15-20 minutes while you prepare the breading station. This crucial step helps the chicken cook more evenly and prevents a drastic drop in oil temperature when added to the pan.
- Set Up the Breading Station: In one shallow bowl, combine the all-purpose flour with the remaining salt and baking powder. Whisk well to ensure the baking powder is evenly distributed – this is key for that extra crispiness. In a separate shallow bowl, lightly beat the eggs.
- First Flour Dredge: Take each piece of chicken from the buttermilk mixture, allowing any excess buttermilk to drip off. Dip it into the flour mixture, ensuring it’s completely coated. Gently shake off any excess flour.
- Egg Wash: Next, dip the flour-coated chicken into the beaten eggs, allowing any excess egg to drip off.
- Second Flour Dredge: Immediately transfer the chicken back into the flour mixture for a second coating. Press the flour onto the chicken firmly to ensure a thick, craggy crust. This double-dredging technique is essential for achieving maximum crispiness. Shake off any loose flour once more.
- Preheat the Oil: Fill a sturdy pot or deep skillet halfway with peanut oil (or canola oil). Heat the oil over medium-high heat until it reaches a temperature of 350-375°F (175-190°C). Use a kitchen thermometer to ensure accuracy.
- Fry the Chicken: Carefully place a few pieces of breaded chicken into the hot oil, ensuring not to overcrowd the pan. Fry for about 5-6 minutes on each side, or until the tenders are deeply golden brown and cooked through. The internal temperature should reach 165°F (74°C).
- Drain and Rest: Remove the cooked chicken tenders from the oil and place them on a wire rack set over a baking sheet to drain any excess oil. This also helps keep them crispy.
- Prepare the Honey Mustard Sauce: While the chicken cooks, in a small bowl, combine the mayonnaise, Dijon mustard, and honey. Whisk thoroughly until smooth and creamy. Taste and adjust sweetness or tanginess to your preference.
Essential Tips for Frying Perfect Chicken Tenders
Achieving restaurant-quality fried chicken tenders at home is easier than you think, especially with these crucial tips:
Top Tip: Room Temperature Chicken is Key! Before you even think about frying, let your marinated chicken sit at room temperature for about 15-20 minutes. Adding cold chicken directly into hot oil can drastically drop the oil temperature, leading to unevenly cooked chicken that absorbs more oil and ends up greasy rather than crispy. Room temperature chicken ensures more consistent cooking and helps maintain optimal oil temperature.
Oil Temperature Matters: Always use a kitchen thermometer to monitor your oil temperature. Maintaining a consistent temperature between 350-375°F (175-190°C) is vital. If the oil is too cold, the chicken will be greasy; if it’s too hot, the exterior will burn before the interior is cooked. Adjust your heat as needed between batches.
Don’t Overcrowd the Pan: Fry the chicken in batches. Overcrowding lowers the oil temperature and causes the chicken to steam rather than fry, resulting in a less crispy coating. Give each tender space to cook properly.
Use the Right Oil: As mentioned, peanut oil is excellent due to its high smoke point and neutral flavor. Canola or vegetable oil are also good alternatives.
Drain Properly: After frying, transfer the cooked tenders to a wire rack set over a baking sheet. This allows air to circulate around them, preventing the bottoms from becoming soggy and maintaining their crispiness. Avoid placing them directly on paper towels, which can trap steam.
Storage and Reheating Your Tenders
Leftover chicken tenders, while best enjoyed fresh, can still be delicious! Store any cooled leftovers in an airtight container in the refrigerator for up to 3-4 days. To reheat, avoid the microwave, which will make them soggy. Instead, preheat your oven or air fryer to 350°F (175°C) and reheat for 10-15 minutes, or until heated through and crispy again. This method will help revive that glorious crunch.
Chicken Tenders with Honey Mustard
Save RecipeSaved Recipe
Pin Recipe
Rate Recipe
Print Recipe
Ingredients
- 1 1/2 lb chicken breast
- 1 cup buttermilk
- 1/2 tsp granulated garlic
- 1/2 tsp onion powder
- 1/4 tsp paprika
- 1/4 tsp oregano
- 2 tsp salt
- 1 tsp hot sauce
- 2 cups all-purpose flour
- 1 tsp baking powder
Honey Mustard Sauce
- 1/2 cup mayonnaise
- 1/4 cup Dijon mustard
- 1/4 cup honey
Instructions
-
In a large bowl, combine the buttermilk, granulated garlic, onion powder, paprika, oregano, 1 tsp salt, and hot sauce. Set aside.
-
Slice the chicken breasts lengthwise and then soak in the buttermilk mixture for one hour refrigerated.
-
Bring the chicken out of the fridge and let it rest at room temperature while you prepare the breading station.
-
Add the all-purpose flour, remaining salt, and baking powder to one bowl and the eggs to a separate bowl.
-
Dip the chicken pieces from the buttermilk mixture to the flour mixture.
-
Dip the chicken pieces from the flour mixture into the eggs and then back to the flour mixture.
-
Fill a pot halfway with oil and heat to 350 to 375 degrees. Fry the chicken for 5-6 minutes on each side or until golden brown and fully cooked through.
-
To make the honey mustard sauce, combine the mayo, Dijon mustard, and honey in a small bowl.
Notes
- Use peanut or canola oil for best results.
- Let the chicken rest at room temperature for 15 minutes prior to frying.
Nutrition
Nutrition information is automatically calculated, so should only be used as an approximation.
Additional Info
Like this recipe? Leave a comment below!
More Delicious Chicken Recipes You’ll Enjoy:
- Honey Lime Chicken
- Oven-Baked BBQ Chicken
- Ultimate Chicken Salad
- Creamy Smothered Chicken Thighs
- BBQ Pulled Chicken Sandwiches
There you have it – your comprehensive guide to making the most incredible buttermilk chicken tenders right in your own kitchen. With their irresistible crispiness, juicy interior, and the perfect homemade honey mustard for dipping, these tenders are sure to become a cherished favorite. Whether it’s for a casual dinner, a game-day spread, or a celebratory meal, these tenders deliver on flavor, texture, and pure comfort. So roll up your sleeves, gather your ingredients, and get ready to enjoy the best fried chicken tenders you’ve ever made!
