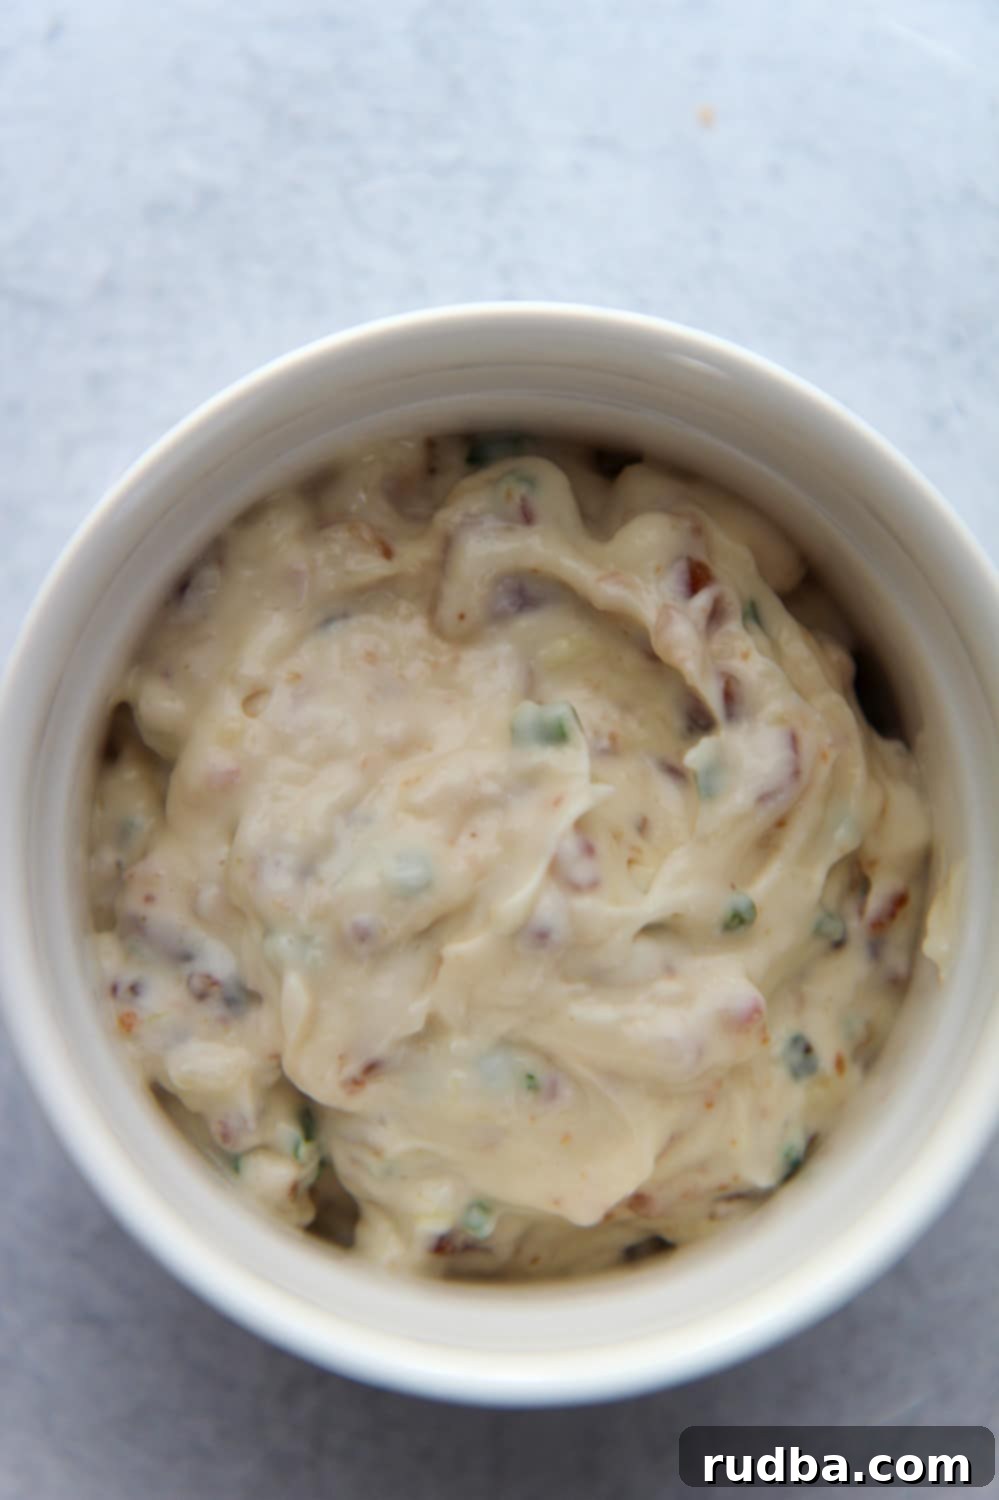
Ultimate Homemade Bacon Garlic Aioli: Your New Favorite Dip and Spread!
Prepare to elevate your taste buds with this incredible homemade Bacon Garlic Aioli. Far more than just a dip, this creamy, savory, and incredibly versatile condiment is guaranteed to become a staple in your kitchen. Imagine the rich, smoky crunch of perfectly cooked bacon, combined with the sweet, mellow depth of roasted garlic, all whipped into a luscious aioli base. It’s a flavor explosion that store-bought sauces simply can’t compete with, and the best part? It’s surprisingly easy to make from scratch.
This isn’t just for French fries, chips, or your raw vegetable platter (though it’s absolutely divine with them!). This delectable sauce is robust enough to transform an ordinary meal into something extraordinary. Slather a generous dollop on juicy salmon burgers, add a creamy, smoky layer to crispy chicken sliders, or spread it on your favorite sandwiches and wraps. Once you taste the difference of homemade, you’ll wonder how you ever lived without it.
Why Homemade Aioli Is Always Better
The secret to truly outstanding aioli lies in fresh, quality ingredients and a little bit of love. While many store shelves offer various aioli options, none can replicate the vibrant, nuanced flavors of a homemade batch. When you craft it yourself, you control every element – from the crispness of the bacon to the intensity of the garlic and the brightness of the lemon. This means no artificial flavors, no excessive preservatives, just pure, unadulterated deliciousness.
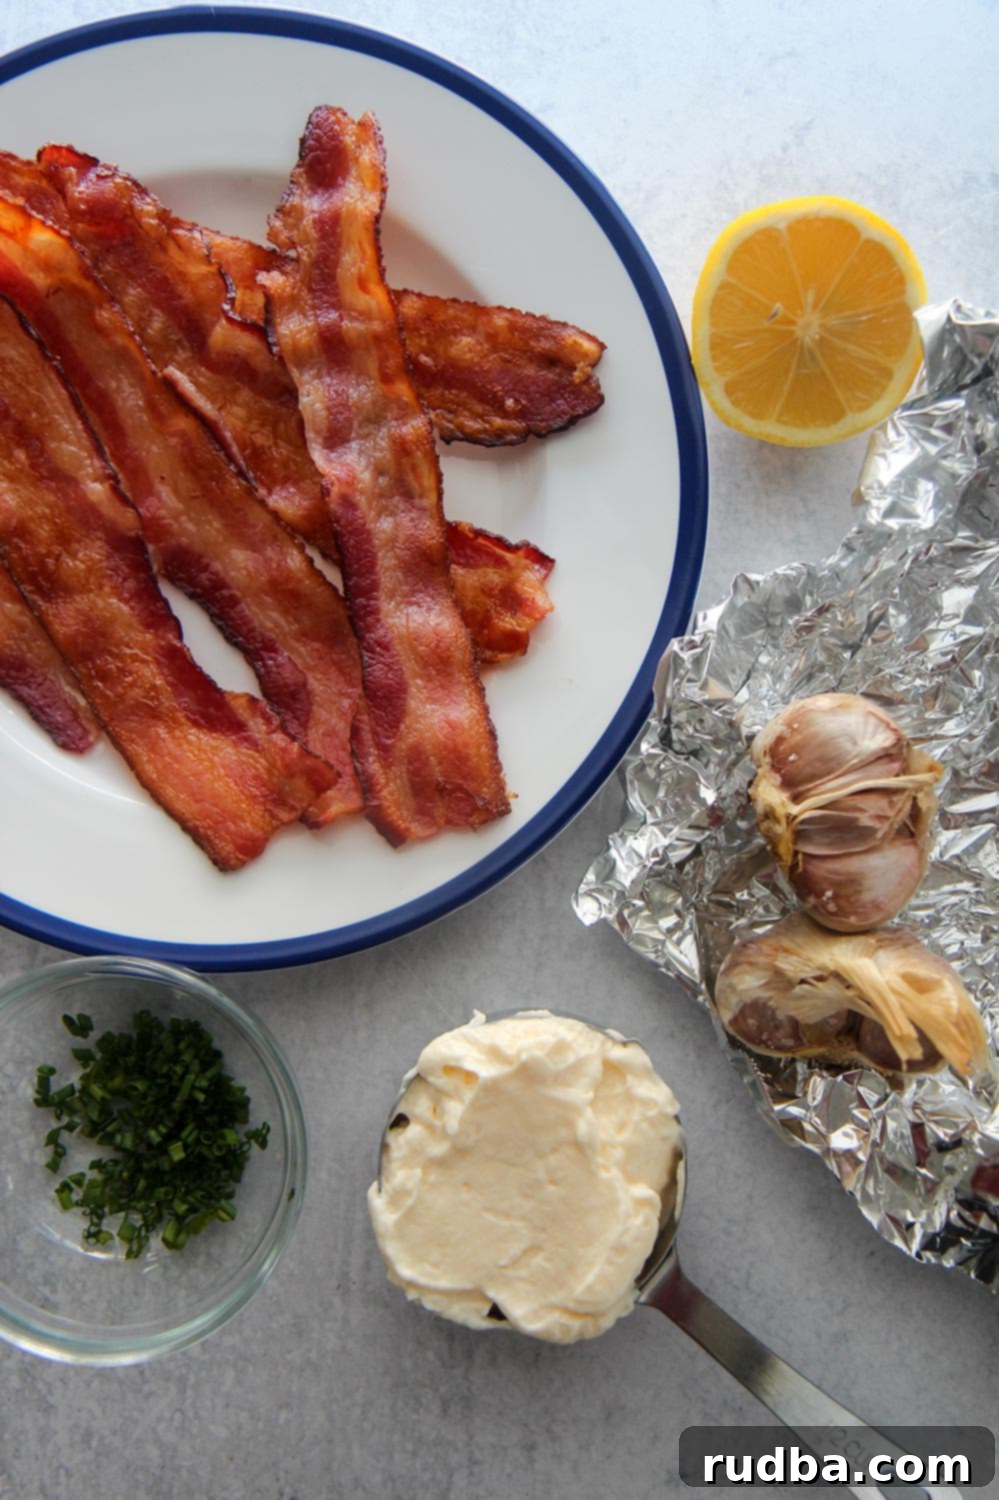
Our bacon garlic aioli comes together in under 45 minutes, with much of that time being hands-off as the garlic roasts to perfection in the oven. We use just five core ingredients: oven-baked crispy bacon, freshly roasted garlic, fragrant fresh chives, a squeeze of bright lemon, and a good quality mayonnaise. While you *could* opt for shortcuts like granulated garlic or pre-packaged bacon bits when you’re truly pressed for time, we highly recommend investing the slight extra effort. The depth of flavor from real roasted garlic and freshly rendered, finely chopped bacon is incomparable and truly makes this aioli shine.
This creamy aioli is absolutely packed with flavor, delivering a complex profile that is both savory and bright. The smoky, salty notes of the bacon are perfectly balanced by the sweet, umami richness of the roasted garlic, while the lemon and chives add a much-needed zing and herbaceous freshness. It’s a truly satisfying condiment that will impress anyone who tries it.
The Star Ingredients: What Makes This Aioli Shine
Every great recipe relies on great ingredients, and this bacon garlic aioli is no exception. Let’s dive into why each component is essential for achieving the perfect balance of flavor and texture:
- Crispy Oven-Baked Bacon: Bacon is the star here, providing that irresistible smoky, salty, and savory crunch. We opt for oven-baked crispy bacon because it cooks evenly and produces beautifully crisp strips without constant turning. The key is to get it truly crispy so that when chopped, it adds a delightful texture to the smooth aioli.
- Roasted Garlic: This is where the magic happens. Roasting garlic transforms its pungent, sharp flavor into a sweet, mellow, and deeply aromatic paste. It adds a sophisticated layer of flavor that granulated garlic simply cannot replicate. The slow roasting process caramelizes the natural sugars in the garlic, making it wonderfully spreadable and incredibly delicious.
- High-Quality Mayonnaise: The backbone of any good aioli. Using a full-fat, good quality mayonnaise provides the creamy, emulsified base that holds all the flavors together. Whether you prefer a classic brand or an avocado oil-based mayo, make sure it’s one you enjoy the taste of, as it forms a significant part of the aioli’s profile.
- Fresh Chives: These delicate, oniony herbs add a beautiful pop of color and a mild, fresh flavor that brightens the aioli. They complement the richness of the bacon and garlic without overpowering them. Finely chopped chives also add a subtle textural element.
- Fresh Lemon Juice: A crucial ingredient for balance. A squeeze of fresh lemon juice cuts through the richness of the mayo and bacon, adding a necessary acidity that brightens the overall flavor and prevents the aioli from feeling too heavy. Always use fresh lemon juice for the best results.
- Olive Oil and Salt: These are primarily used for roasting the garlic, helping it caramelize and seasoning it beautifully. A good quality extra virgin olive oil enhances the garlic’s flavor during roasting.
Expert Tips for the Best Bacon Garlic Aioli
While this recipe is straightforward, a few key tips will ensure your bacon garlic aioli turns out perfectly every time, bursting with flavor and the ideal creamy texture. Pay attention to these details for an undeniably delicious result:
- Perfectly Crispy Bacon: For bacon that’s perfectly crunchy and delicious, bake it for 16-17 minutes at 400 degrees F. This method yields consistently crisp strips with minimal fuss. Make sure to pat off any excess grease before chopping for the best texture in your aioli.
- Roasting Garlic for Optimal Flavor: Don’t skip the roasting step! Roasting mellows the garlic’s harshness and imparts a sweet, caramelized flavor that is essential for this aioli. Ensure the garlic head is tightly covered in foil to steam and soften properly.
- Storage is Key: To keep your aioli fresh and flavorful, store any leftovers in an air-tight container in the refrigerator. It will maintain its deliciousness for up to 5-6 days. We don’t recommend freezing mayo-based sauces as they tend to separate upon thawing.
- Scale Up or Down: This recipe is easily adaptable. Double or triple the recipe if you’re serving a larger crowd or want to have extra on hand for the week. Simply multiply all ingredients proportionally.
- Chive Alternatives: If fresh chives aren’t available, don’t fret! You can use finely chopped scallions (also known as green onions) as a fantastic substitute. They offer a similar mild onion flavor and fresh green color. Even a touch of fresh parsley or dill can add an interesting twist.
- Quick Garlic Sauté (When Time is Short): If you’re really in a hurry and don’t have time to roast garlic, you can quickly sauté minced garlic for about 20-30 seconds in a small skillet with a little bacon grease (from your cooked bacon!) or olive oil. Be careful not to burn it, as burnt garlic turns bitter. While not as sweet and mellow as roasted garlic, it’s a decent alternative.
- Achieving the Right Consistency: If your aioli feels too thick, you can thin it out with a tiny bit of water, milk, or even a touch more lemon juice until it reaches your desired consistency. If it’s too thin, unfortunately, it’s harder to thicken a mayo-based sauce without adding more mayo.
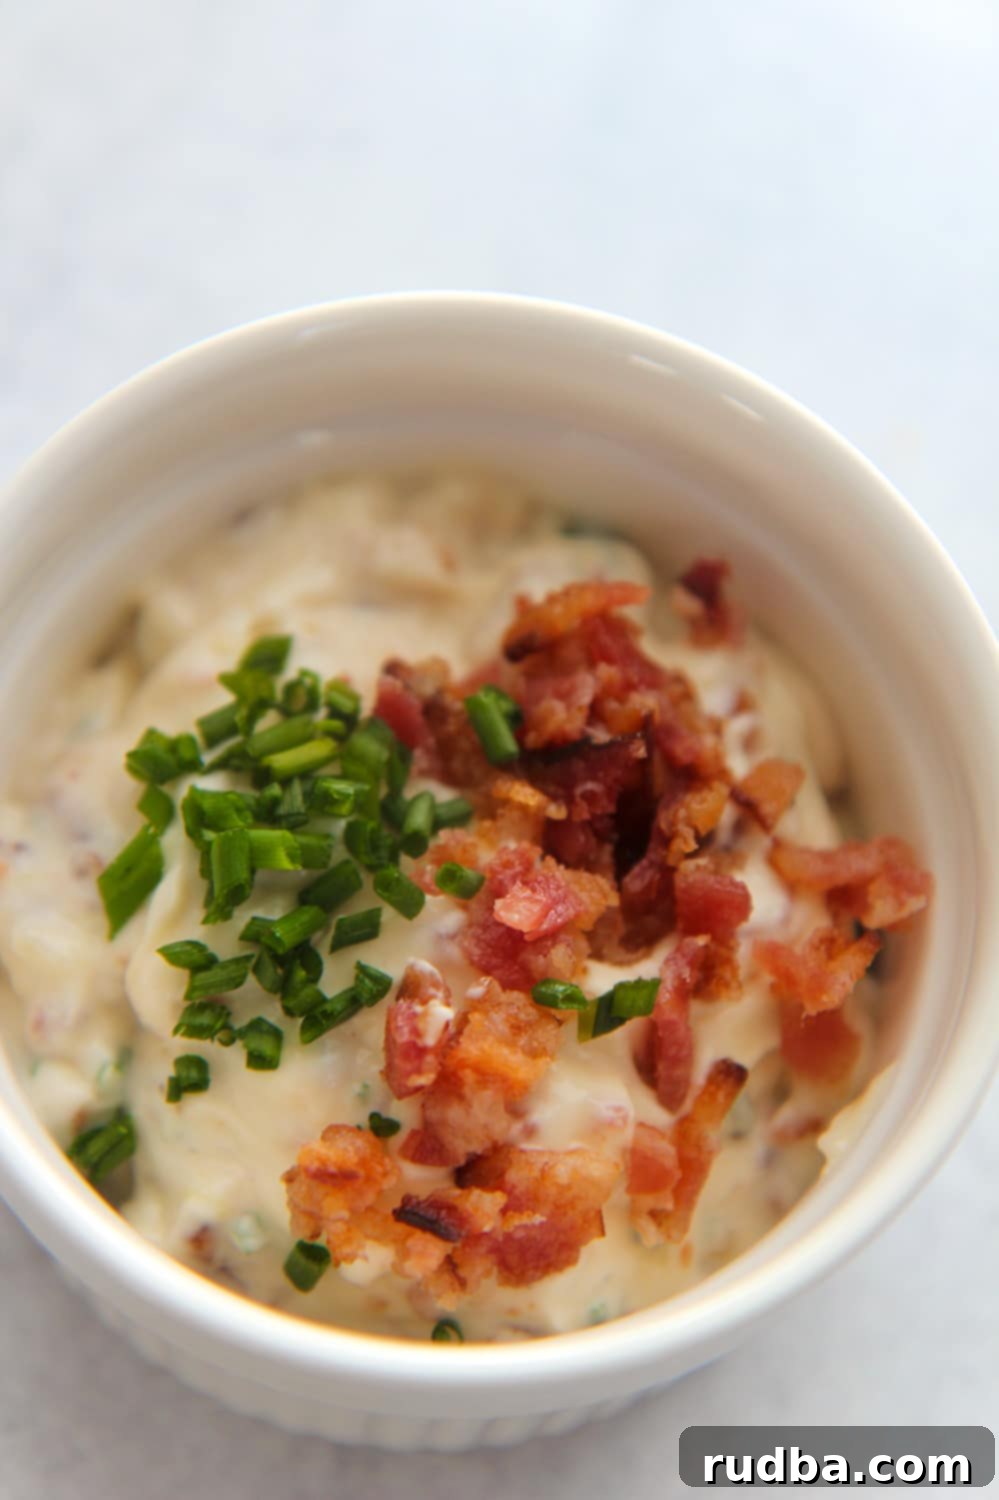
Serving Suggestions: Beyond the Fry Basket
While it’s a perfect match for French fries and potato chips, don’t limit your bacon garlic aioli’s potential! This versatile sauce can enhance a wide array of dishes:
- Burgers and Sandwiches: Elevate any burger (beef, chicken, turkey, or veggie) or sandwich with a generous spread. It’s particularly fantastic on a classic BLT, grilled cheese, or a roast chicken sandwich.
- Roasted Vegetables: Drizzle it over roasted broccoli, asparagus, potatoes, or Brussels sprouts for an incredible flavor boost.
- Seafood: Serve alongside grilled salmon, baked cod, or pan-seared shrimp. The smoky garlic notes pair wonderfully with fresh seafood.
- Grilled Meats: A dollop on grilled chicken breasts, pork chops, or even steak can take your BBQ to the next level.
- Eggs: Use it as a base for deviled eggs, spread it on toast with scrambled eggs, or even swirl a spoonful into your omelet.
- Salad Dressing Base: Thin it out slightly with a little extra lemon juice or a dash of milk/water, and use it as a creamy, savory salad dressing.
- Potato Salad or Pasta Salad: Mix it into your potato salad or pasta salad for an unforgettable, flavor-packed side dish.
- Tacos and Wraps: Add a creamy, smoky element to your favorite chicken or fish tacos and wraps.
Troubleshooting Common Aioli Issues
Even the simplest recipes can sometimes present small challenges. Here’s how to troubleshoot common issues you might encounter while making your bacon garlic aioli:
- Aioli is Too Thick: If your aioli is thicker than you’d like, simply whisk in a teaspoon of water, milk, or a little extra lemon juice at a time until it reaches your desired consistency. Be careful not to add too much at once.
- Aioli is Too Thin: This is less common but can happen if too much liquid is added. To thicken a mayo-based aioli, you might need to add a bit more mayonnaise. If you have extra roasted garlic, mashing more into the mix can also help.
- Garlic Flavor is Too Weak: If you prefer a stronger garlic kick, you can add another roasted garlic clove (or two!) and mash it thoroughly into the aioli. Alternatively, if you’re not opposed to a raw garlic bite, a tiny amount of finely minced fresh garlic can be stirred in.
- Garlic Flavor is Too Strong: This usually isn’t an issue with roasted garlic, which is quite mellow. However, if you find it too garlicky, you can balance it by adding a little more plain mayonnaise, a touch more lemon juice, or even a tiny pinch of sugar to round out the flavors.
- Bacon Isn’t Crispy Enough: The texture of the bacon is important. If your bacon isn’t as crispy as you’d like after baking, you can pop it back in the oven for a few more minutes, keeping a close eye on it, or crisp it quickly in a hot pan.
Delicious Variations to Try
Once you’ve mastered the classic Bacon Garlic Aioli, feel free to experiment with these exciting variations to tailor it to your taste:
- Spicy Bacon Aioli: For a kick, add a pinch of cayenne pepper, a dash of hot sauce (like Sriracha or Tabasco), or finely minced jalapeño to the aioli. Start with a small amount and increase to your preferred heat level.
- Herb-Infused Aioli: Beyond chives, consider incorporating other fresh herbs. Finely chopped parsley, dill, or even a tiny amount of rosemary can add unique aromatic notes.
- Smoky Paprika Aioli: Enhance the smoky flavor by whisking in a teaspoon of smoked paprika (sweet or hot, depending on your preference). This adds a beautiful color and a deeper, earthier smokiness.
- Zesty Lemon-Herb Aioli: Boost the citrus notes by adding a bit of lemon zest along with the juice. This provides a more intense, aromatic lemon flavor that pairs wonderfully with the herbs.
- Maple Bacon Aioli: For a touch of sweetness and a classic bacon pairing, add a very small drizzle of maple syrup. This works particularly well if serving with sweet potato fries.
- Dijon Bacon Aioli: A teaspoon of Dijon mustard can add a sharp, tangy complexity that complements the bacon and garlic beautifully.
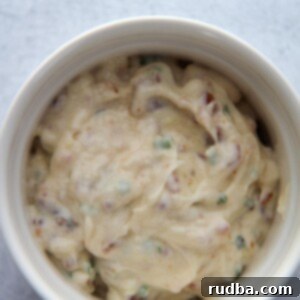
Bacon Garlic Aioli
Save RecipeSaved Recipe
Pin Recipe
Rate Recipe
Print Recipe
Ingredients
- 4-6 bacon strips, crispy and finely chopped
- 1/2 cup mayo
- 1/2 garlic head
- 1/2 lemon, juiced
- 2 tbsp chives
- 1 tbsp olive oil
- salt to taste
Instructions
-
Preheat your oven to 400 degrees F (200 degrees C). Slice the top quarter off the garlic head to expose the cloves. Place the garlic head, cut side up, on a piece of aluminum foil. Drizzle generously with olive oil and season lightly with salt. Wrap the foil tightly around the garlic head to create a sealed packet. Bake for 30 minutes, or until the cloves are very soft and caramelized.
-
Once the garlic is roasted and cool enough to handle, use your fingers or a small fork to squeeze the soft, mellow garlic cloves out of their skins. Mash them with a fork to form a paste and set aside.
-
In a medium-sized bowl, add 4-5 mashed roasted garlic cloves (adjust to your taste preference) along with 1/2 cup of mayonnaise. Whisk vigorously for 1-2 minutes until the garlic is fully incorporated and the mixture is smooth and creamy.
-
Gently fold in the finely chopped crispy bacon, fresh chives, and the juice from half a lemon. Stir until all ingredients are evenly distributed. Taste and adjust seasoning with additional salt or lemon juice if needed. Serve immediately or chill for flavors to meld further. Enjoy your homemade bacon garlic aioli!
Nutrition
Nutrition information is automatically calculated, so should only be used as an approximation.
Additional Info
Like this recipe? Leave a comment below!
Conclusion
There you have it – the ultimate guide to crafting your very own batch of homemade Bacon Garlic Aioli. This isn’t just a condiment; it’s a culinary experience waiting to happen. The harmonious blend of smoky, crispy bacon, sweet roasted garlic, tangy lemon, and fresh chives creates a flavor profile that is both comforting and sophisticated. Whether you’re a seasoned chef or a home cook looking to impress, this aioli is surprisingly simple to prepare and yields truly spectacular results.
So, take a few extra minutes to roast that garlic and bake that bacon to perfection. The effort is minimal, but the reward is immense. Once you’ve whisked up this creamy, flavorful concoction, you’ll find countless ways to enjoy it – from humble French fries to gourmet burgers and everything in between. It’s a testament to the fact that homemade truly does taste better.
Don’t just take our word for it; try this recipe today and discover your new favorite dip and spread. We’re confident that your taste buds will thank you. Happy cooking!
