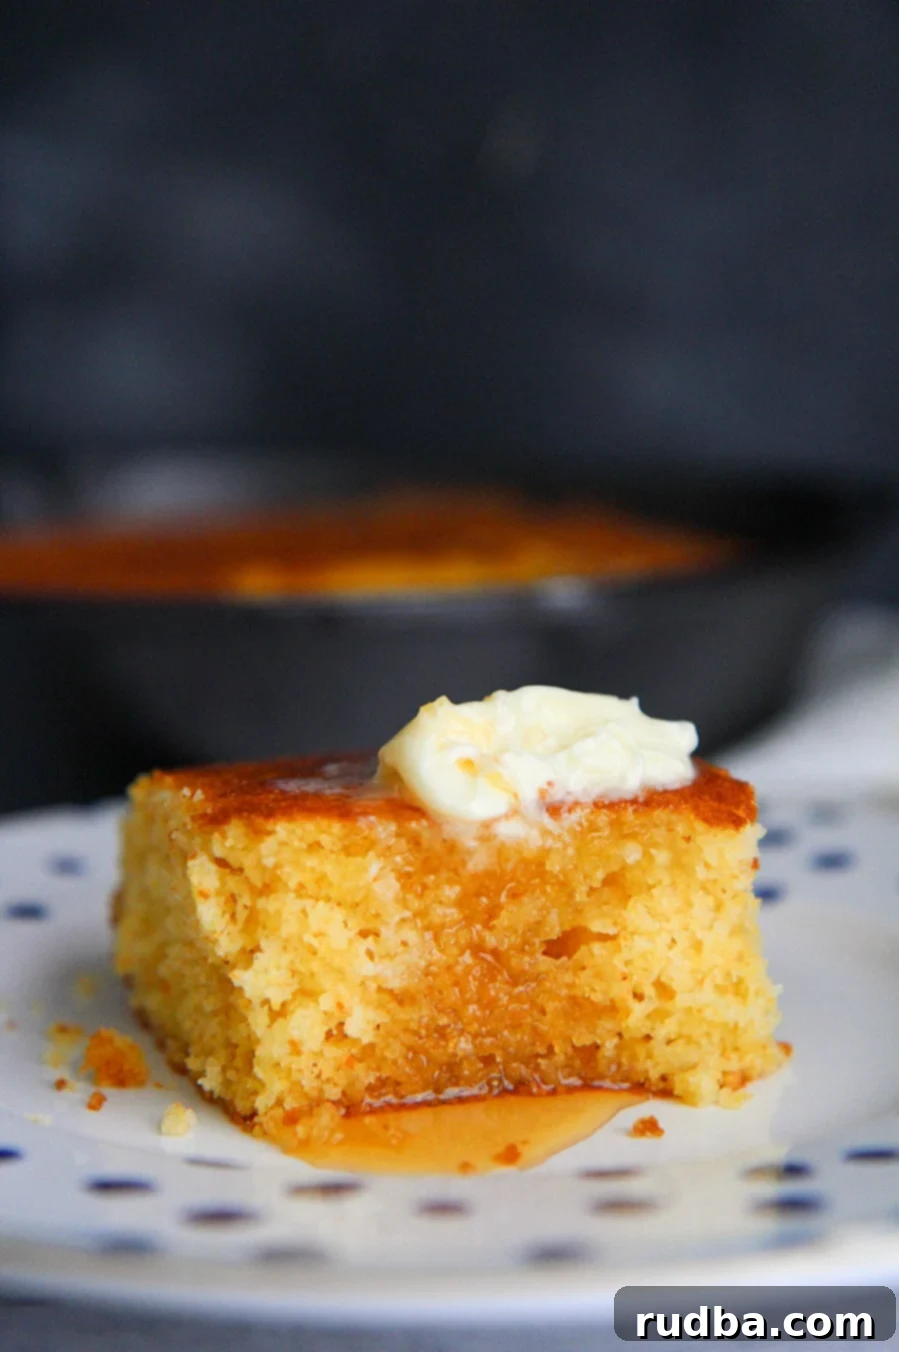
The Ultimate Southern-Style Buttermilk Cornbread Recipe: Perfectly Moist & Crispy
Nothing quite captures the essence of comfort food like a warm slice of homemade cornbread, fresh from the oven. This isn’t just any cornbread recipe; this is the ultimate buttermilk cornbread – a true Southern classic that promises an irresistible combination of a moist, tender crumb, subtle sweetness, and those coveted crispy, golden-brown edges. Forget dry, crumbly cornbread! In just under 30 minutes, with a handful of simple ingredients, you can achieve cornbread perfection that will have everyone asking for more.
Whether you’re serving it as a comforting breakfast alongside a dollop of butter and a drizzle of honey, or as the perfect accompaniment to hearty dishes like homemade chili, stew, or collard greens, this recipe is incredibly versatile. We know cornbread can be a topic of lively debate – some prefer it savory, others sweet; some love the texture of actual corn kernels, while others opt for a smooth, fine crumb. This recipe strikes a beautiful balance, delivering a perfectly sweetened, incredibly moist interior with a delightful crunch around the edges that will convert even the most skeptical cornbread connoisseur. Prepare to experience the pure joy of truly exceptional homemade buttermilk cornbread!
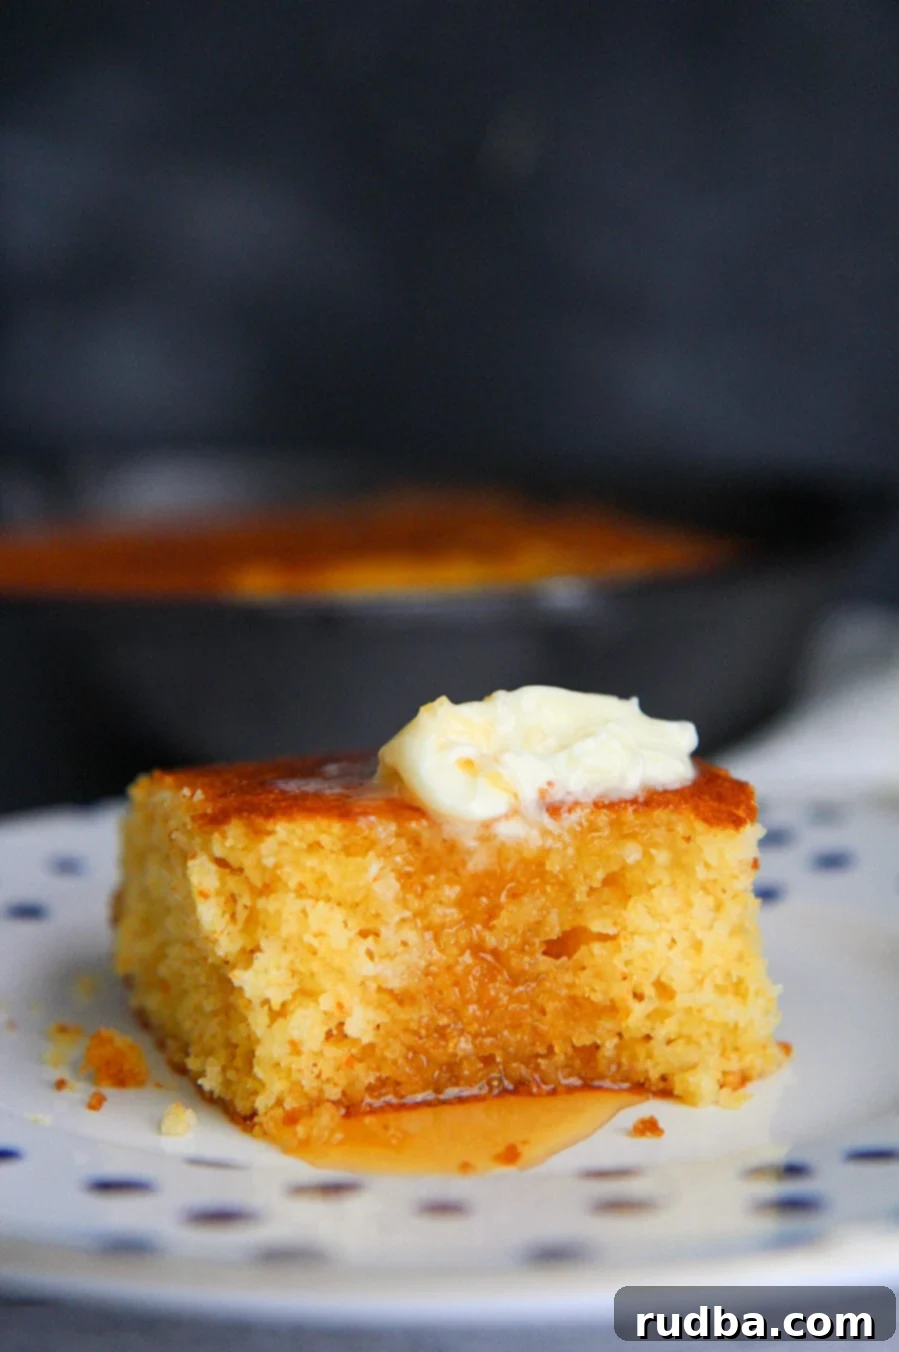
Why Buttermilk is Non-Negotiable for the Best Cornbread
When it comes to crafting truly exceptional cornbread, buttermilk isn’t just an option – it’s an essential ingredient that makes all the difference. While it might be tempting to substitute with regular milk, I strongly advise against it for this recipe. Store-bought, thick, rich buttermilk is the secret weapon here, elevating the cornbread to an entirely new level of moistness, tenderness, and flavor that simply cannot be replicated otherwise.
So, what makes buttermilk so magical? Its natural acidity reacts with the baking soda in the recipe, creating a leavening action that results in a lighter, more tender crumb. This chemical reaction is crucial for achieving that signature fluffy texture while preventing the cornbread from becoming dense or dry. Beyond its leavening properties, buttermilk also imparts a subtle tang and richness that enhances the overall flavor profile, making each bite incredibly satisfying. Trust me on this: for the ultimate moist buttermilk cornbread, stick to the real deal. Using regular milk will likely lead to a drier, less flavorful, and denser result, missing out on the unique qualities that make this recipe so special.
But what if you don’t have buttermilk on hand? While store-bought is always preferred for its consistent quality and thickness, if you find yourself in a pinch, you can create a homemade substitute. Simply add 1 tablespoon of white vinegar or lemon juice to a measuring cup, then fill the rest of the way with regular milk (dairy or non-dairy) until you reach 1 cup. Stir gently and let it sit for 5-10 minutes until it slightly curdles. While this substitute works in a pinch, it won’t yield quite the same depth of flavor and texture as genuine buttermilk, so plan ahead if you can!
Secrets to Achieving Irresistibly Crispy Cornbread Edges
One of the most delightful aspects of this buttermilk cornbread is its perfectly crispy, golden-brown edges – a texture contrast that truly elevates the experience. Achieving this satisfying crunch is surprisingly simple, thanks to a couple of key techniques:
- Preheat Your Skillet: This step is non-negotiable for those coveted crispy edges. About 10 minutes before you’re ready to add the batter, place your cast iron skillet (or oven-safe baking dish) into the oven as it preheats to 375°F (190°C). Allowing the skillet to get piping hot ensures that when the batter hits its surface, it immediately begins to crisp and cook, creating a beautiful crust. Think of it like searing meat – that initial high heat creates a fantastic texture.
- Butter the Hot Skillet: Once the skillet is thoroughly preheated, carefully remove it from the oven (using oven mitts!). Immediately add about 1 tablespoon of unsalted butter to the hot skillet. The butter will melt and sizzle, coating the bottom and sides. This not only adds incredible flavor but also creates a perfect non-stick surface, ensuring your cornbread releases easily and develops that rich, buttery crispness. Swirl the butter around to coat thoroughly.
- The Bake and Broil Method: After pouring the batter into the buttered, hot skillet, bake the cornbread for approximately 20 minutes. This allows the interior to cook through and become wonderfully moist. For the final touch, switch your oven to the broiler setting and let the cornbread broil for an additional 1-2 minutes. Keep a very close eye on it during this stage, as broilers can vary in intensity and brown things quickly! This short burst of high heat will caramelize the top, giving you those exquisite, crunchy bits and a gorgeous golden hue that is simply irresistible.
A Note on Preference: While we highly recommend the bake and broil method for maximum crispiness and color, if you prefer a lighter cornbread with less browning or crisp, you can simply bake it for the full 20-22 minutes until a toothpick inserted into the center comes out clean, and skip the broiling step entirely. However, for the true “ultimate” experience, those crunchy edges are a game-changer!
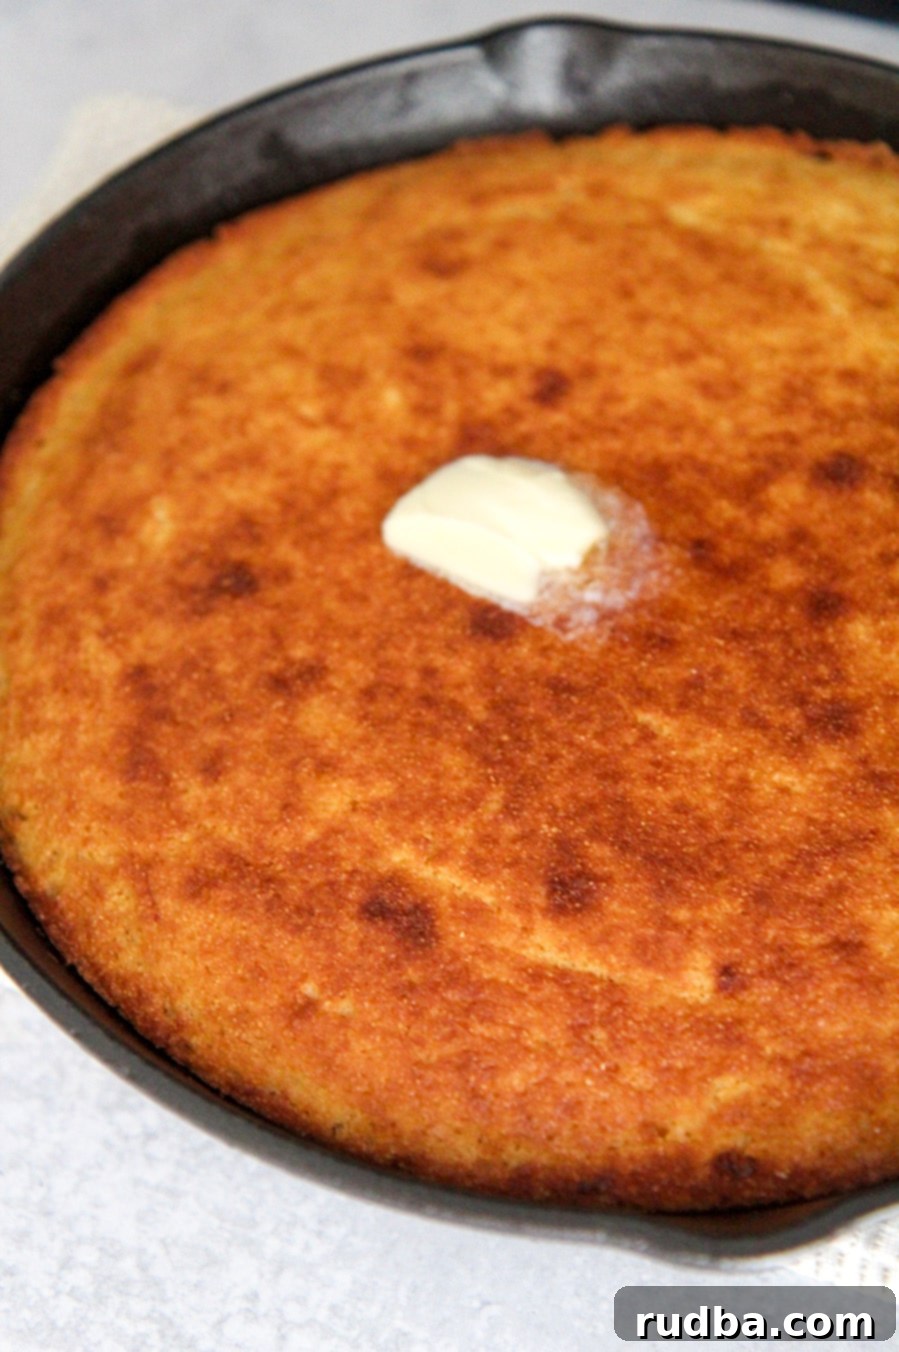
Choosing the Right Baking Dish: Cast Iron vs. Alternatives
While this recipe can certainly be made in any standard oven-safe 10-inch baking dish, there’s a good reason why a cast iron skillet is the preferred tool for achieving truly exceptional buttermilk cornbread. I personally used a 10.25-inch cast iron skillet for the batch you see pictured, and the results are unmatched. If you own a cast iron skillet, I wholeheartedly encourage you to use it!
The Cast Iron Advantage: Cast iron skillets are renowned for their superior heat retention and even heat distribution. When preheated, they create a uniformly hot surface that immediately starts to crisp the cornbread batter upon contact, leading to that coveted golden-brown, crunchy crust all around the edges and bottom. Furthermore, a well-seasoned cast iron skillet offers a natural non-stick surface, ensuring your cornbread slides out effortlessly. The skillet also imparts a unique, rustic charm to the finished product, making it perfect for serving directly from the pan.
Using Alternative Baking Dishes: Don’t have a cast iron skillet? No problem! You can still make fantastic cornbread. A 10-inch round or square oven-safe baking dish made of glass, ceramic, or metal will work just fine. Keep in mind that these materials may not retain or distribute heat quite as evenly as cast iron. You might find that the edges are slightly less crispy, and the overall cooking time could vary by a minute or two. To compensate, make sure to generously grease and flour your alternative dish, or use parchment paper, to prevent sticking and aid in browning.
Regardless of your chosen vessel, the key is ensuring it’s oven-safe and approximately 10 inches in diameter or square to accommodate the batter evenly and allow for proper cooking and browning.
Expert Tips for Buttermilk Cornbread Success
To ensure your buttermilk cornbread turns out absolutely perfect every time, keep these essential tips in mind:
- Do Not Overmix the Batter: This is perhaps the most crucial tip for tender cornbread. Once you’ve combined the wet and dry ingredients, mix just until they are incorporated and no streaks of dry flour remain. Overmixing develops the gluten in the flour, which can lead to a tough, dense, and less moist cornbread. A few small lumps are perfectly fine and even desirable.
- Embrace Flavor Variations: While this classic recipe is sublime on its own, it also serves as a fantastic base for customization. For a delightful spicy kick, consider folding in 1/2 cup of finely diced fresh or pickled jalapeños and 1/4 teaspoon of chili powder into the batter. For a cheesy version, add 1/2 cup of shredded sharp cheddar cheese. Other popular additions include a handful of fresh or frozen corn kernels, or even a sprinkle of crispy bacon bits for a savory twist.
- Serve Warm for the Best Experience: Buttermilk cornbread is undoubtedly at its peak when served warm, straight from the oven. The warmth enhances its moist texture, buttery flavor, and that glorious crispy crust. Pair it with a generous smear of softened butter and a liberal drizzle of your favorite honey or maple syrup for an unforgettable breakfast or snack. Many argue it’s even better than pancakes or waffles – a truly bold statement!
- Accurate Measuring Matters: Especially when baking, precise measurements are key. Use proper measuring cups for dry ingredients and liquid measuring cups for wet ingredients. Level off your flour and cornmeal with a straight edge to ensure you’re not adding too much, which can lead to a dry outcome.
- Doneness Test: To check if your cornbread is perfectly cooked, insert a wooden toothpick or thin knife into the center. It should come out clean or with just a few moist crumbs attached. If it’s still wet, continue baking for a few more minutes.
- Patience is a Virtue (Slightly): While tempting to dive in immediately, letting the cornbread rest in the skillet for 5-10 minutes after baking allows it to set slightly and makes for cleaner slices.
Storing Your Buttermilk Cornbread for Lasting Freshness
One of the great things about this ultimate buttermilk cornbread is that it can be made ahead of time, making it a convenient option for meal prep or gatherings. Proper storage is key to maintaining its delicious flavor and moist texture. Here’s how to best store your homemade cornbread:
- Room Temperature (Short-Term): For immediate enjoyment or consumption within 2-3 days, storing your cornbread at room temperature is ideal. First, ensure the cornbread has completely cooled to room temperature before storing. Warm cornbread will create condensation, which can lead to sogginess and spoilage. Once cool, wrap the entire cornbread (or individual slices) tightly in plastic wrap, or place it in an airtight container. This method helps maintain its moisture and prevents it from drying out. Keep it on your counter, away from direct sunlight or heat sources.
- Refrigeration (Medium-Term): If you plan to keep your cornbread for longer than 2-3 days but still want to enjoy it relatively soon, refrigeration is a good option. Again, allow the cornbread to cool completely. Wrap it tightly in plastic wrap and then aluminum foil, or place it in a sealed airtight container. Stored this way, it will remain fresh in the refrigerator for up to a week. While refrigeration can sometimes alter the texture slightly, a quick reheat can bring back much of its original glory.
- Freezing (Long-Term): For extended storage, the freezer is your best friend. Buttermilk cornbread freezes beautifully and can last for up to 3 months without significant loss of quality. To freeze, make sure the cornbread is thoroughly cooled. You can freeze it whole, in half, or as individual slices. Wrap it very tightly first in plastic wrap, then in aluminum foil, and finally place it in a freezer-safe bag or container. This triple layer of protection helps prevent freezer burn and keeps moisture locked in.
Reheating Frozen Cornbread: When ready to enjoy frozen cornbread, thaw it overnight in the refrigerator or on the counter for a few hours. To reheat, you can warm it in a preheated oven (around 350°F / 175°C) for 10-15 minutes, or in a toaster oven for individual slices, until heated through and the edges crisp up again. Microwaving is an option for speed but can sometimes make cornbread a bit chewy, so oven reheating is generally preferred for best results.
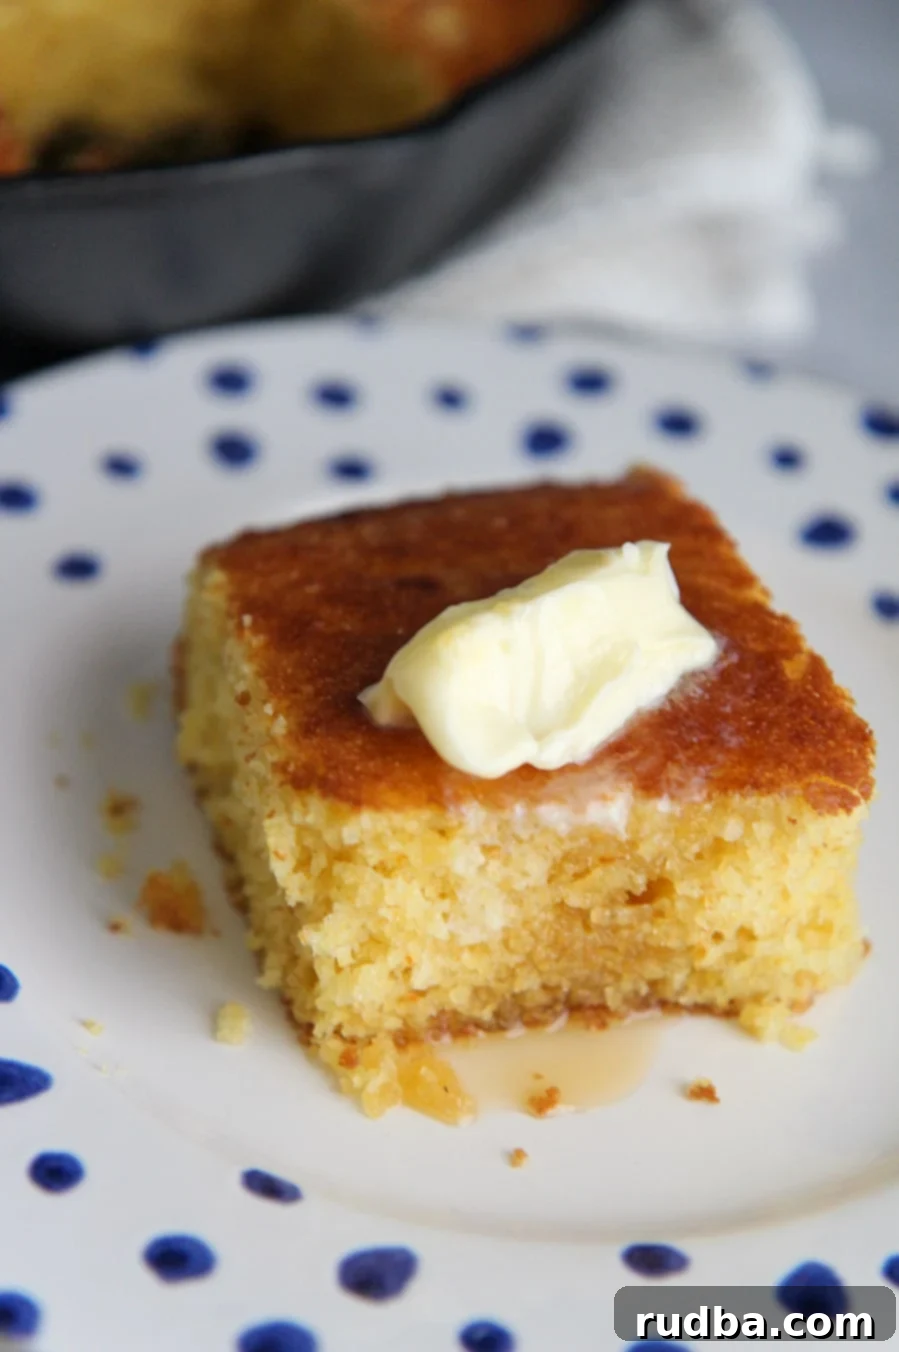
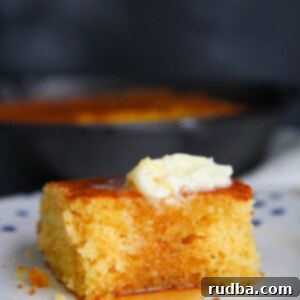
The Ultimate Buttermilk Cornbread
Save RecipeSaved Recipe
Pin Recipe
Rate Recipe
Print Recipe
Ingredients
- 1/2 cup unsalted melted butter plus 1 tbsp , 1 stick + 1 tbsp
- 1 cup buttermilk
- 2 large eggs
- 1/2 cup granulated sugar
- 1 cup all-purpose flour
- 1 cup yellow cornmeal
- 2 tsp baking powder
- 1/2 tsp baking soda
- 1/8 tsp salt
Instructions
-
1. Prepare Your Oven and Skillet: Preheat your oven to 375 degrees F (190°C). As the oven heats, place your 10-inch cast iron skillet (or chosen oven-safe baking dish) into the oven for at least 5-10 minutes. This crucial step ensures the skillet is piping hot, which is key to achieving those crispy, golden-brown edges on your cornbread.
-
2. Combine Wet Ingredients: In a large mixing bowl, whisk together the eggs, rich buttermilk, the specified amount of melted unsalted butter, and granulated sugar until they are thoroughly combined and smooth. This creates the foundational liquid base for your cornbread.
-
3. Incorporate Dry Ingredients: To the bowl with the wet ingredients, add the all-purpose flour, cornmeal, baking powder, baking soda, and a pinch of salt. Using a spoon or spatula, mix gently until the dry ingredients are just incorporated into the wet. Be very careful not to overmix the batter; a few small lumps are perfectly acceptable and will help ensure a tender, moist cornbread. Overmixing can lead to a tough texture.
-
4. Prepare the Hot Skillet for Baking: Carefully remove the preheated hot skillet from the oven using oven mitts. Add the remaining 1 tablespoon of butter to the hot skillet; it will immediately melt and sizzle. Swirl the butter around to generously coat the bottom and sides of the pan. Immediately pour the prepared cornbread batter into the hot, buttered skillet and use a spatula to gently smooth out the top evenly.
-
5. Bake to Perfection: Place the skillet with the cornbread batter back into the preheated oven. Bake for approximately 20 minutes, or until the cornbread is golden around the edges and a toothpick inserted into the center comes out clean. For those desirable crispy edges and a beautifully browned top, turn on your oven’s broiler function for an additional 1-2 minutes. Watch it very closely during this stage, as broilers can brown quickly! Remove once the top is a lovely golden hue.
-
6. Cool Slightly and Serve: Once baked, carefully remove the skillet from the oven. Let the cornbread rest in the skillet for about 5-10 minutes before slicing. This allows it to set and makes for easier, cleaner cuts. Serve your ultimate buttermilk cornbread warm with extra pats of butter, a generous drizzle of honey, or alongside your favorite savory meals. Enjoy every tender, crispy, and flavorful bite!
Nutrition
Nutrition information is automatically calculated, so should only be used as an approximation.
Additional Info
Like this recipe? Leave a comment below!
There you have it – the definitive guide to making the most delectable buttermilk cornbread you’ll ever taste. This recipe goes beyond just ingredients; it’s about understanding the techniques that yield that perfect balance of moist, tender crumb and irresistible crispy edges. Whether it becomes your go-to breakfast treat or the star side dish at your next dinner, this cornbread is guaranteed to impress. Don’t forget to explore other fantastic recipes like our honey jalapeno cheddar cornbread or these delightful ham and cheese corn muffins. For more culinary inspiration and helpful tutorial videos, check out Youtube and Facebook. Happy baking!
