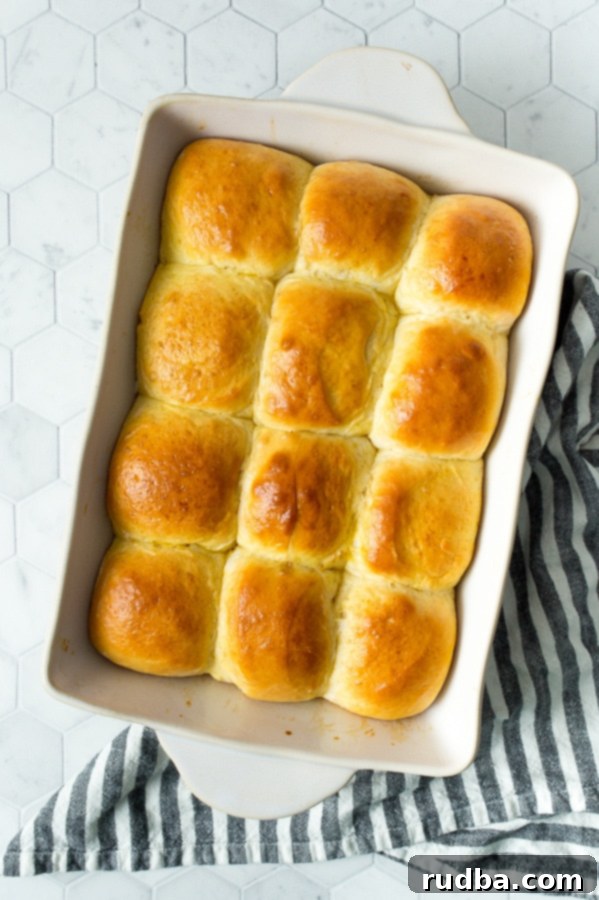
Irresistible Homemade Dinner Rolls: Soft, Fluffy, and Perfect for Any Meal
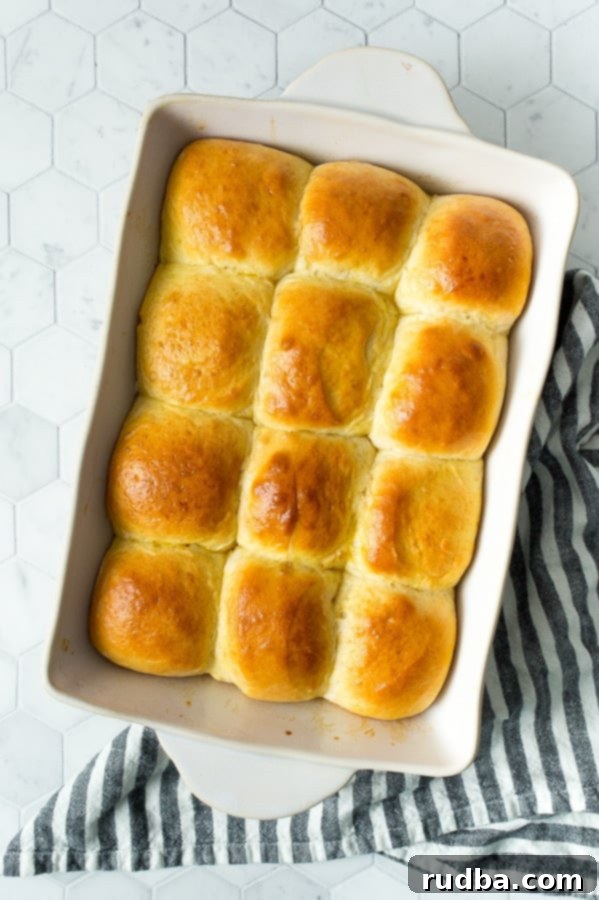
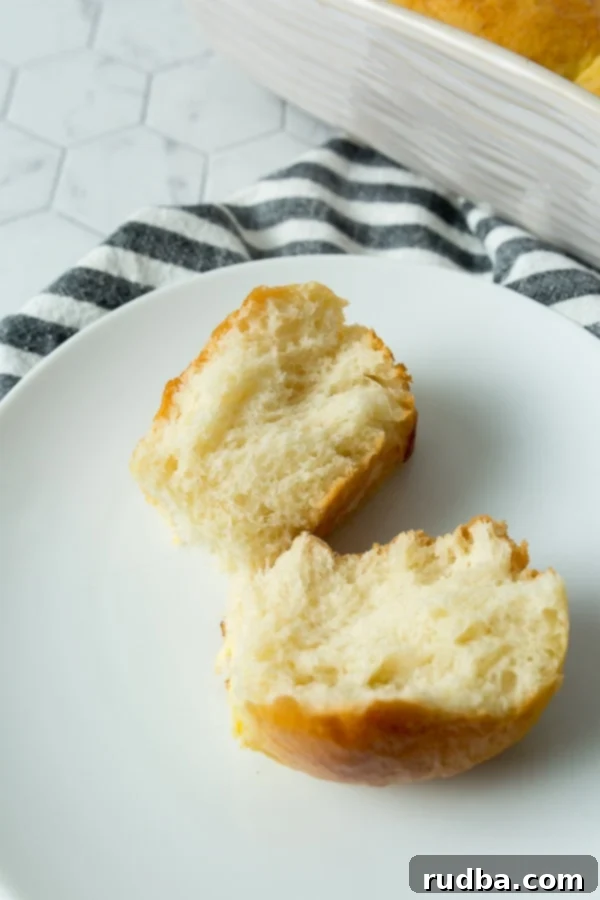
There’s nothing quite like the comforting aroma of freshly baked bread filling your home. These homemade dinner rolls are more than just a side dish; they’re an experience. Light, incredibly fluffy, and melt-in-your-mouth soft, they promise to be a highlight of any meal. Best of all, they come together with just a few common ingredients you likely already have in your pantry, proving that delicious, wholesome bread is well within reach.
Why Bake Your Own Homemade Dinner Rolls?
While ordering takeout or buying pre-made items offers convenience, nothing compares to the taste and satisfaction of homemade. Many families enjoy the ease of a pizza night or grabbing a quick meal, but it’s often challenging to ensure those options are packed with the healthiest ingredients. That’s precisely why I love crafting a homemade dinner that my family will absolutely adore, with wholesome goodness baked right in. These dinner rolls perfectly complement a wide range of main courses, turning an ordinary meal into something special.
Around our house, some favorite entrees include Salmon Burgers and Ham and Cheese Sliders. While dinner rolls aren’t a meal on their own (though I often wish they were!), they pair beautifully with so many dishes, from hearty stews to roasted meats and fresh salads.
Essential Ingredients for Perfect Dinner Rolls
Creating these delightful rolls starts with understanding the role each ingredient plays in achieving that perfect soft, airy texture:
- Bread Flour: This is the secret to strong, elastic dough. Bread flour has a higher protein content than all-purpose flour, which develops more gluten during kneading. This gluten network traps gases produced by the yeast, resulting in a chewier, yet incredibly soft and airy crumb. Do not substitute with all-purpose flour if you want the best results!
- Active Dry Yeast: The leavening agent that makes your rolls rise and become fluffy. It needs to be activated in warm liquid.
- Warm Water & Milk: The ideal temperature for activating active dry yeast is around 105-115°F (40-46°C). Water helps hydrate the yeast and flour, while milk adds richness, tenderness, and promotes a golden-brown crust due to its sugars and fats.
- Granulated Sugar: Acts as food for the yeast, helping it to activate and produce carbon dioxide. It also adds a touch of sweetness to the rolls and contributes to their golden color and tender texture.
- Melted Butter: Adds incredible flavor, richness, and contributes significantly to the rolls’ soft and tender crumb.
- Salt: Essential for flavor, salt also helps to control yeast activity and strengthen the gluten structure. Don’t skip it!
- Egg: Provides richness, moisture, and helps with the structure and tenderness of the dough. It also contributes to a beautiful golden color.
- Egg Wash (for brushing): A simple mixture of egg and water brushed over the rolls before baking gives them a beautiful glossy, golden-brown crust.
How to Make Homemade Dinner Rolls: A Simple Guide
Making homemade dinner rolls is a rewarding process, and with this easy-to-follow guide, you’ll be serving warm, soft rolls in no time!
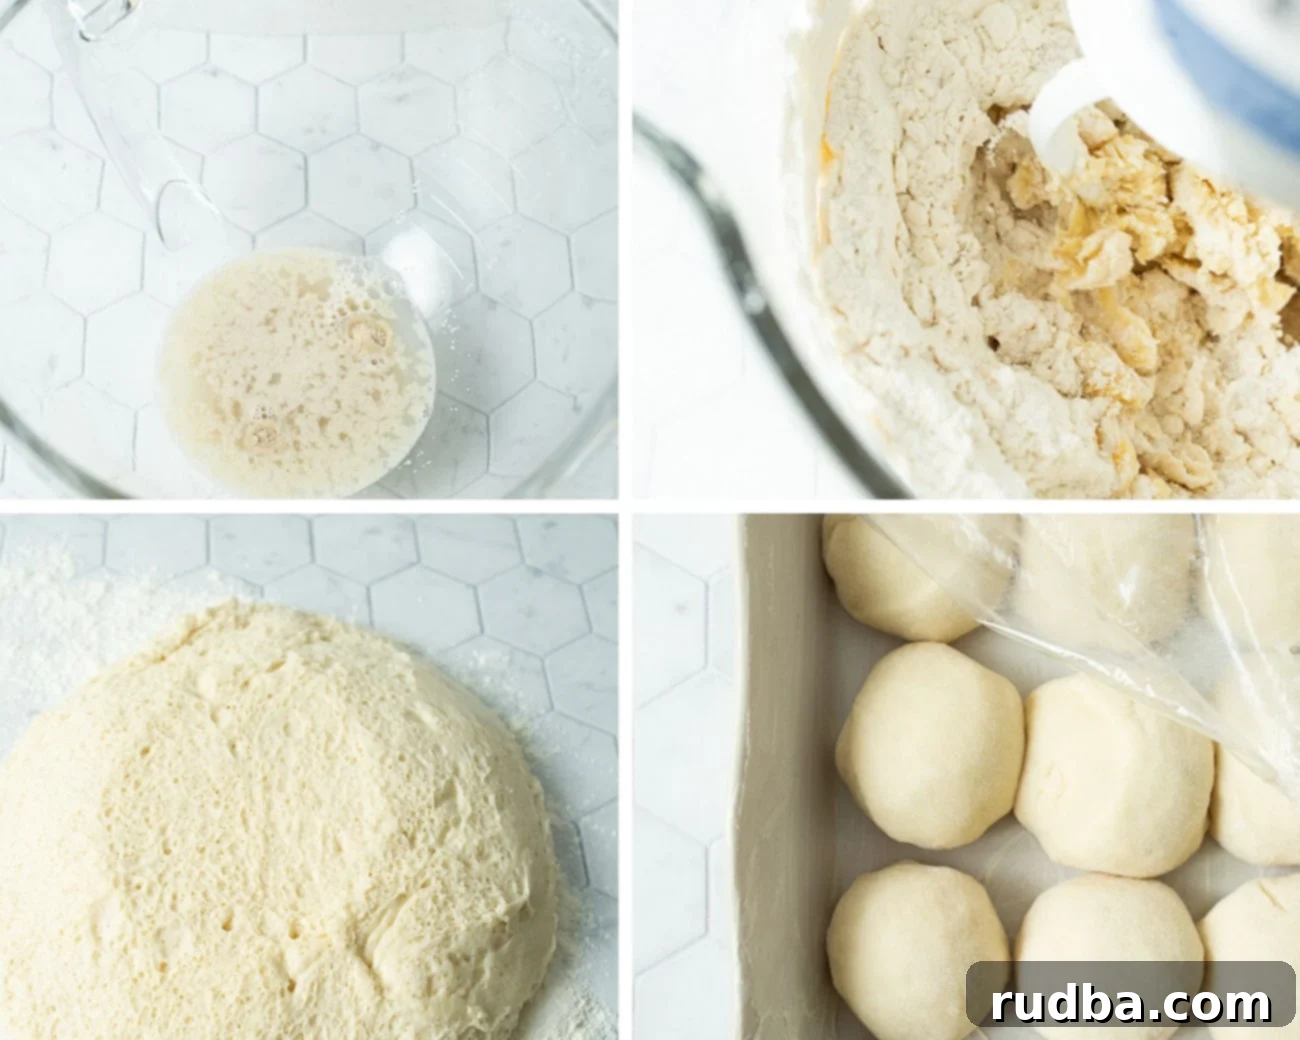
- Begin the Dough by Activating Yeast: In the bowl of your stand mixer, combine the warm water (around 105-115°F) with the active dry yeast. Give it a gentle stir. Let this mixture sit undisturbed for about 5-6 minutes. You’ll know the yeast is active and ready when it becomes wonderfully foamy and bubbly on the surface. This foam indicates that the yeast is alive and working, crucial for a good rise.
- Combine Wet and Sweet Ingredients: Once your yeast mixture is foamy, add in the warm milk (also around 105-115°F), granulated sugar, melted butter, a pinch of salt, and the egg. Use the paddle attachment on your mixer to combine these ingredients thoroughly, scraping down the sides of the bowl as needed to ensure everything is well incorporated. This creates a rich, flavorful base for your dough.
- Finish the Dough with Flour and Knead: Switch to the dough hook attachment. Gradually add the bread flour (the final dry ingredient) to the yeast mixture. Mix on a low speed until a shaggy dough forms, then increase the speed to medium-low and knead for a full 8-10 minutes. This extensive kneading develops the gluten in the bread flour, which is key to achieving that soft and slightly chewy texture. The dough should eventually pull away from the sides of the bowl, remaining slightly sticky to the touch. Avoid the temptation to add too much extra flour, as this can lead to dry rolls.
- First Rise (Bulk Fermentation): Lightly flour a clean, flat surface and gently dump the dough out. Knead it by hand for a few more seconds, just enough to form it into a smooth ball. Lightly grease a large bowl with oil or cooking spray, then place the dough ball inside, turning it once to coat. Cover the bowl tightly with plastic wrap or a clean kitchen towel. Place it in a warm, draft-free spot (like a slightly warm oven that’s turned off, or near a sunny window) and let it rise for about 1 hour, or until it has doubled significantly in size. This first rise develops flavor and texture.
- Shape the Rolls for the Second Rise: Once the dough has doubled, gently punch it down to release the air. Transfer the dough onto a lightly floured work surface. Divide the dough into 12 equal portions. A kitchen scale can help ensure even sizing for uniform rolls. To shape each roll, take a portion of dough and gently tuck the sides underneath, rolling it against the counter with the palm of your hand to create a smooth, taut ball. Butter a 9×13-inch baking dish generously. Arrange the shaped dough balls next to each other in the dish, leaving a little bit of space between them as they will expand. Cover the dish again with plastic wrap or a kitchen towel and let them rise for another 40 minutes, or until they look noticeably puffy and have nearly doubled in size again. This second rise (proofing) is vital for maximum fluffiness.
- Bake the Rolls to Golden Perfection: While the rolls are on their second rise, preheat your oven to 375°F (190°C). In a small bowl, whisk together one egg with 1 tablespoon of water to create an egg wash. Once the rolls have finished their second rise, gently brush the tops of each dough ball with the egg wash. This will give them a beautiful golden-brown color and a lovely sheen. Place the baking dish in the preheated oven and bake for approximately 20 minutes, or until the rolls are deeply golden brown on top and cooked through. The internal temperature should reach about 200-210°F (93-99°C).
- The Finishing Touch: As soon as the rolls come out of the oven, brush them with a little extra melted butter for an even richer flavor and soft crust. Serve warm and enjoy!
Tips, Creative Variations, and Troubleshooting for Your Dinner Rolls
Mastering these homemade dinner rolls means not only following the recipe but also knowing how to store them, reheat them, and even get creative with flavors!
- Optimal Storage Solutions: To keep your freshly baked rolls at their best, wrap them tightly in plastic wrap or aluminum foil once they’ve cooled completely. Store them in a cool, dark, and dry place, such as your pantry, where they will stay fresh for up to a week. For longer storage, you have a couple of options:
- Refrigeration: Place the plastic-wrapped rolls in an airtight container in the fridge. They will last for up to 2 weeks.
- Freezing: For ultimate freshness, flash freeze individual rolls on a baking sheet until solid, then transfer them to an airtight freezer-safe bag or container. Separate layers with parchment paper to prevent sticking. They’ll keep well for up to 2 months. Thaw at room temperature or reheat from frozen.
- Easy Reheating Methods:
- Microwave: For a quick reheat, place rolls (spaced apart if possible) in the microwave. Start with 10-15 seconds for rolls from the pantry or fridge, and 30-45 seconds for frozen rolls. Add additional 5-10 second increments as needed until warm and soft.
- Oven: For best results and a slightly crispy exterior, preheat your oven to 300°F (150°C). Wrap rolls loosely in foil and heat for 10-15 minutes, or until warmed through.
- Air Fryer: A great option for a few rolls! Place in a single layer and air fry at 300°F (150°C) for 3-5 minutes, checking frequently.
- Creative Garnishing Ideas: While a simple brush of melted butter is a classic and delicious choice, don’t hesitate to get creative:
- Garlic Butter: Mix melted butter with minced garlic and a sprinkle of dried parsley for a savory twist.
- Herb Butter: Infuse melted butter with fresh or dried rosemary, thyme, or chives.
- Honey Butter: Whip softened butter with a touch of honey for a sweet and savory spread.
- Cinnamon Sugar: For a sweeter roll, brush with melted butter and sprinkle with a cinnamon-sugar mixture.
- Everything Bagel Seasoning: Brush with egg wash and sprinkle with everything bagel seasoning before baking for a savory, textured crust.
- Infusing Additional Flavors into the Dough: Experiment by adding fresh herbs or spices directly into your dough during the mixing stage to give your rolls a unique flavor profile.
- Savory: Add dried rosemary, thyme, garlic powder, onion powder, or a touch of black pepper. For a spicy kick, incorporate a pinch of crushed red pepper flakes. You can also mix in shredded cheddar or Parmesan cheese.
- Sweet: For a sweeter roll, add a teaspoon of vanilla extract or a pinch of ground cinnamon to the dough.
- Turn Them into Delicious Garlic Bread: Easily transform these soft rolls into incredible garlic bread or cheesy garlic bread, perfect for pairing with Italian dishes! Simply slice the baked rolls in half horizontally. Spread the cut sides generously with garlic butter (store-bought or homemade with melted butter, minced garlic, and a pinch of garlic salt). Place them cut-side up on a baking sheet and bake at 350°F (175°C) for 3-5 minutes, or until lightly golden and fragrant. To make them cheesy, sprinkle mozzarella or a blend of Italian cheeses over the garlic butter before baking, then bake until the cheese is melted and bubbly.
- The Unbeatable Advantage of Bread Flour: I cannot stress this enough – using bread flour makes a significant difference. Yes, there is a distinct difference between bread flour and average all-purpose flour. Bread flour has a higher protein content, which translates to more gluten development. This gluten network provides the elasticity and structure necessary for light, airy, yet tender rolls. If you want the softest, chewiest, and most professional-tasting rolls, always opt for bread flour.
Frequently Asked Questions About Homemade Dinner Rolls
How Do You Make Dough Softer?
If you follow this dinner rolls recipe precisely, you should achieve wonderfully soft rolls. However, a few tips can ensure maximum softness:
- Use Bread Flour: As mentioned, bread flour’s higher protein content is key to a strong yet tender crumb.
- Proper Kneading: Kneading for the full 8-10 minutes develops gluten adequately without overworking it, which can lead to tough rolls.
- Optimal Hydration: Don’t add too much extra flour during kneading or shaping, as this can dry out the dough. A slightly sticky dough is often a sign of good hydration.
- Add a Touch of Acid: A teaspoon of lemon juice or apple cider vinegar (which can be added with the wet ingredients) can help tenderize the gluten and contribute to a softer texture.
- Milk Instead of Water: Using milk for the liquid component (as this recipe does) provides fats and sugars that also contribute to a softer crumb and richer flavor.
- Don’t Overbake: Baking for too long will dry out your rolls. Keep an eye on them and remove them from the oven as soon as they are golden brown and cooked through.
Can I use instant yeast instead of active dry yeast?
Yes, you can! If using instant yeast, you can typically mix it directly with the dry ingredients without proofing it in warm water first. However, to be safe and ensure it’s active, you can still proof it as described in the recipe. If you don’t proof it, reduce the initial warm water slightly as the instant yeast doesn’t absorb as much. The overall amount should remain the same.
What’s the ideal temperature for milk and water?
For active dry yeast, the ideal temperature for your warm water and milk is between 105°F and 115°F (40-46°C). Using a thermometer is highly recommended. If the liquid is too cold, the yeast won’t activate; if it’s too hot, it can kill the yeast, preventing your dough from rising.
Can I prepare the dough ahead of time?
Absolutely! You can prepare the dough up to the first rise. After the first rise, punch down the dough, cover the bowl tightly with plastic wrap, and refrigerate for up to 24 hours. When ready to bake, remove the dough from the fridge, let it come to room temperature for about 30-60 minutes, then proceed with shaping, the second rise, and baking as instructed.
How do I know when the rolls are fully cooked?
Your dinner rolls are fully cooked when they are golden brown on top and sound hollow when tapped on the bottom. For a precise check, an instant-read thermometer inserted into the center of a roll should register between 200°F and 210°F (93-99°C).
If you gave these homemade dinner rolls a whirl, I would love to hear about the variations you tried and your experience in general in the comments below! Your feedback and creative ideas help our community grow.
More Rolls Recipes You’re Sure to Love:
- Cheese and Garlic Crescent Rolls
- Soft Onion Rolls
- Garlic Parmesan Dinner Rolls
- Hawaiian Sweet Rolls
- Rosemary and Garlic Dinner Rolls
You can find more delicious recipes and cooking tutorial videos on Youtube and Facebook.
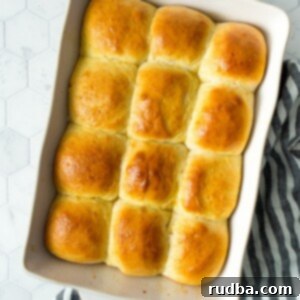
Homemade Dinner Rolls
Save RecipeSaved Recipe
Pin Recipe
Rate Recipe
Print Recipe
Ingredients
Dinner Rolls
- 4 cups bread flour
- 2 1/2 tsp dry active yeast
- 1/4 cup warm water, 105 degrees F
- 1/3 cup sugar
- 4 ounces melted butter
- 1 tsp salt
- 1 egg
- 1 cup hot milk, 115 degrees F
Egg Wash
- 1 egg
- 1 tbsp water
Instructions
-
In the bowl of a standing mixer, stir the yeast into the warm water (about 120 degrees F) and let it sit for about 5-6 minutes until foamy.
-
Once the yeast is nice and foamy, add and beat in the hot milk, sugar, melted butter, salt, and egg until well combined.
-
Add the bread flour to the yeast mixture. Using the dough hook, knead for 8-10 minutes until the dough is slightly tacky and forms a ball.
-
Lightly flour your work surface and knead the dough with your hands for a couple of extra seconds to form a smooth ball.
-
Place the dough in a greased bowl, cover with plastic wrap or a kitchen towel, and let it rise in a warm place for about an hour or until it doubles in size.
-
Place the risen dough on your floured work surface and divide the dough into 12 equal pieces.
-
Shape each dough piece into a dinner roll by tucking the edges underneath to form a smooth ball.
-
Generously butter a 9×13 baking pan and place the shaped dough balls spaced a little apart. Cover and let them rise in a warm place for an additional 40 minutes or until doubled in size.
-
Preheat oven to 375°F (190°C). Brush the risen dough balls with the egg wash. Bake for 20 minutes or until fully cooked through and golden brown.
-
For extra richness and shine, brush with additional melted butter immediately after removing from the oven. Enjoy warm!
Video
Nutrition
Nutrition information is automatically calculated, so should only be used as an approximation.
Additional Info
Like this recipe? Leave a comment below!
