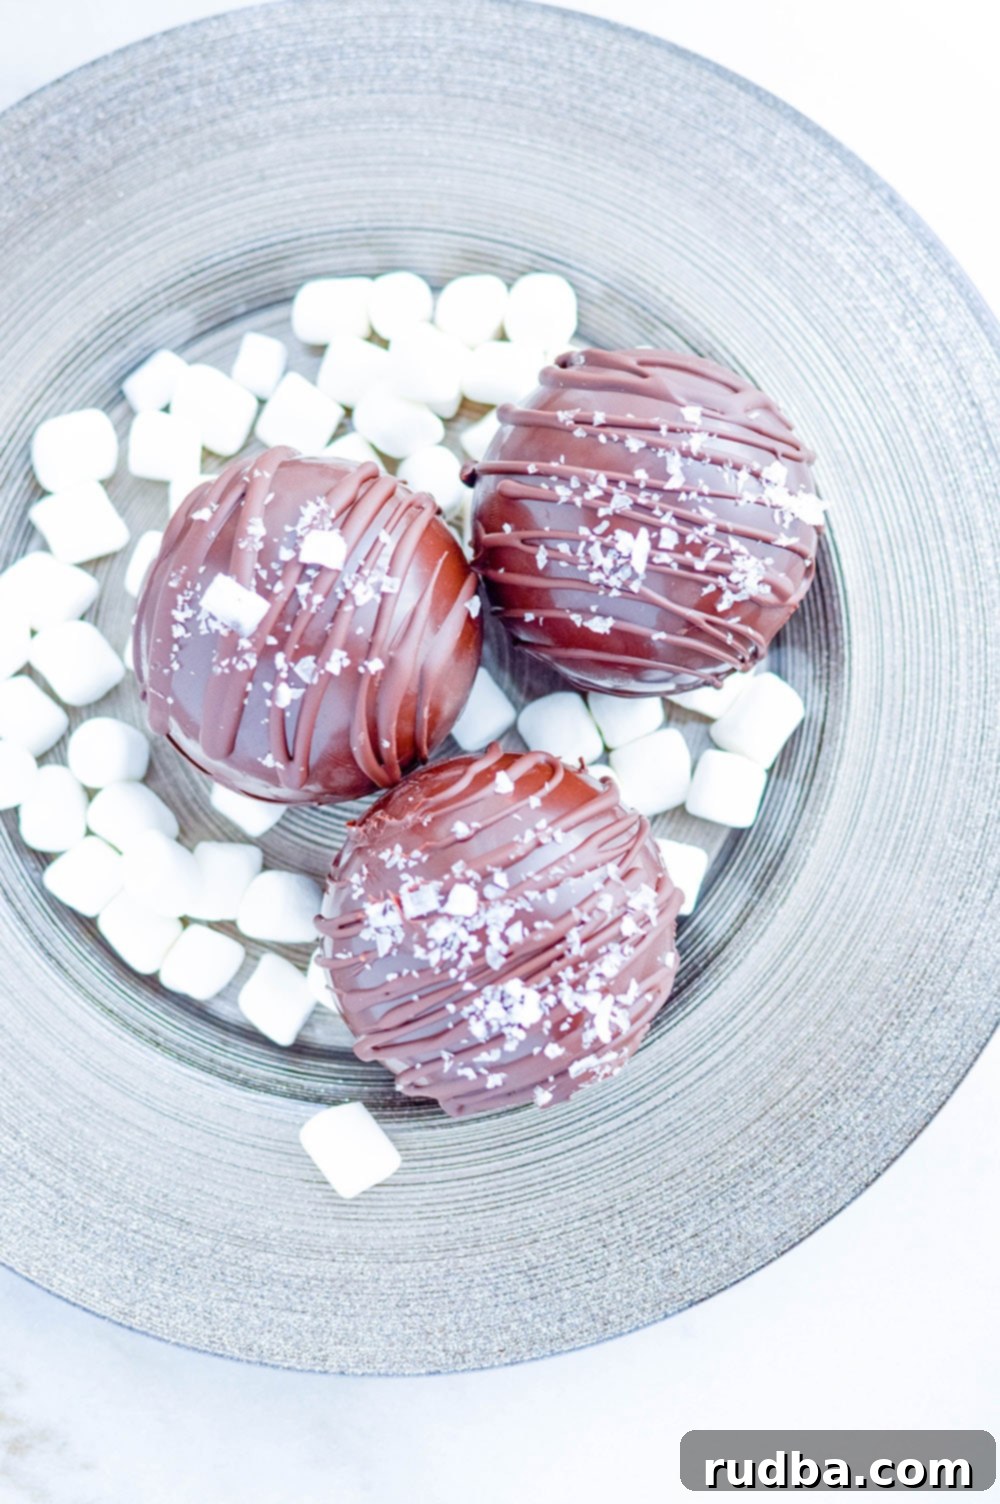
Homemade Salted Caramel Hot Chocolate Bombs: Your Ultimate Winter Treat & Gift Guide
Turn your warm drink experience into a delightful crafting adventure with these incredible salted caramel hot chocolate bombs! Imagine decadent, rich chocolate expertly brushed into round molds, allowed to set perfectly, and then generously filled with fluffy mini marshmallows and luscious salted caramel. Simply drop one into a warm cup of milk and watch it magically melt, transforming into a luxurious, comforting, and utterly delicious winter treat that’s perfect for cozy evenings or festive gatherings.
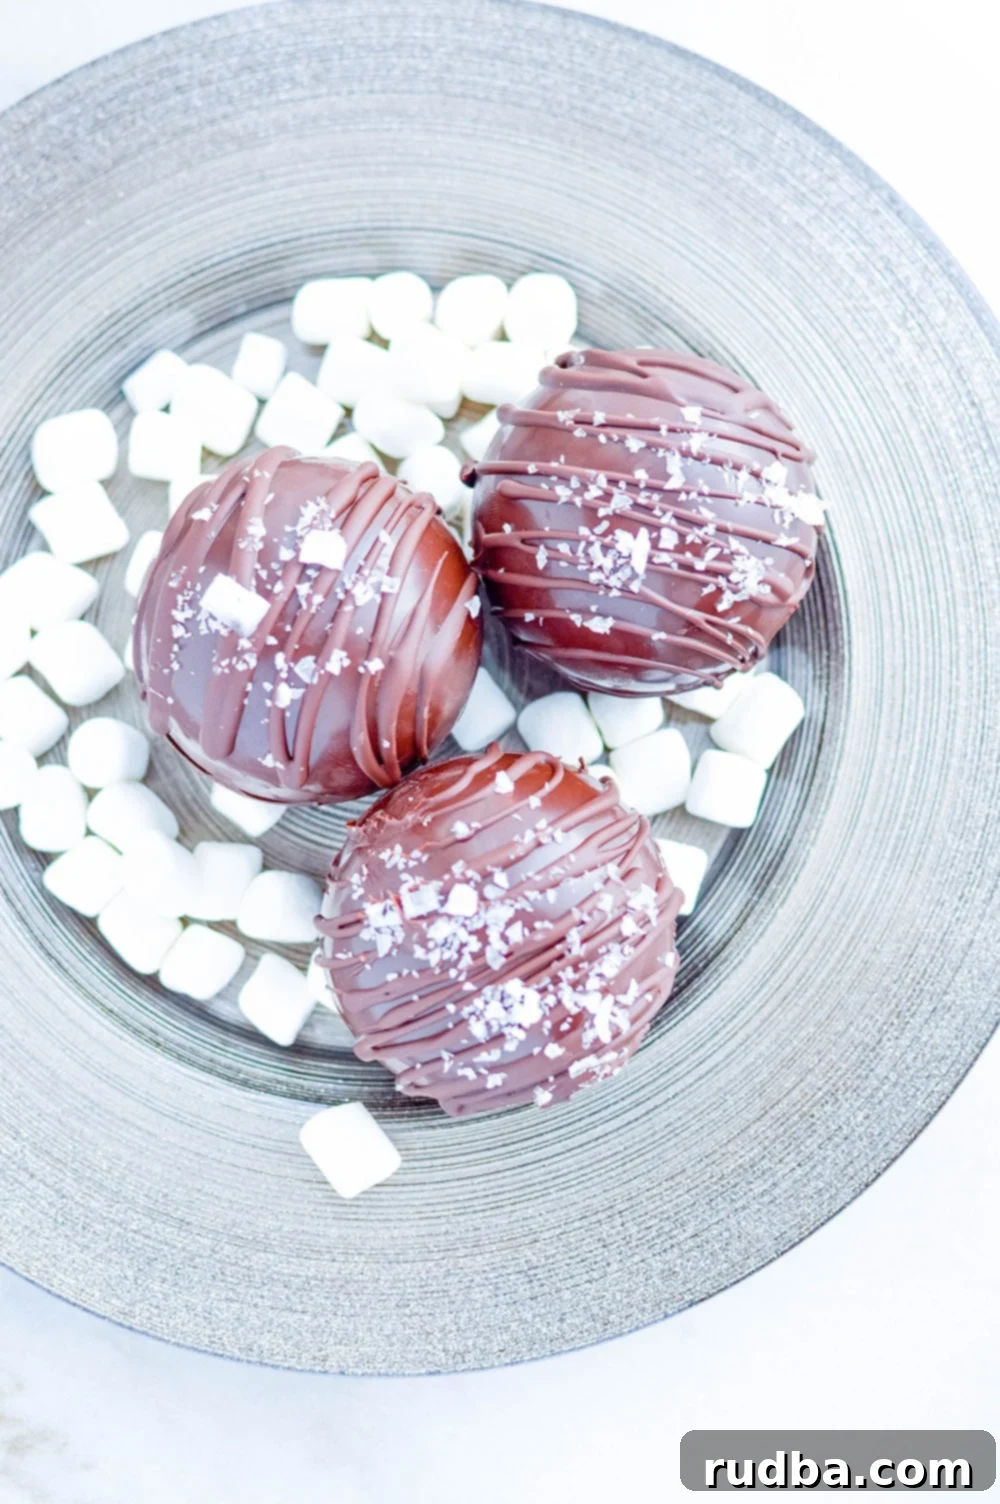
Alright, I’m officially on board the hot cocoa bomb express, and there’s no turning back! These delightful creations are not only incredibly addictive to enjoy but also an absolute blast to make. One of the most exciting aspects is experimenting with various flavor combinations. It’s a fantastic way to unleash your creativity in the kitchen without requiring a huge amount of effort. You can easily customize them by simply changing up the internal ingredients or adding your personal touch.
These delightful hot chocolate bombs are incredibly versatile. They make fantastic homemade gifts for friends and family, a special treat for yourself, or an impressive addition to any party or holiday gathering. What truly sets this particular recipe apart is that you don’t need any pre-made hot chocolate powder for the center. This is only possible when you choose to use high-quality chocolate. The inherent richness of excellent chocolate creates a profoundly decadent hot cocoa without the need for additional powder, resulting in a smoother, more intense flavor. Try serving a steaming cup of this tasty hot chocolate alongside my strawberry cake or even some Italian lemon ricotta cookies for an unforgettable dessert experience.
Crafting Your Salted Caramel Hot Chocolate Bombs: Step-by-Step Guide
Making salted caramel hot chocolate bombs might seem intricate, but with these simple steps, you’ll be a pro in no time. The process is straightforward, focusing on careful chocolate handling and creative filling.
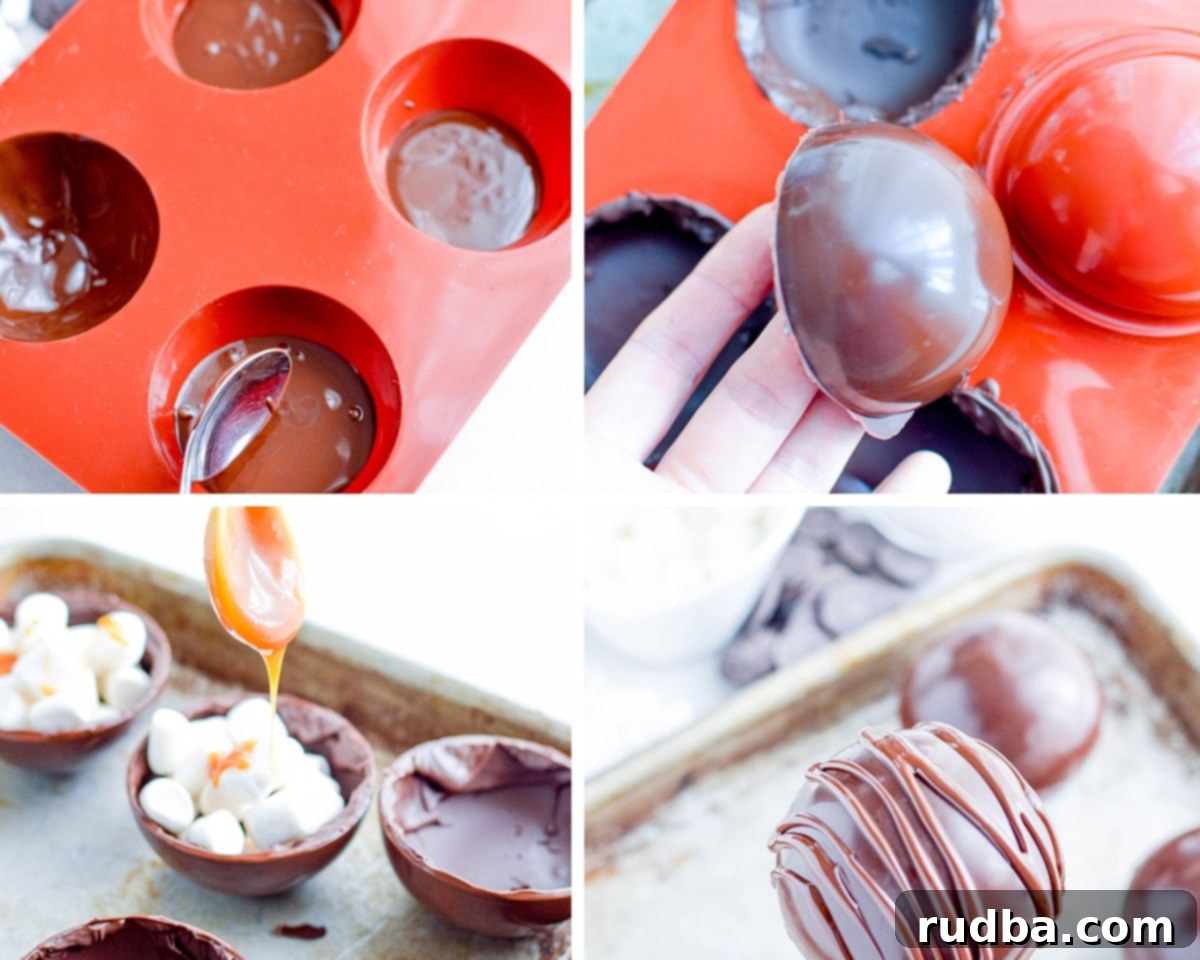
- Prepare Your Chocolate Shells – Begin by melting your chosen chocolate. For the best results, use a microwave-safe bowl, heating in short bursts (30 seconds at a time), stirring thoroughly between each interval until smooth and fully melted. Once melted, spoon the chocolate into clean, dry silicone molds. Use the back of a spoon to carefully spread the chocolate evenly up the sides and around the edges of each mold, ensuring a consistent thickness. This will form the outer shell of your hot chocolate bombs.
- Chill and Reinforce – Place the filled molds into the freezer for about 5-10 minutes. This quick chill allows the chocolate to harden. Once firm, remove the molds and inspect the shells. If any areas, especially the top rims, appear too thin or translucent, spoon a small amount of additional melted chocolate over them to reinforce. Return the molds to the freezer for another 5 minutes to ensure everything is perfectly set.
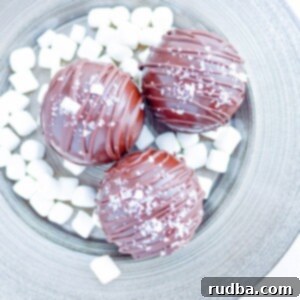
- Fill with Deliciousness & Seal – Carefully pop the hardened chocolate half-spheres out of their molds. Gently melt the edges of half of your chocolate spheres on a warm surface (like a warm plate) for just a few seconds; this creates a smooth, even surface for sealing. Fill the other half of the spheres with your desired ingredients: a generous amount of mini marshmallows and a delightful dollop of salted caramel. Then, take a melted-edge half and carefully press it onto a filled half, sealing the bomb together. You can add a decorative drizzle of melted chocolate and a sprinkle of flake salt for an extra touch.
- Serve and Enjoy – When you’re ready to indulge, place one beautiful hot chocolate bomb into your favorite mug. Heat about 10-12 ounces of milk until it’s hot but not boiling (around 140°F). Carefully pour the hot milk over the bomb and watch the magic unfold as the chocolate shell melts, releasing the marshmallows and caramel. Stir gently until all the ingredients are fully dissolved and combined, creating a rich, velvety hot chocolate. Enjoy this luxurious homemade treat!
Pro Tips for Crafting the Ultimate Salted Caramel Hot Chocolate Bombs
Achieving hot chocolate bomb perfection is all about the details. Here are some invaluable tips to ensure your salted caramel creations are not just delicious, but also visually stunning and easy to make.
- Explore Other Melting Chips and Chocolate Types – While rich dark or milk chocolate is fantastic, don’t feel limited! You can easily swap your bomb’s main ingredient to create a variety of flavors. Consider using white chocolate melting wafers for a creamy white chocolate bomb, or even a blend of chocolates for a unique taste profile. Chocolate candy melts are also an excellent alternative, especially if you’re looking for vibrant colors.
- Get Creative with Colors – To add a splash of color, especially for themed events or holidays, use colored candy melts. They come in a rainbow of shades and melt smoothly. A word of caution: if you’re trying to color white chocolate with food coloring, be extremely careful. Water-based food dyes will cause the chocolate to seize, turning it into a thick, crumbly, unusable mess. Always opt for oil-based food coloring or powdered food coloring specifically designed for chocolate to achieve vibrant, smooth results.
- Customize Your Inner Ingredients for Endless Variations – The beauty of hot chocolate bombs lies in their customizability! Not a fan of caramel? No problem! You can easily add, remove, or swap the internal ingredients. Consider adding a pinch of chili powder for a Mexican hot chocolate twist, a dash of cinnamon, a shot of espresso powder for a mocha bomb, or even mini chocolate chips for extra indulgence. For these salted caramel bombs, an extra sprinkle of flaky sea salt inside would beautifully enhance the sweet and salty balance. Other ideas include crushed peppermints, sprinkles, or even a mini liqueur bottle for an adult version.
- The Secret is High-Quality Chocolate – This is perhaps the most crucial tip. Using high-quality chocolate is a game-changer. It not only provides a superior flavor and a silky-smooth texture but also eliminates the need to add hot chocolate mix to the center of the bomb. Good quality chocolate melts into a rich, flavorful beverage all on its own. If premium chocolate isn’t readily available, or if you prefer a classic hot cocoa taste, you can absolutely add 1-2 tablespoons of your favorite hot chocolate mix to the middle of the bomb before sealing it closed. Just remember, the better the chocolate, the more luxurious your final drink will be.
- Perfecting the Seal – After filling your chocolate halves, getting a seamless seal is key. A slightly warm plate or a small pan on very low heat works wonders. Briefly touch the edge of the empty chocolate half to the warm surface for a second or two to create a thin melted rim. Then, quickly press it onto a filled half. The melted chocolate will act as a “glue,” creating a strong, almost invisible seam. This technique ensures your bombs hold together perfectly until they hit the hot milk.
- Storage for Freshness – Once your hot chocolate bombs are complete and hardened, proper storage is essential to maintain their quality. Store them in an airtight container at room temperature, away from direct sunlight or heat, for up to one week. If you plan to make them further in advance or live in a warmer climate, you can store them in the refrigerator for up to two weeks. Just be sure to bring them to room temperature for about 15-20 minutes before use to prevent shocking the chocolate when it meets hot milk.
How to Unleash the Magic: Using Your Hot Chocolate Bomb
Rest assured, you definitely won’t be dropping these delightful spheres into your bathtub! Using a hot chocolate bomb is part of the fun and a key part of the experience. Here’s how to properly enjoy your creation:
First, you’ll want to gently heat your milk. I typically use about 10-12 ounces (roughly 1 ¼ to 1 ½ cups) of milk per bomb. The ideal temperature for your milk is around 140-150°F (60-65°C) – hot enough to melt the chocolate quickly but not boiling, which can scorch the milk or curdle it. I recommend heating your milk slowly over the stove in a saucepan, using more controlled, gentle heat for the best results. This prevents the milk from overheating too rapidly. Once your milk is perfectly heated, place one hot chocolate bomb into your favorite mug. Carefully pour the hot milk over the bomb and allow it a moment to work its magic. The chocolate shell will begin to melt and break open, releasing all the wonderful fillings like marshmallows and caramel. After it has mostly dissolved, give the contents a good stir to help everything combine fully, ensuring a perfectly smooth and rich hot chocolate. Sip and savor!
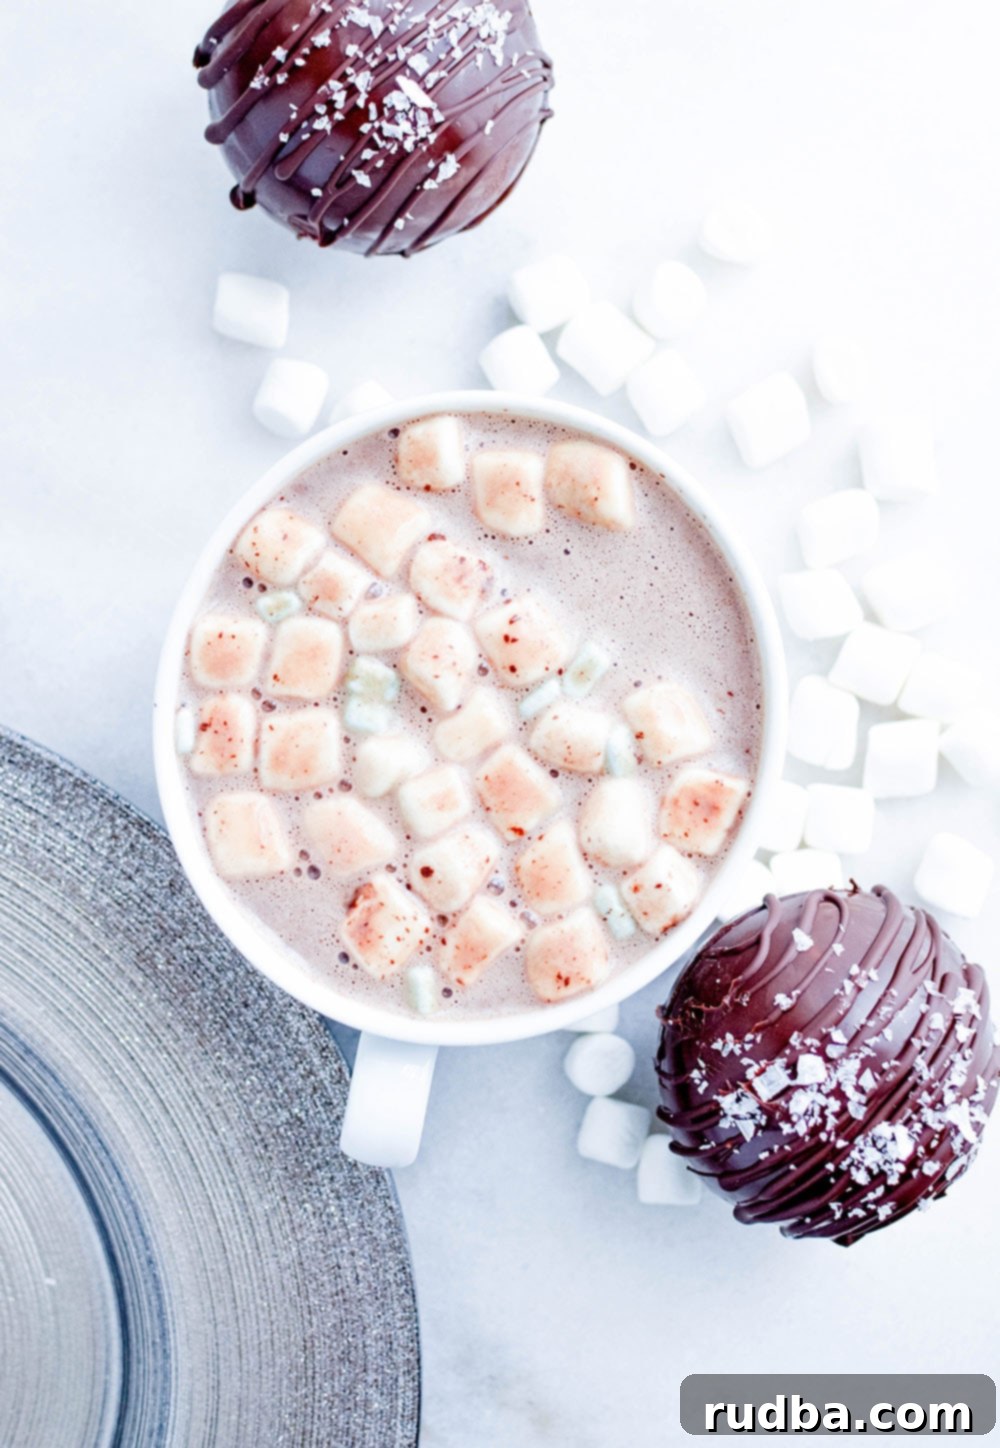
Now that you’re equipped with all the knowledge and tips, go ahead and give these irresistible salted caramel hot chocolate bombs a try! I promise they’ll become a new favorite. Don’t forget to let me know in the comments below how much you loved them. For more delicious recipes and engaging cooking tutorial videos, be sure to check out my channels on Youtube and Facebook. Happy cooking and sipping!
Salted Caramel Hot Chocolate Bombs Recipe
Save RecipeSaved Recipe
Pin Recipe
Rate Recipe
Print Recipe
Equipment
-
Silicone Mold
Ingredients
- 1 cup chocolate wafers , good quality
- 6 tsp salted caramel , 2 teaspoons for each chocolate bomb
- mini marshmallows
- 1 tsp salt flakes
Instructions
-
Melt the chocolate according to package directions. For best results, use a microwave-safe bowl and heat in 30-second intervals, stirring thoroughly after each, until smooth. Start with a clean and completely dry silicone mold on a flat tray. Pour a small amount of melted chocolate into each well and use a spoon to evenly spread the chocolate right up to the edges, ensuring the entire surface is coated.
-
Place the tray in the freezer for about 5-10 minutes, or until the chocolate is firm to the touch. Remove from the freezer and carefully check each chocolate shell. Add a second thin layer of melted chocolate anywhere that seems a bit thin or transparent, paying extra attention to reinforcing the top rim of the circle for structural integrity. Return to the freezer for another 5 minutes to ensure all layers are fully set.
-
Once hardened, gently remove the chocolate half-spheres from the silicone mold and place them onto the chilled tray from the freezer. To create a smooth and strong seam when joining, gently melt the edges of half of your chocolate circles on a slightly warm plate (or a pan on very low heat) for just a few seconds. Repeat this process for all 6 circles if you are making 3 bombs.
-
Now, it’s time for the delicious filling! Add a generous amount of mini marshmallows and about 2 teaspoons of salted caramel to the inside of three of the chocolate half-cups. Reheat the edges of the remaining three empty cups again, one at a time, just enough to be tacky, and carefully set them onto one of the filled cups, gently pressing to seal. When all of the hot chocolate bombs are filled and securely sealed together, you can proceed to decorate.
-
Melt a small amount of the same good quality chocolate that was used for the shells. Drizzle this melted chocolate elegantly over the tops of your assembled hot chocolate bombs. Immediately after drizzling, sprinkle with flake salt to add that perfect salted caramel touch.
-
Set the finished bombs back in the fridge or freezer for a few minutes (about 5-10 minutes) to help the chocolate drizzle and flake salt harden completely. Once firm, they are ready to use or store. To use: Heat milk to around 140 degrees F (60 degrees C) – hot but not boiling. Carefully place a bomb in a mug and pour the hot milk over the top. Stir until the chocolate is fully melted and smooth, and all the delicious fillings are incorporated. Enjoy immediately! You can also store them at room temperature in an airtight container for up to a week.
Notes
Nutrition information is automatically calculated, so should only be used as an approximation.
Additional Info
Liked this Salted Caramel Hot Chocolate Bomb recipe? Leave a comment and rate it below!
